Knowing how to steam food is a crucial skill in any Asian kitchen. The steaming technique is just as important in Asian cooking as baking or roasting is in Western cooking. Chinese and other Asian cuisines feature not only steamed vegetables and proteins, but also steamed buns and breads, dumplings, and even desserts.
But while the idea of cooking food using hot steam seems pretty straightforward, the task of steaming food or even just setting up a steamer for cooking may be a little muddy and foreign to some of you.
In this post, we’ll go over how to steam food for a wide range of recipes. I include three different ways to steam food, from a setup you can probably already create in your kitchen without any special equipment, to a modern stainless steel steamer, to a more traditional bamboo steamer.
Why Steam Food:
My steamer serves two purposes in our kitchen: to cook and to re-heat.
If you check out our steamed recipes, you will find a wide range of recipes: buns, veggies, meats, seafood, and desserts.
Steaming food requires little to no oil, making it a lighter cooking option, but it also is a necessary cooking method for many traditional Chinese dishes, from Hunan Steamed Fish with Salted Chilies to Cantonese Steamed Milk Pudding.
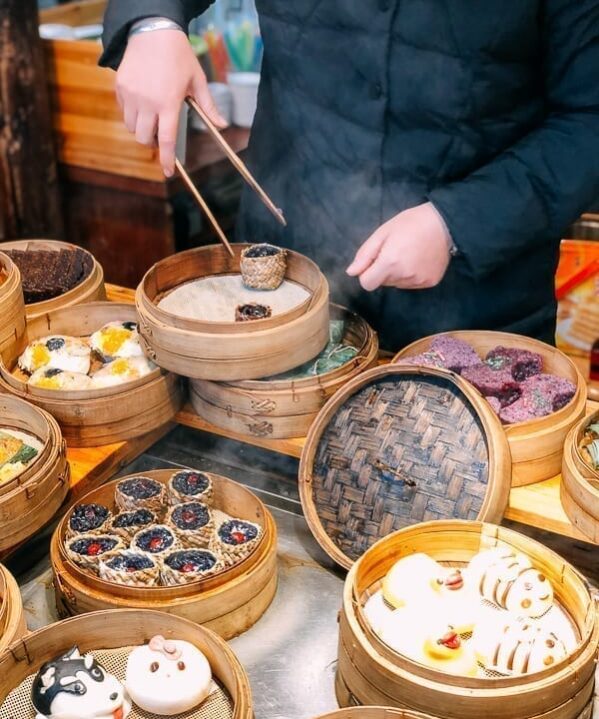
Also, the majority of dim sum dishes—beloved by many—are steamed, like Crystal Dumplings, Har Gow, Spare Ribs with Black Beans, and Shumai.
Moreover, I’ve never really accepted the concept of using a microwave for cooking or reheating, so I rely on my steamer to reheat food as well. It’s a great way to quickly reheat any meat dish, rice dishes, and more.
Here is my rule of thumb for reheating anything: oven-baked things can usually be toasted/reheated in the oven. Pan-fried items can be reheated in a pan with a little oil, and pretty much everything else can be reheated in a steamer.
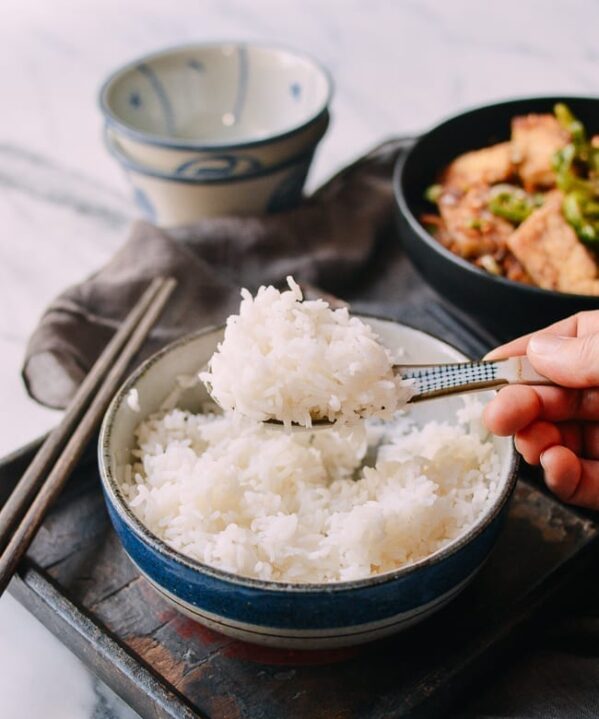
I steam food daily. I do it to heat up leftover rice, to steam yams when I’m looking to be healthy, or to steam some Chinese sausage along with my cured pork belly (which is what we had for dinner tonight!). Really, I can’t live without my steamer.
Some of Our Favorite Steamed Recipes
Here are some examples of my favorite steamed recipes on the blog:
- Steamed Lotus Leaf Buns (so versatile, you can fill them with practically anything!)
- Steamed Ribs with Sticky Rice (the flavor of juicy pork ribs infuses the sticky rice)
- Steamed Eggplant, Hunan-Style (a delicious appetizer before any meal)
- Steamed Pork with Rice Powder (Fen Zheng Rou) (doesn’t get more traditional than this one)
- Cantonese Custard Buns (one of Sarah’s all-time favorites)
- Steamed Chicken with Mushrooms (a light, easy dish perfect with steamed rice and a stir-fried leafy green vegetable)
How to Steam Food:
We’re not trying to sell you on buying a new steamer. You can actually steam with things you already have!
As I mentioned earlier, I’m going to share a few common steamer set-ups with you. I use all of them in my kitchen. I’ll also show you how I’ve taught my own girls to steam food in their apartment kitchens.
Here are three different ways to steam food:
Steamer Set-up #1: A Pot (or Wok) with A Lid and Heat-proof Dish
You don’t need any special equipment for steaming. A pot with a lid works just fine, especially when it comes to reheating food.
For this steamer set-up, you’ll need:
- A pot or wok with a lid
- A heat-proof dish that can fit inside the wok or pot
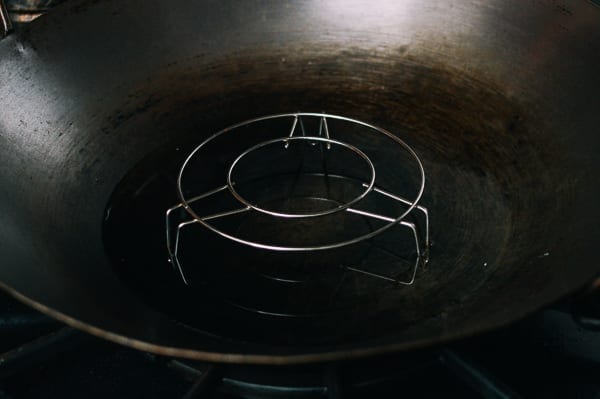
- Something to prop up the dish above the water, like a metal steam rack or a clean metal can
There are metal steam racks or stands you can buy for just a few dollars. You can also use a heat-proof bowl or empty steel can with both ends removed. (Next time you use a can of tuna, carefully wash out the can and save it for this purpose.)
Wider cans usually work better, because they provide a more stable surface to put your food on. If you want something a bit taller, try a 28-ounce (794g) tomato can.
Sometimes, even if I have a metal rack, I’ll also use a can to raise the food higher above the water. This is especially important if I’m steaming for a long time and need to use more water.
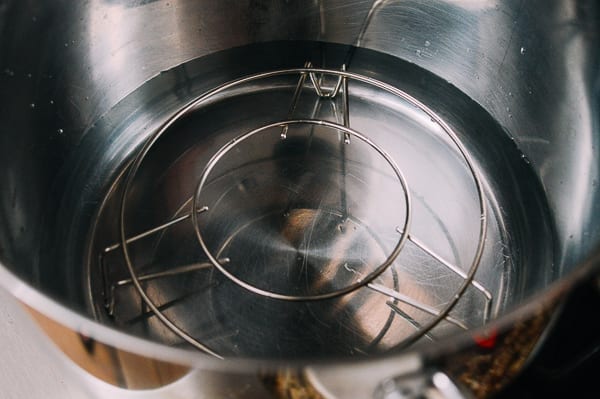
You can do this in a regular pot:
Or a wok:
Here’s an example of a setup using a can:
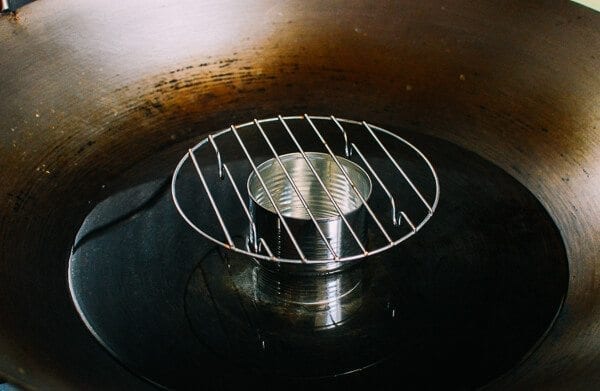
As you can see above, the higher the rack is, the more water you can fill in underneath it!
Simply fill a pot with 2 inches of water. (Or more depending on how long you need to steam the food, though the water level shouldn’t come any closer than 1-inch below the rack. Otherwise, you risk the bubbling water coming in contact with the bottom of the dish.) Put a steaming rack or empty can in the center to set your heatproof bowl, plate, or shallow dish of food on.
Make sure that any plate/dish you’re using to hold the food is heatproof. Oven-safe dishes and glass pie plates work great. Another thing to consider is whether or not your dish should have a rim.
If you’d like to save any liquid from steaming (which is usually the case when steaming proteins like chicken), make sure your dish has a rim to keep the liquid in. Again, a pyrex pie dish or other dishes safe for oven use work well.
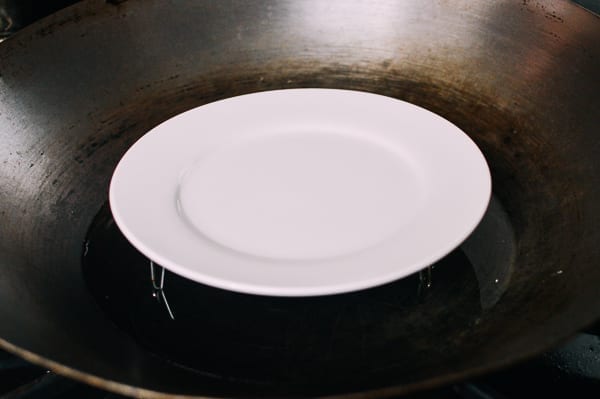
Once the dish of food is positioned on your rack over the water, cover the lid. Note that there must be enough space between the outer edges of the dish and the sides of the pot so the steam can circulate and cook the food.
Simply turn on the heat (medium to high) to bring the water to a simmer, and your food will steam!
When we travel in the RV or go camping, this method comes in handy for all our steaming needs, since we only have basic kitchen tools on the road.
A Wok is best!
On one final note, while this method works in a regular large pot, it works especially well in a wok with a lid, because woks have a larger diameter than normal pots. They can fit larger plates of food for dishes like steamed whole fish.
Also, wok lids tend to be more concave than regular pot lids, creating a dome inside the wok with more room for the steam to circulate above the food.
Steamer Set-up #2: A Stainless Steel Steamer
I steam food so often that to me, owning a stainless steel steamer is a no-brainer.
It’s a user-friendly tiered steamer that will allow you to steam either a single level of food, or to use up to three different tiers for big batches of buns/dumplings or cooking several different steamed dishes at once.
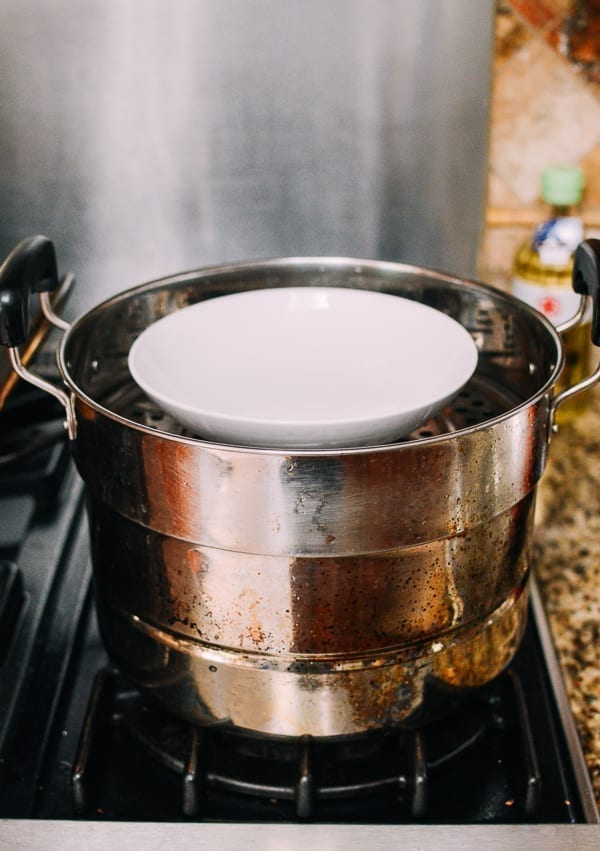
I like this type of steamer because it’s easy to set up, straightforward to clean, and you can make a large volume of food in it.
Simply put a few inches of water in the bottom of the steamer, and set up however many tiers you like. You can either place heat-proof dishes of food on the tiers as you would in Steamer Setup #1…
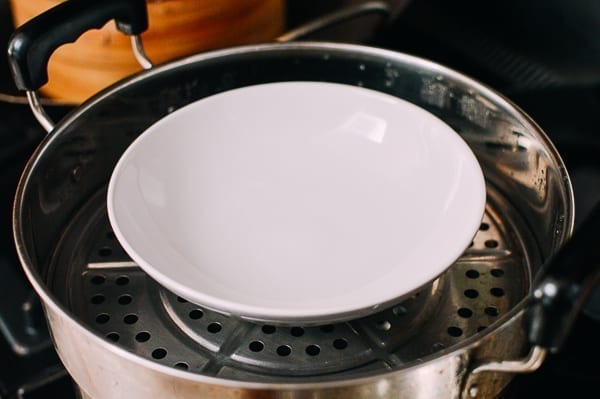
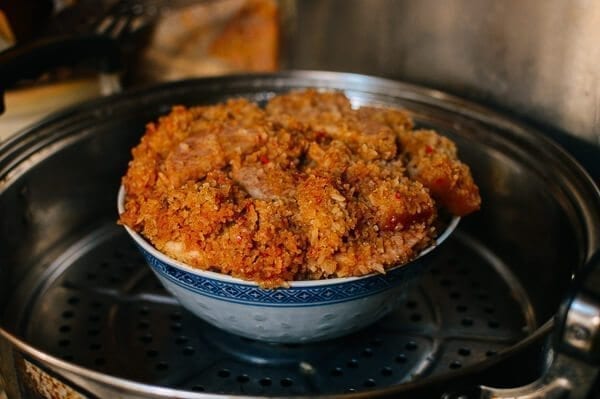
Or you could line the tiers (which have holes in them to allow the steam to rise) with cabbage leaves, cheesecloth, or perforated parchment paper (they also make reusable cloth or silicone steamer liners) and place buns or dumplings directly on top.
The one downside of this type of steamer is that condensation can collect on the lid and drip down on your food. It’s a relatively minor concern, but for steamed buns, breads, and cakes, it can be a downside.
how to prevent condensation with a metal steamer:
You can prevent condensation from dripping onto your food by taking a large, thin dish cloth or tea towel and tying it around the lid.
Lay the cloth out flat, place the lid directly in the middle of the cloth, and tie the ends up around the lid, knotting them at the handle. You can also use a sturdy rubber band to tie the ends of the cloth to the handle.
The cloth layer in the interior of the lid will catch any condensation. Just make sure the loose ends are tied securely, so they’re not at risk of coming in contact with your heat source!
This technique is commonly used by Persian families when they make tahdig—rice with a crispy bottom crust.
Steamer Set-up #3: A Bamboo Steamer
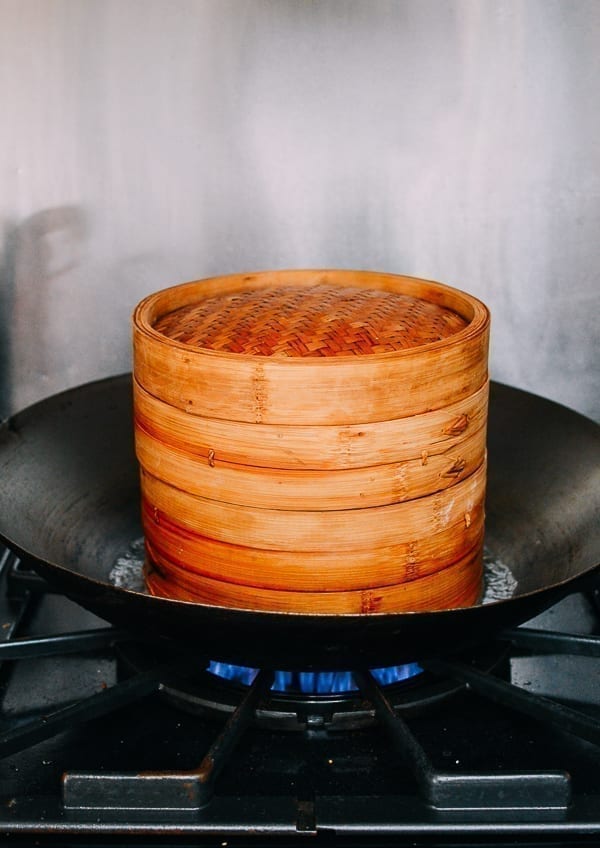
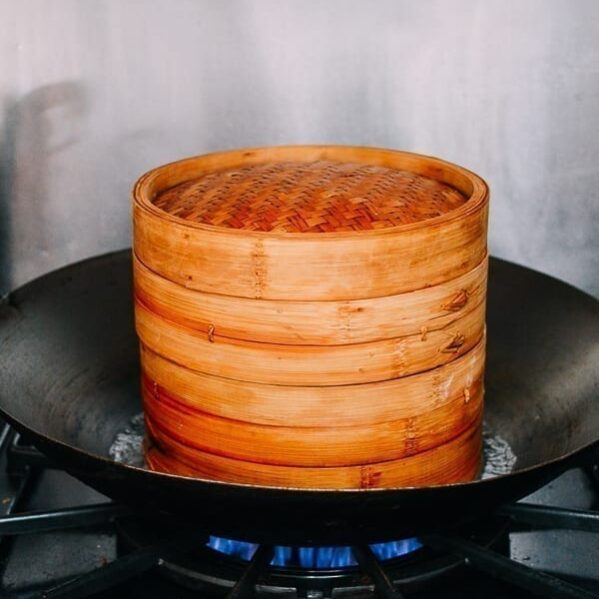
Of these three set-ups, I like bamboo steamers the most. The biggest upside is that the bamboo steamer cover does not collect condensation, so I never have to worry about water dripping onto steamed buns and cakes to alter their texture or appearance.
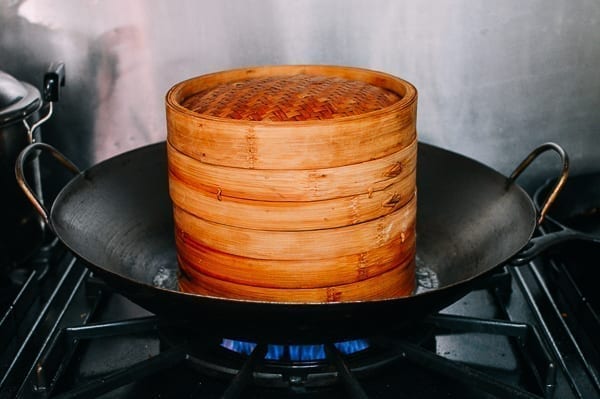
To use a bamboo steamer, simply place it in a wok with enough water to come up the bottom rim of the steamer about a half inch (1.25cm) or so.
This is one of the few downsides of using a bamboo steamer. It’s a little bit less fool-proof.
The bamboo steamer must sit in water at all times to prevent the bottom rim from getting scorched. However, you can’t overfill the water. Then it might touch the bottom of the inside bed of the steamer and the food on top of it.
This means you have to keep an eye on it. Keep adding boiling water as needed as the water in the wok evaporates. This can be a little bit troublesome for long steaming processes.
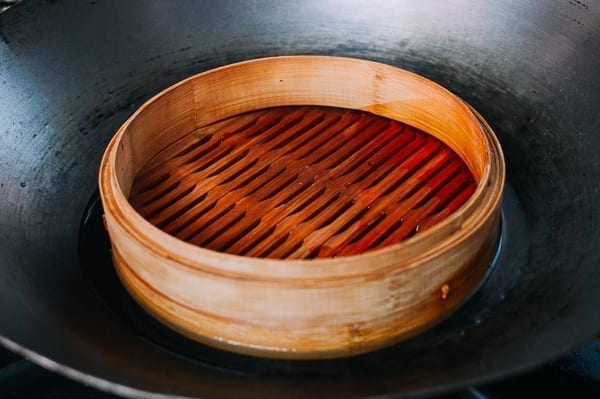
However, if you have both a stainless steel steamer AND a bamboo steamer, you can remedy this issue if your bamboo steamer can fit in the bottom tier of the stainless steel steamer.
Either line the steamer racks, or place shallow dishes with food on them inside, as long as there is enough clearance for the steam to come up through the bottom and circulate around the dish.
(That’s the only other downside I can think of. You’re limited by the size of the steamer itself. In China, though, they make huge ones!)
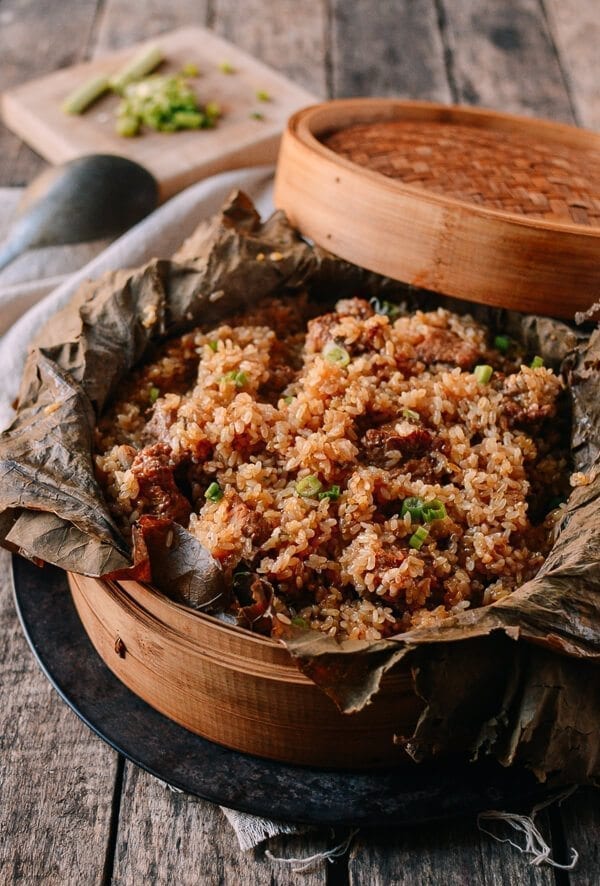
You can buy bamboo steamers in all kinds of sizes, but I find that a 10-inch steamer is most practical for home use.
More about bamboo steamers!
To learn more about care and maintenance, check out our Full Guide on Bamboo Steamers.
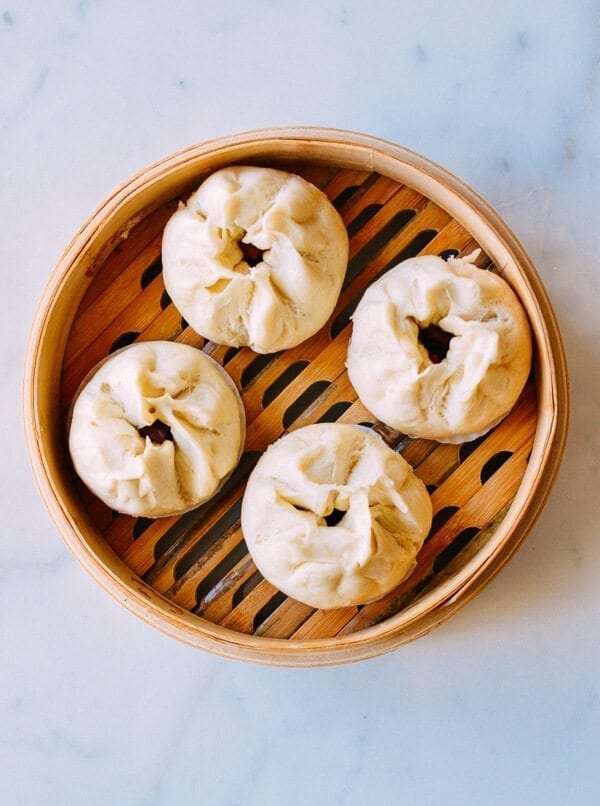
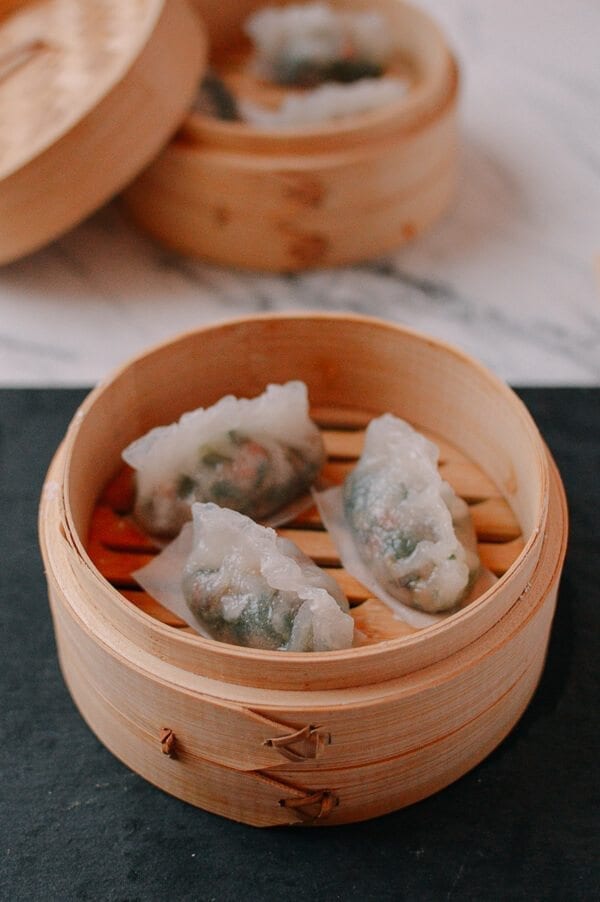
Some Final Notes on How to Steam Food
Some people like to use metal steamer baskets to steam food. While this type of steamer basket may be great for steaming loose vegetables like broccoli florets, it’s not as versatile as the other setups I talked about above, which is why it didn’t make the list. I do own one of these, but I rarely use it!
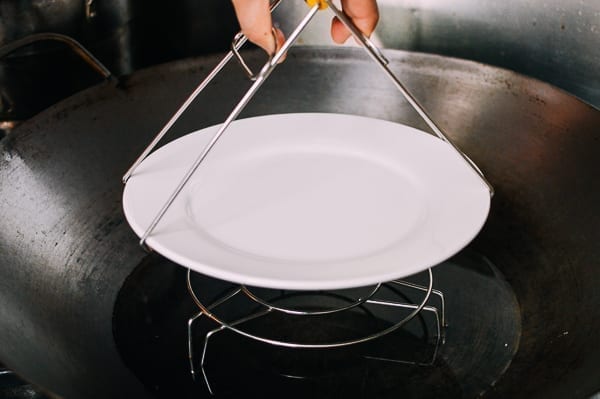
A key tool for any of the steamer setups above, however, is a plate gripper like this one. It resembles a pair of tongs, allowing you to grab the rim of a hot plate to remove it safely from the steamer. It also allows you to lift the plate straight out, without having to angle the plate or jostle the food.*
Note that if your steaming dish has sloped sides with no graspable rim, you won’t be able to use this tool with it.
*Food may slip off the plate if you attempt it any other way! Bill once steamed a plate of fish and tofu. He turned around too fast while holding it, and everything went flying onto the floor!
- In any steaming situation, there will be boiling or simmering water involved. The water level is very important to pay attention to. When the water boils, it will bubble upwards. Always make sure your food is raised up enough so the bubbling water can’t touch the food. Likewise, be careful not to use too little water, or it can evaporate completely before the food is done steaming. This will scorch the bottom of your pot or steamer. If a recipe calls for 1 hour of steaming, you‘ll need at least 3 to 4 inches of water. (Though it ultimately depends on how high your cooking heat is and how fast the water is evaporating.)
- When adding water during steaming, use boiling water to keep the water temperature consistent. Cold water will interrupt the cooking process.
Safety first!
Remember, when steaming anything, that hot steam is extremely hot and can be dangerous. Be very careful when opening the lid of any steamer, as the hot steam escaping can burn your skin. Also be careful when removing anything from the steamer.
That’s it! Three simple methods to steam food. Any other questions on steaming technique? Let us know in the comments!
How to Steam Food: 3 Ways to Set Up a Steamer
Ingredients
Steamer Set-up #1
- A pot or wok with a lid
- A heat-proof dish that can fit inside the wok or pot
- Something to prop up the dish above the water (like a metal steam rack or a clean metal can)
Steamer Set-up #2
- A stainless steel steamer
Steamer Set-up #3
- A bamboo steamer
Instructions
For Steamer Set-up 1: A Pot or Wok with Rack & Heatproof Dish
- Find a pot with a lid that will accommodate the heatproof dish you plan to steam your food in (a wok with a lid is ideal). Place a metal steam rack in the bottom of the wok/pot so that it's at least 2 inches above the water (you'll want more water for longer steaming times). If you don't have a metal steam rack, you can use an empty can with both ends removed. When the water is simmering, place the heatproof dish of food on the rack, cover the wok or pot, and steam.
For Steamer Set-up 2: Metal Steamer
- Fill the bottom of the metal steamer with at least 2 inches of water (or more for longer steaming times). Place food either in a heatproof dish, or if steaming buns/dumplings, line the racks with cabbage leaves, cheesecloth, or paper steamer liners to cook the buns/dumplings directly on the racks without them sticking. Bring the water to a simmer, cover, and steam. To prevent condensation from dripping onto the food below, you can tie a thin kitchen towel around the lid (so that cloth is on the inside of the lid to catch any condensation), tying any loose edges so they're not in danger of coming in contact with your heat source.
For Steamer Set-up 3: Bamboo Steamer
- Place the bamboo steamer in your wok with enough water to come up the bottom rim of the steamer by 1/2-inch (1.25cm). You can either place shallow heatproof dishes inside the steamer racks, or line the racks with cabbage leaves, cheesecloth, or paper steamer liners to steam buns or dumplings. Bring the water to a simmer, and cover the bamboo steamer with its bamboo lid (there's no need for any additional cover).
