Now that we’ve officially moved from spring into summer, we’re recapping our spring season at The Woks of Life working mini farm—which is what we’ve decided to call this alpaca/chicken/duck/vegetable/fruit/honeybee endeavor.
My dad came up with the term, which seems to encapsulate all that it is:
- WORK. A lot of it.
- A little bit of everything at a small scale.
- A place that produces things—vegetables, fruit, honey, fiber, firewood, eggs, and flowers.
There have been many developments since last spring, including more trees planted, bee hives added (originally two hives, it has since ballooned to four—more on that later), alpaca lessons learned, and a garden that really hit the ground running!
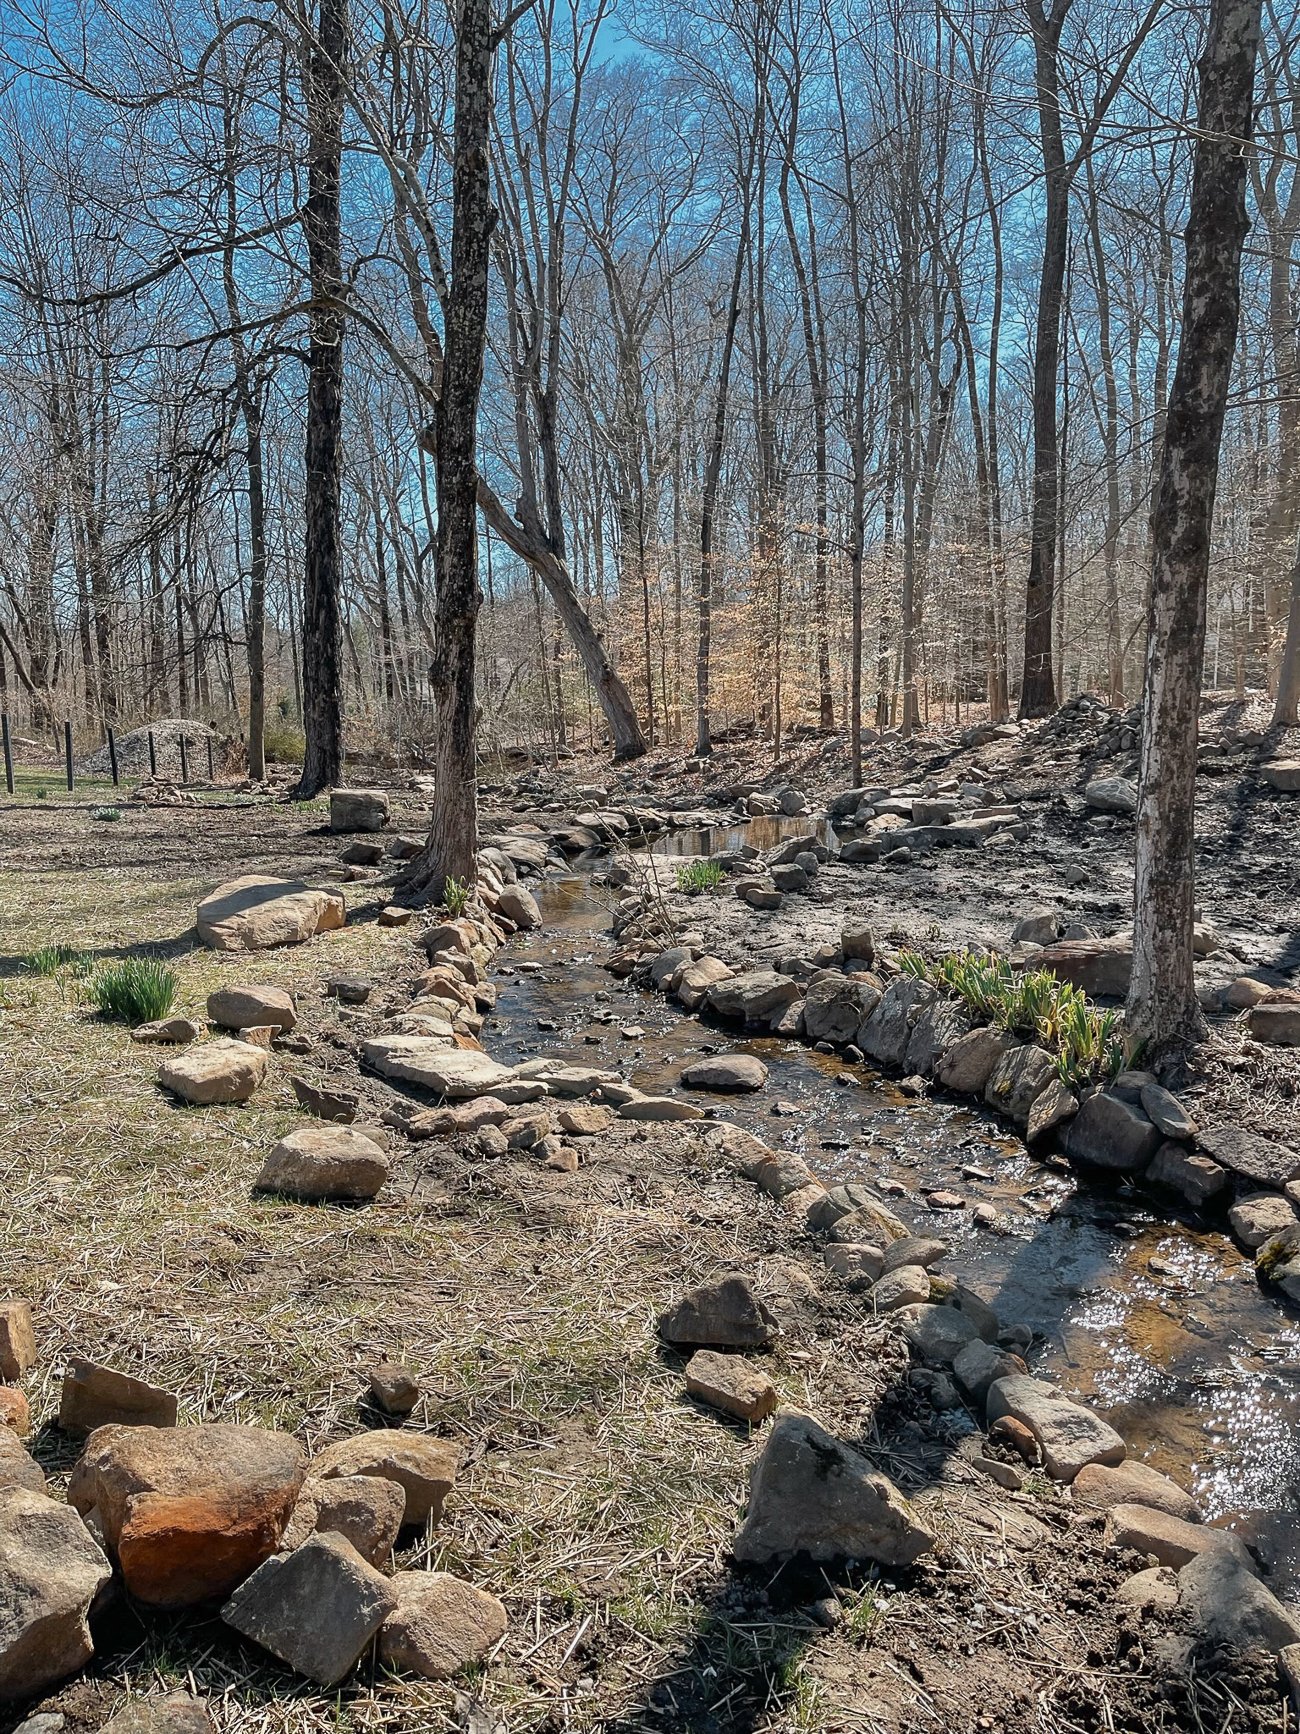
While last year, we were hustling all spring to clear weeds, clean up beds, raise chicks and ducklings, build a duck house, dig drainage, fix retaining walls, and generally get the farm back up to working order, we were able to focus more this year on planting, new projects, and new additions.
Since moving in at the end of September 2021, we’ve already learned a ton. Let’s take a look back at this time of renewal, reflect on our wins, and start looking ahead to the summertime season!
Wait, How are You Doing All of This???
Good question.
It may seem odd that in addition to running a family recipe blog and publishing a cookbook, we’ve decided to add beekeeping and fruit tree maintenance to our plate, but it’s been a much-needed source of new inspiration.
Since all four of us are now working on The Woks of Life full time, we’re focusing our effort on not just keeping it running, but also thinking about new ideas for the future.
Don’t worry, we’ll keep the recipes coming! We’re also working on publishing more videos to our YouTube channel (subscribe if you haven’t already) and a continuing series on How to Grow Chinese Vegetables. Exciting stuff!
Before we get into it, please enjoy this visual depiction of the transition from winter to spring:
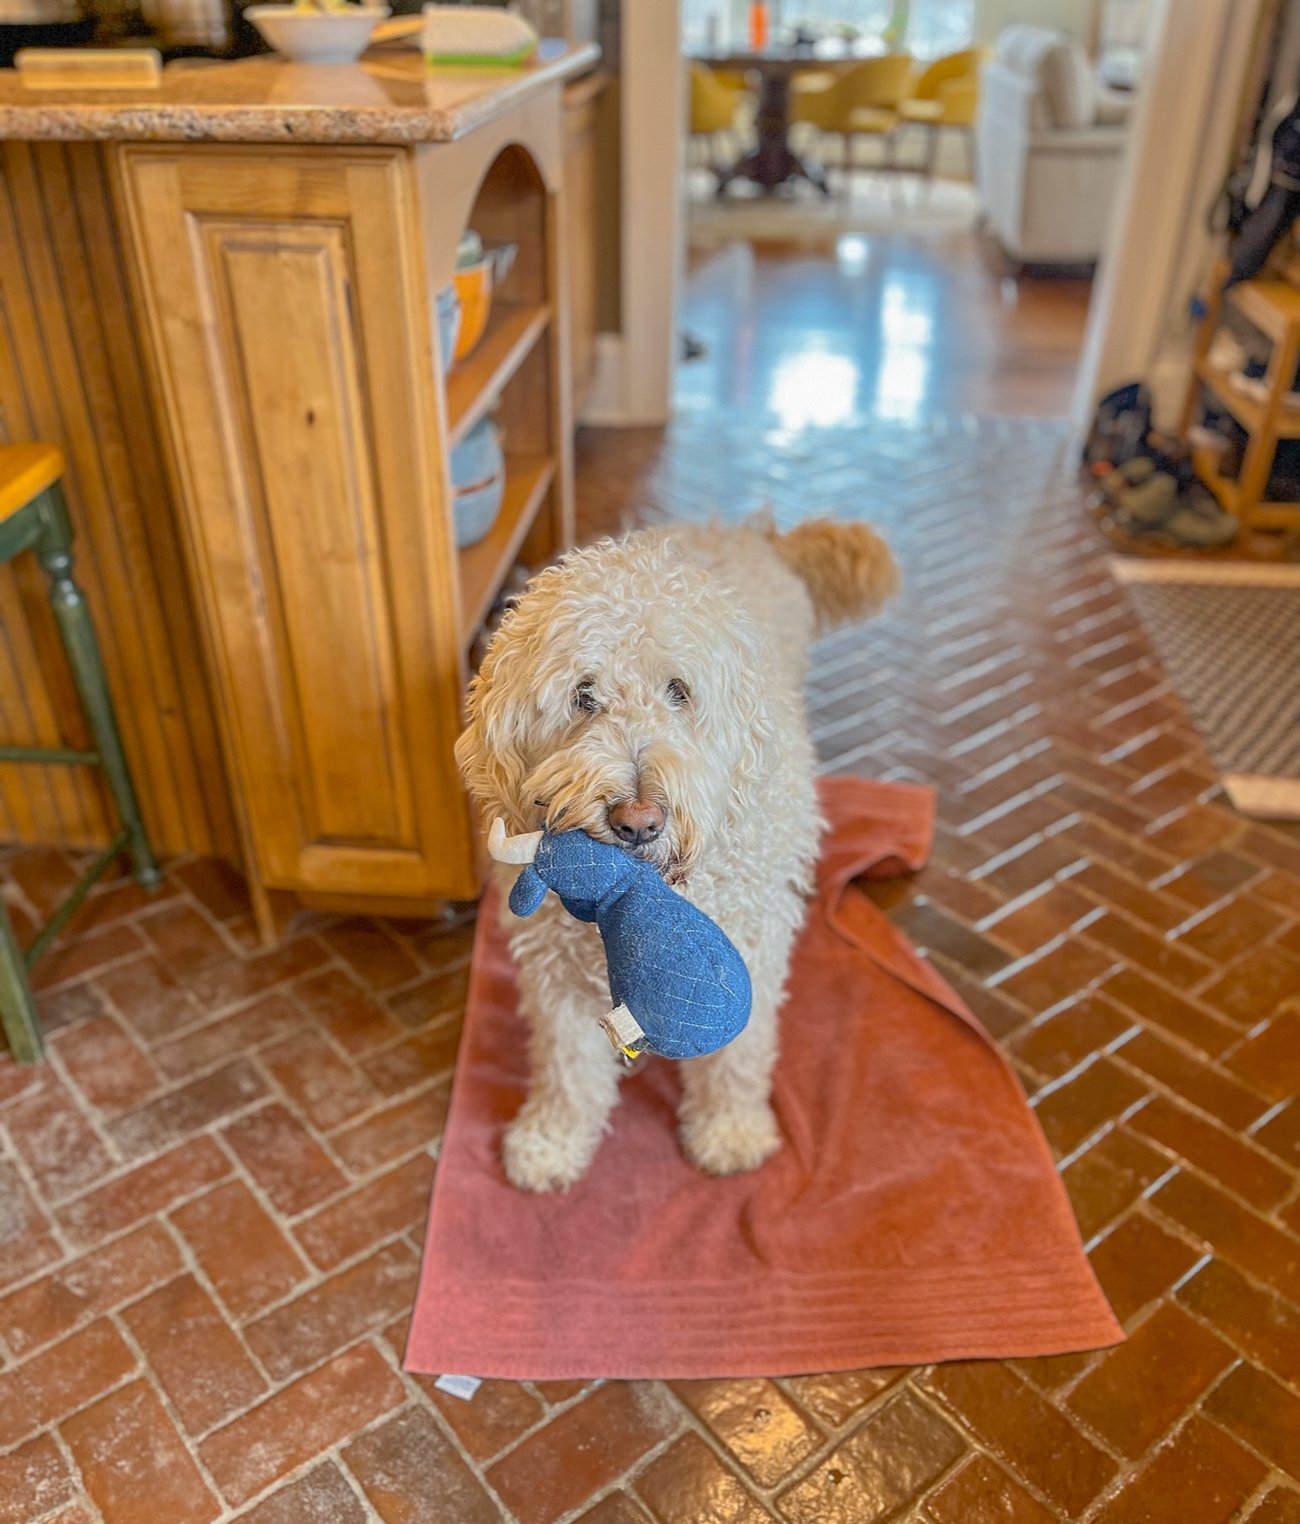

Fluffy winter Barley the Goldendoodle becomes Spring Barley (who was in occasional need of a blanket.)
Watch our full garden tour vlog here:
The Vegetable Garden
This is probably the area that we all may be proudest of, or at least take the most joy in!
Last spring, we encountered a garden that was filled with 5-foot tall weeds, snakes, mugwort roots, stinging nettles, wild mint, and rotting wood:
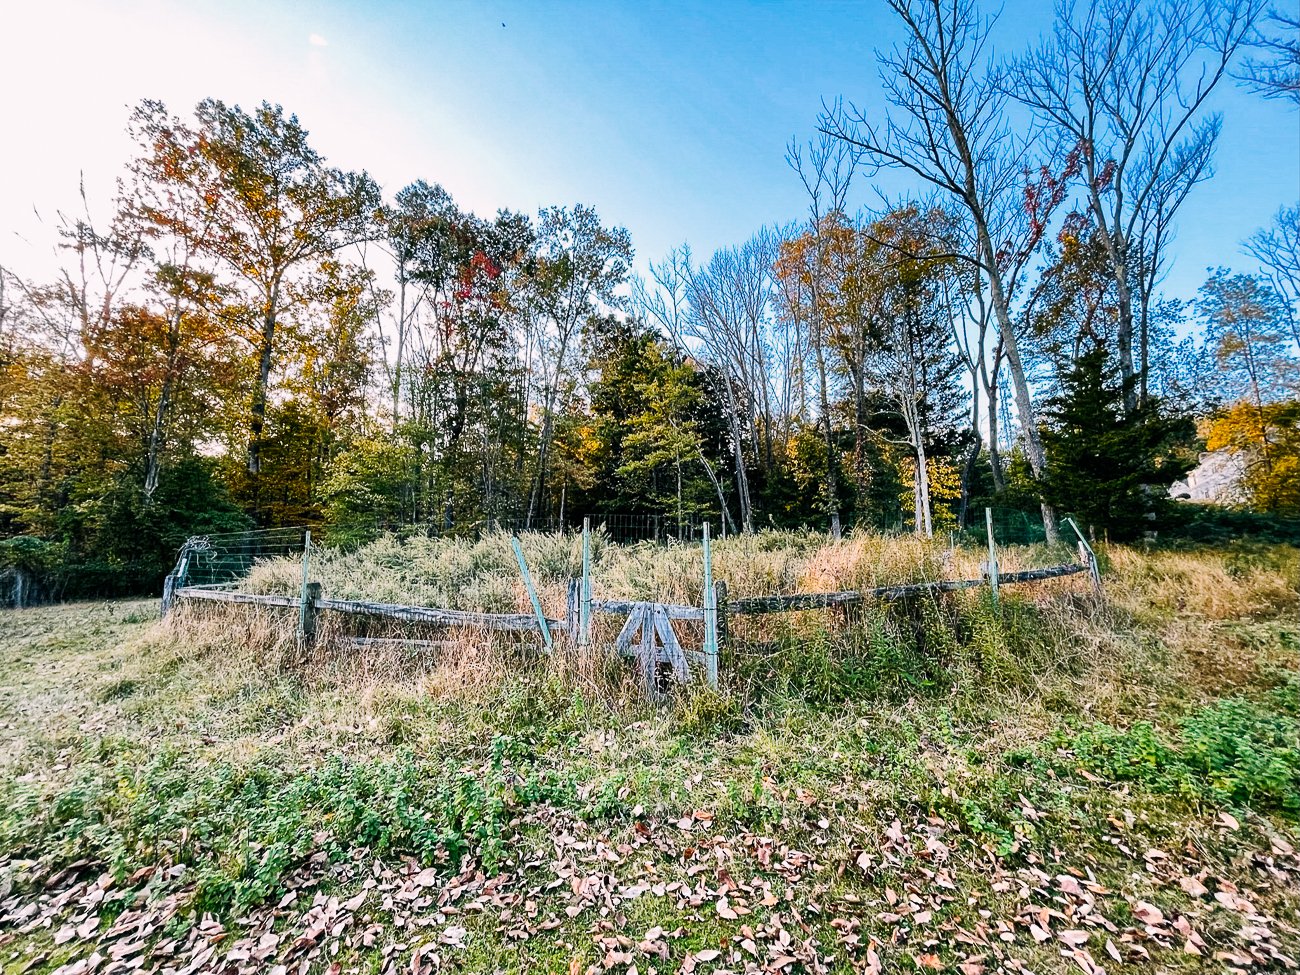
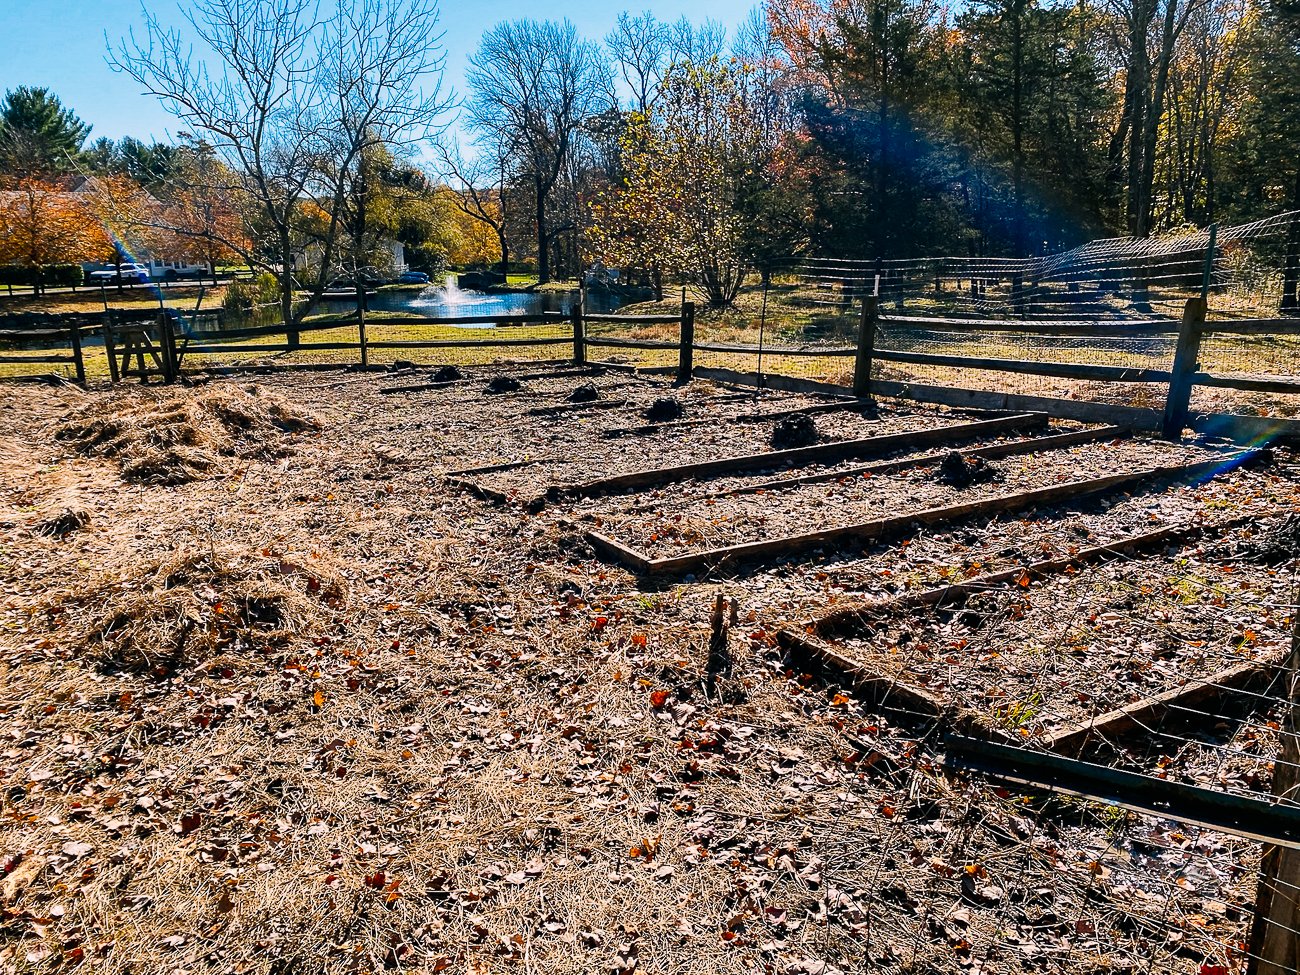
Much of the credit goes to my dad for turning this wild patch of earth into a usable space, as he would spend up to four hours at a time cleaning up a SINGLE bed (there are 16 beds total), pulling weeds and digging out every scrap of mugwort root he could.
Fun Fact!
Mugwort, a medicinal yet invasive plant from Europe and East Asia, can regenerate from rhizome fragments as small as 2 cm! They’re your basic garden nightmare. More mugwort info here.
It’s not all bad, though. Burning it can deter mosquitoes, and it’s long been used in China to make a spring treat called Qingtuan, or Mugwort Mochi.
We did end up getting the garden going last year, and it produced tons of food throughout the season. However, we didn’t really have a planting plan and kind of threw things in the ground as space became available.
This February, I made that plan, keeping in mind what we had in each bed last year, rotating crops, and pairing suitable companion plants to make sure everything fit.
Here’s a copy of it:
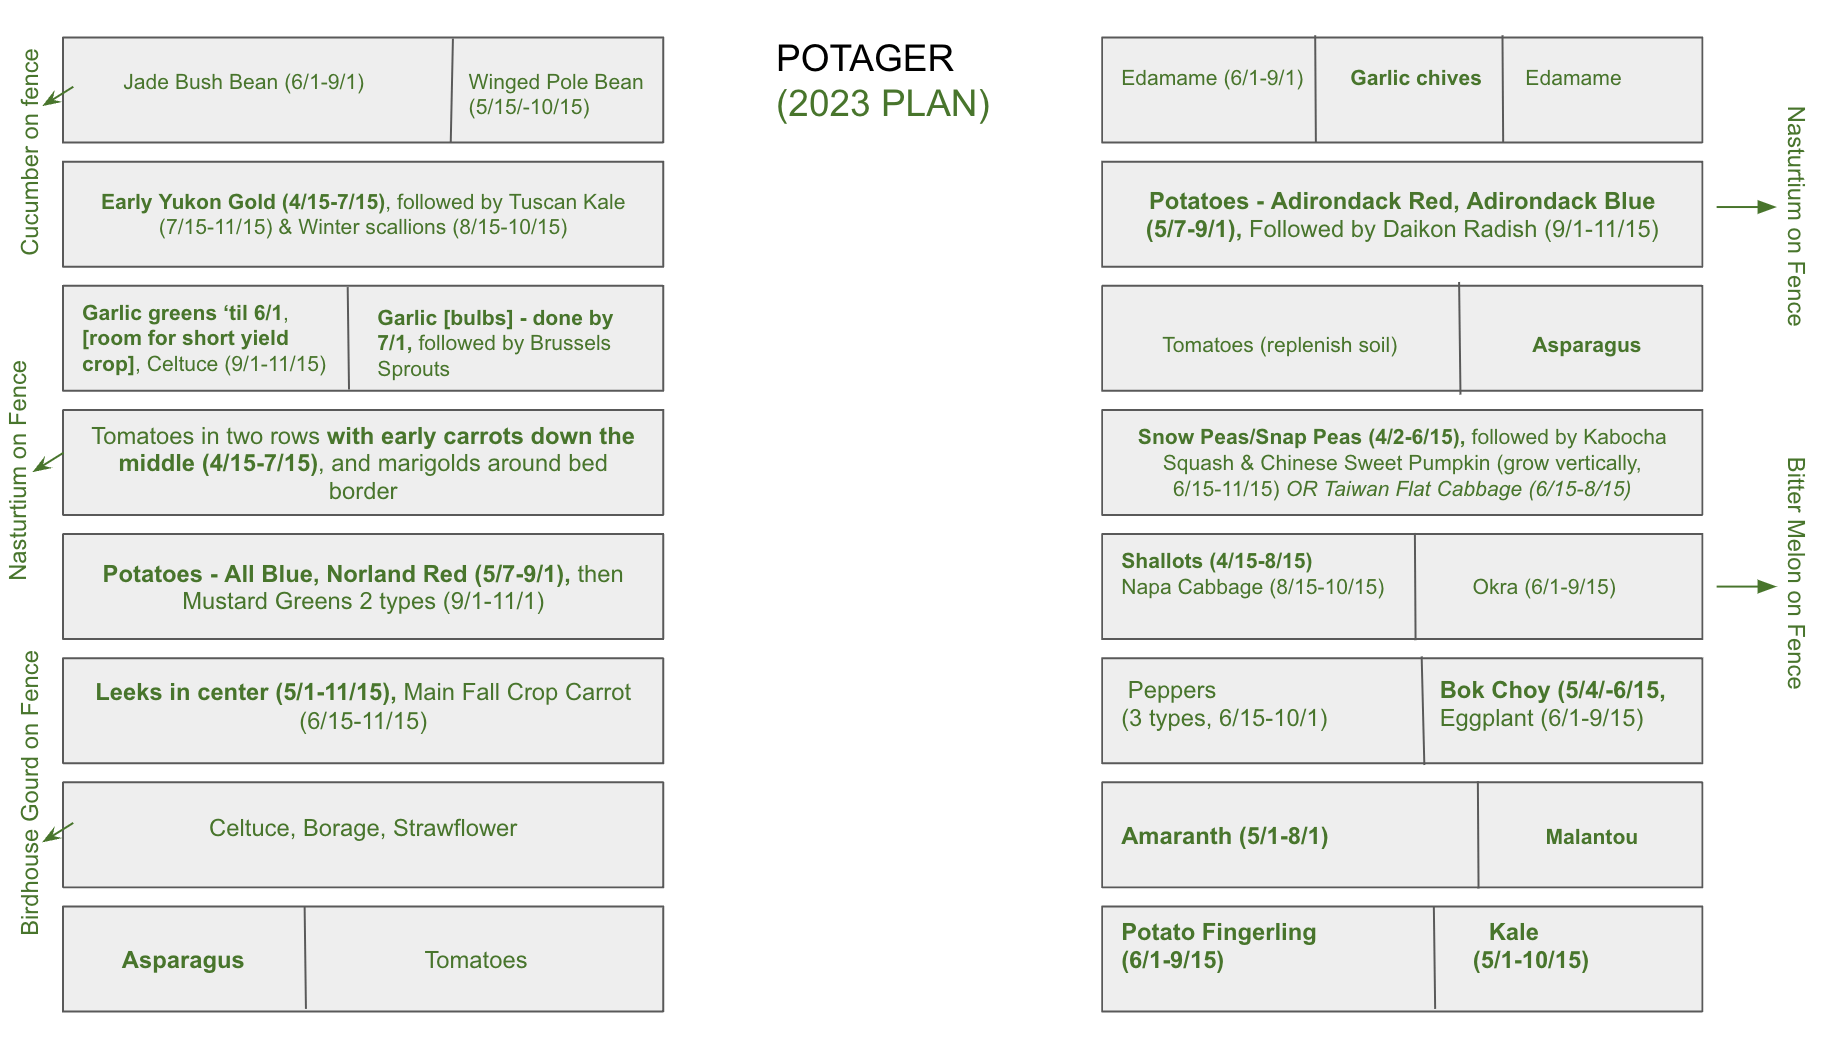
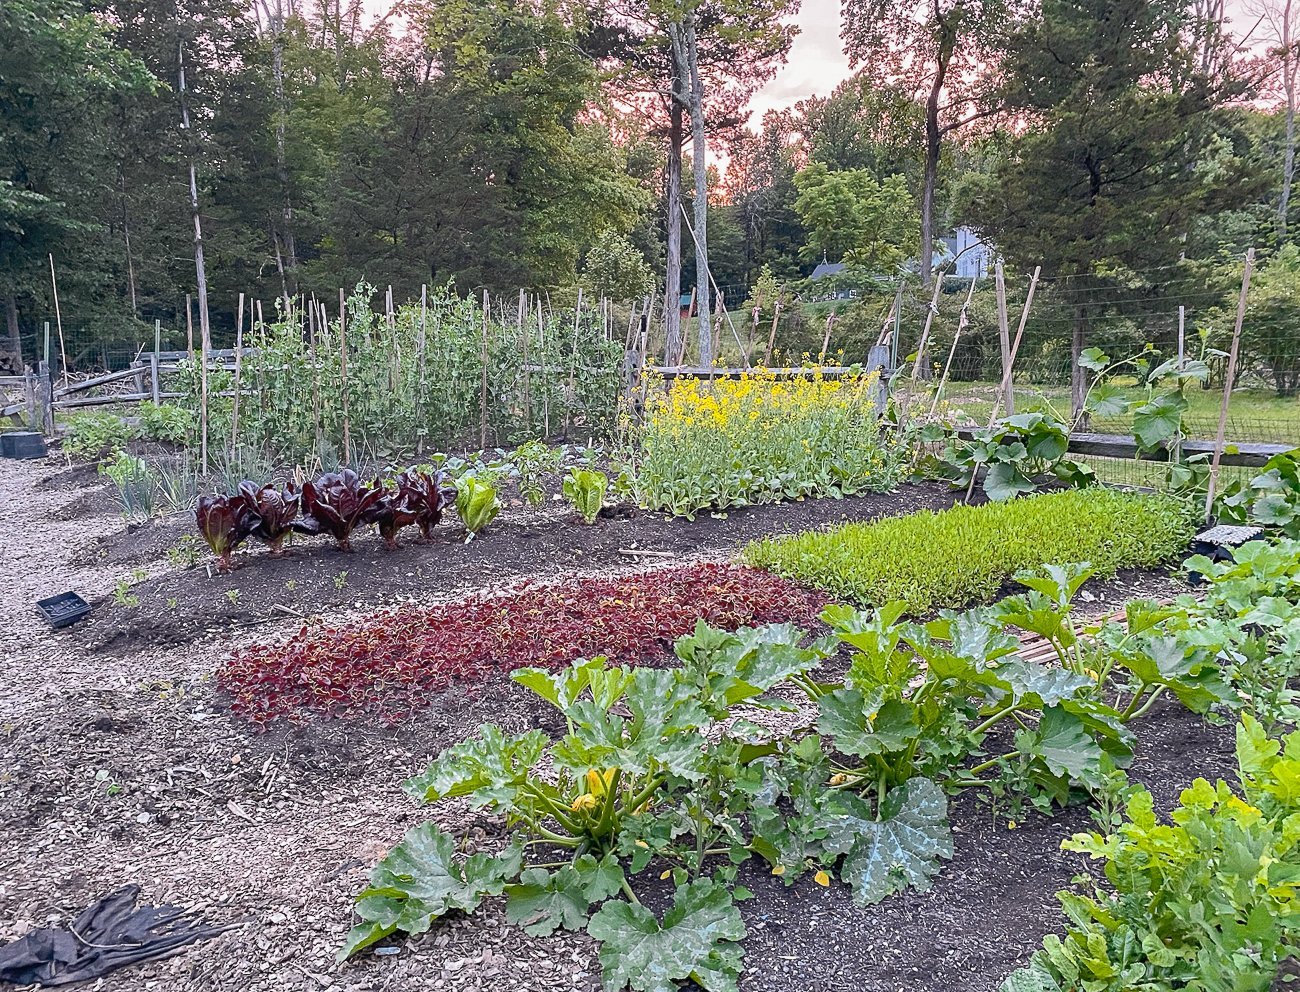
We had a lot more varieties that we wanted to grow this year, so while we initially laid eyes on the garden and thought, “THIS IS A HUGE SPACE!” we’re now like, “WHEN CAN WE MAKE IT BIGGER?!”
Here’s a photo of the garden from a few days ago:
Embracing The No-Dig Method
In addition to this more optimized planning process, we’ve also embarked on a No-Dig approach to gardening, inspired by the YouTube videos and writings of one British market gardener, Charles Dowding.
Basically, the concept is this: Traditional tilling methods destroy natural soil structures and bring weed seeds to the surface to germinate, which no one wants! By leaving soil undisturbed and feeding it with a couple inches of compost once a year, you can reduce weeds, grow robust crops, and keep your soil healthy.
In short, this method lets nature do much of the work, with less manual digging and weeding overall.
THE VERDICT: It’s been a MAJOR success!
After my dad did all the work of hand-pulling weeds and digging up the beds ONCE last year to remove perennial weed roots, we decided that we would follow this method going forward.
In mid-November of last year, i.e. the end of the growing season, I covered the beds with scrap weed block fabric, which my dad found in the garden. They’d been buried in amongst the weeds for years and were no longer effective as weed block below ground, so we used them for the top of the beds.
We covered the fabric with a layer of wood chips to: 1) keep it in place and 2) further block out light. (We still have a HUGE pile of wood chips on the property from the trees we had to take down last year.)
The beds rested this way over winter, and we uncovered them around late March/early April. Rather than neglecting the garden during this somewhat dormant period, as we’re normally wont to do, we went up there to periodically pull the tiny emerging weeds early in the season, before any of them had a chance to flower and set seed.
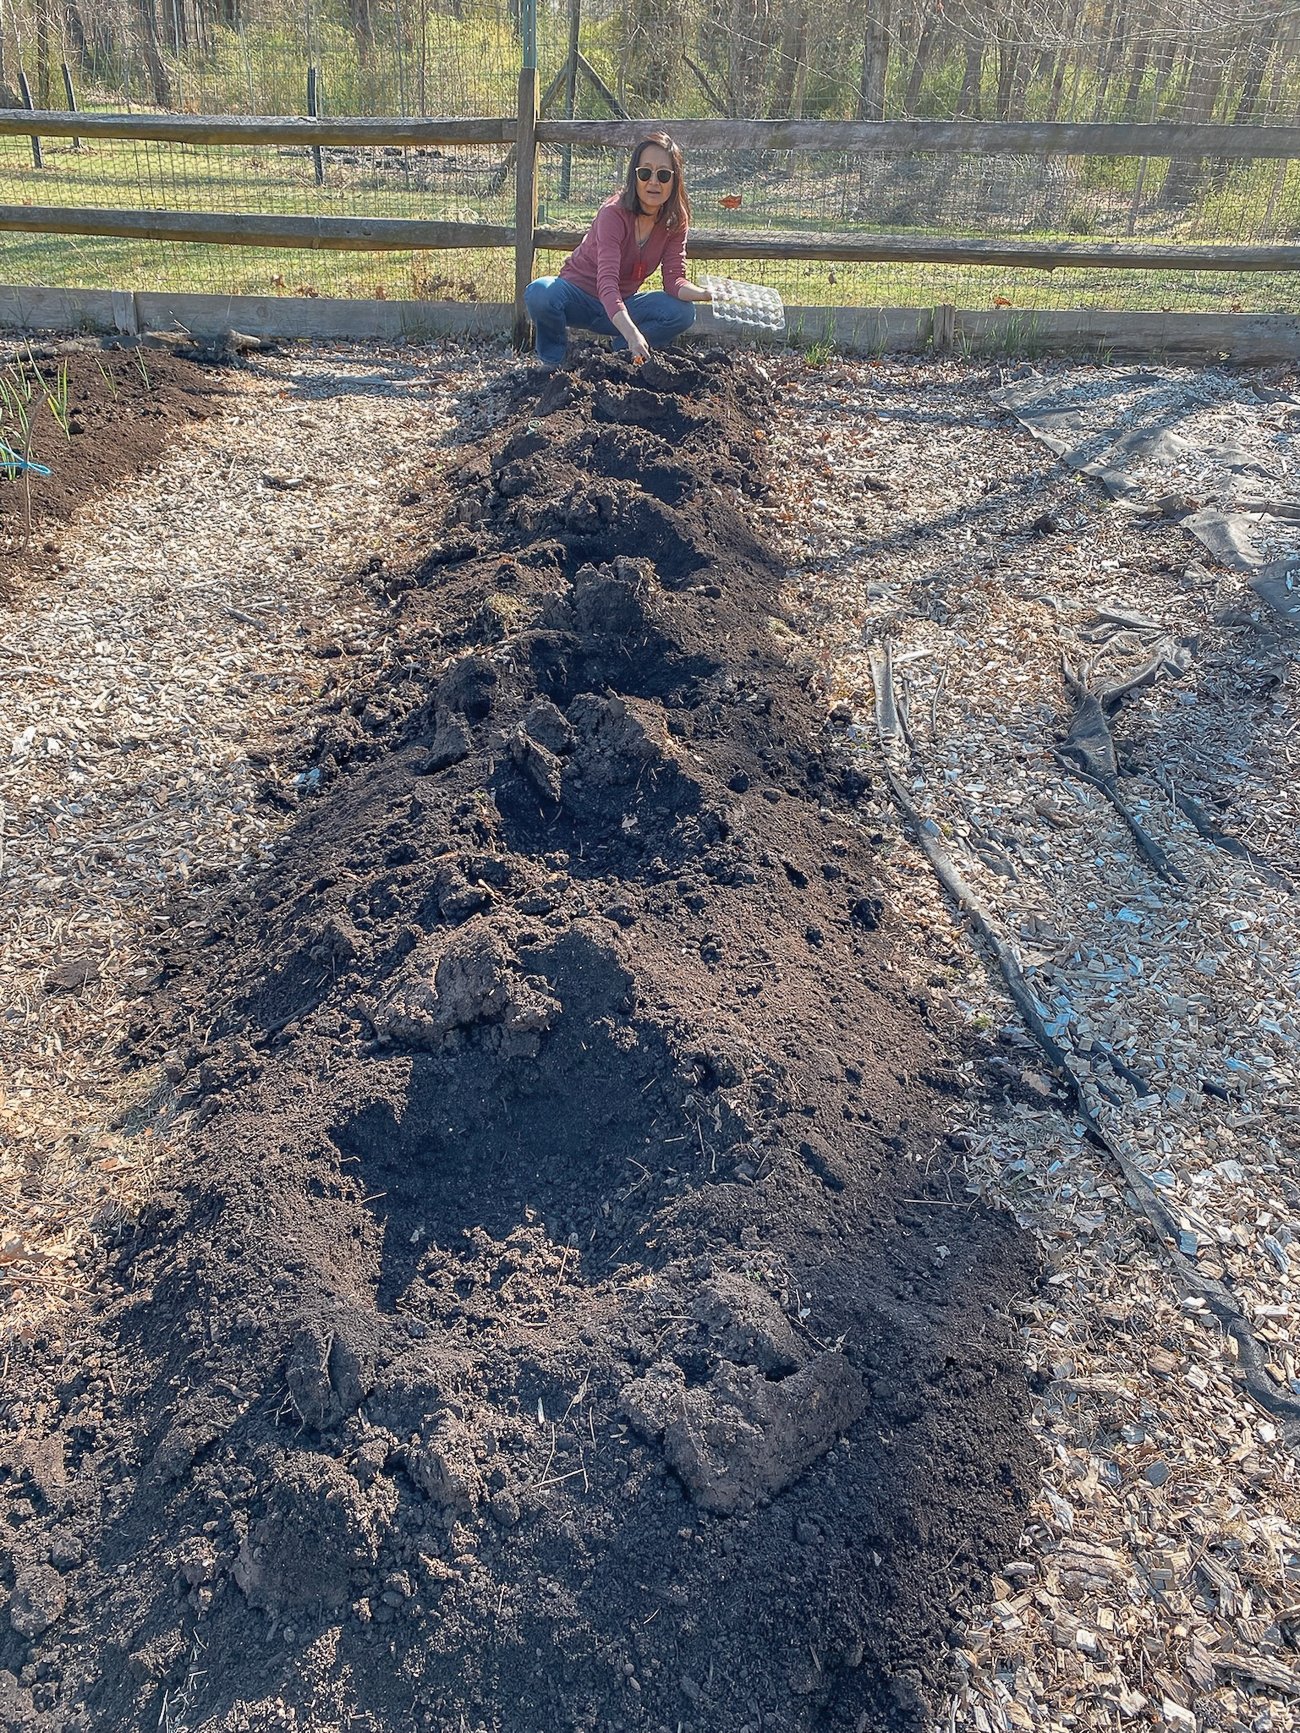
We then added a 3-inch layer of fresh municipal compost over the top of the beds, and just kept spending 30 minutes here or there scraping off young emerging weeds as they came up.
The result? Just look at this clean bed the shallots are growing in:
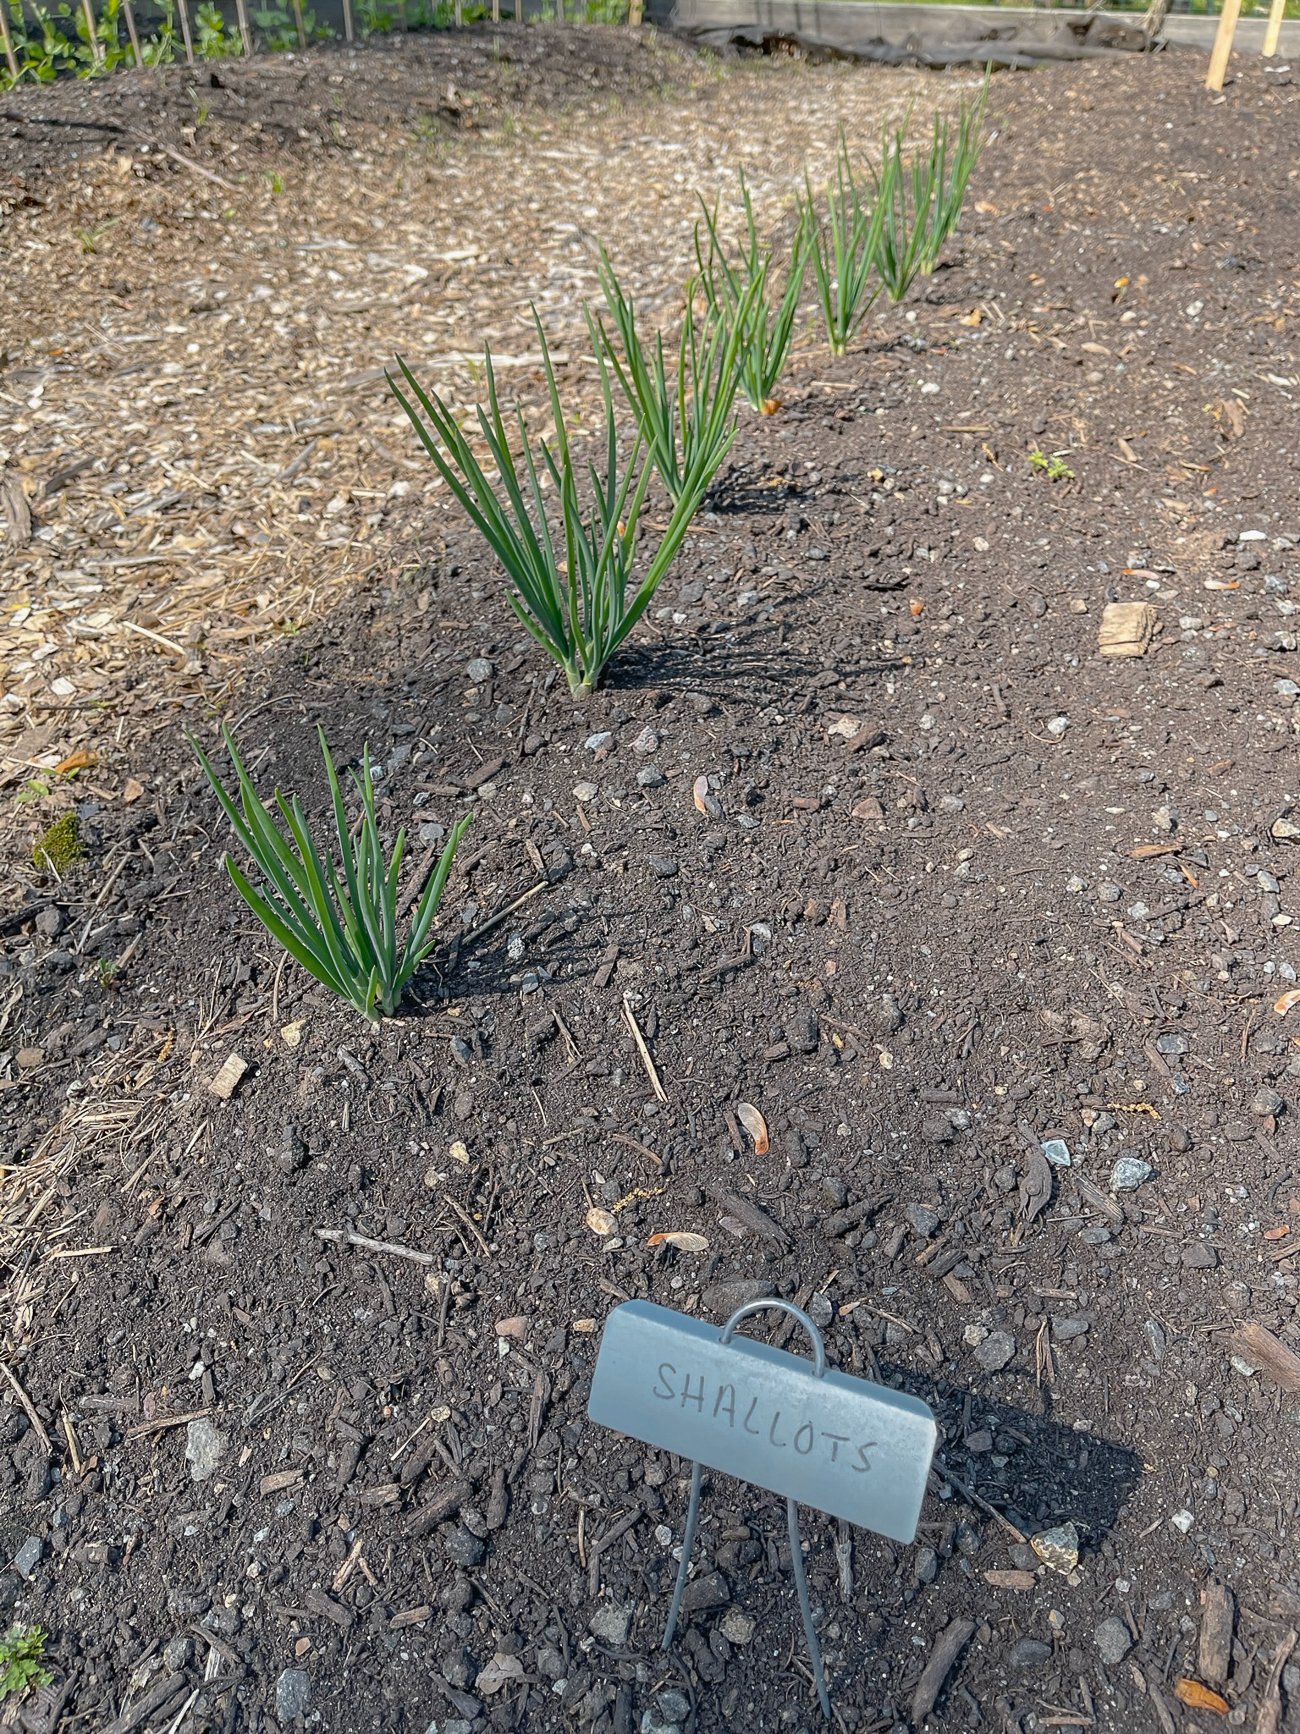
As our vegetables really hit their stride, we can say that we’ve seen a dramatic decrease in weed pressure this year as compared to last year. The concept works, folks!
Grow Lights
One area we had mixed results on was our seed-starting operation. Last year, we grew seeds on heated mats in the house, using a windowsill in our brightest South-facing room for light.
While our seedlings did grow, they were a bit leggy and “soft.” As a result, we decided to move our seedling operation to the garage this year, with the help of grow lights.
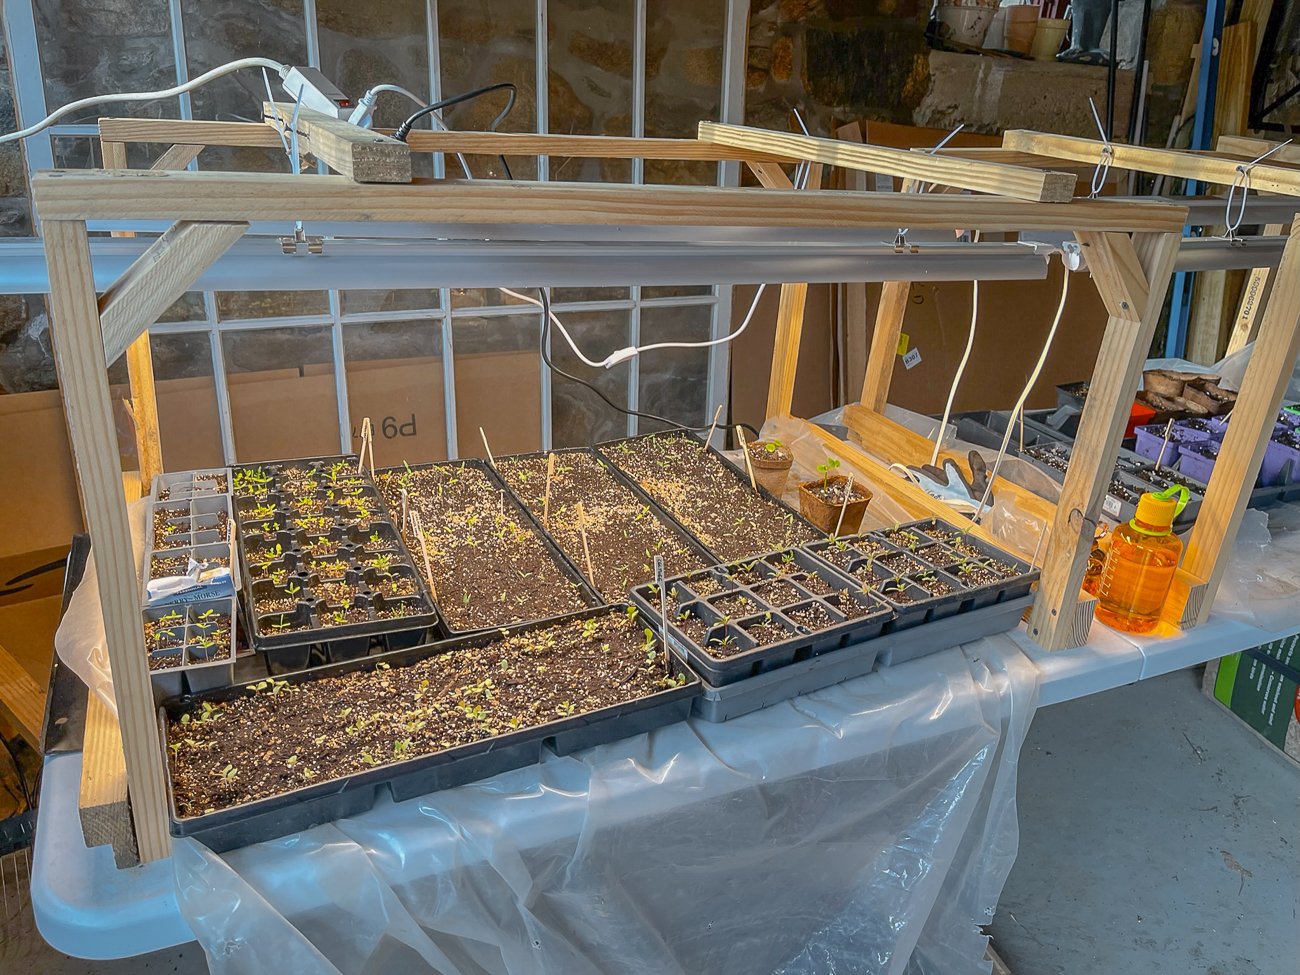
As it turned out, temperatures in the garage, even with the heated mats, were a bit low for germination and strong growth. Many of our seedlings stayed small for a long time, and we’re chalking that up to a cooler than usual spring in the garage.
Next year, we’ll stick with the grow light approach, but will probably move the seedling operation to the basement of the house, where it’s a bit warmer.
That said, we were lucky enough to have neighbors who were much more successful with their seedlings! They provided us with several varieties of tomatoes and cucumbers. We also got some seedlings from Choy Division, who we’re partnering with on our How to Grow Chinese Vegetables series. It was a lifesaver!
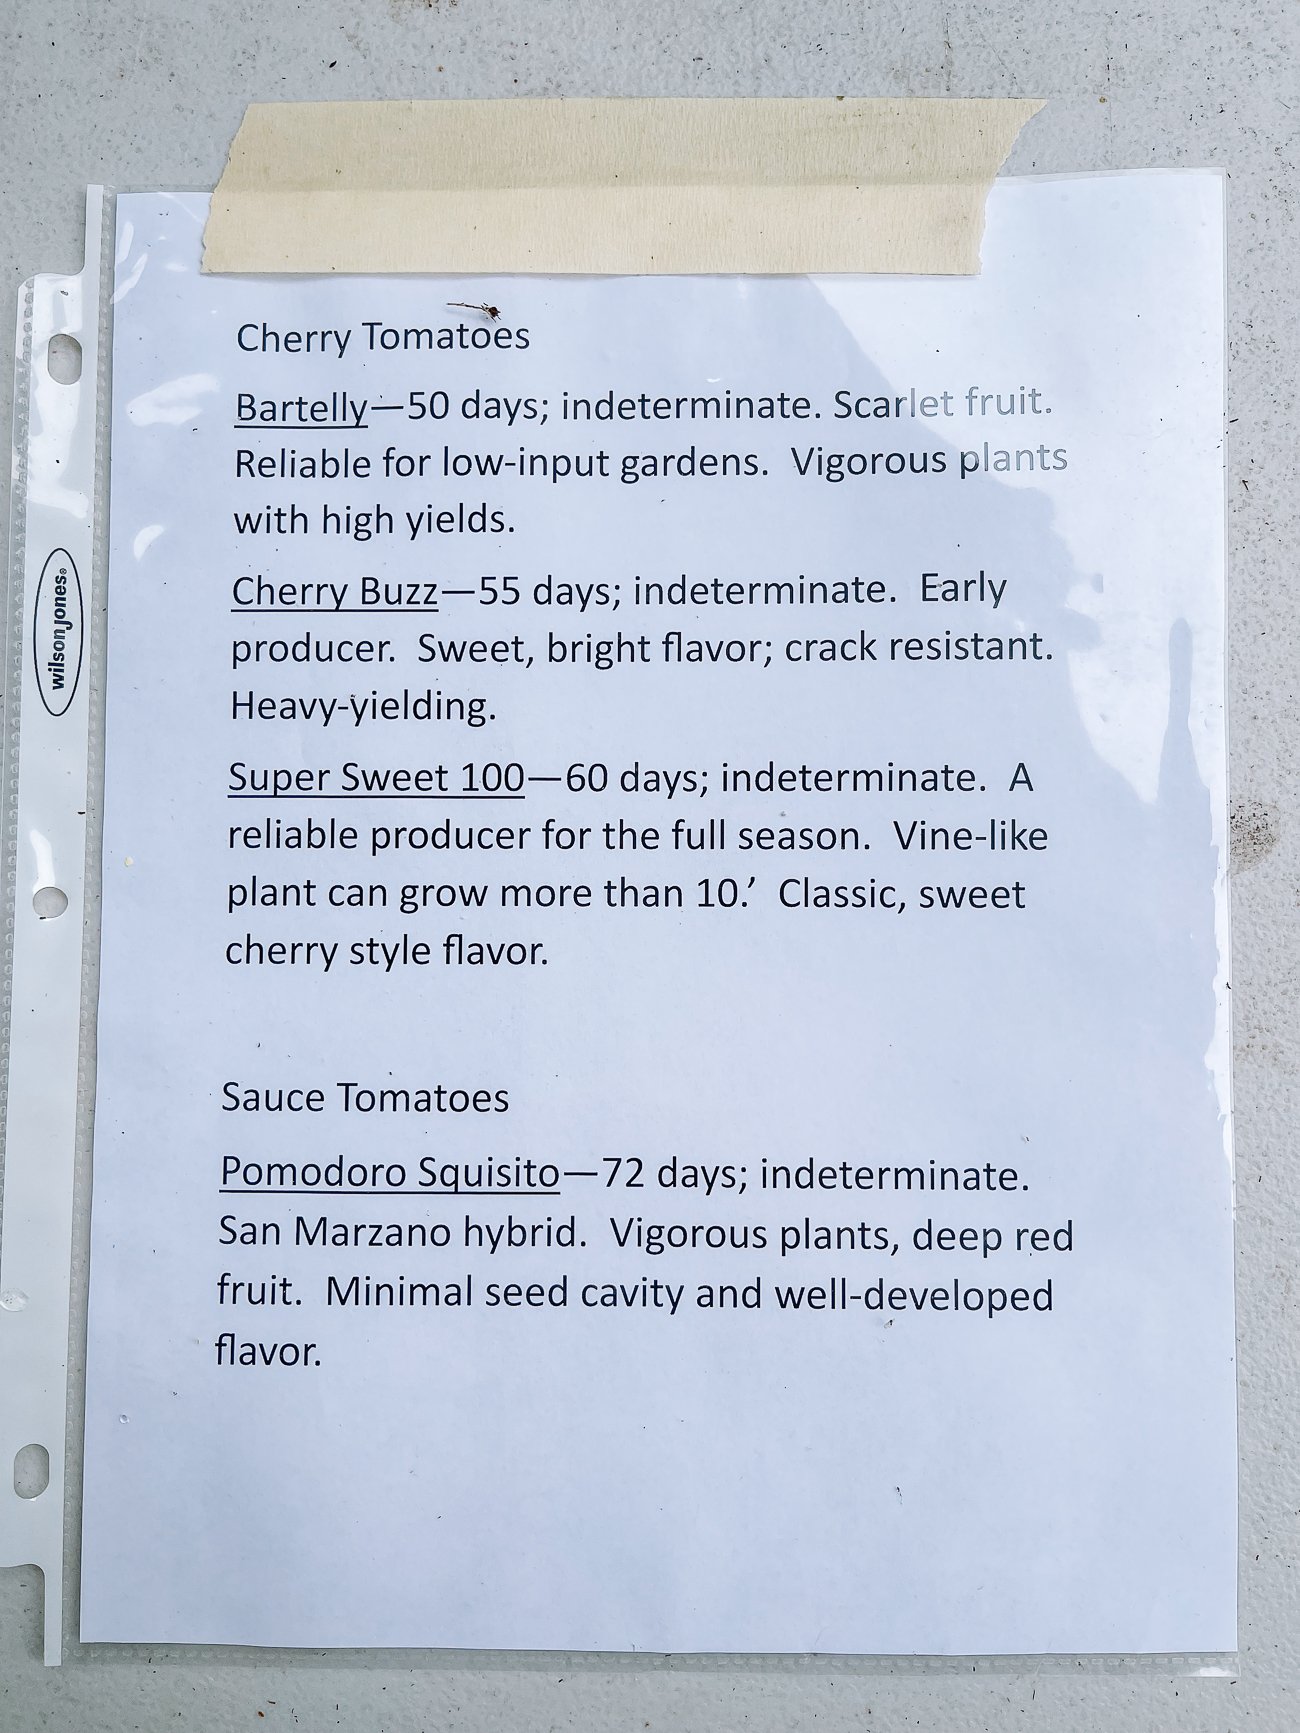
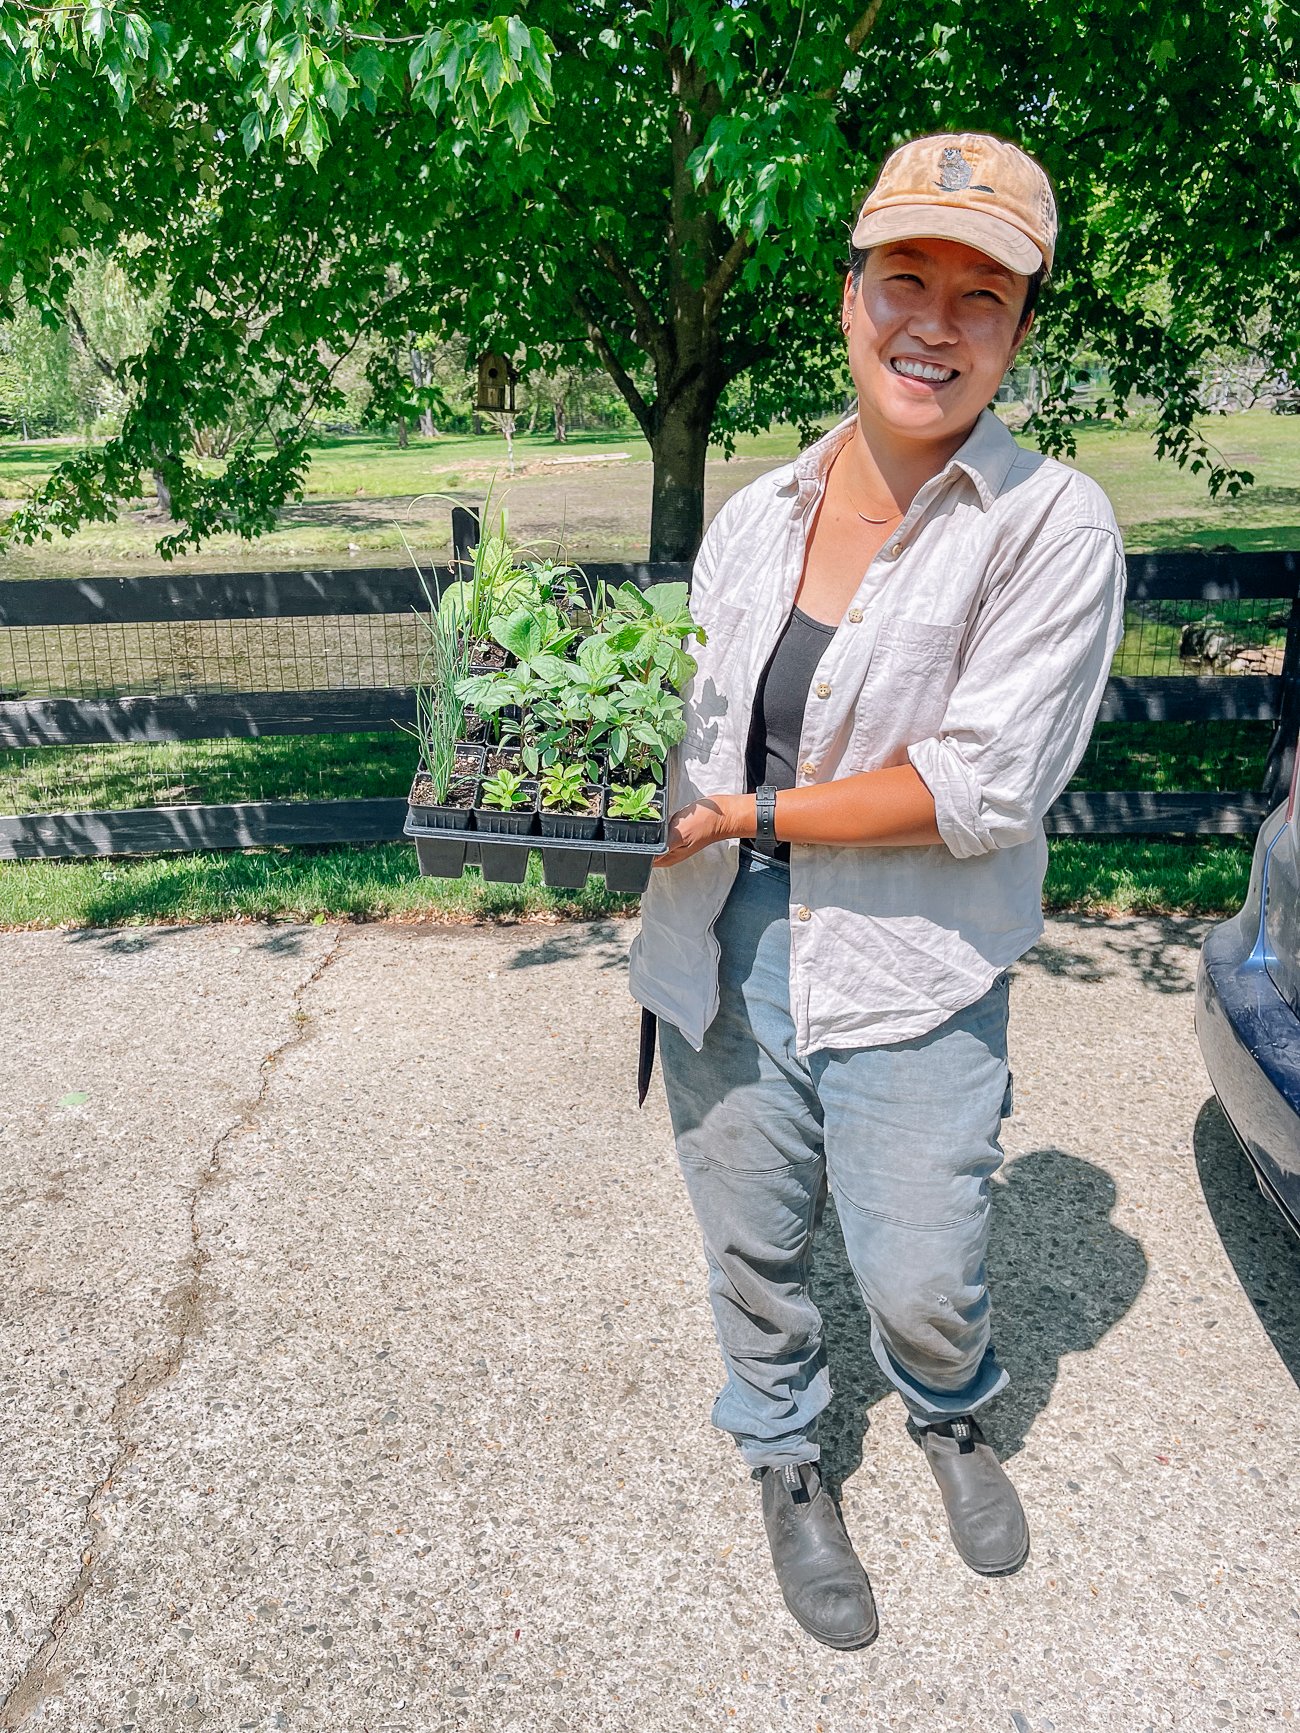
That said, my dad did plant our little stunted seedlings, and they are growing away in the garden currently. We’ll see how they do throughout the summer.
Pest Management Wins!
After moving to this new property, we encountered some new garden pests. Remember the Japanese beetles from last year?
These photos were taken on June 25, 2022:
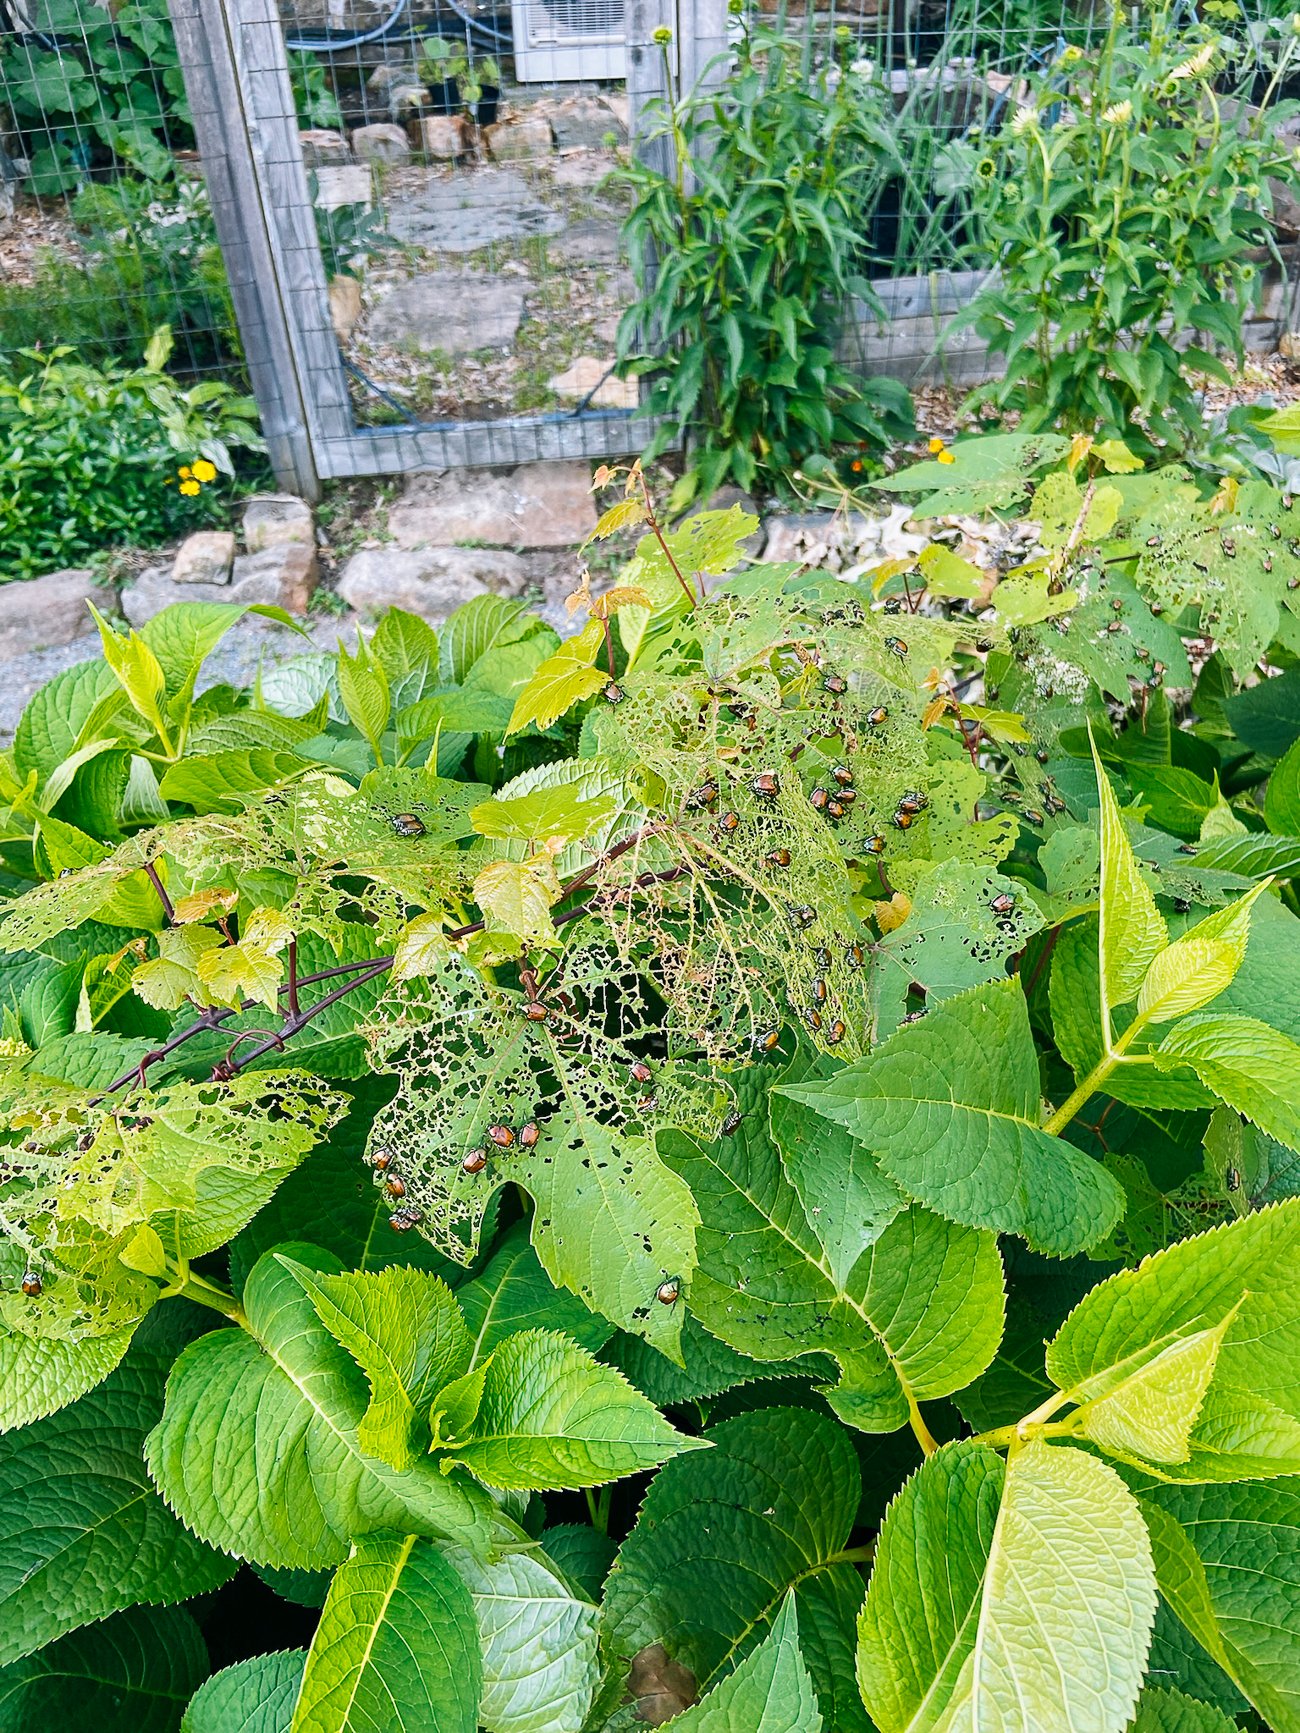
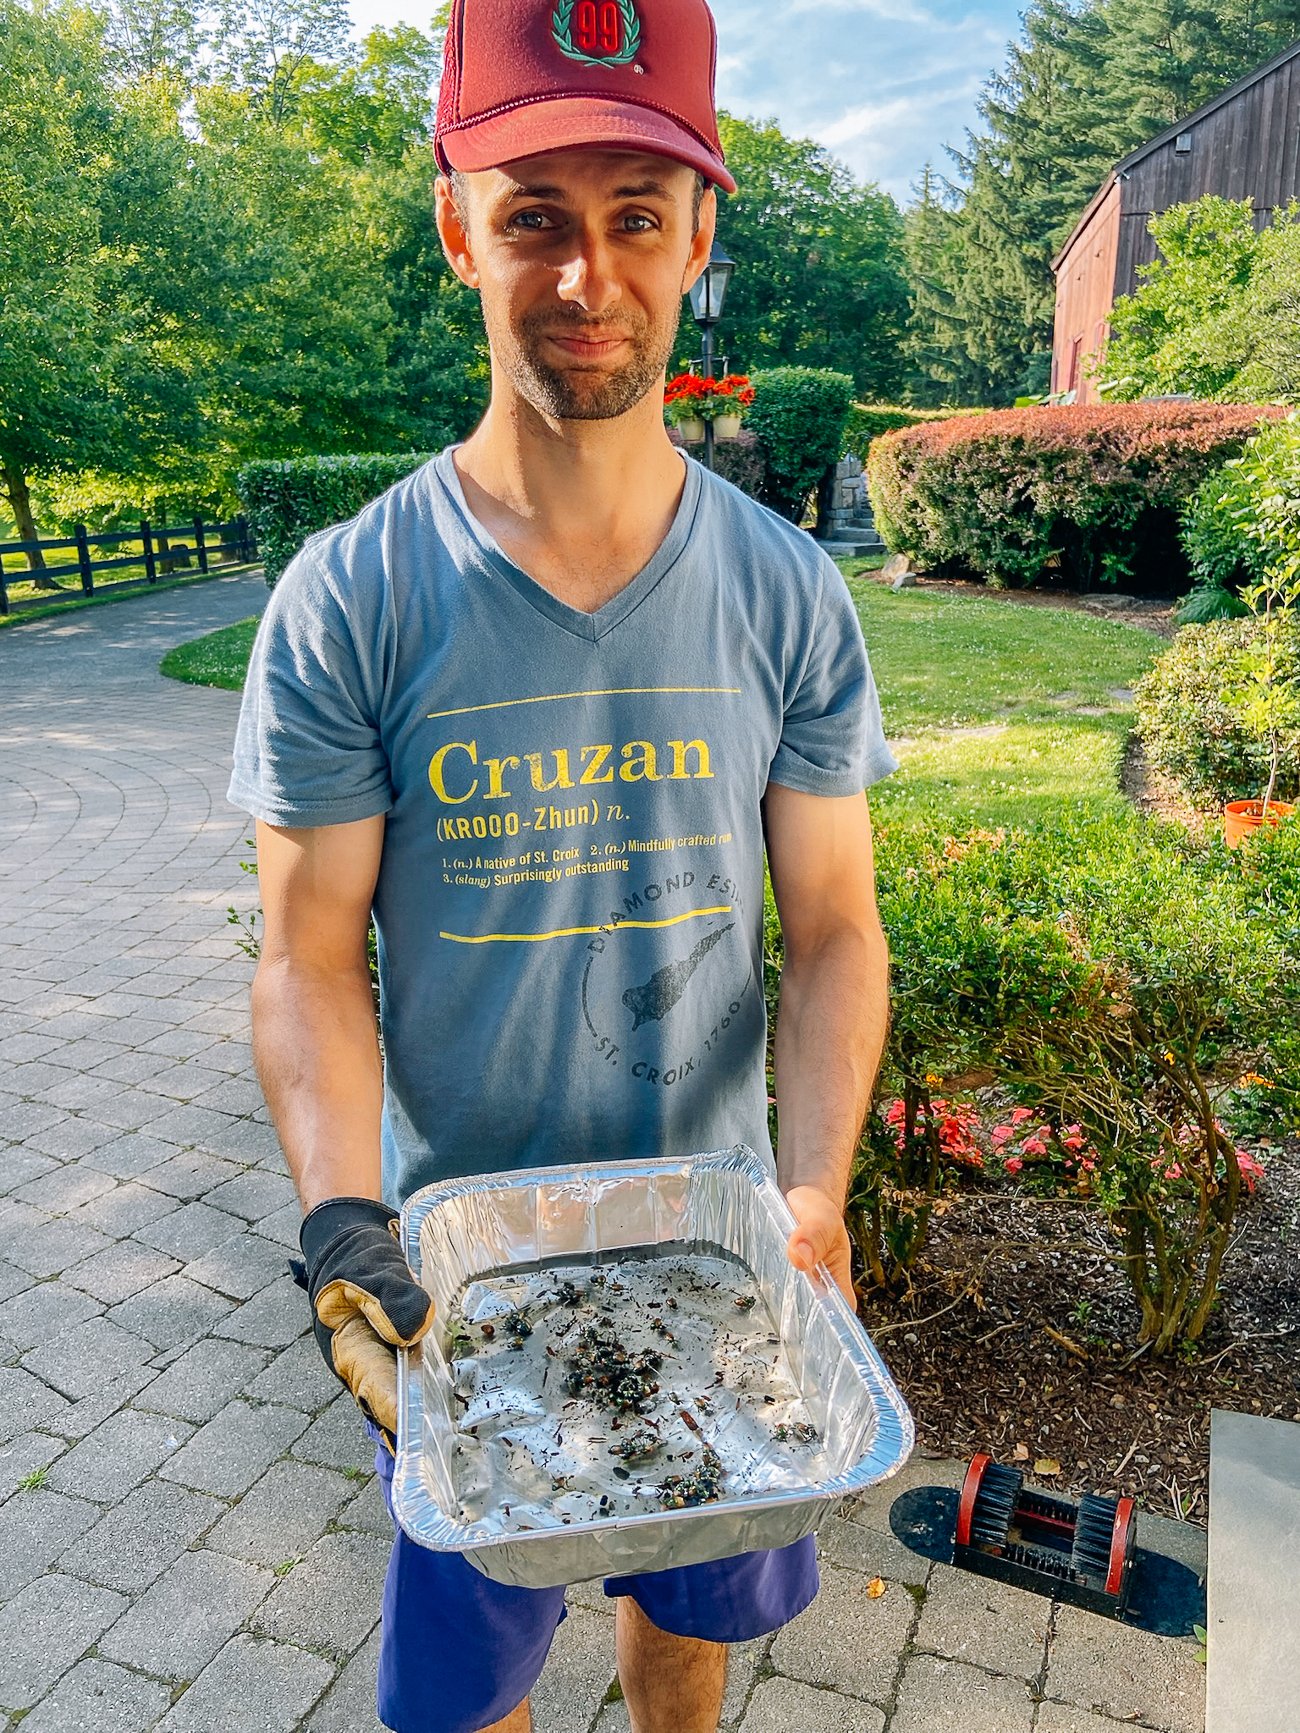
Which means that around this time, we should be seeing them re-emerging and munching on our roses, grape vine, fruit trees, etc. right?
WELL, WE HAVEN’T SEEN ANY!
Last year, I did some research on these invasive beetles and found a natural fungus called milky spore, which you can treat your lawn with (it comes in a white powder, and you literally walk along your lawn, spreading it).
Milky spore isn’t harmful to other insects, pets, or plants. However, it does get rid of the beetle larvae in the ground and keeps controlling said larvae for up to 10 years.
I’m not ready to officially call this one a win. We’ll keep an eye out for these bugs in the coming weeks, but things are looking much better on this front.
Another critter we dealt with a lot last year was slugs. We did find that this natural method of controlling them helped:
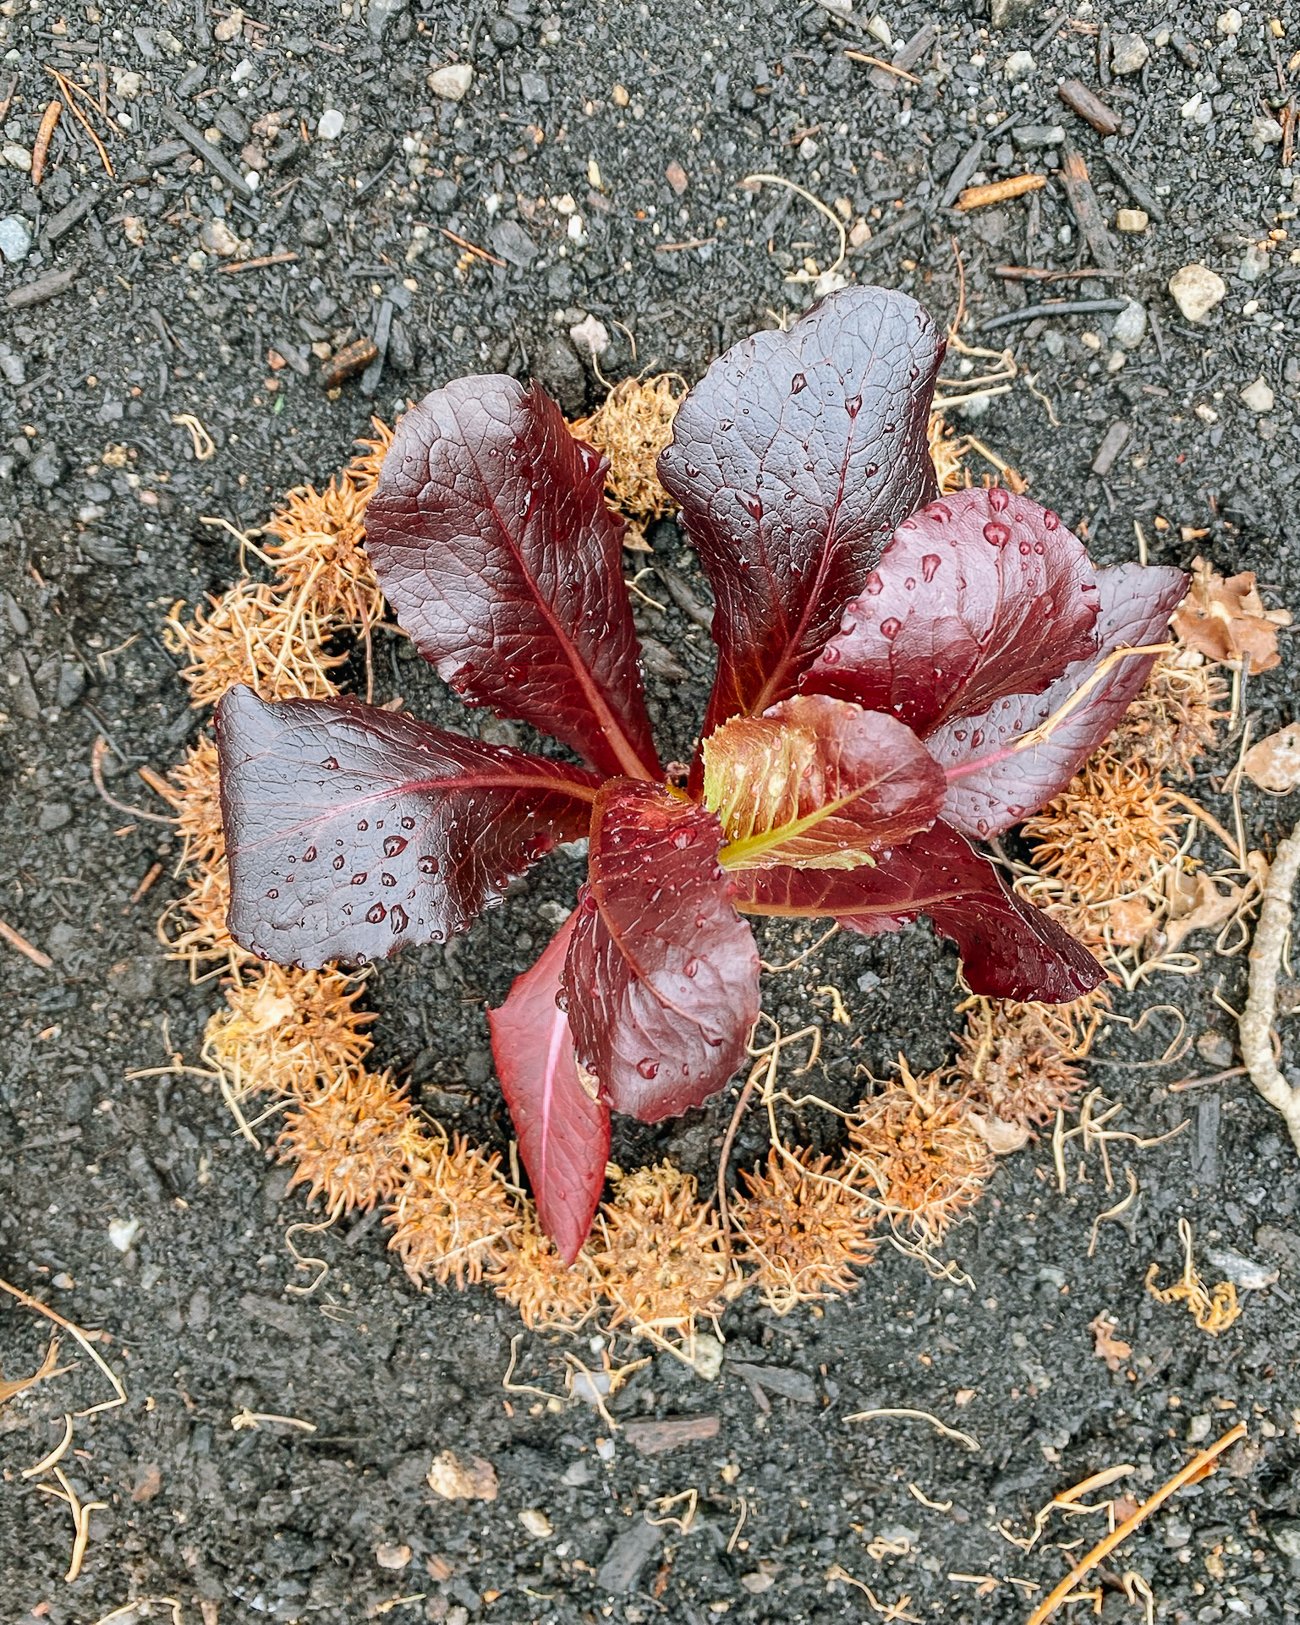
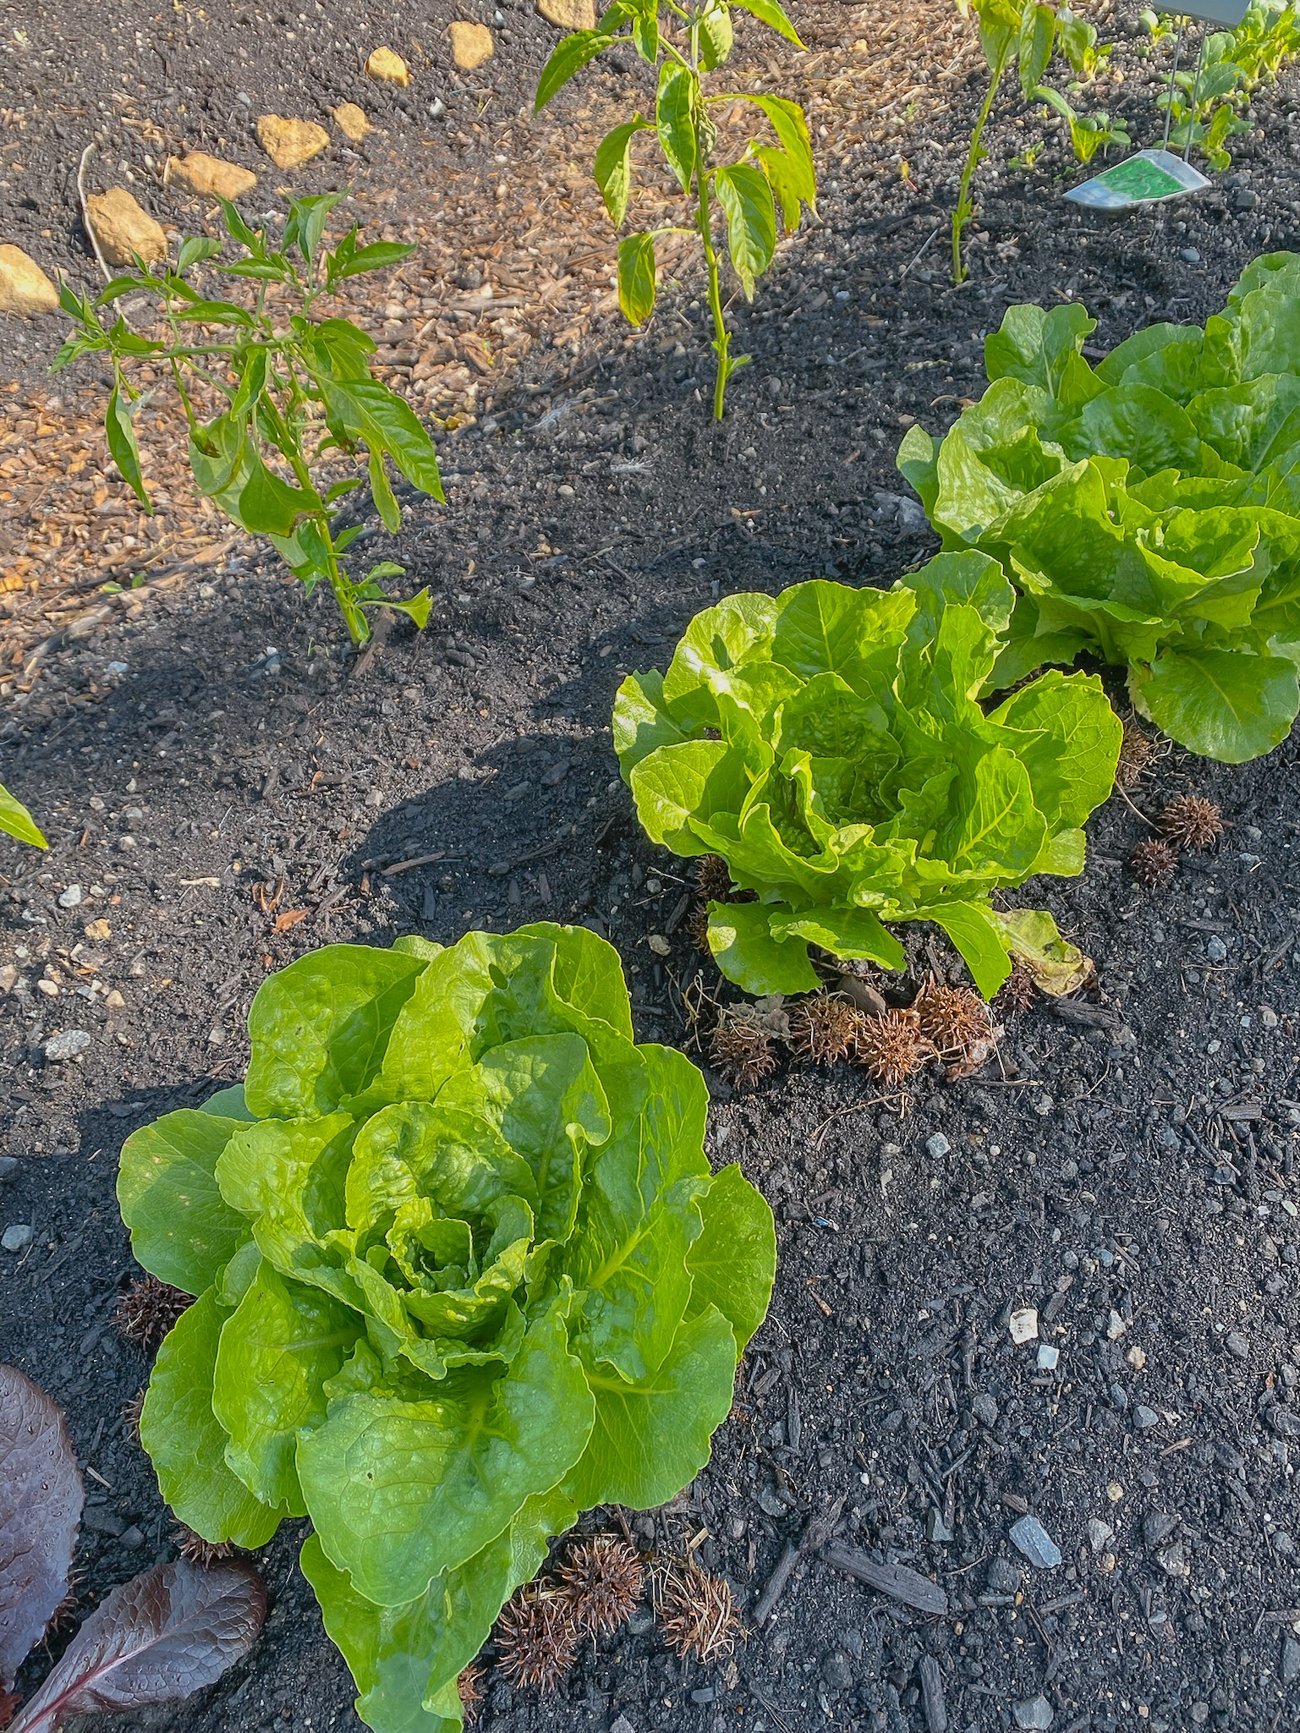
Surrounding young slug-favorite plants with a circle of spiky balls from our sweet gum tree to create a physical barrier.
Our lettuces grew away without slug damage!
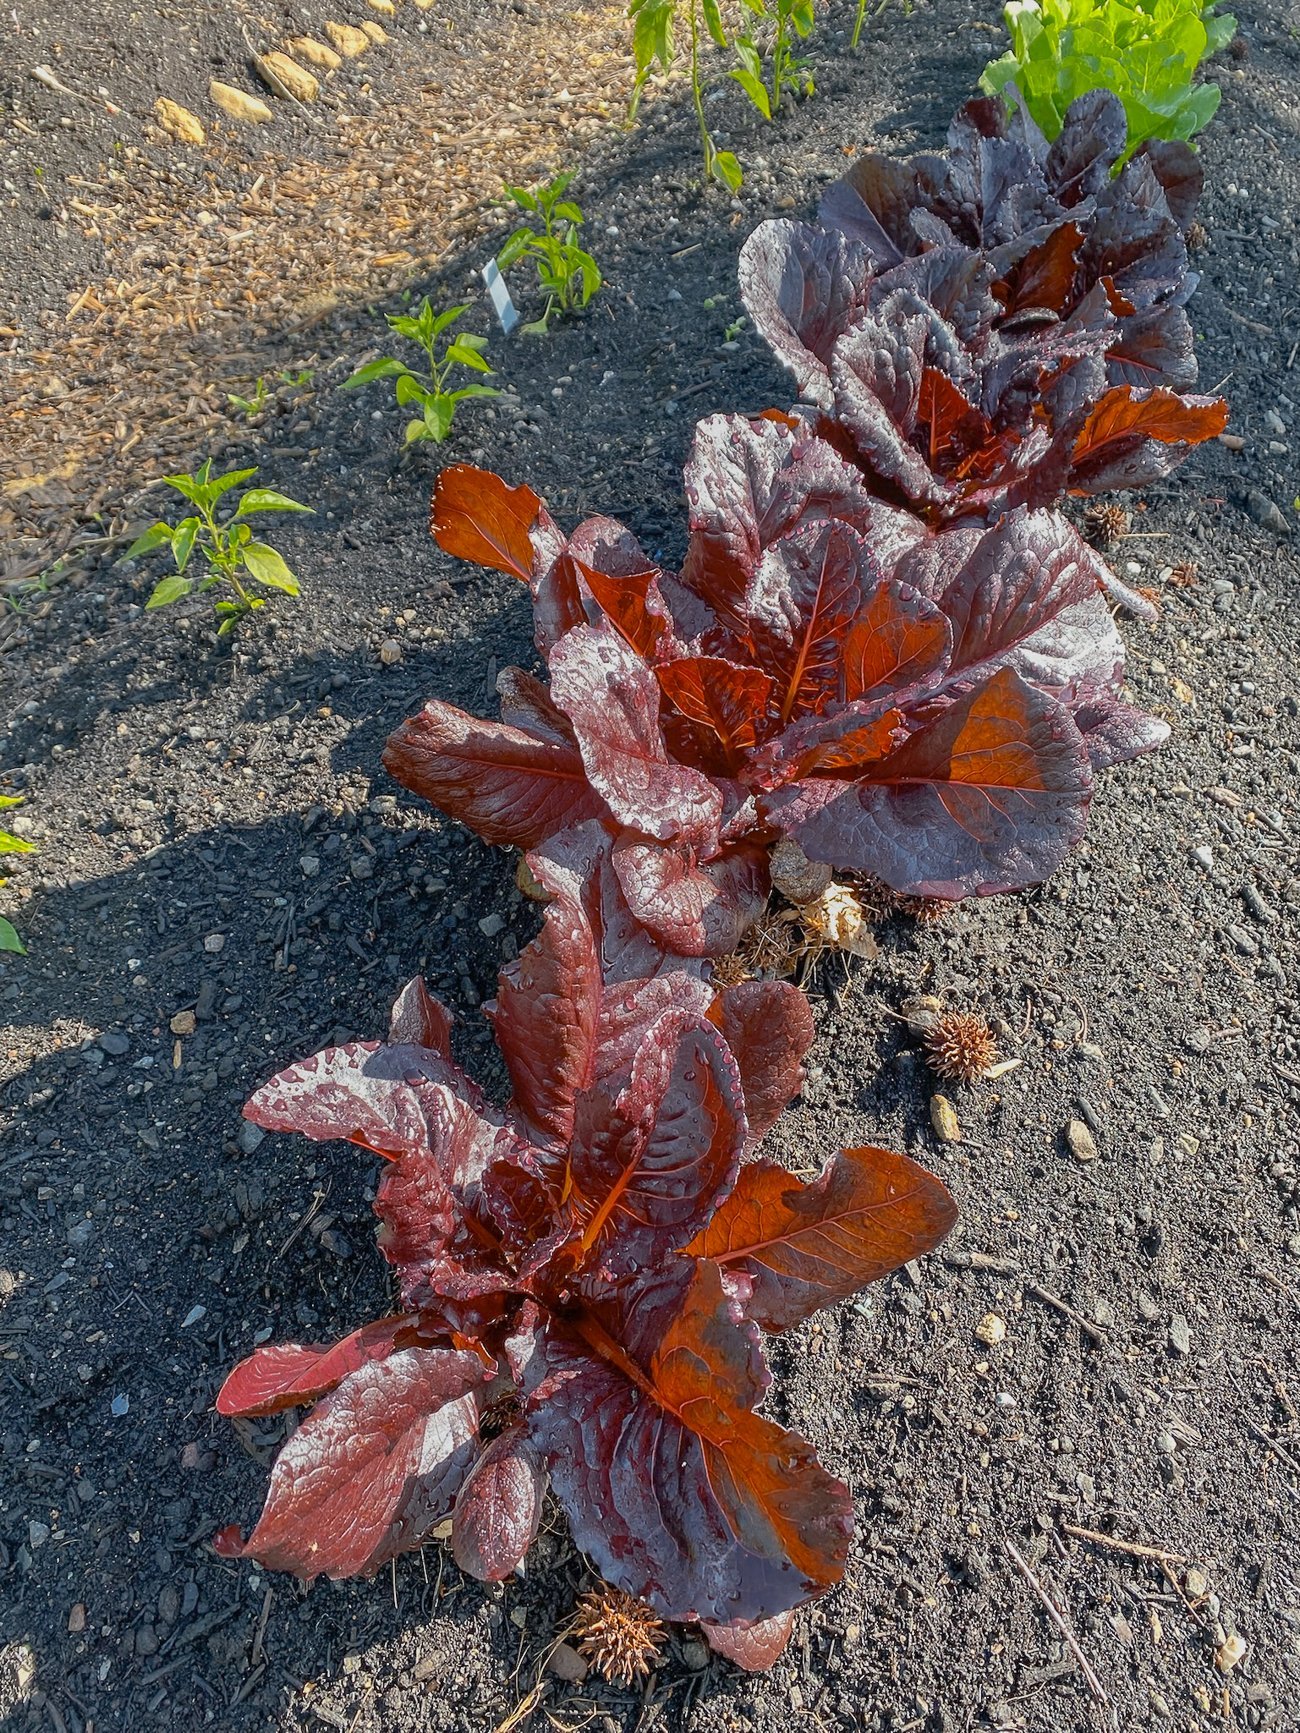
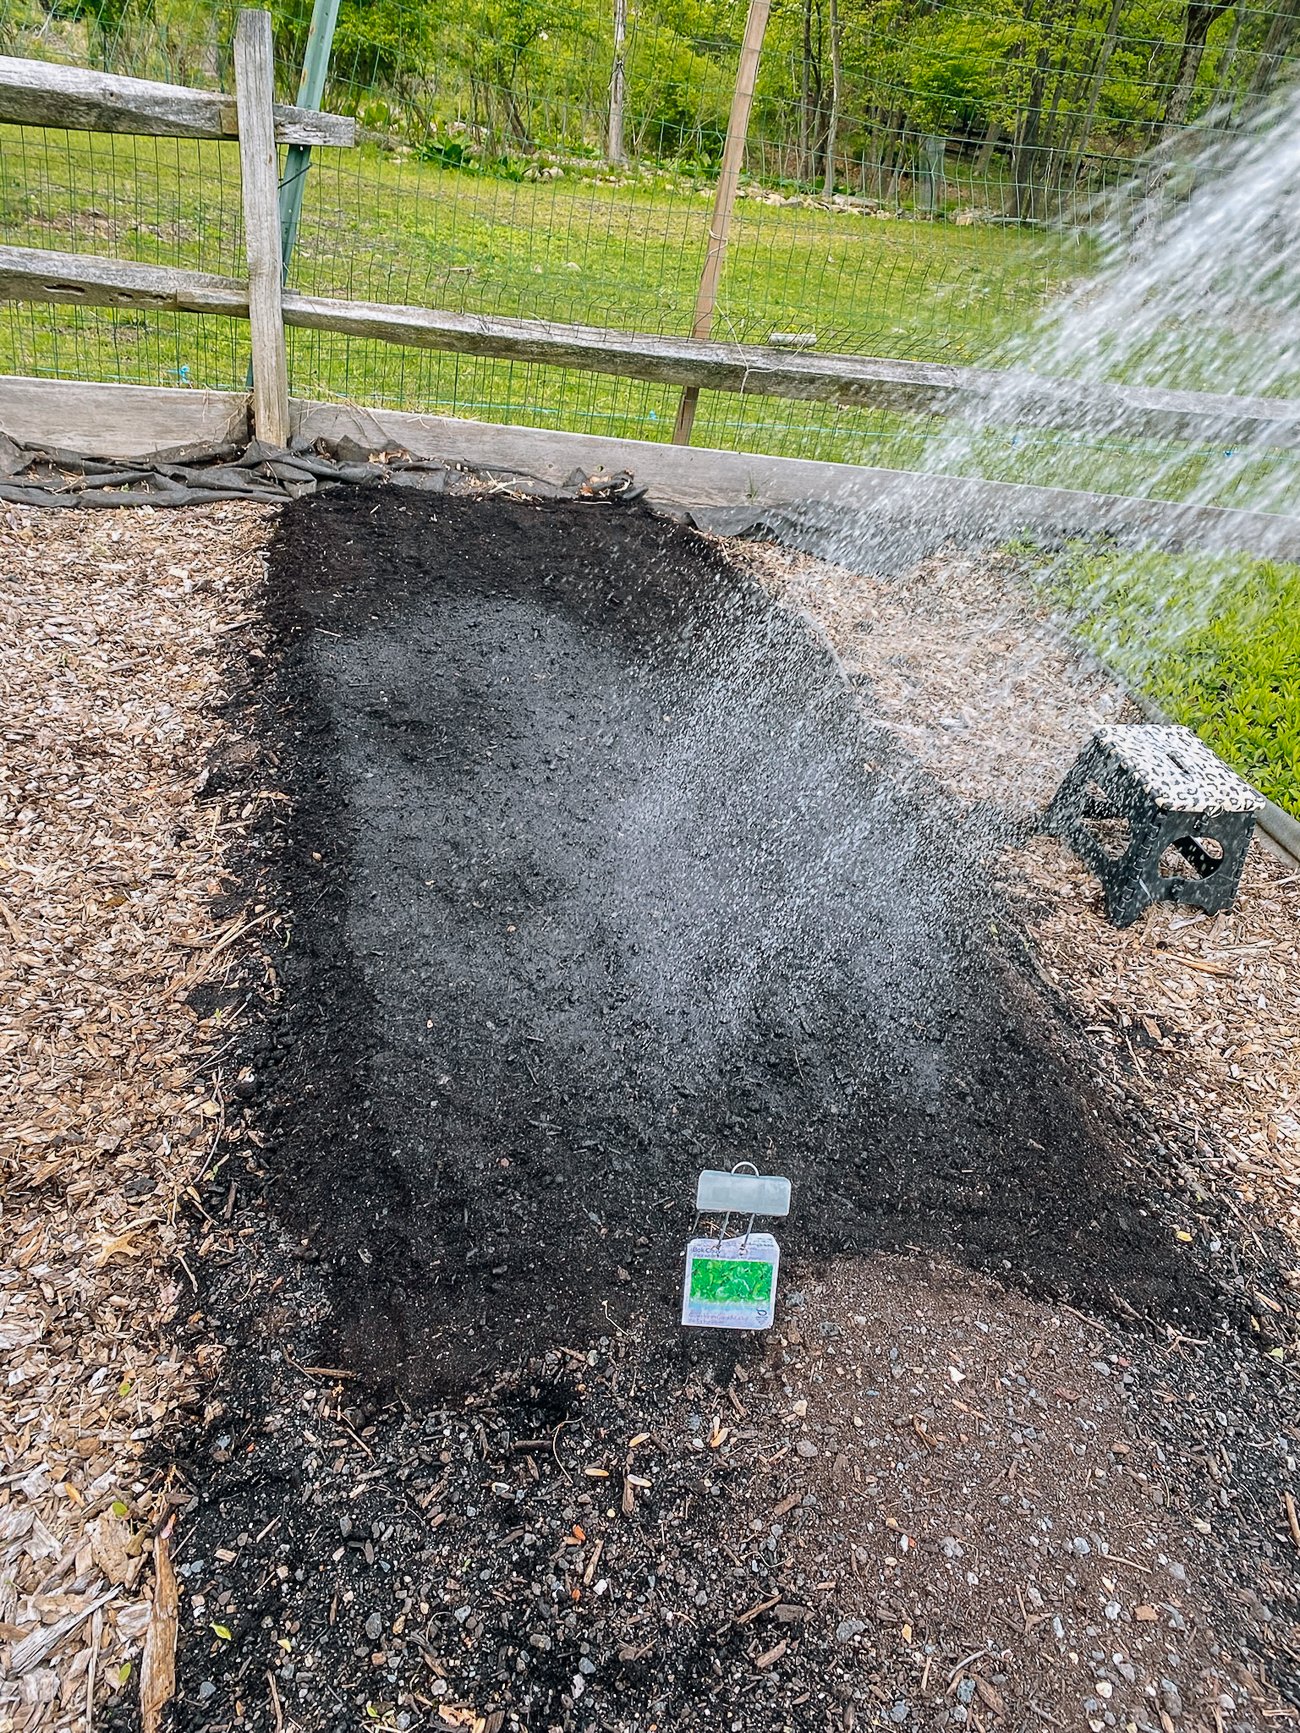
(Another thing that helped was the unusually dry spring we got, though that introduced other challenges, i.e. spending extra time watering.)
Spring Vegetable growth & Harvest
Let’s take a look at the crops we have growing, and even some of the things we’ve been able to harvest so far!
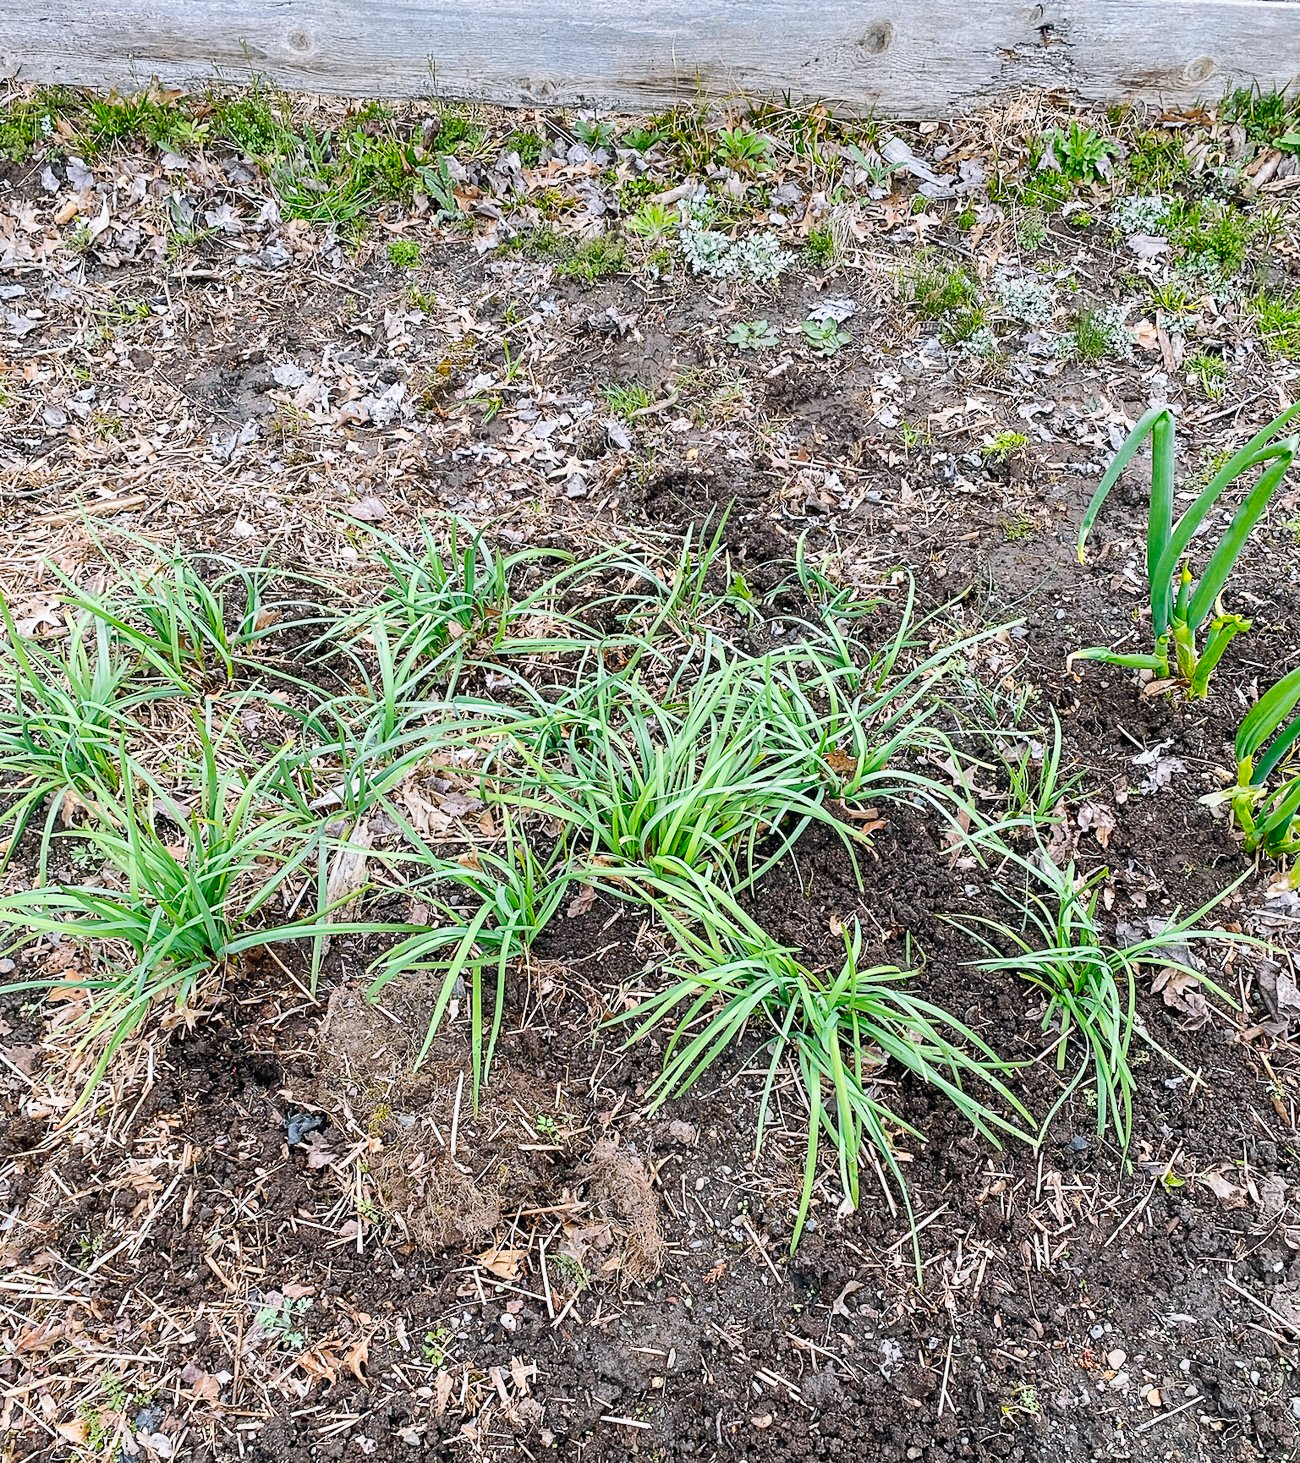
The first things to come up were the perennial crops, like garlic chives (below, left) and asparagus (below, right).
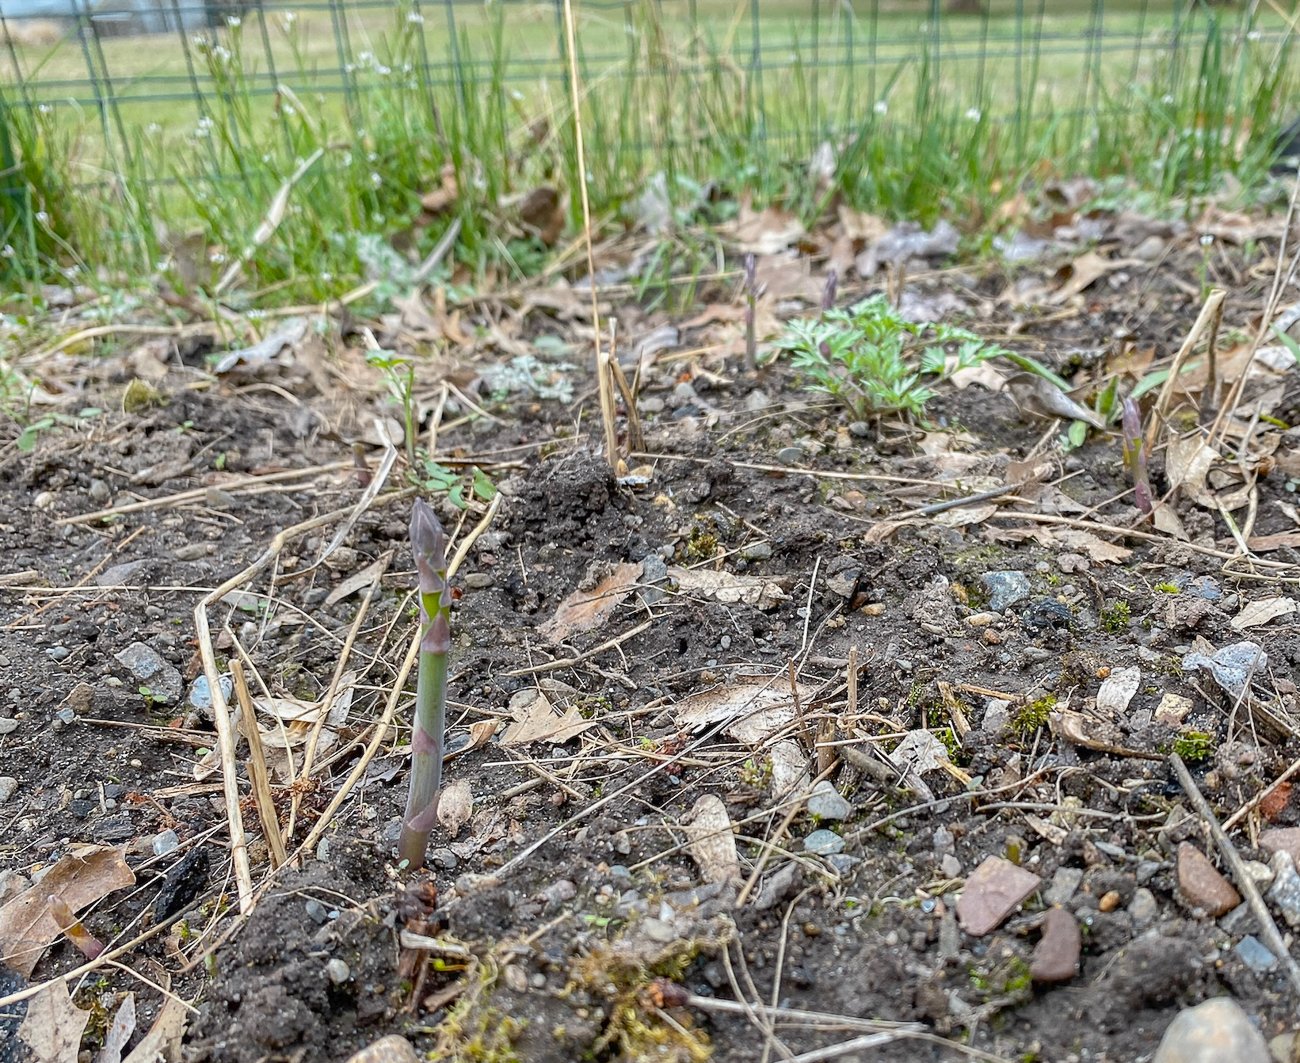
The asparagus was grown from seed last year, so it was super exciting to see tiny asparagus spears emerging! It can take up to 5 years to get a good harvest, and while we found ourselves wondering what we were thinking tying up valuable bed space with such a long-term investment, it was still pretty exciting.
Another perennial crop that performed super well throughout spring was our malantou. Known in English as Indian Aster, the leaves can be pinched when young and enjoyed with five spice tofu.
It’s a traditional springtime cold dish from the Shanghai area that we enjoyed in China (check out our Ma Lan Tou & Tofu recipe here).
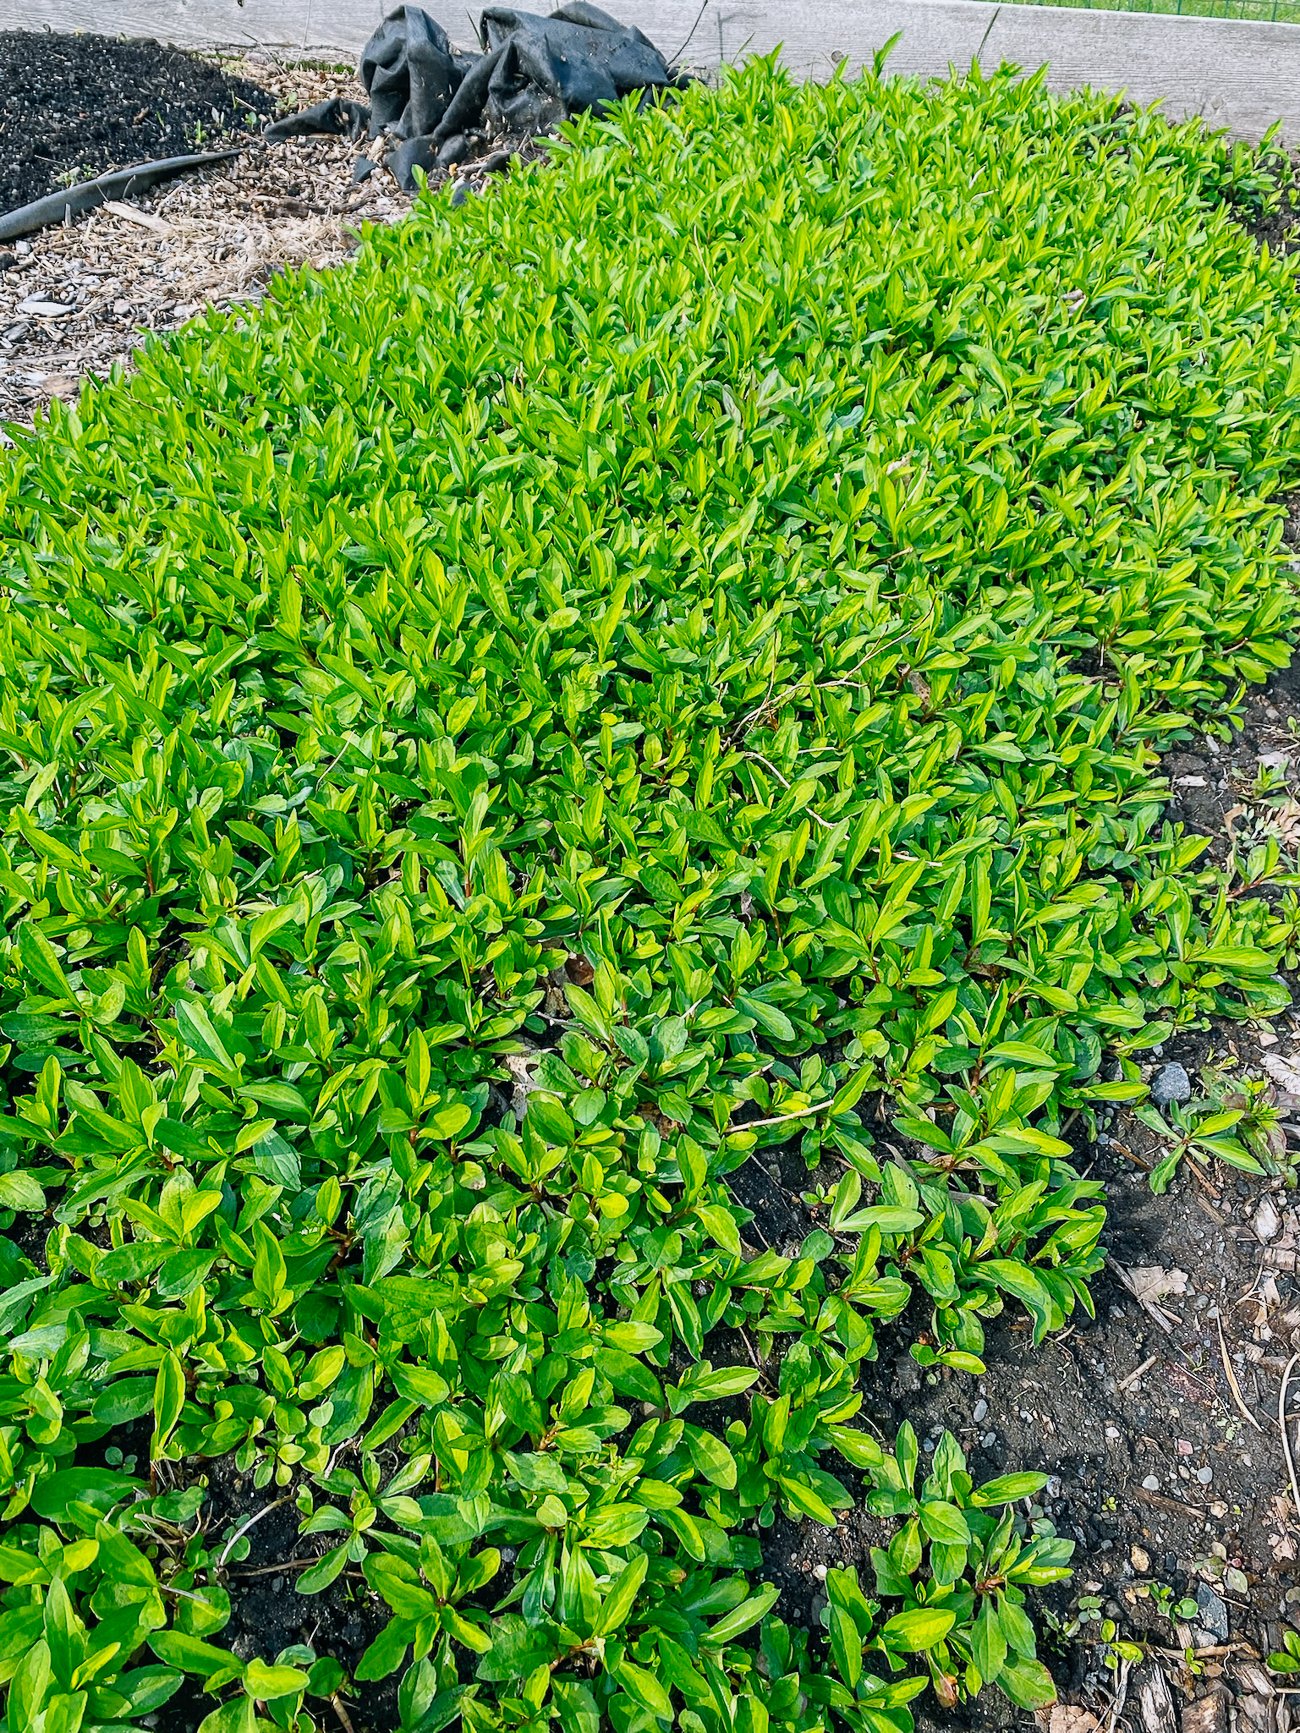
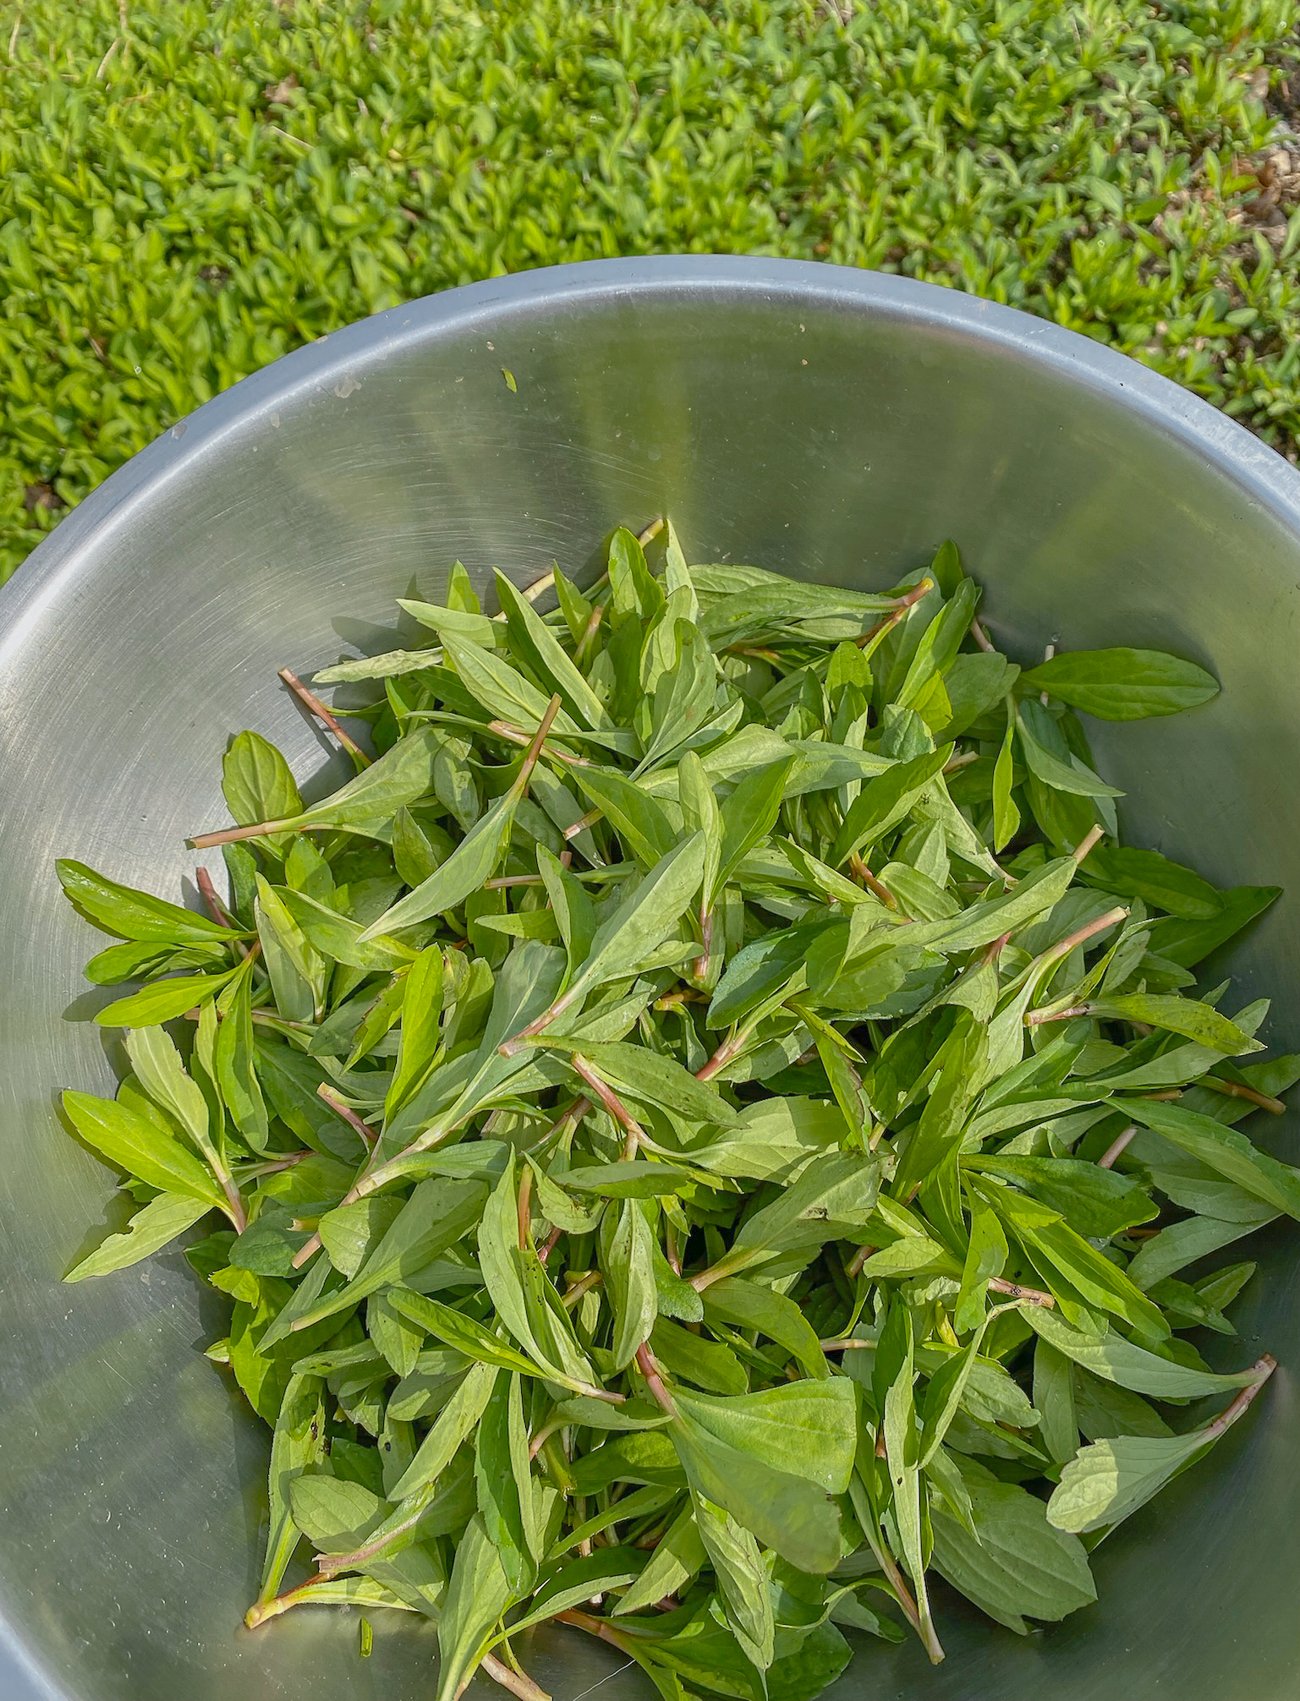
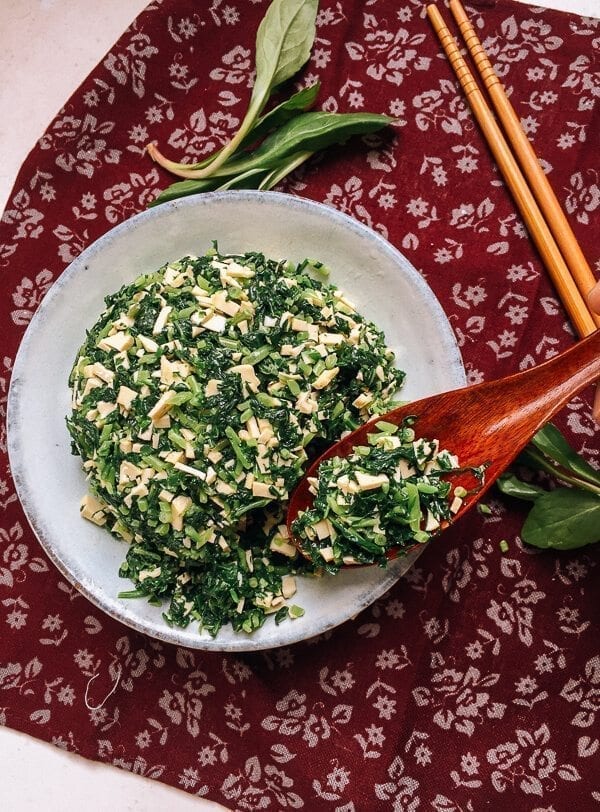
As its English name would suggest, it is in the Asteraceae, or daisy, family. Later in the season, the plants form lovely small daisy flowers, which our bees should enjoy!
Another new and exciting harvest this spring didn’t even come from our garden. It came from a neighbor:
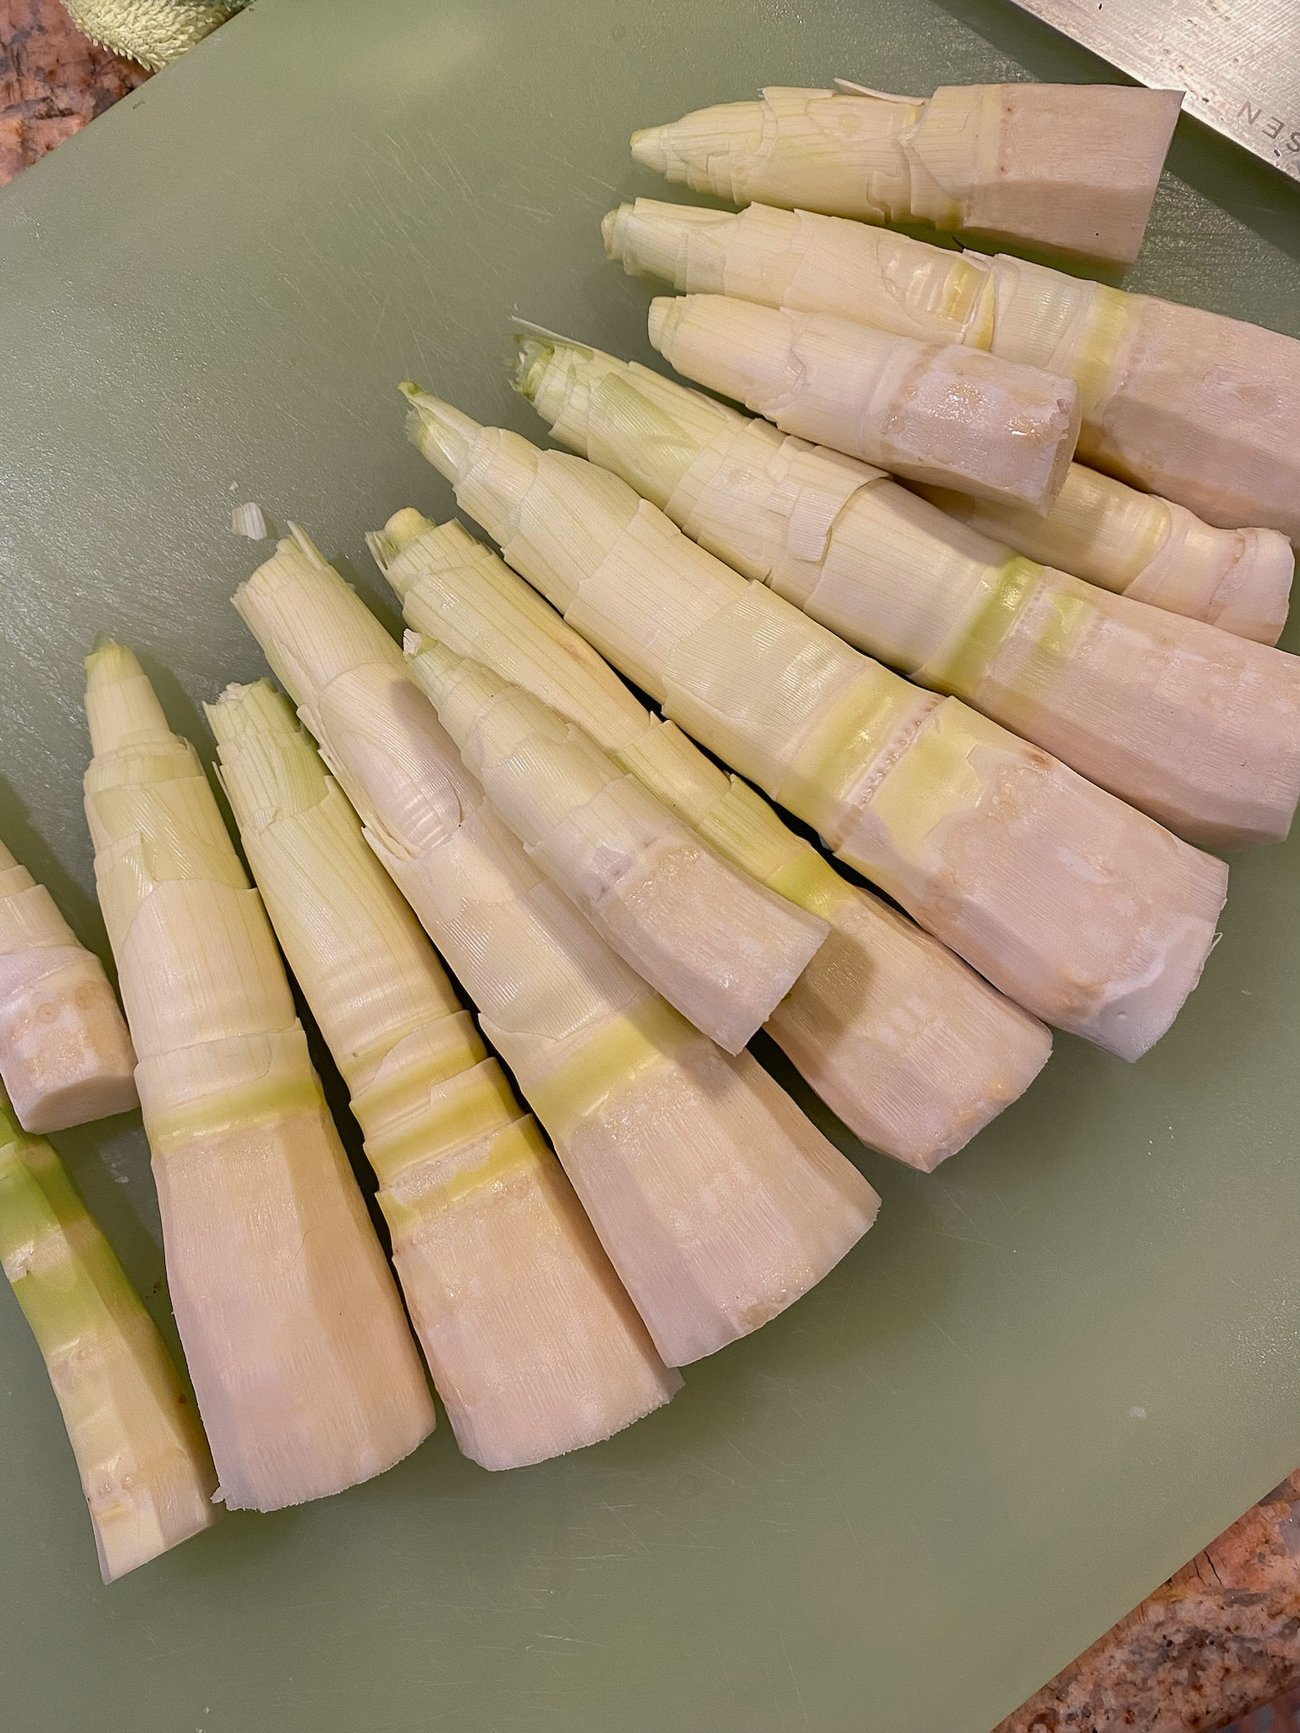
We have a neighbor who grows bamboo in his backyard (or rather…works to control the bamboo in his backyard). We got tons of 10-15 ft. bamboo poles from him for the garden last year, but this year, we got something even more exciting: spring bamboo shoots.
My mom was hard at work peeling them, boiling them (they need to be boiled to cook off toxic compounds/remove bitterness), stir-frying them, and sharing them with said neighbor and other friends. It was lovely!
Okay, back to the garden. The first thing we planted was potatoes. Coming off last year’s potato success, we probably went a little overboard here, planting about 6 or 7 varieties:
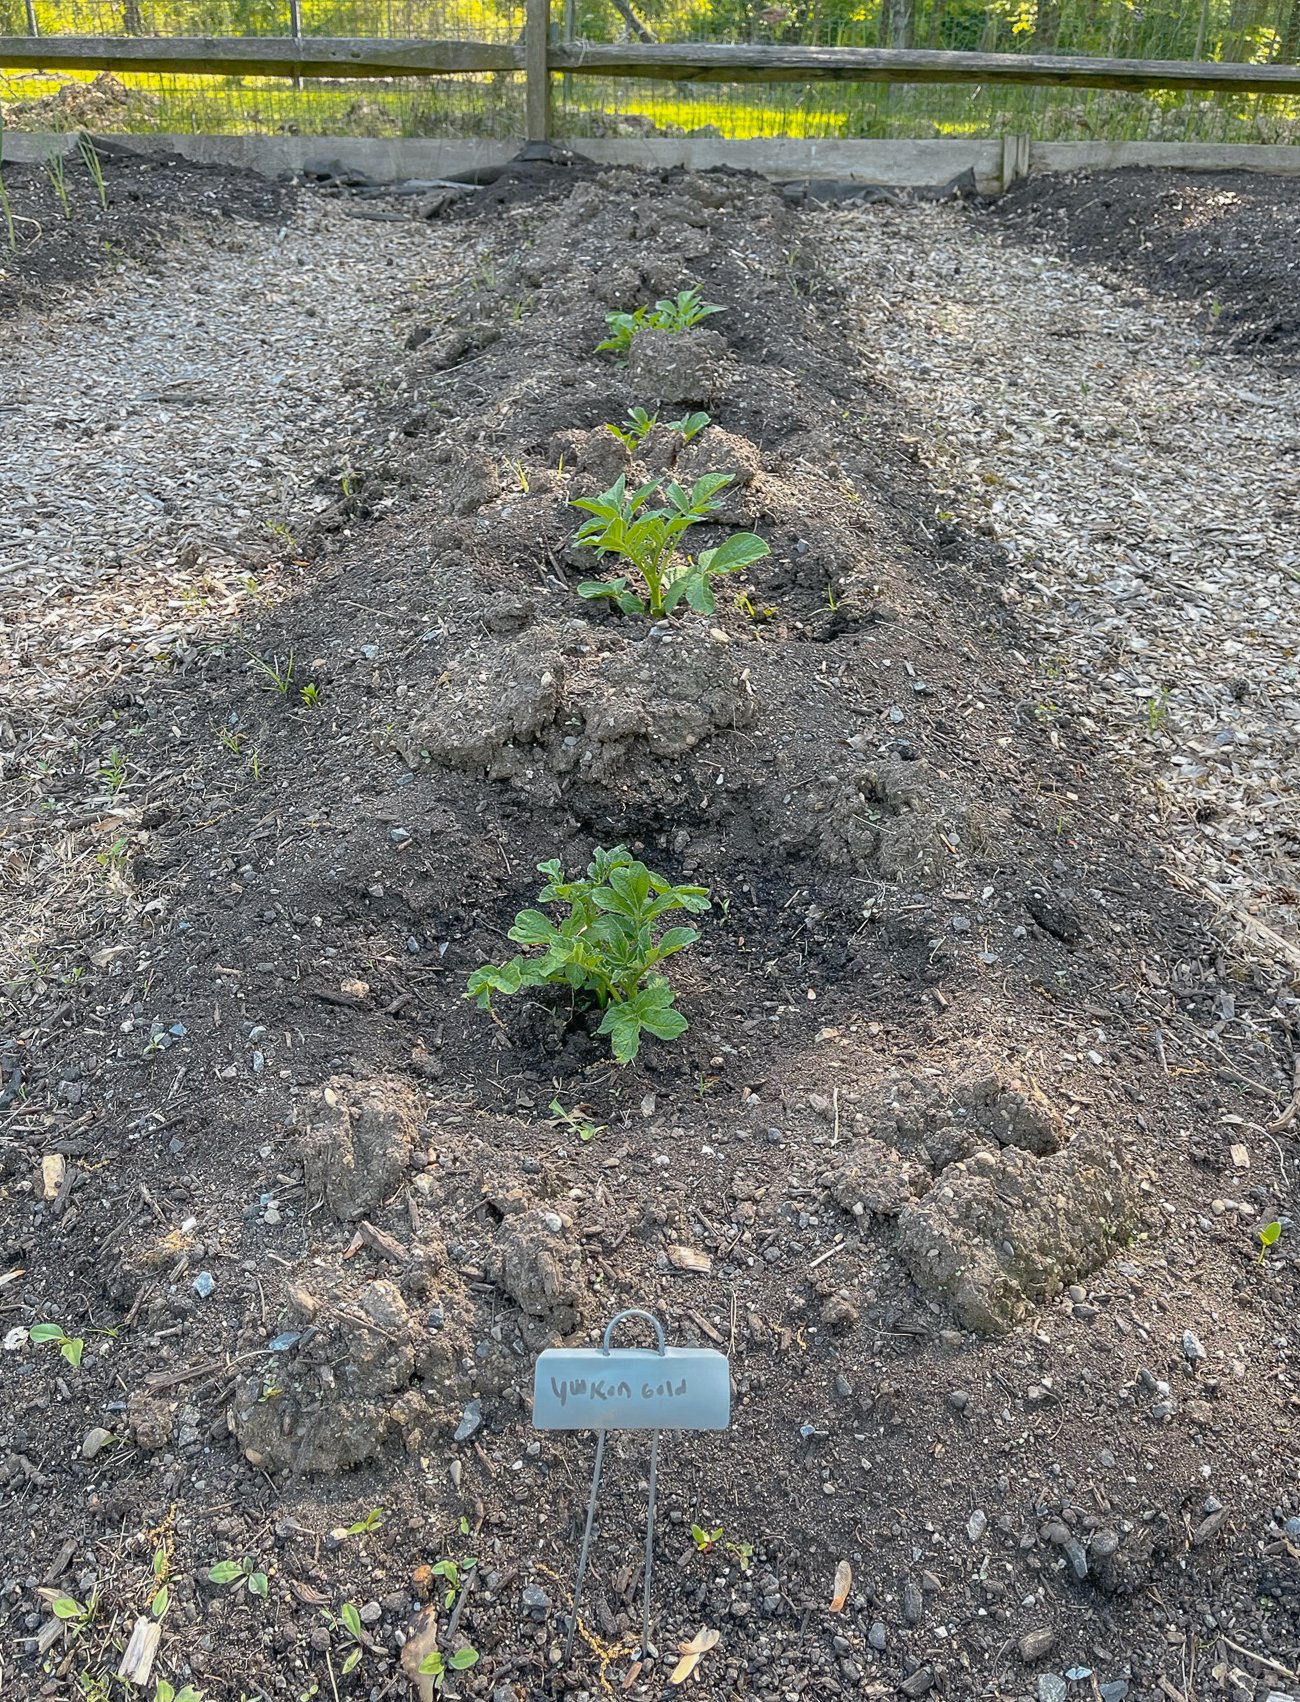
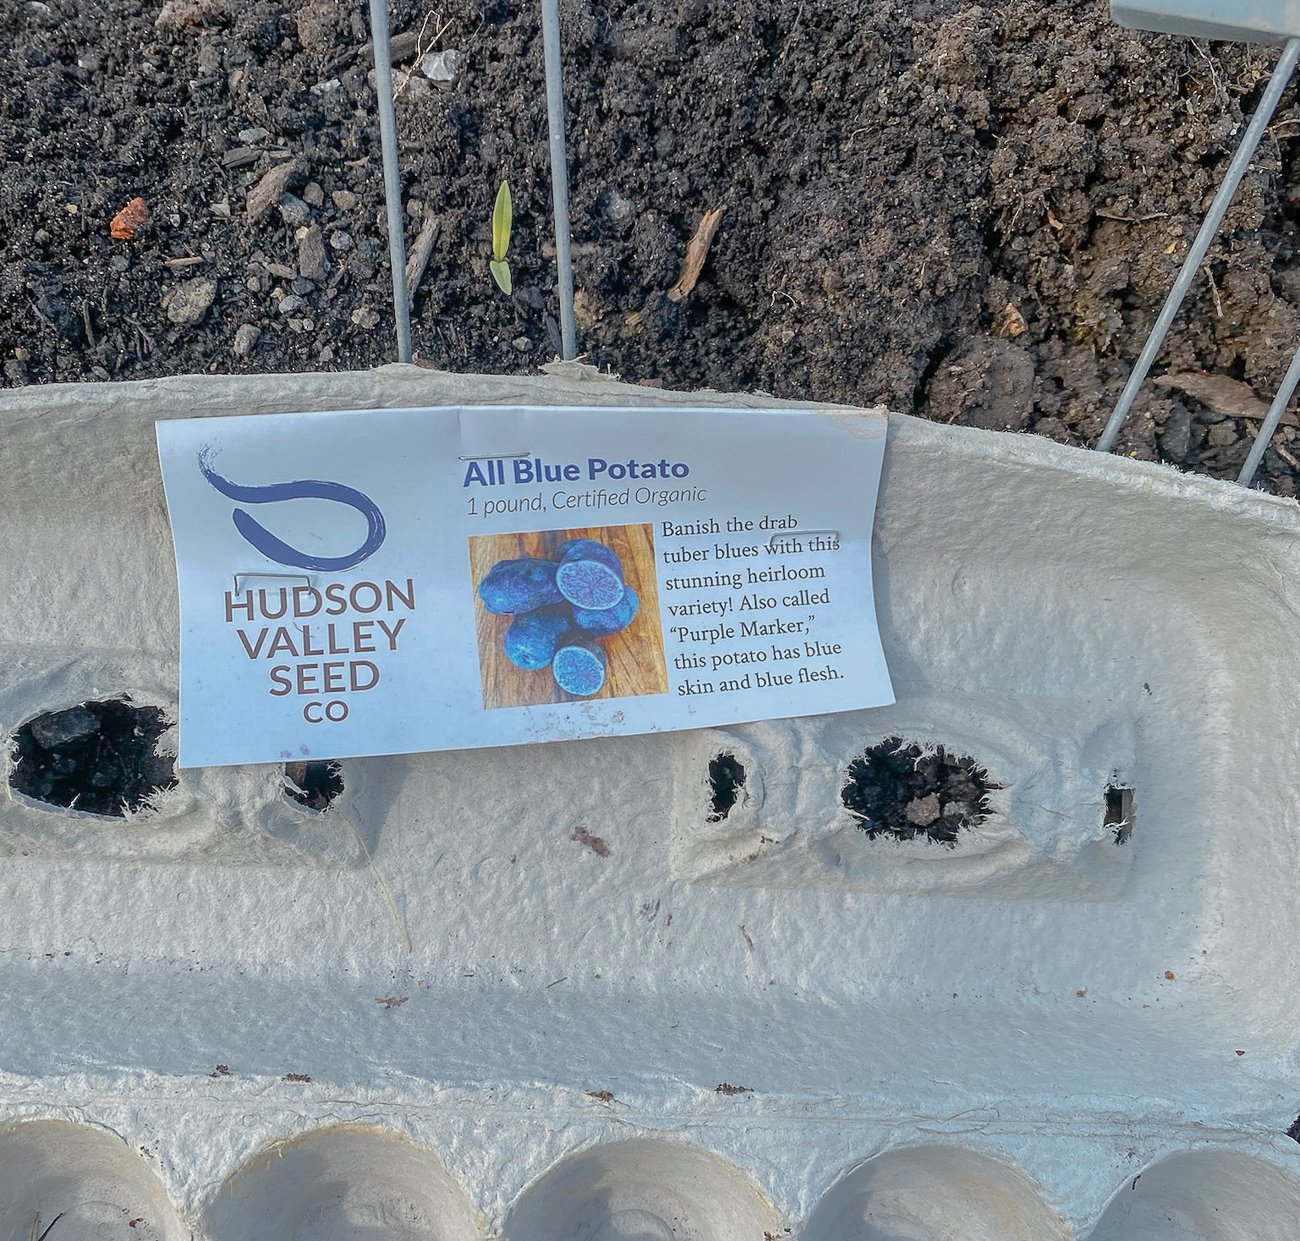
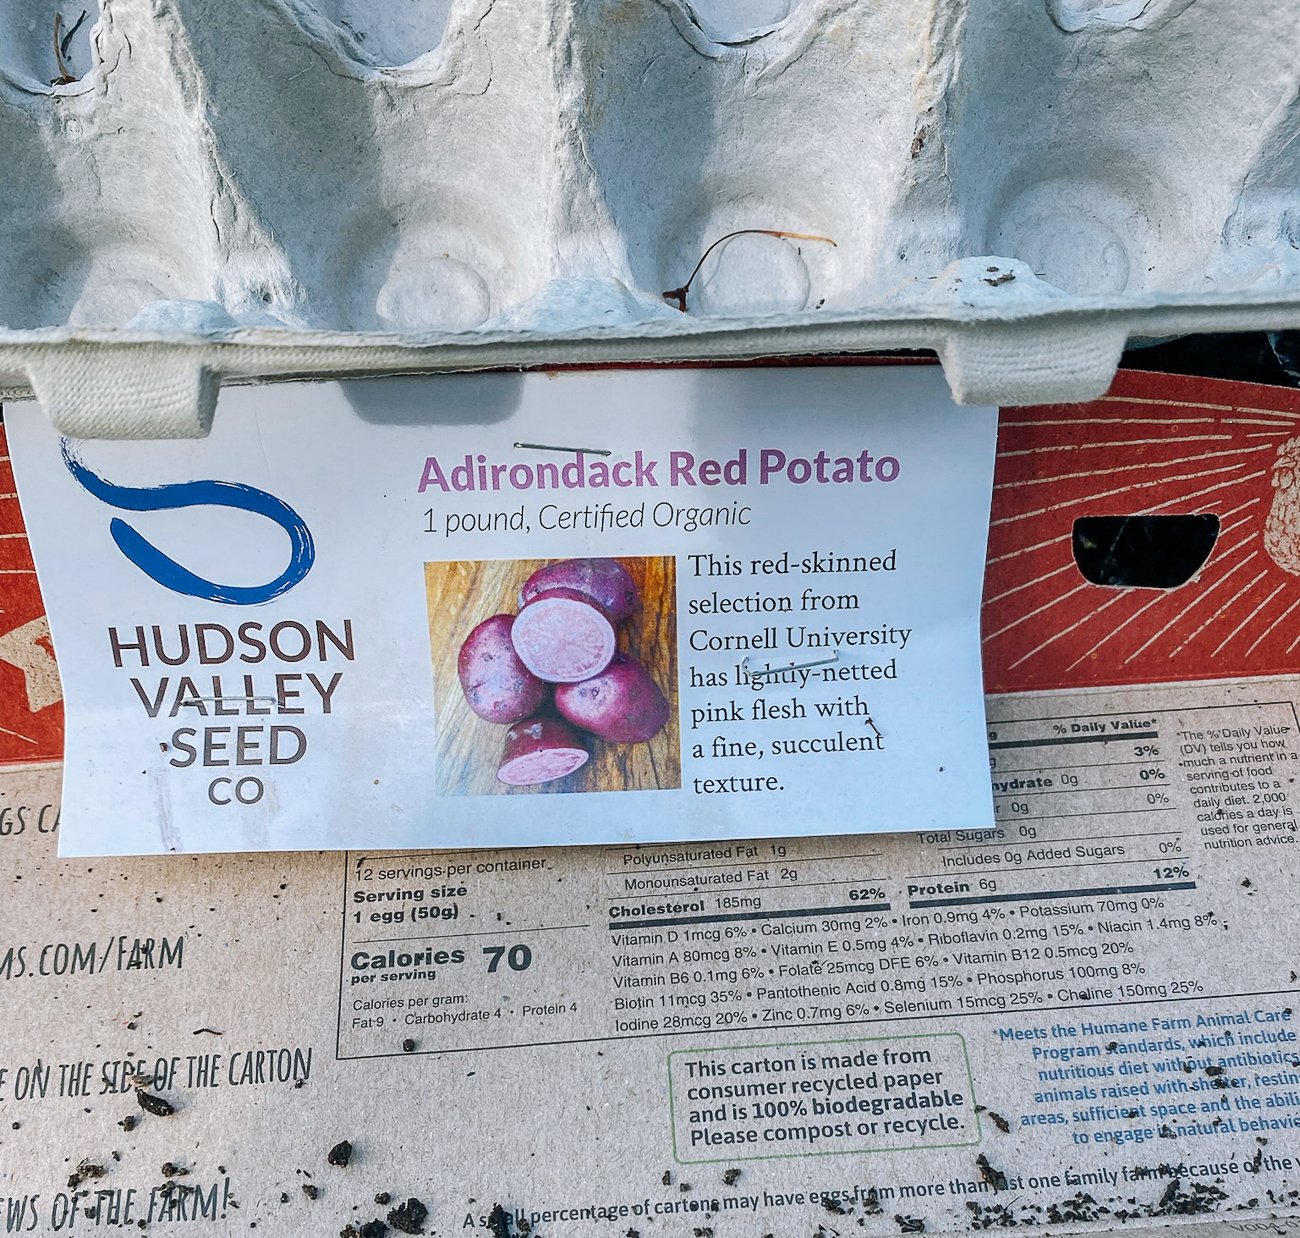
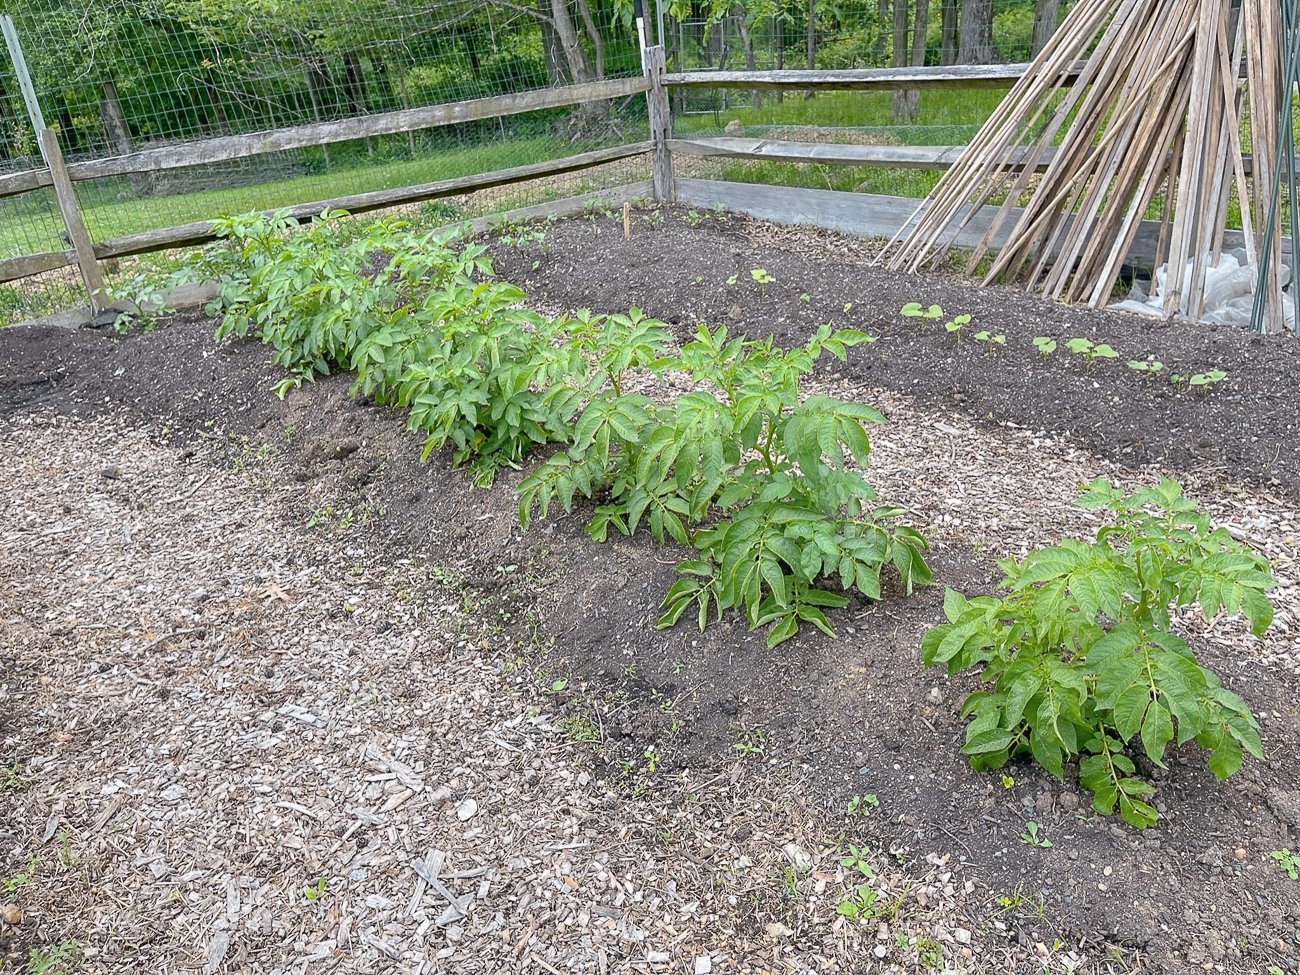
Can’t wait to share more on that harvest later!
We also planted bok choy, leeks, tomatoes, zucchini, snap peas, and bitter melon, which are growing nicely:
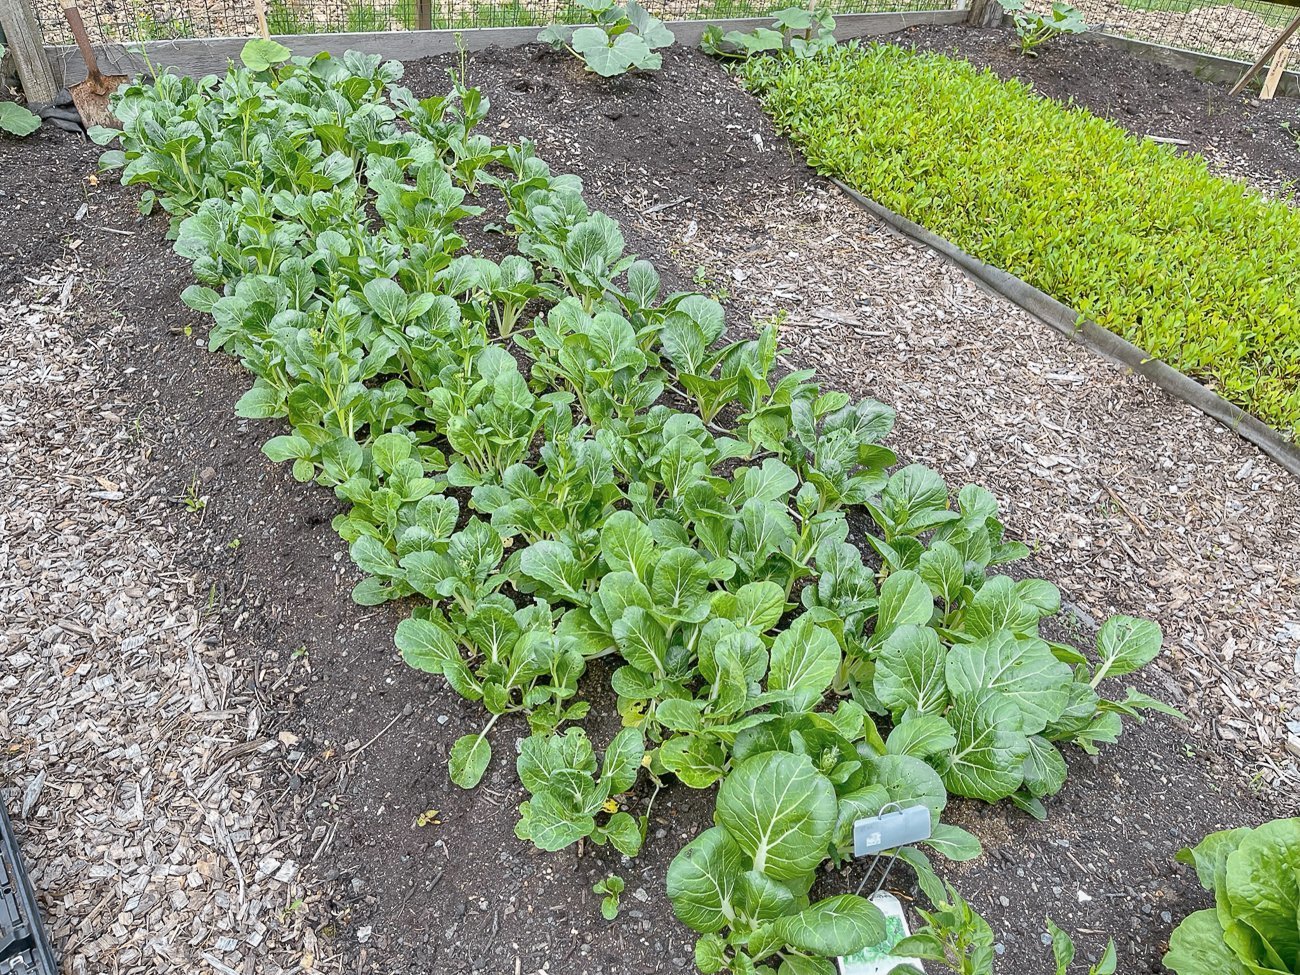
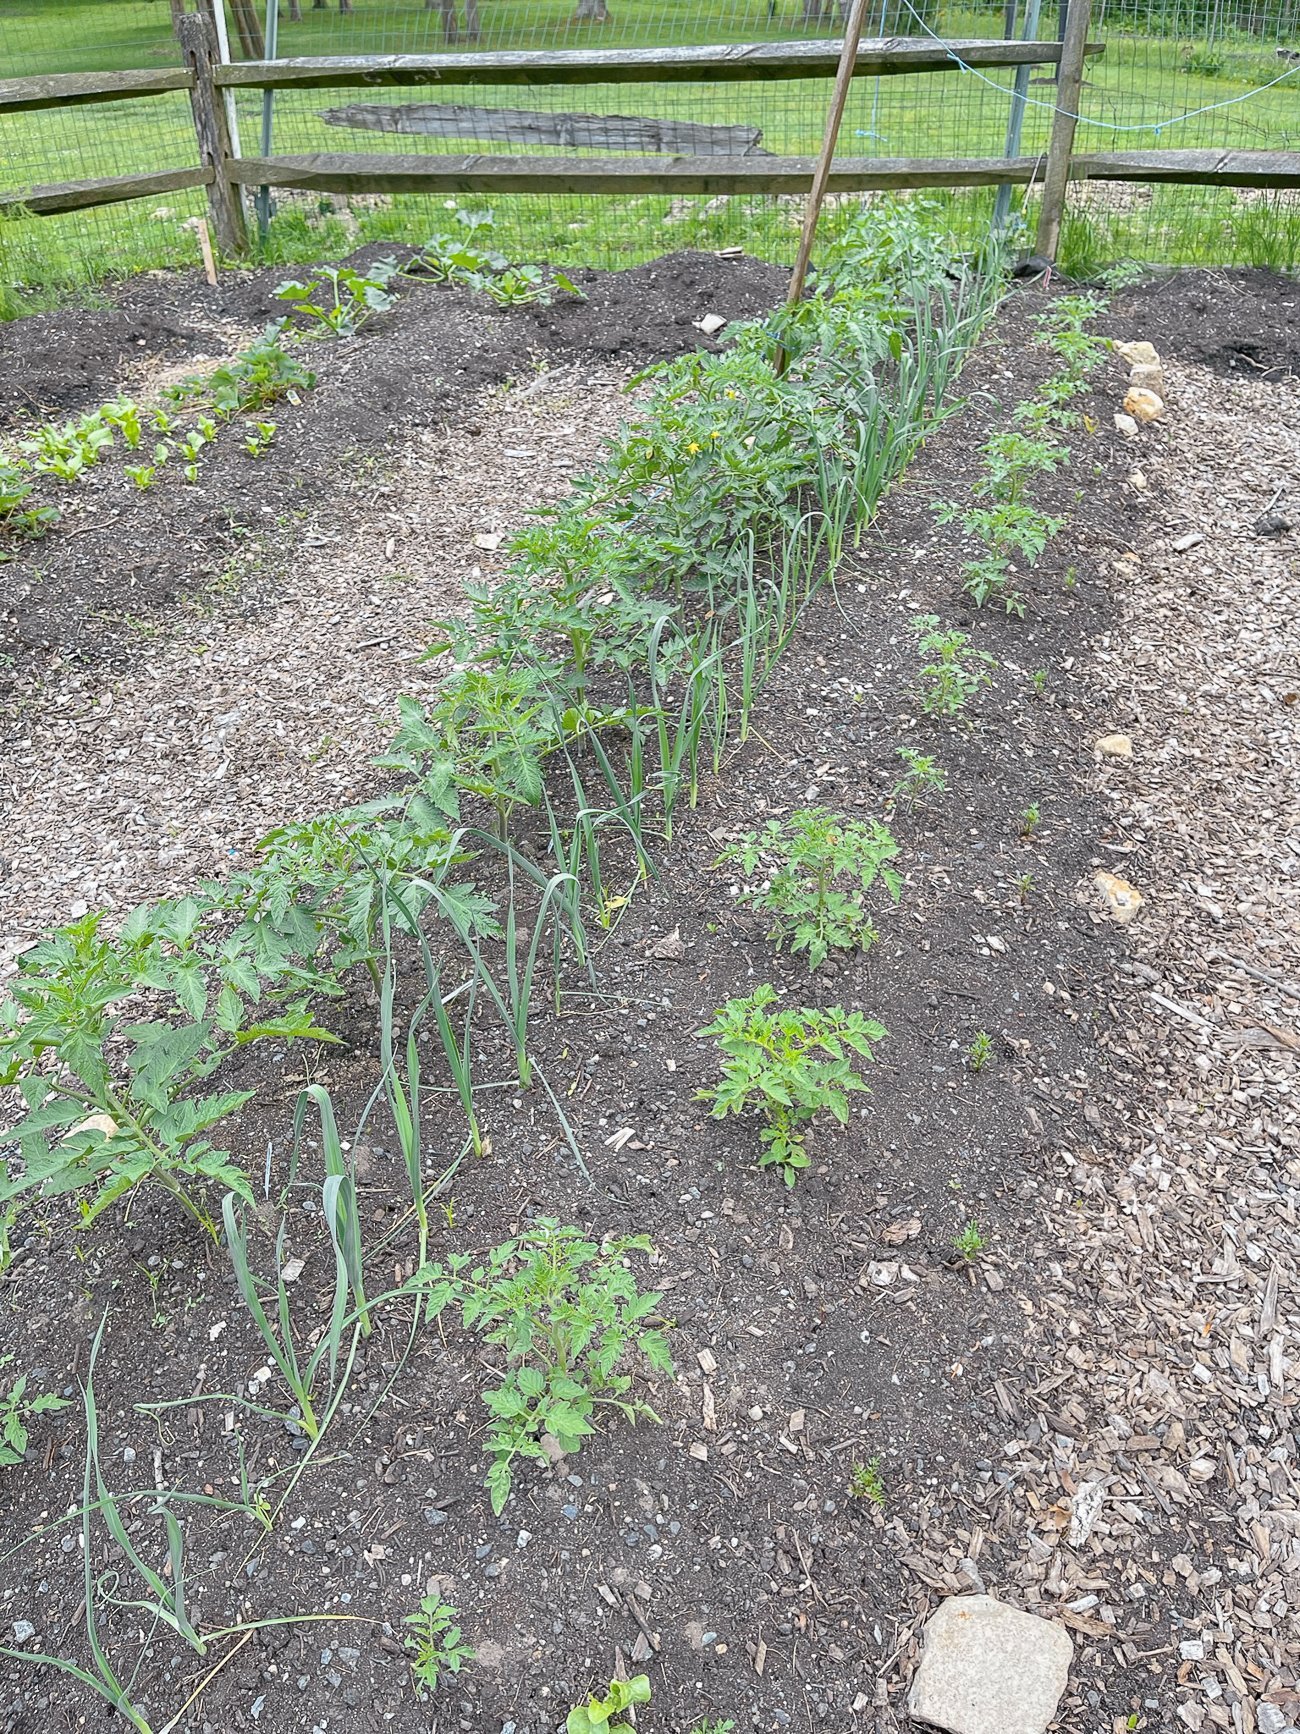
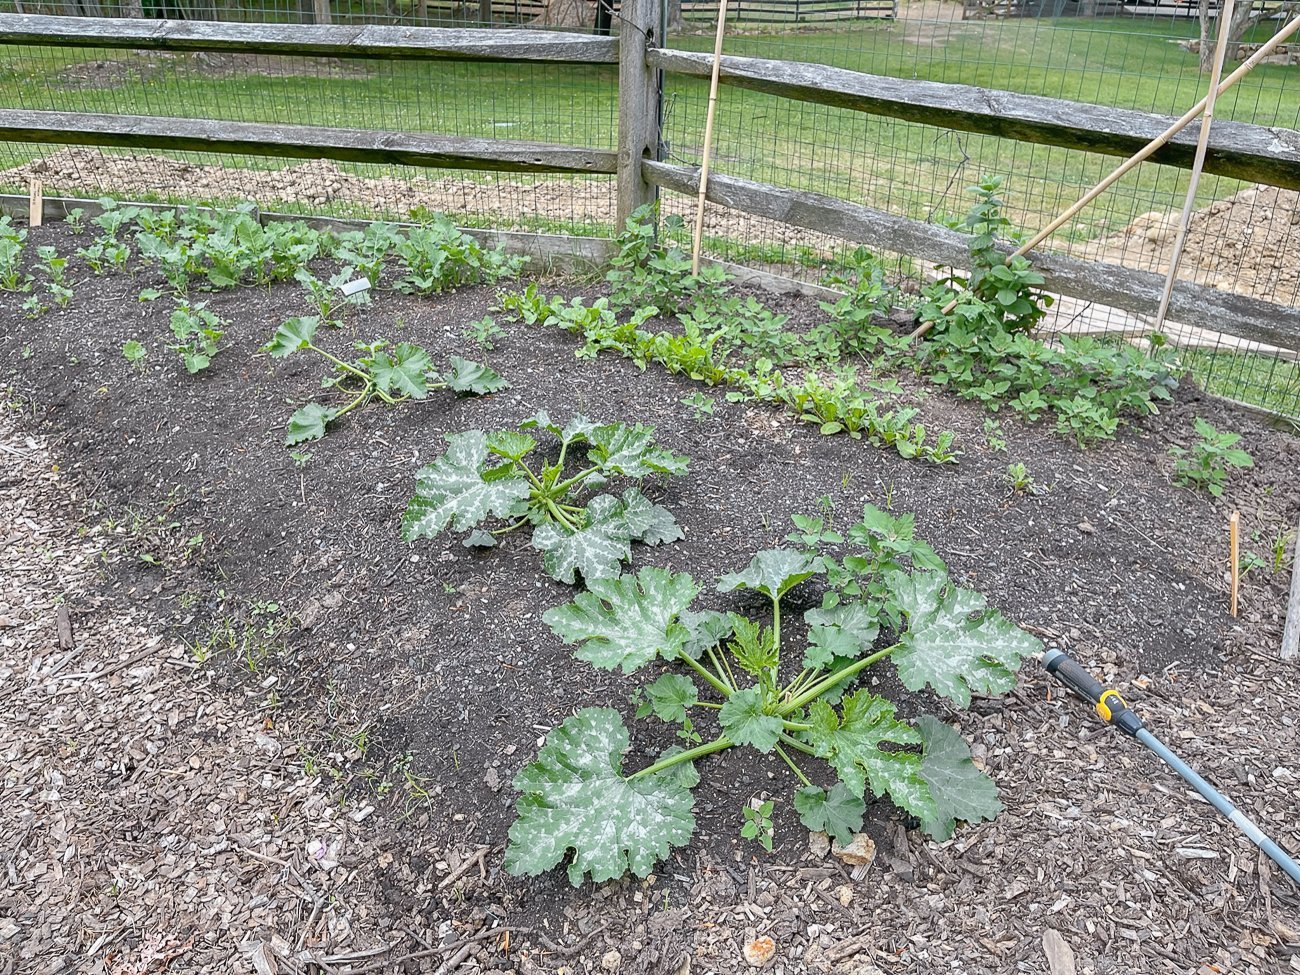
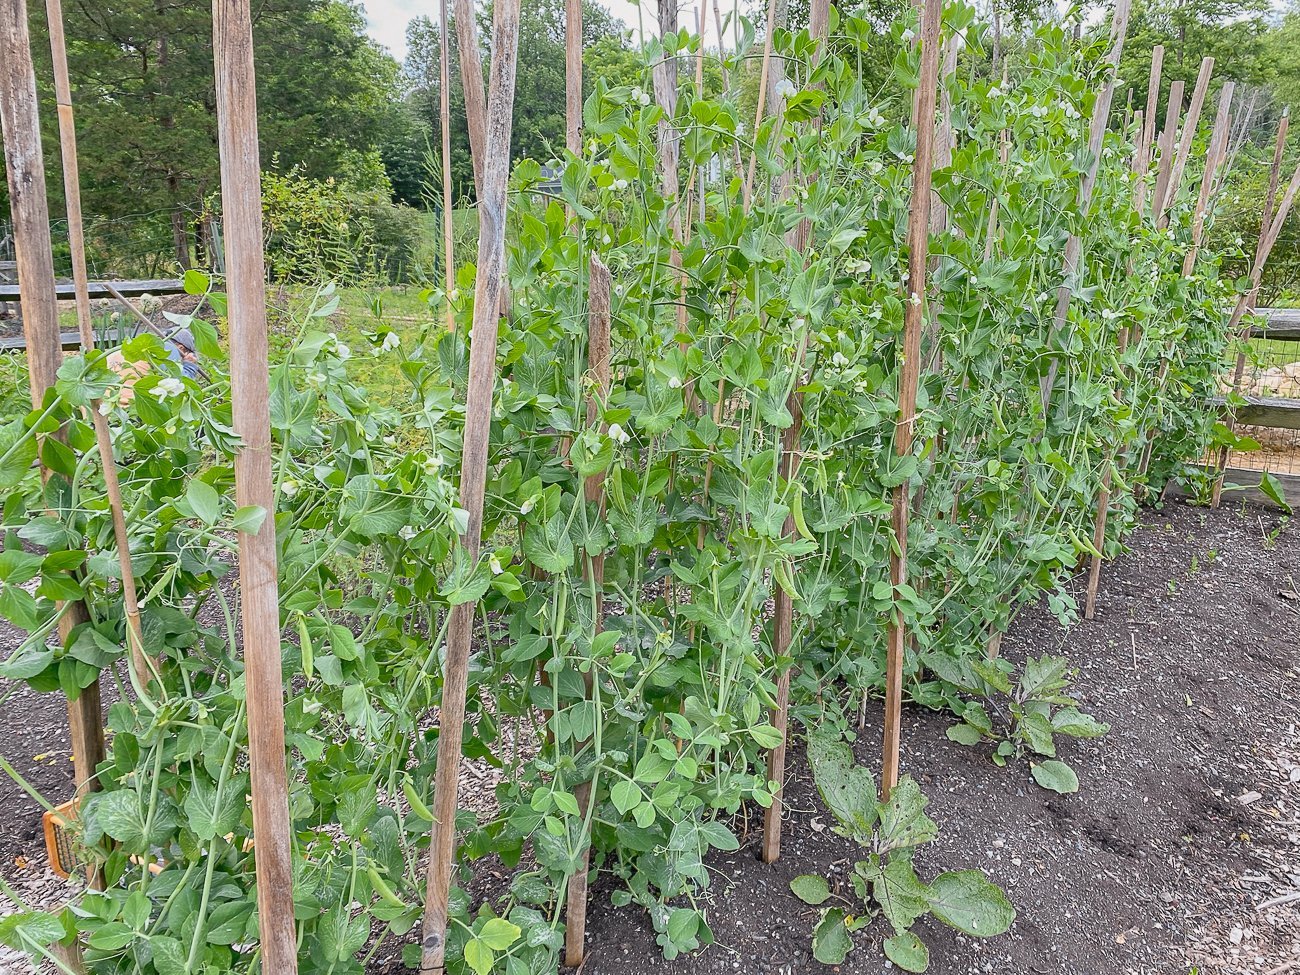
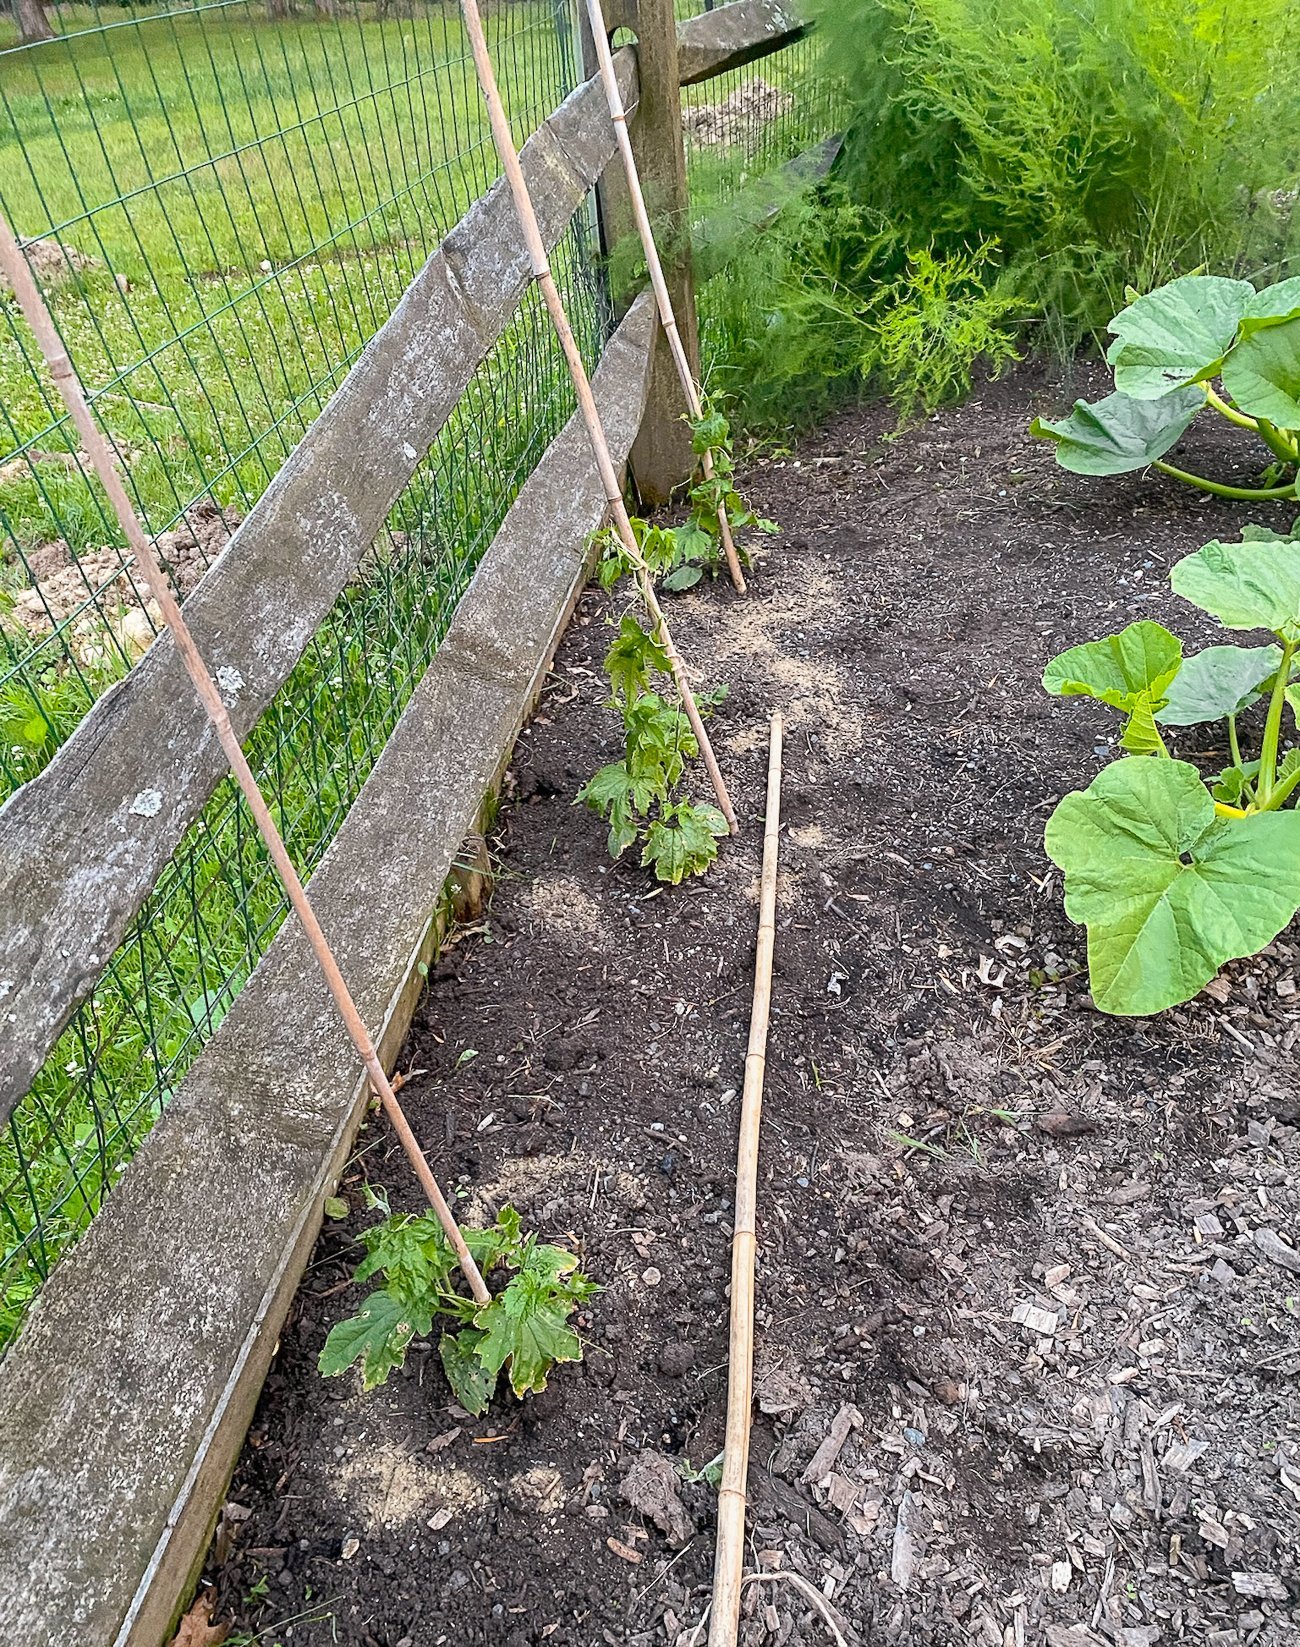
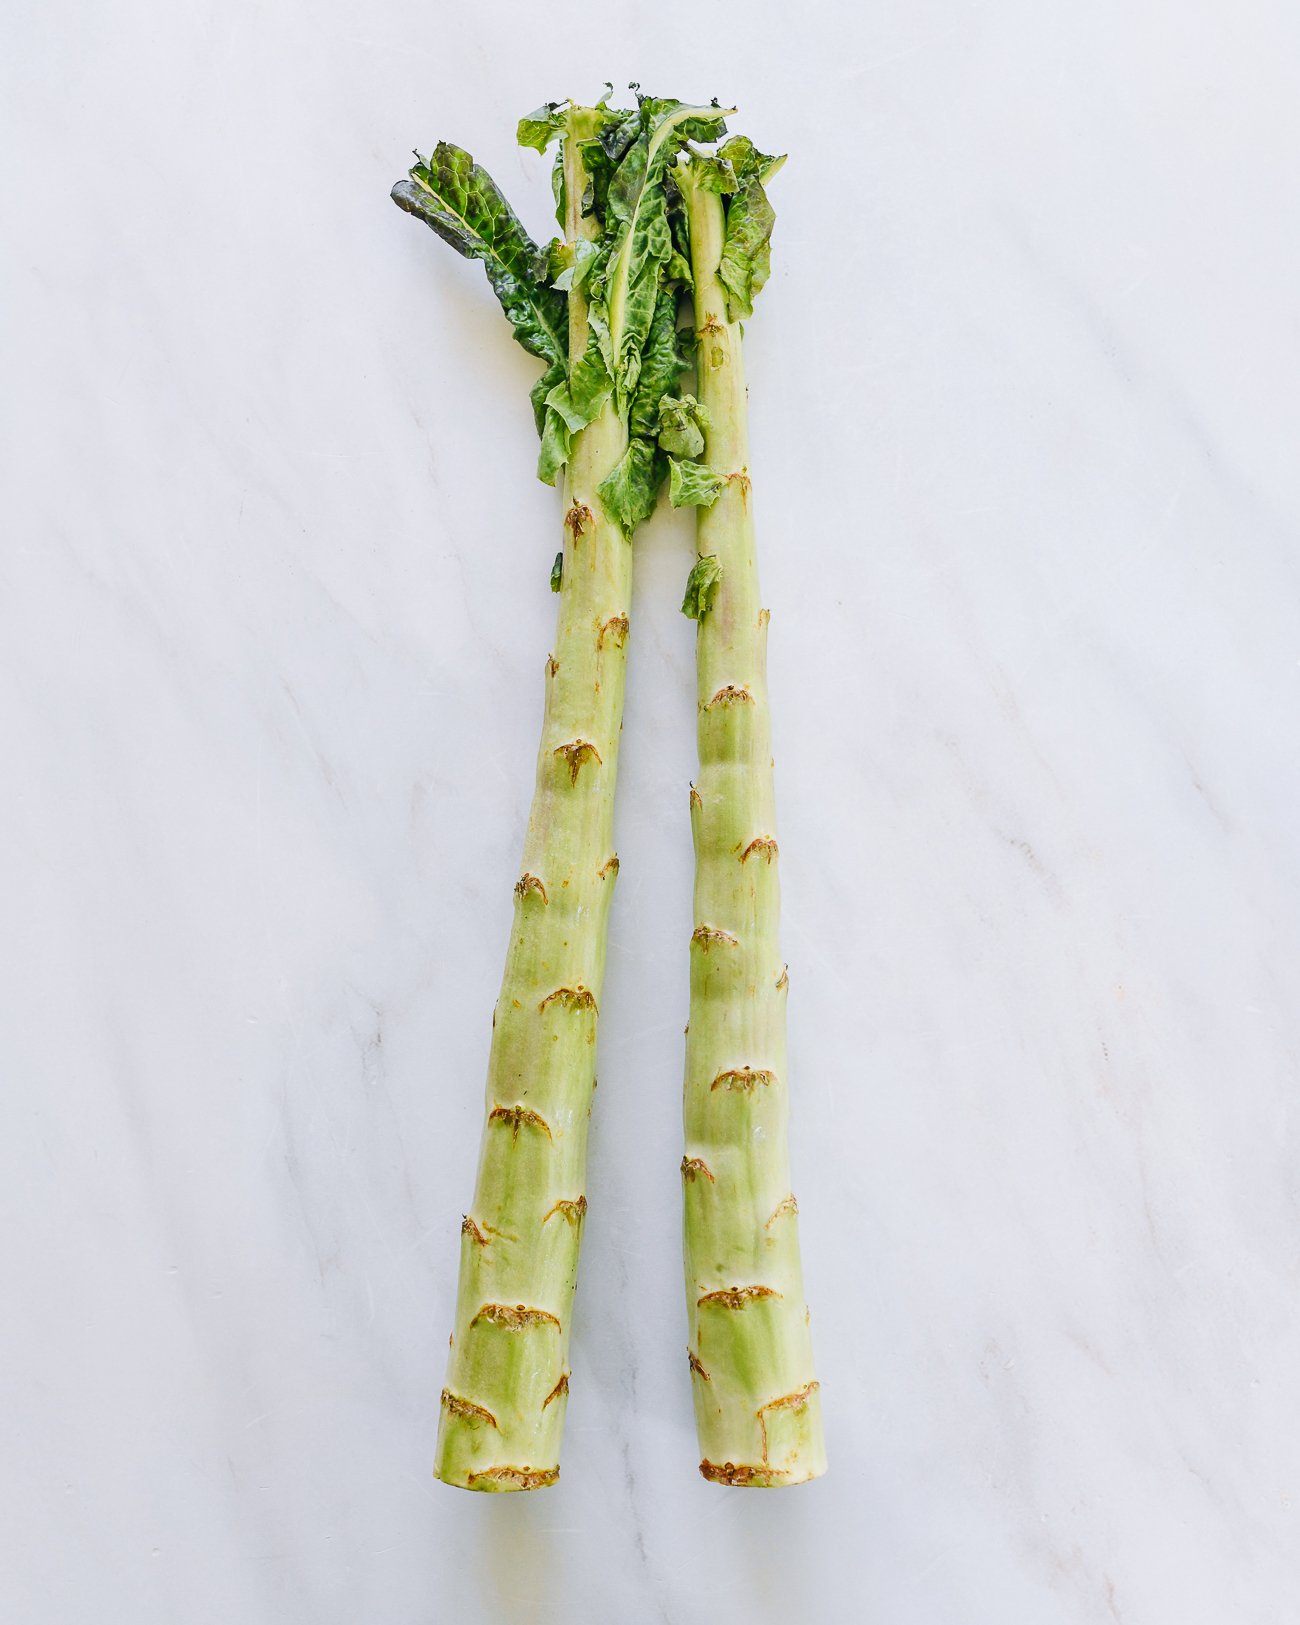
We have dozens more vegetable varieties in the works, but we’ll save those for the summer update. As a bit of a teaser, one new experimental crop we’re growing is celtuce! We’ll see how that one goes…
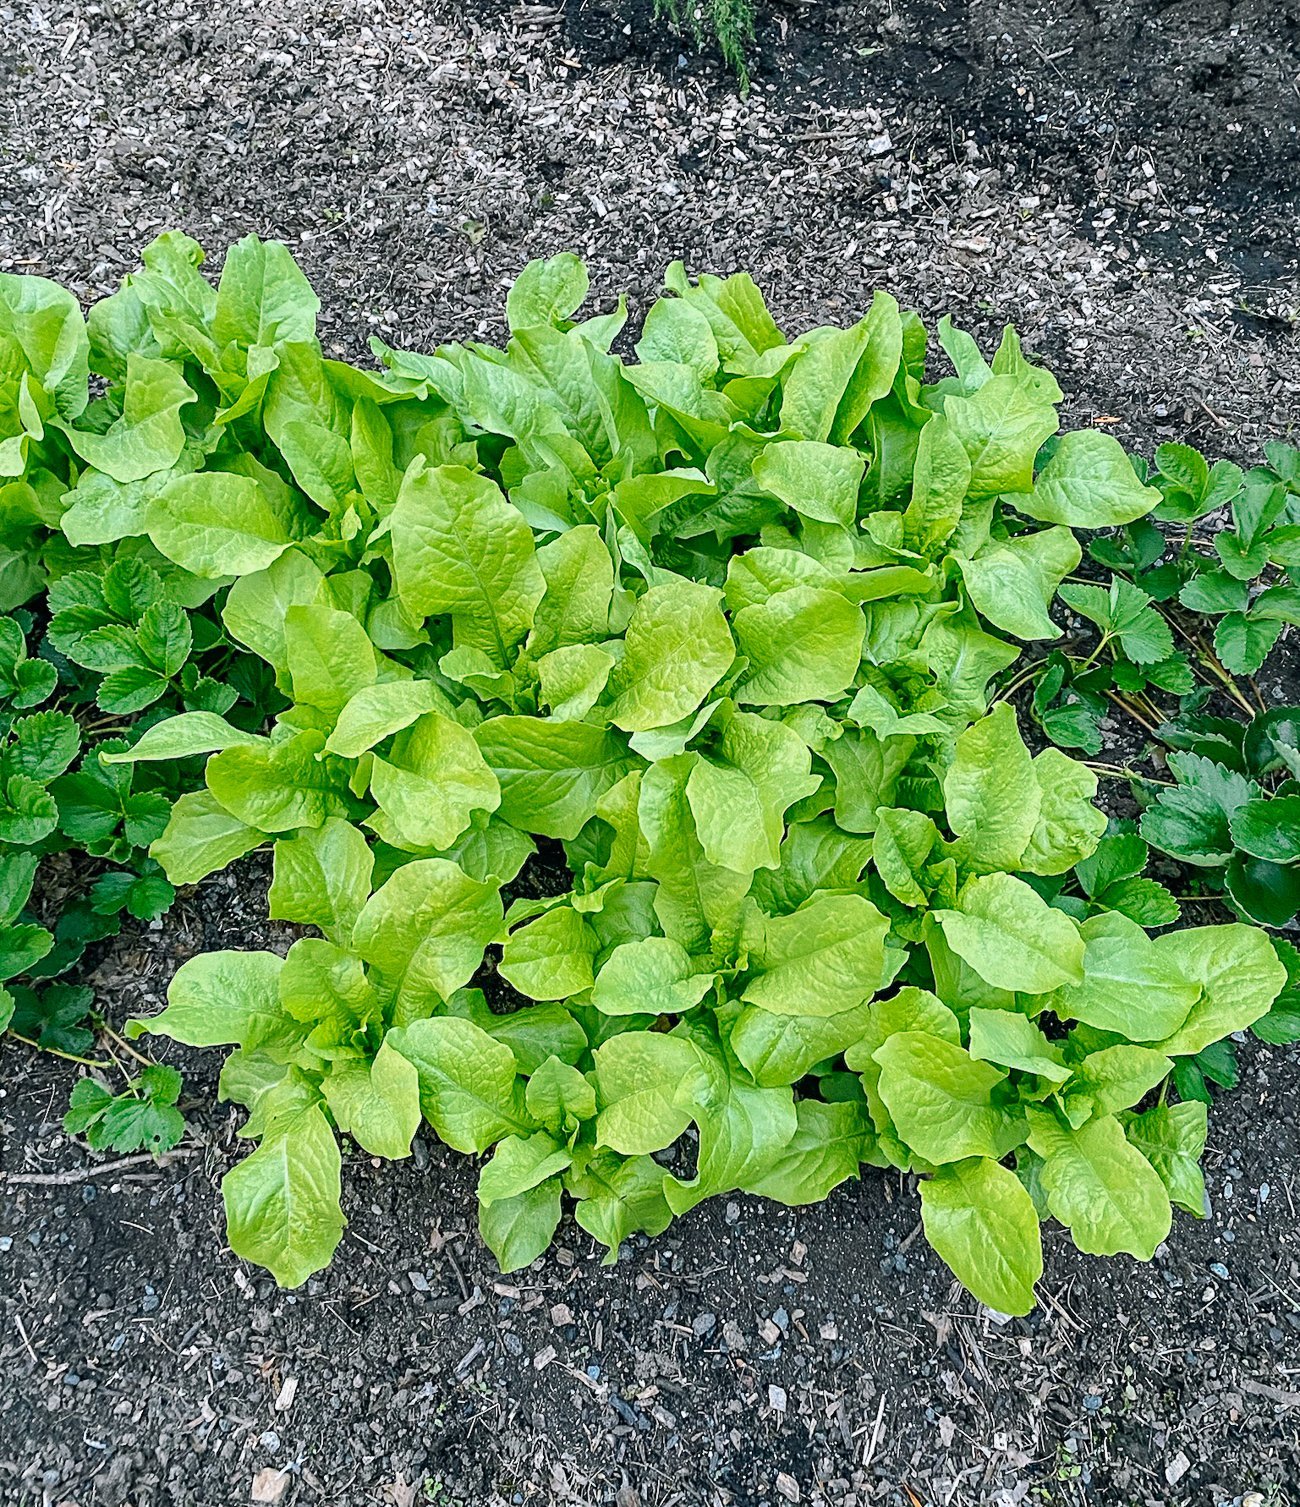
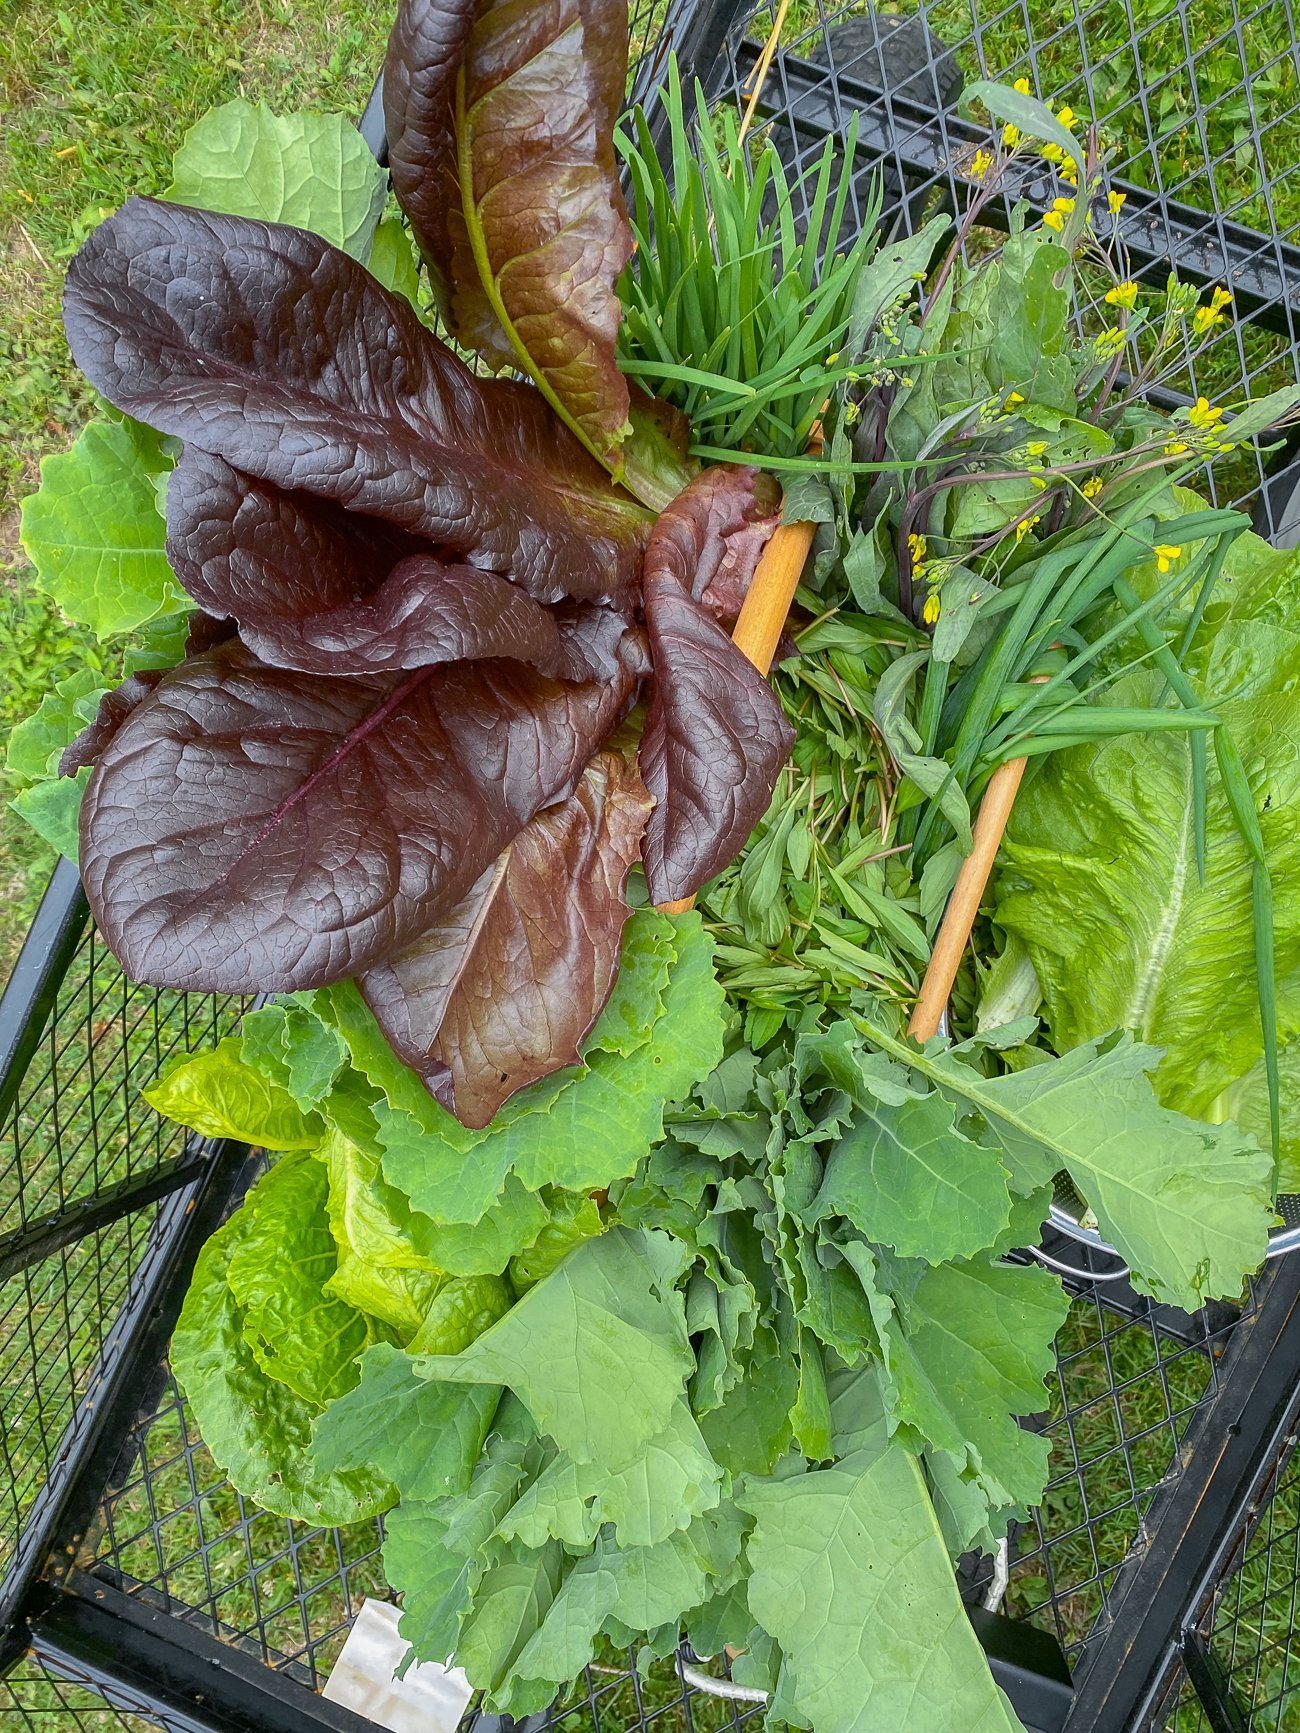
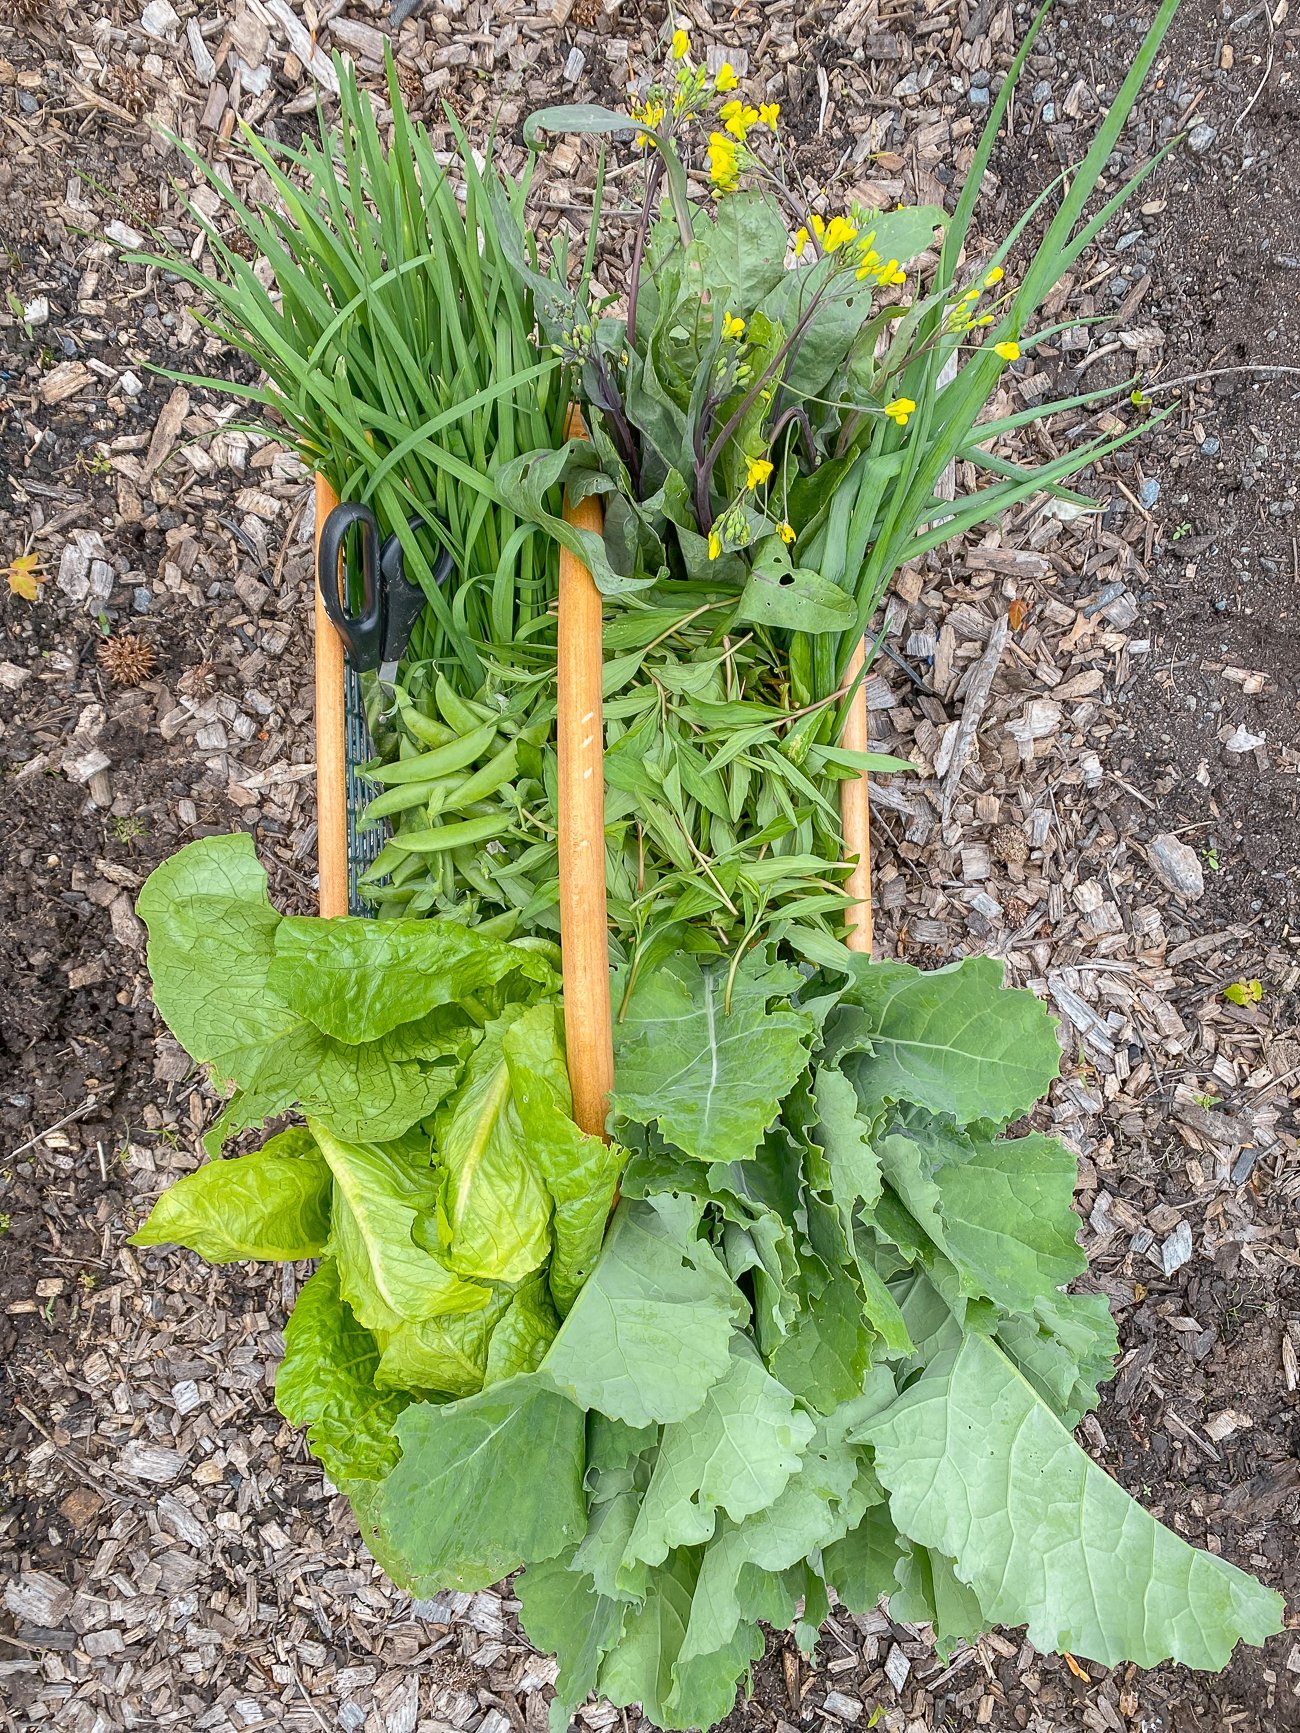
Thus far, we’ve been able to harvest red leaf lettuce, romaine, kale, scallions, garlic chives, snap peas, malantou, and other herbs.
The Next phase for the Vegetable Garden:
The plan is to build a greenhouse to further improve our seedling operation and store plants over winter, like our Meyer lemon tree, dahlias, etc.
We may also put up a potting shed for garden tools, so we don’t have to walk back and forth from the garage constantly (forgetting things in the garage has become quite the pet peeve). This will also be a space for sowing seeds and re-potting plants out of the wind and rain.
We’re also going to expand the footprint of the garden, replace the old fence (which is years old and barely holding on at this point), and lay out the beds a bit differently to make it a space we can hang out in.
The Kitchen Garden
So that was the big garden behind the pond. But what about the smaller kitchen garden between the barn and the house?
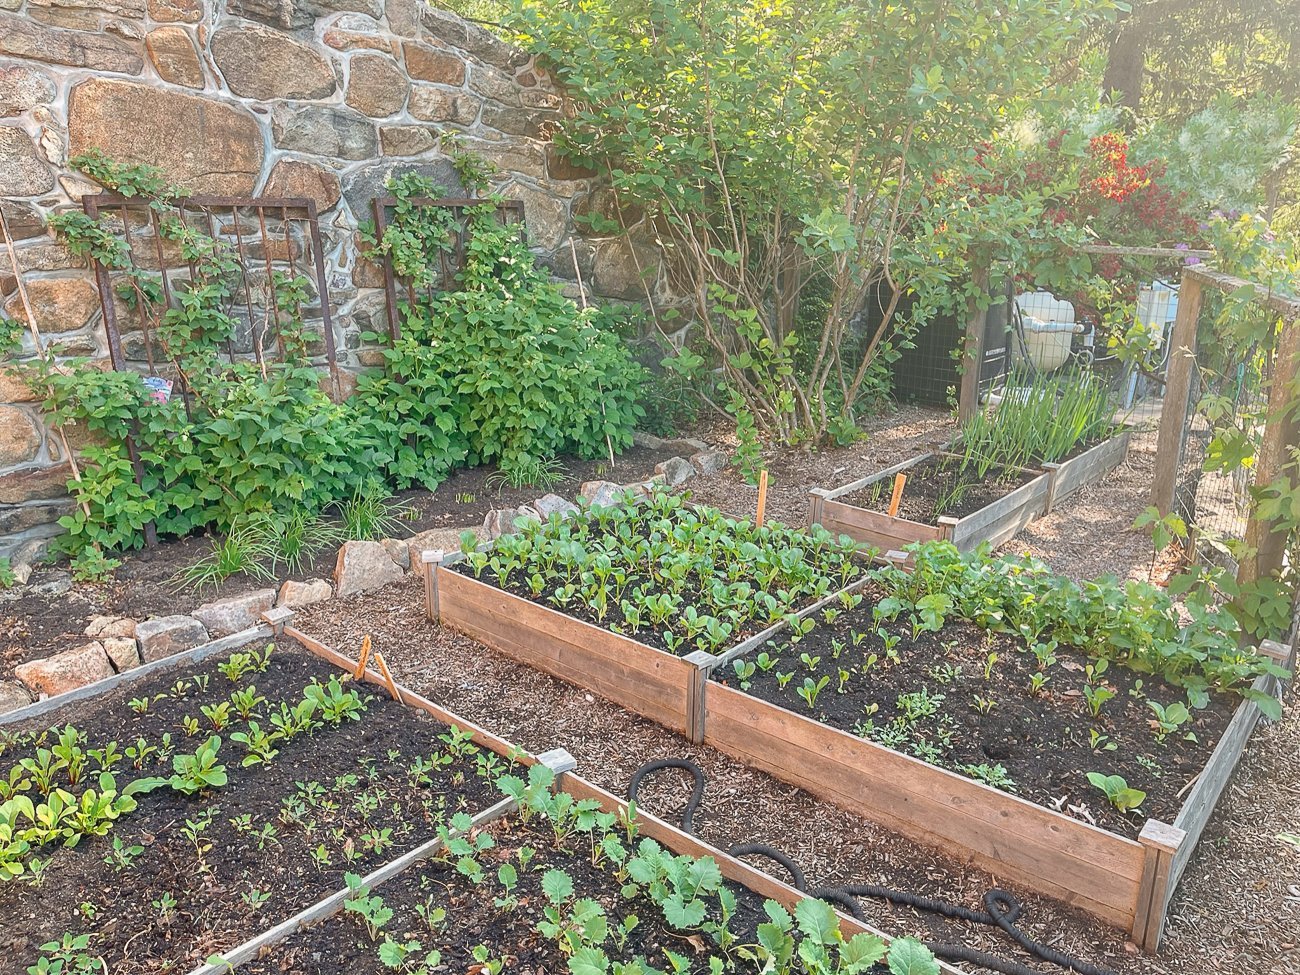
We started these beds pretty early too, growing scallions and tender leafy greens that we wanted in the ground earlier (raised bed soil warms up quicker for better germination, and leafy greens generally prefer cooler temps).
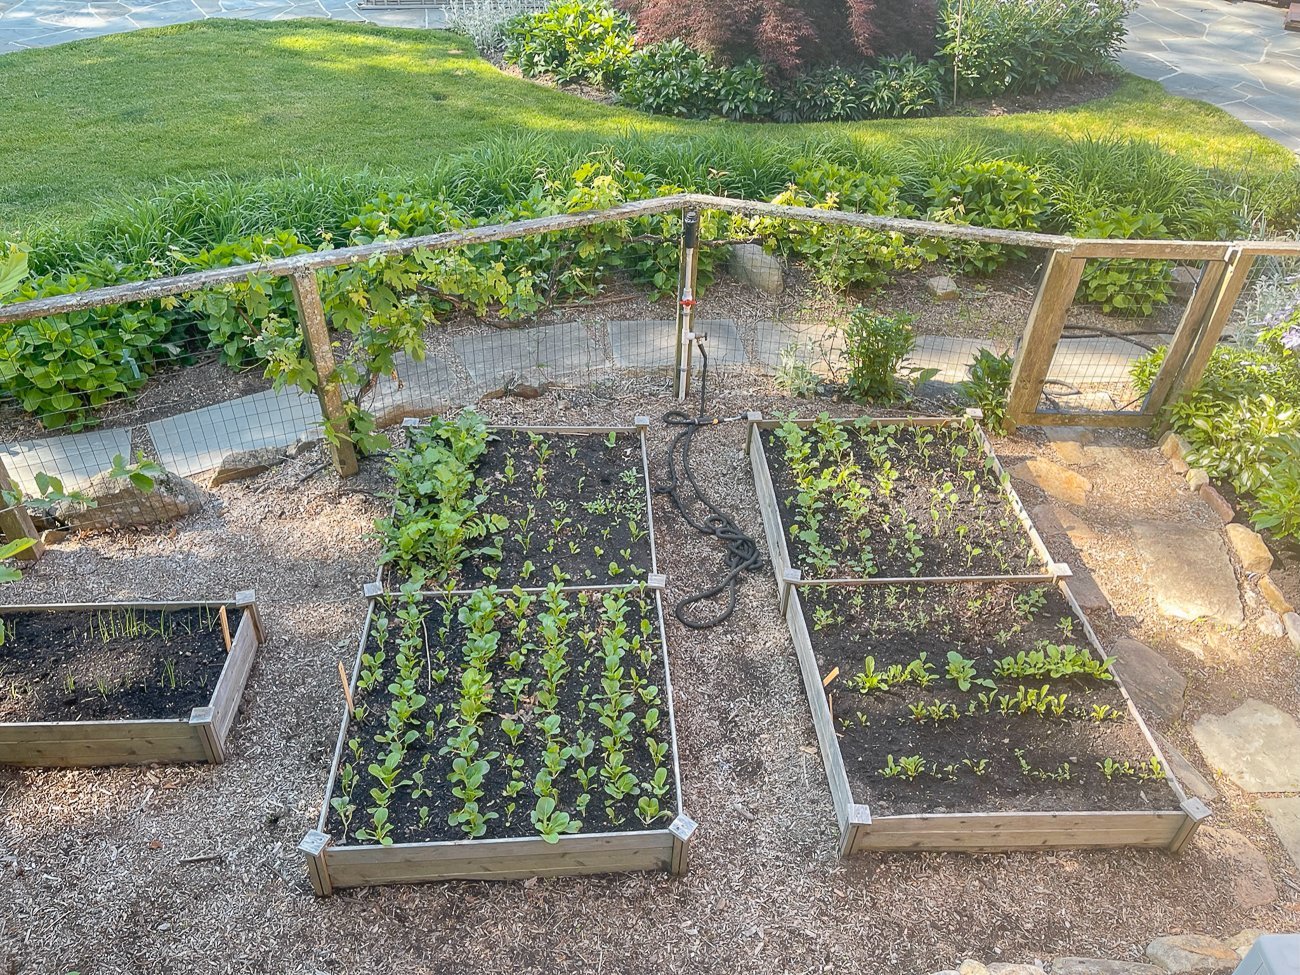
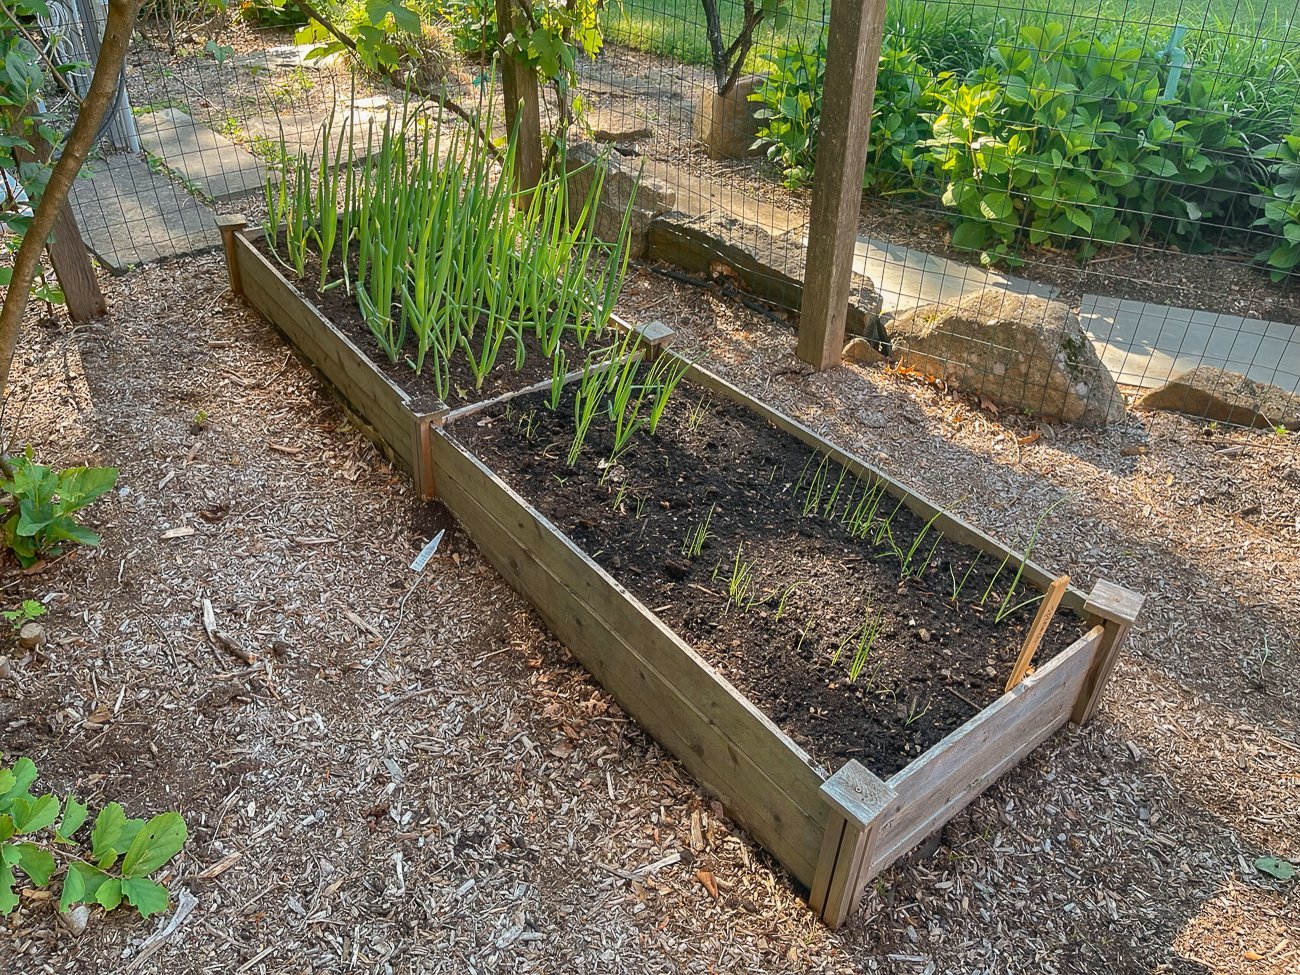
Our scallions are also coming along nicely. The bed on the left has scallions that we rooted from grocery store cuttings, and the bed on the right is growing from direct-sown seeds:
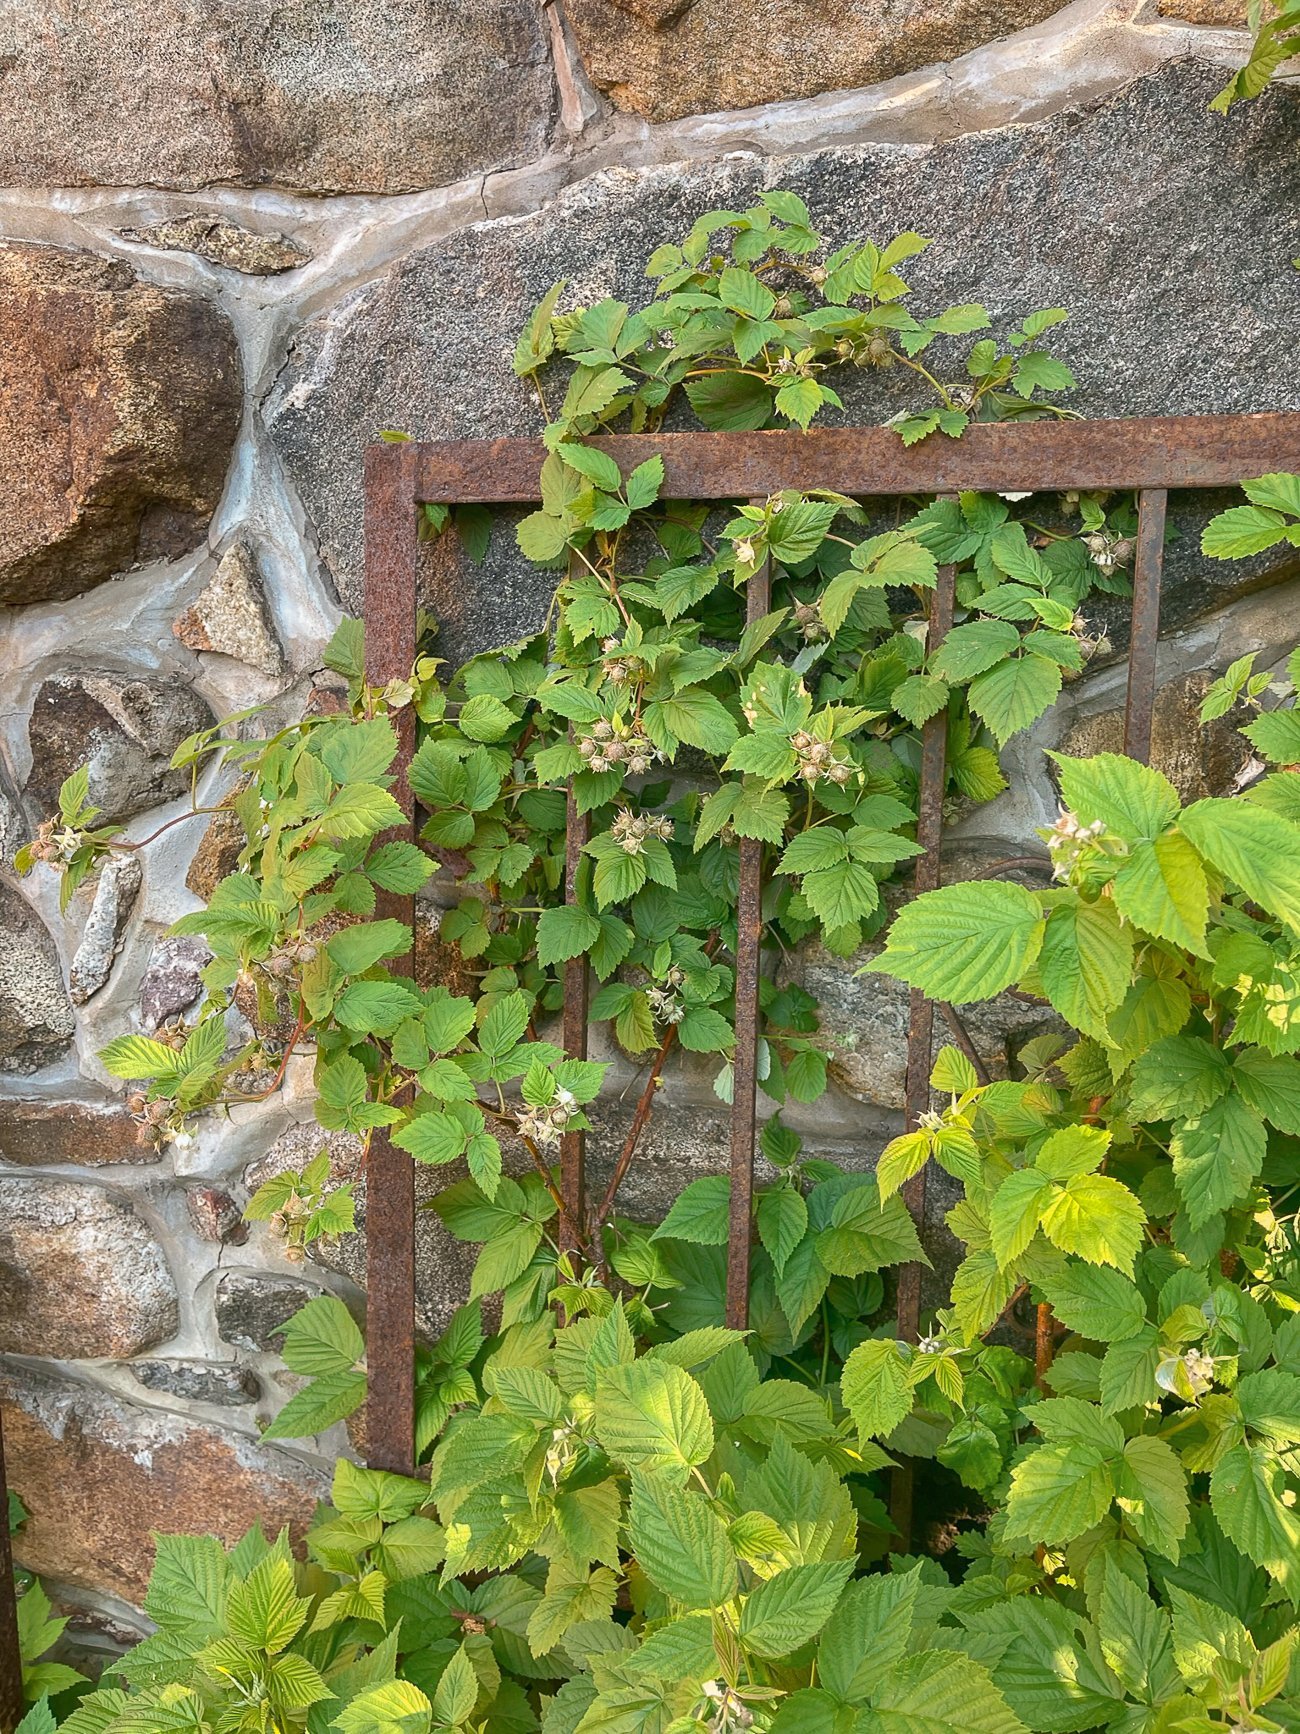
We also have raspberries emerging!
The Next phase for the Kitchen Garden:
We’ll probably keep this area reserved for spring leafy greens and other delicate brassica-type veggies that we want to keep out of the clutches of slugs. We’ll plant another fall crop of leafies later this summer.
The approach seemed to work pretty well, though these beds did need a little extra organic fertilizer boost! (Alpaca poo, anyone?)
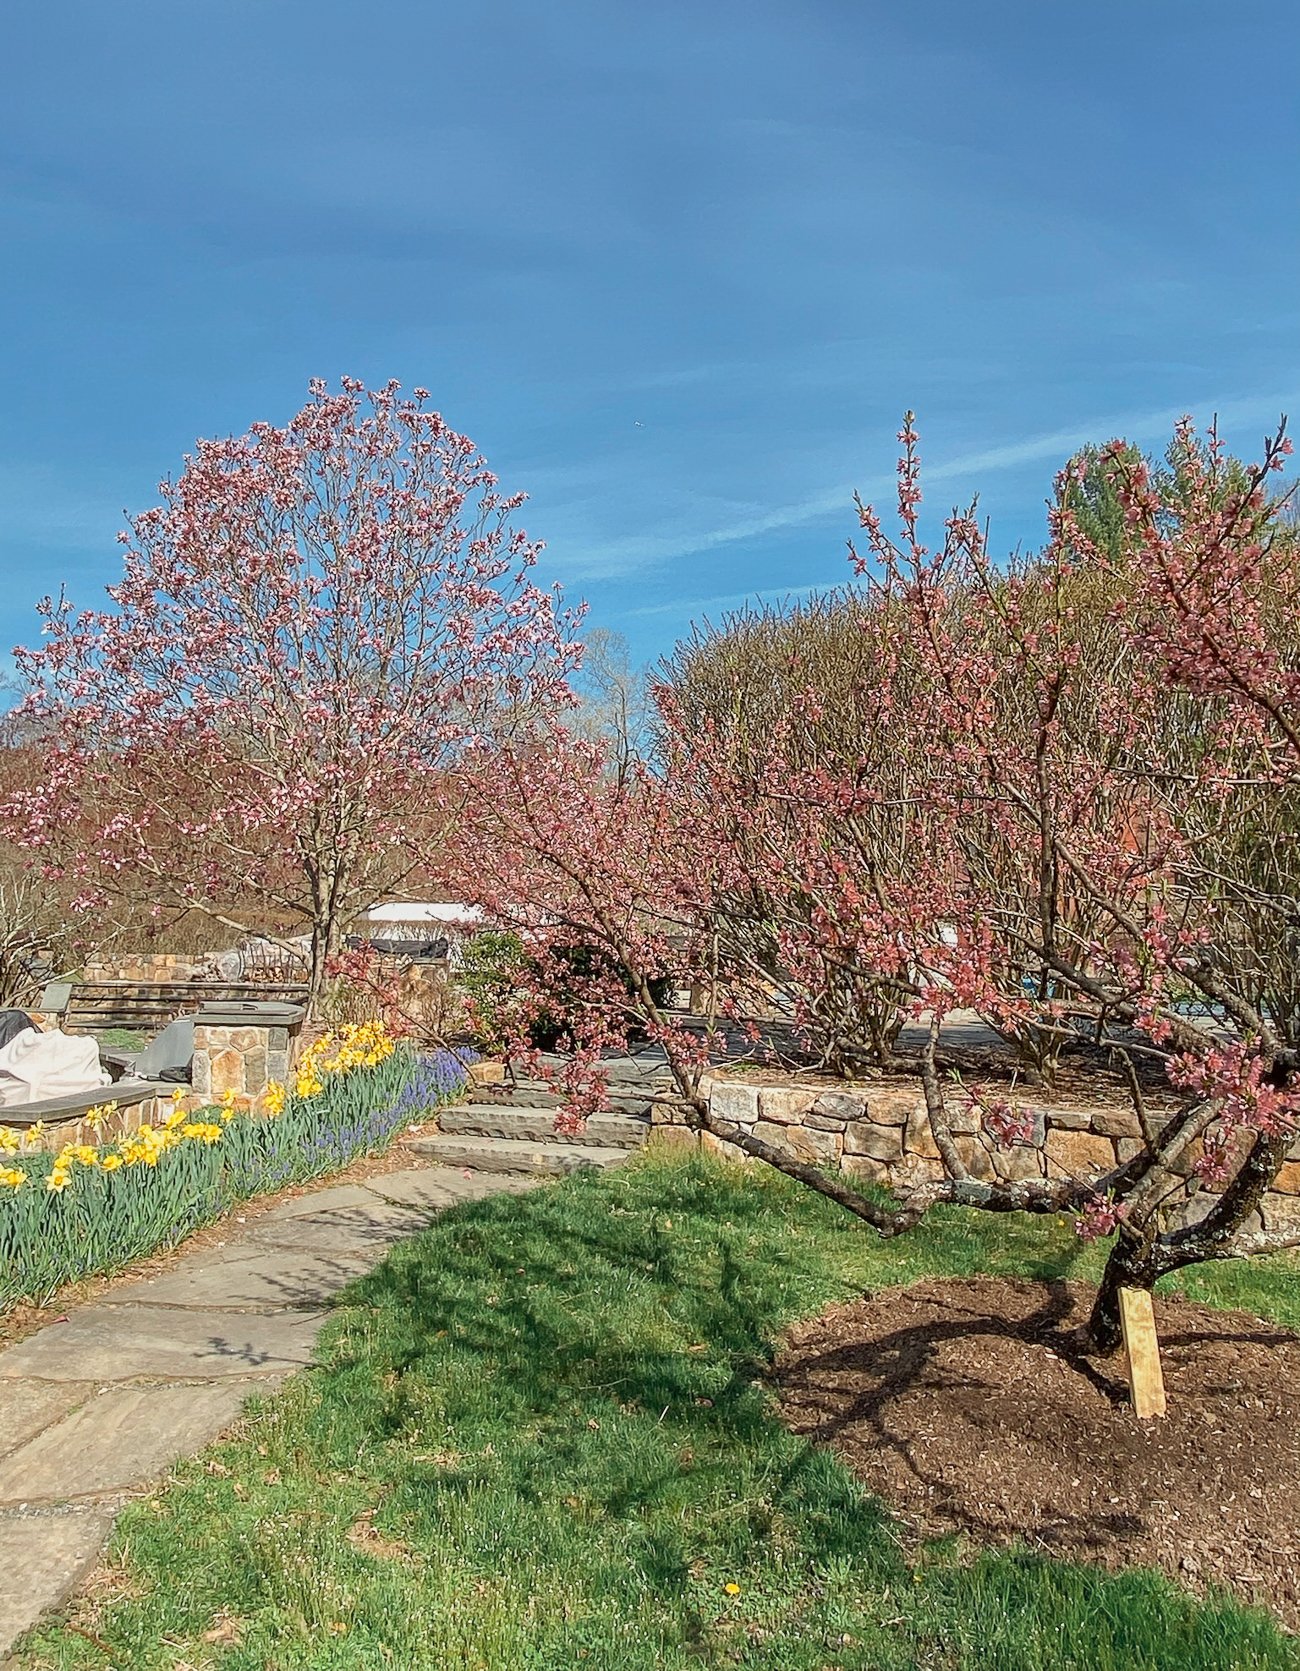
The Trees & Orchard
In 2022, we did a ton of work on the trees around the property, taking down 60 ash trees that had been decimated by the dreaded Emerald Ash Borer.
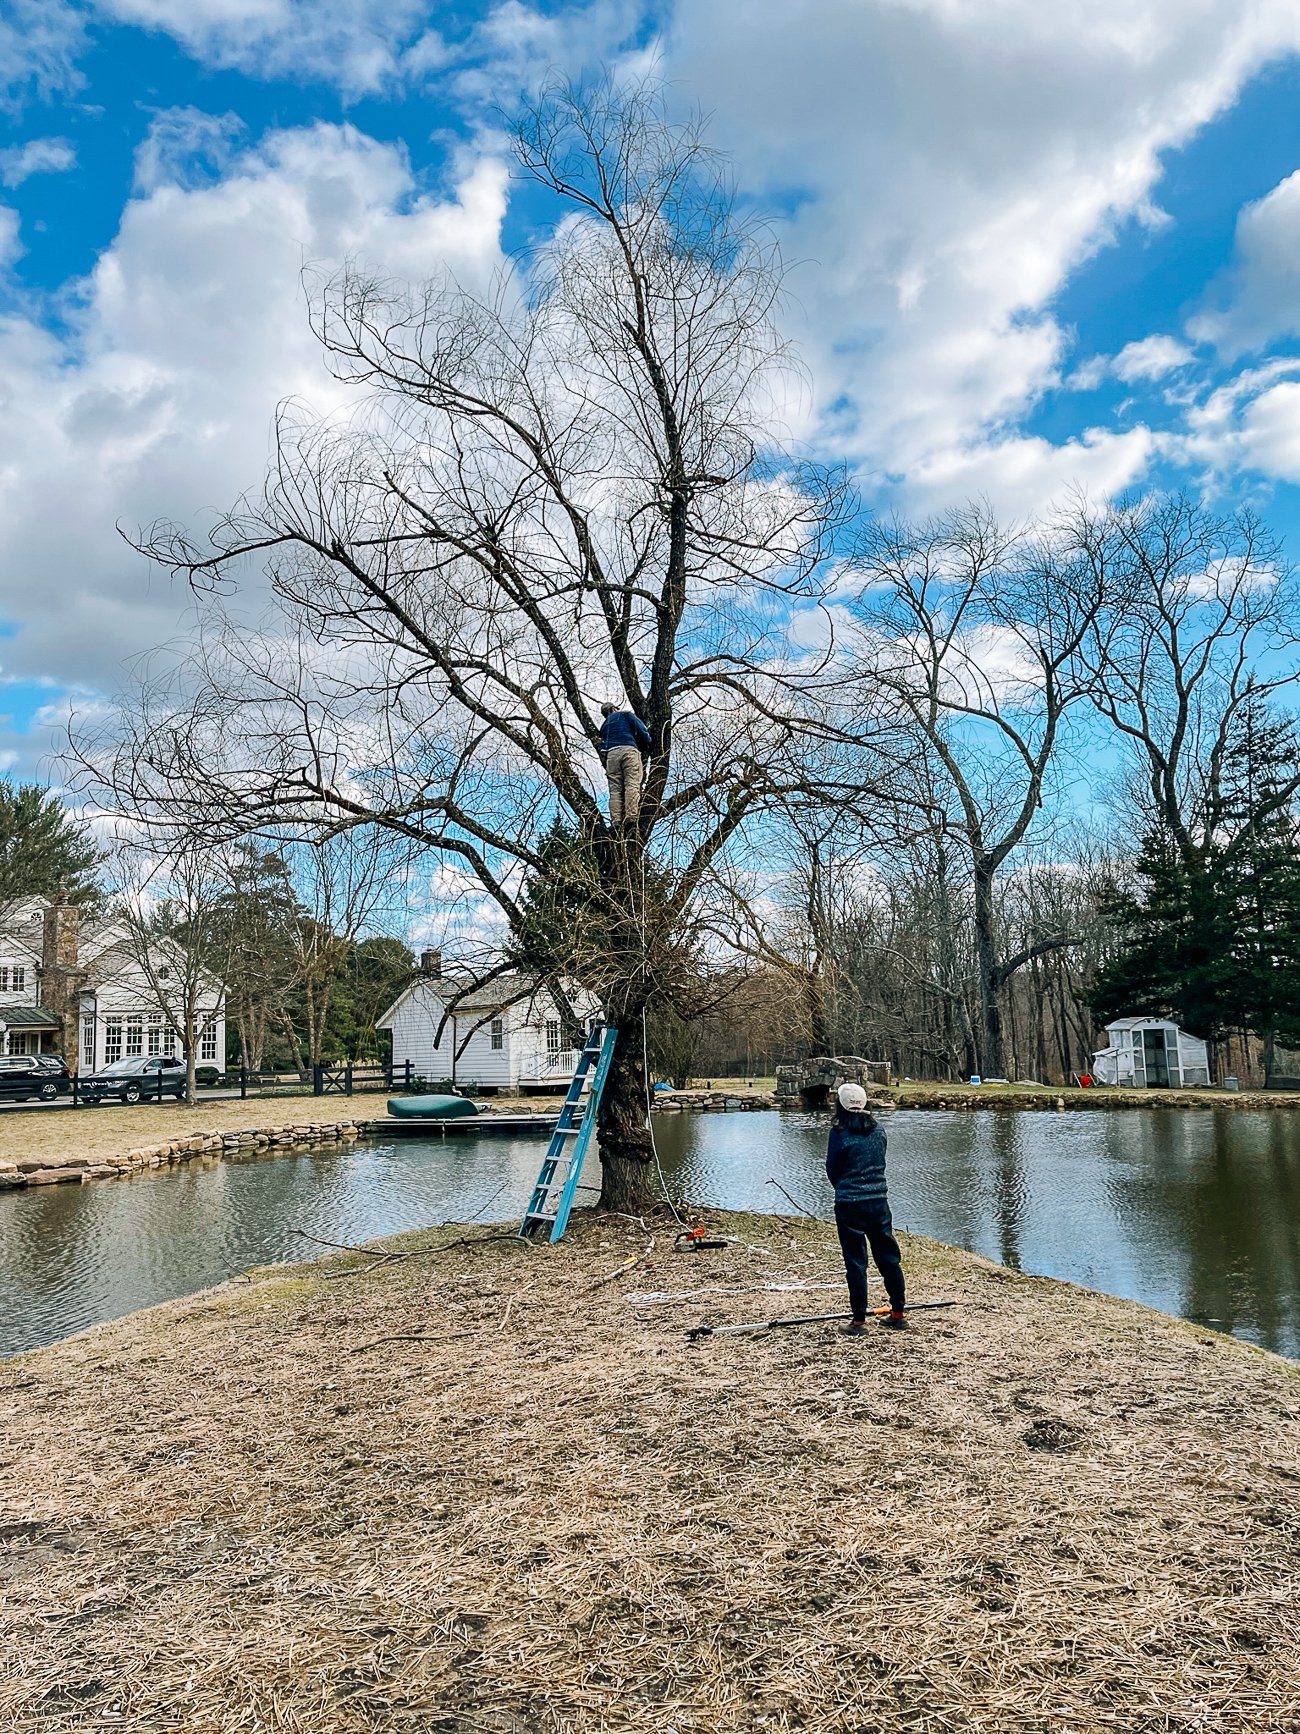
This year’s tree work didn’t require cranes and industrial wood chippers, thank goodness. My parents went around pruning trees in early spring with a decidedly more surgical approach:
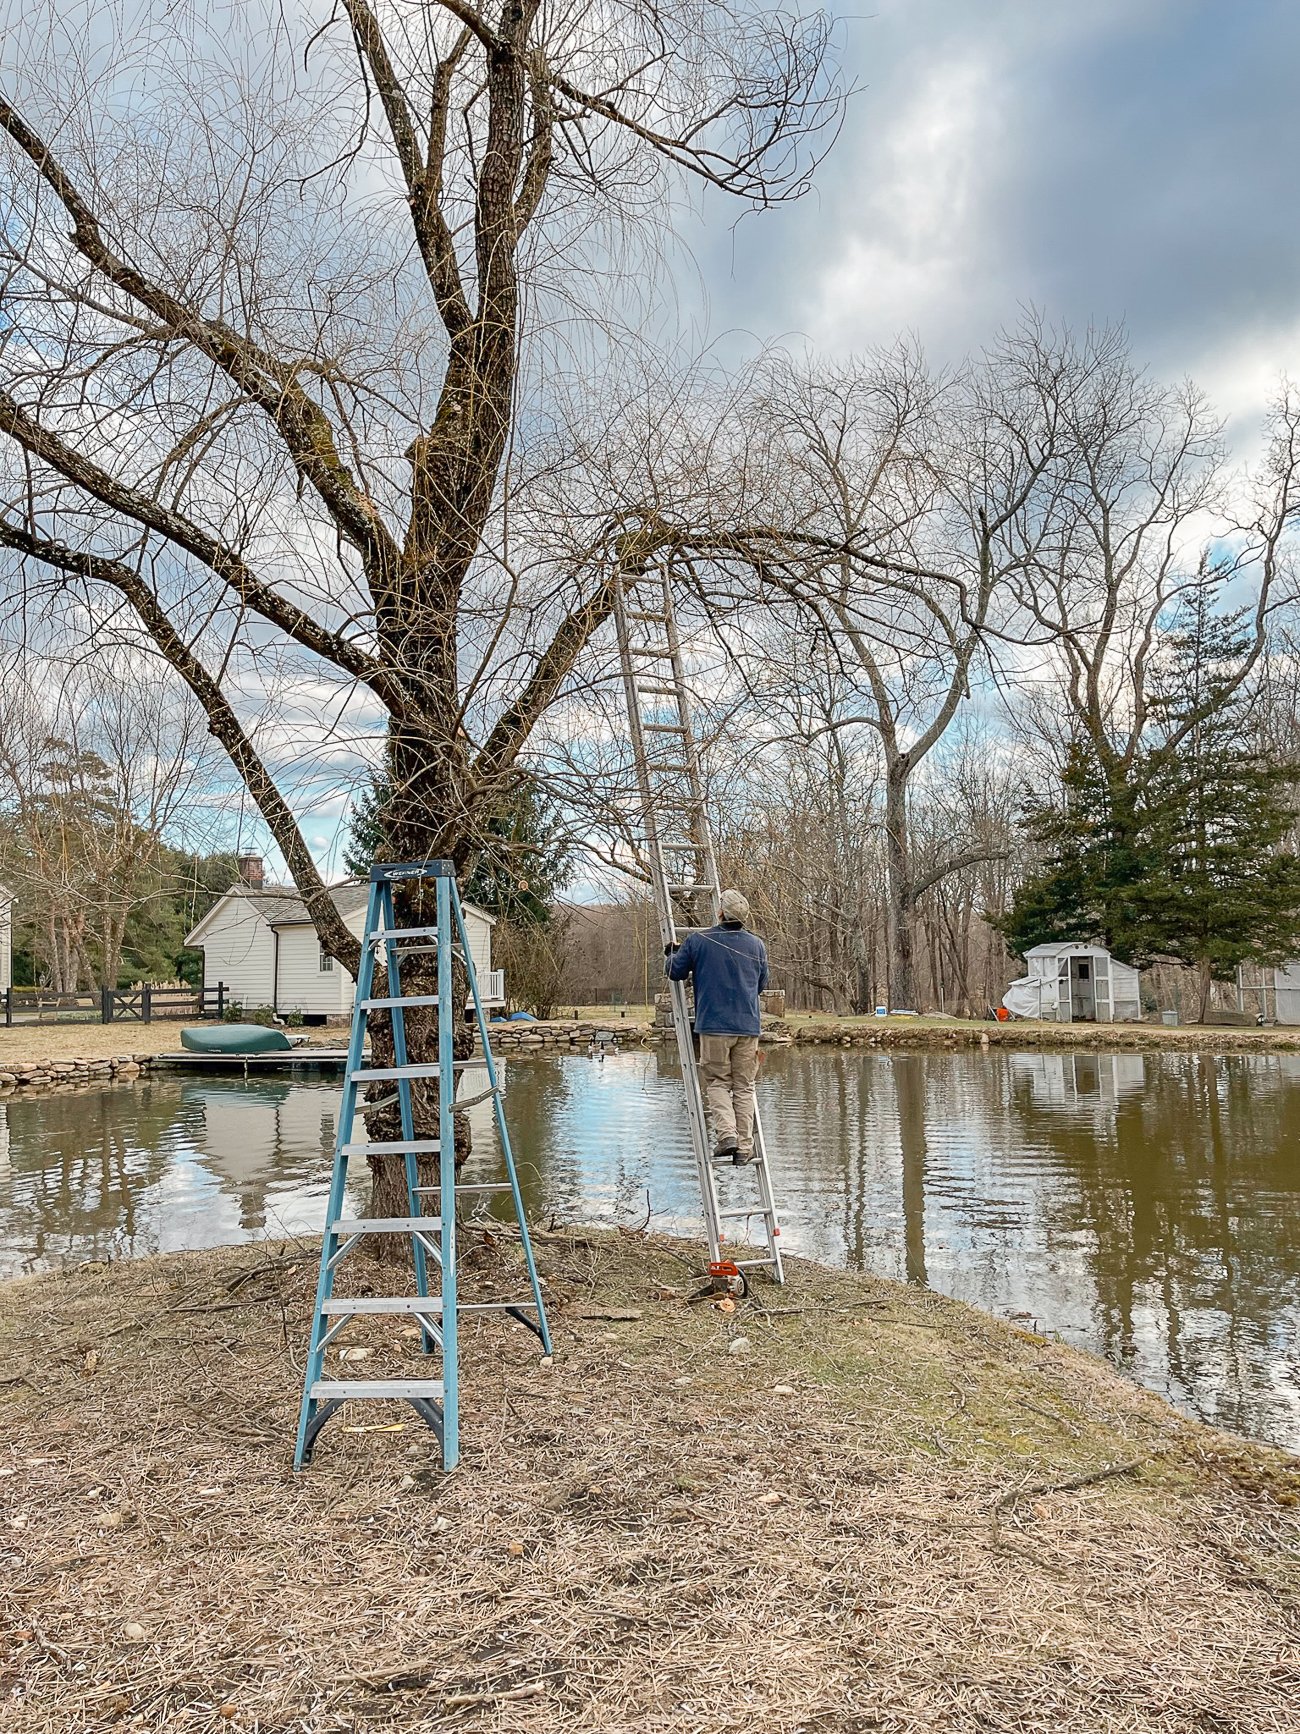
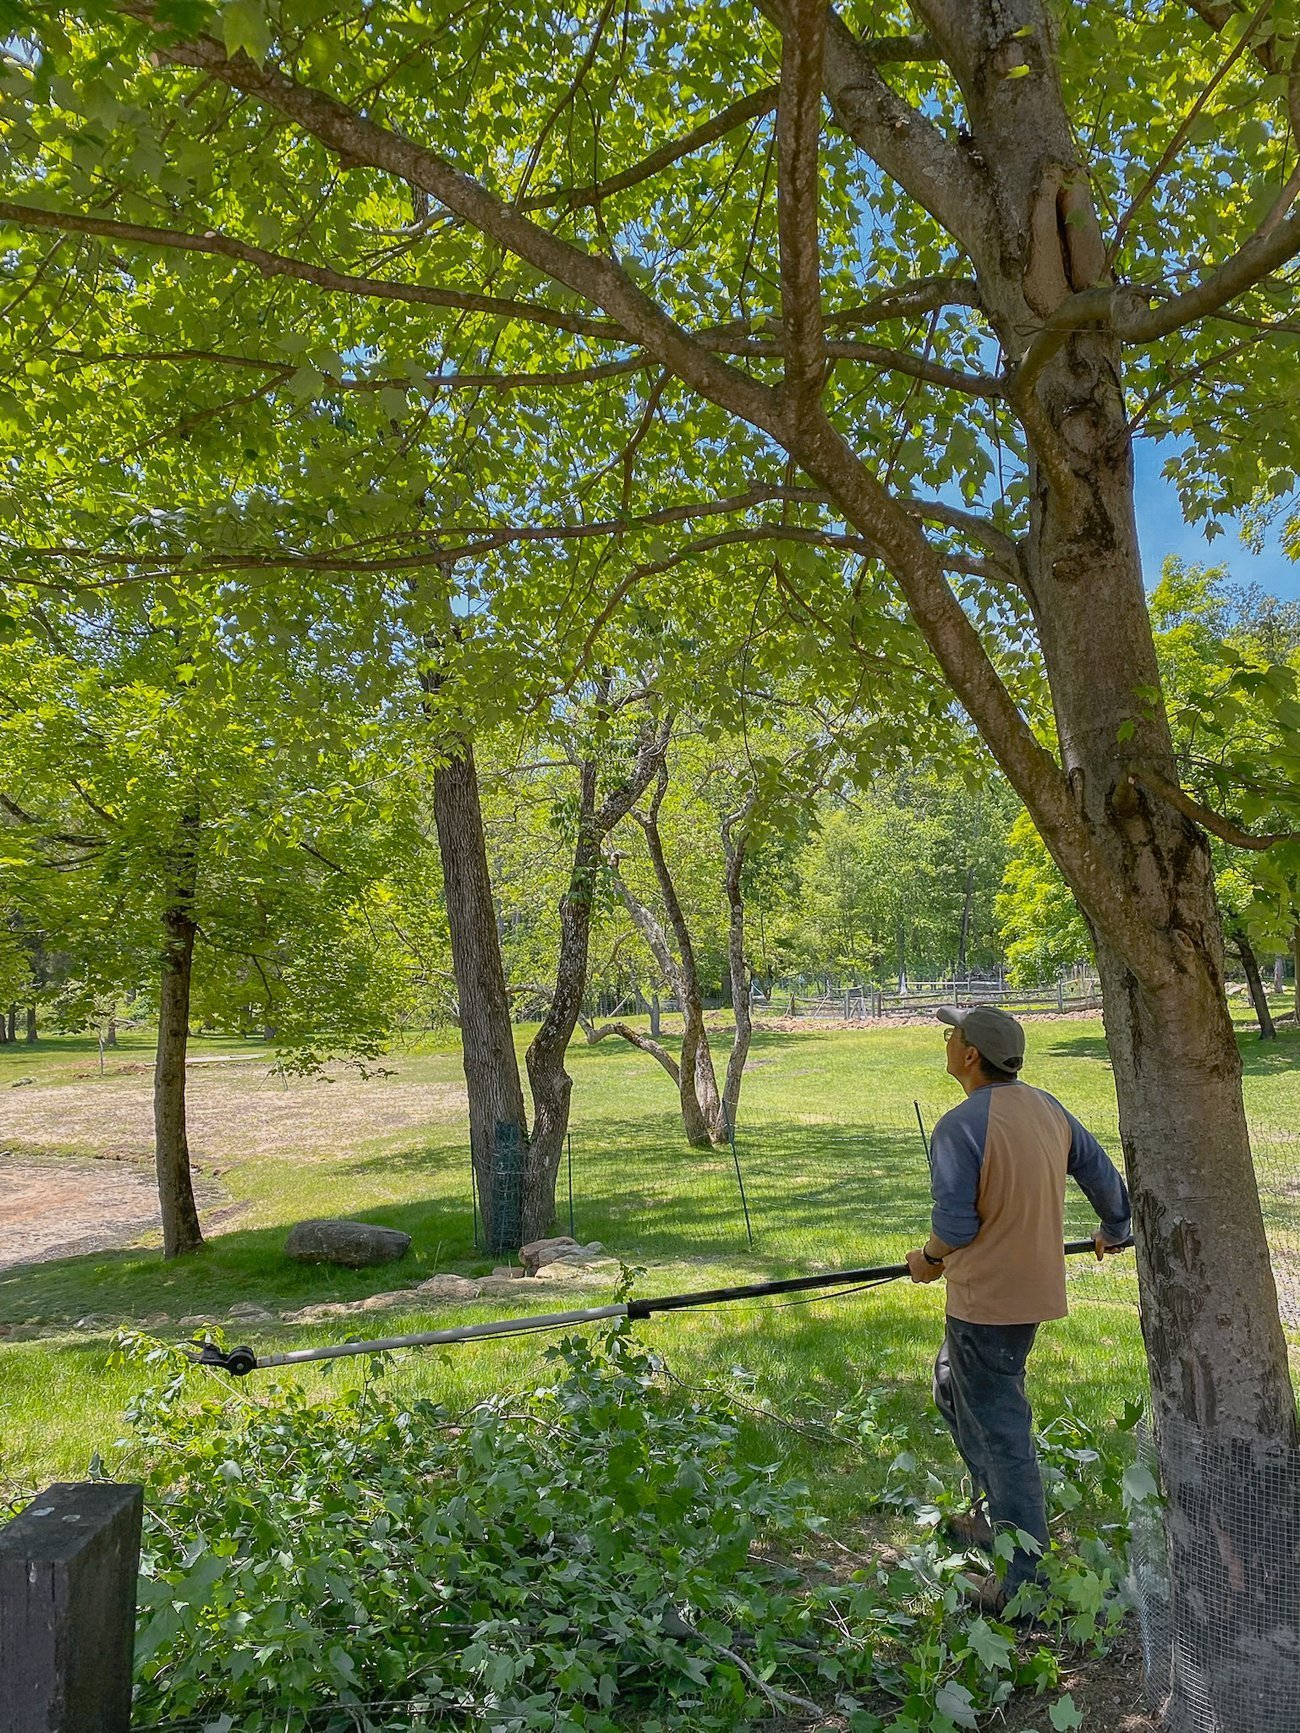
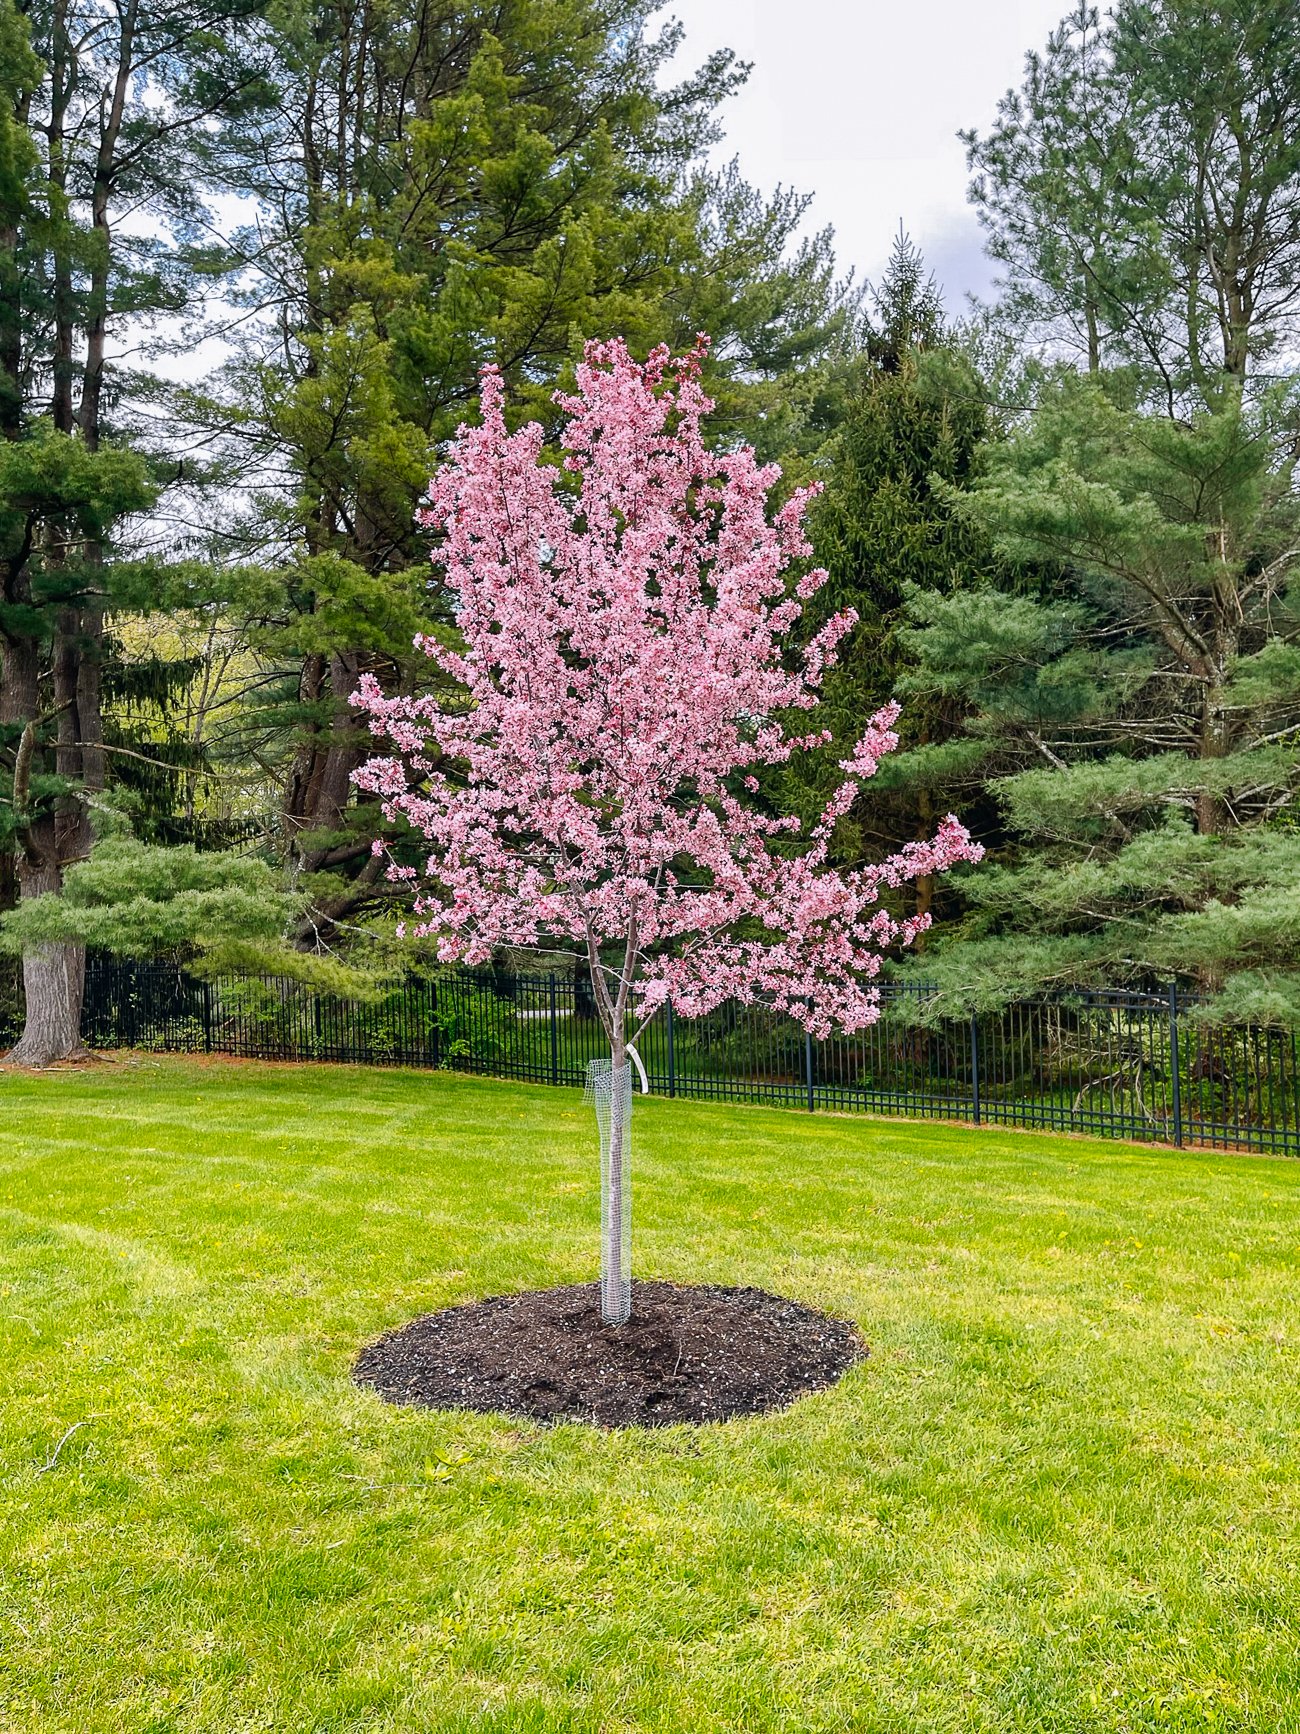
We also planted more ornamental trees, including cherries, maples, and these tiny little sticks that we got from the Arbor Day Foundation. Literal sticks.
They say the smaller the tree is when you plant it, the faster it’ll grow. We’ll see!
On to the orchard…
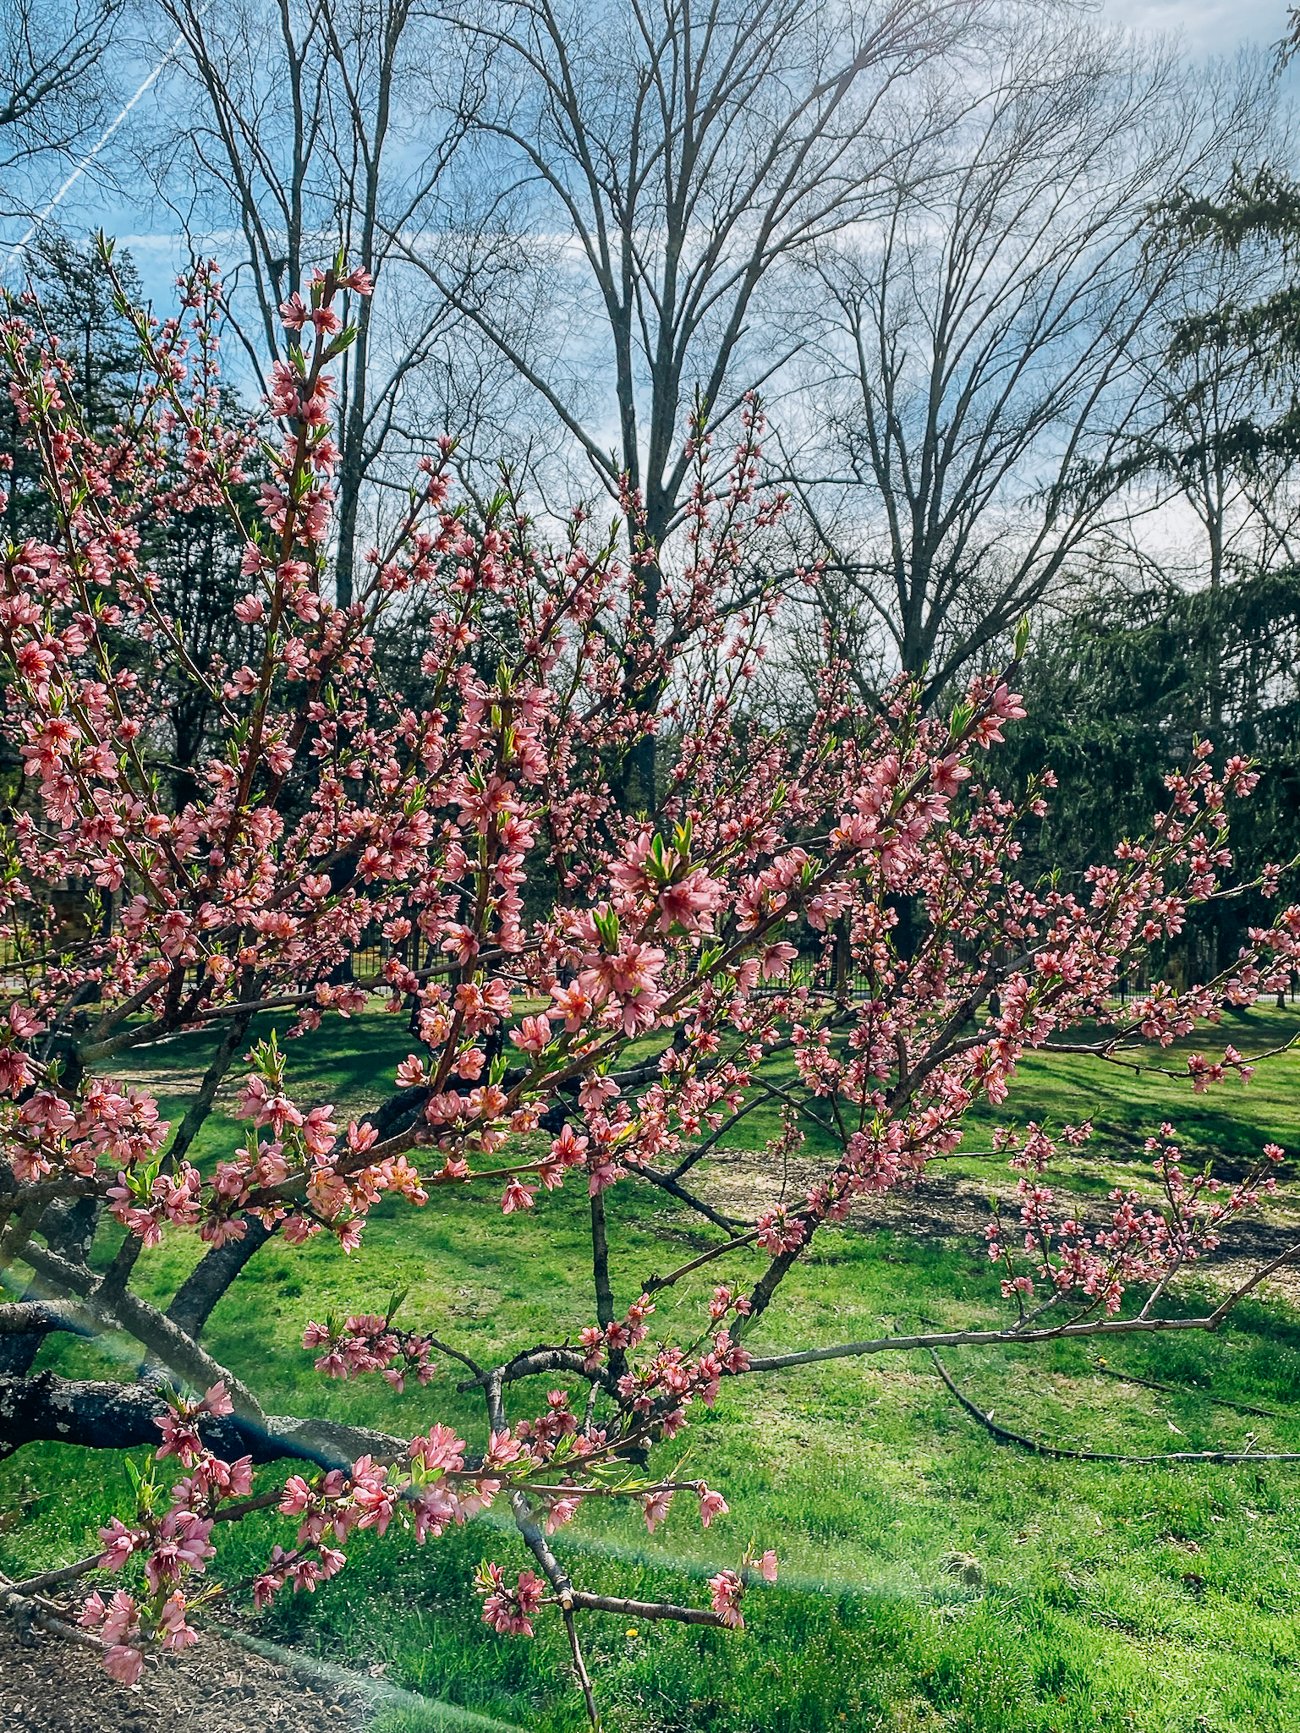
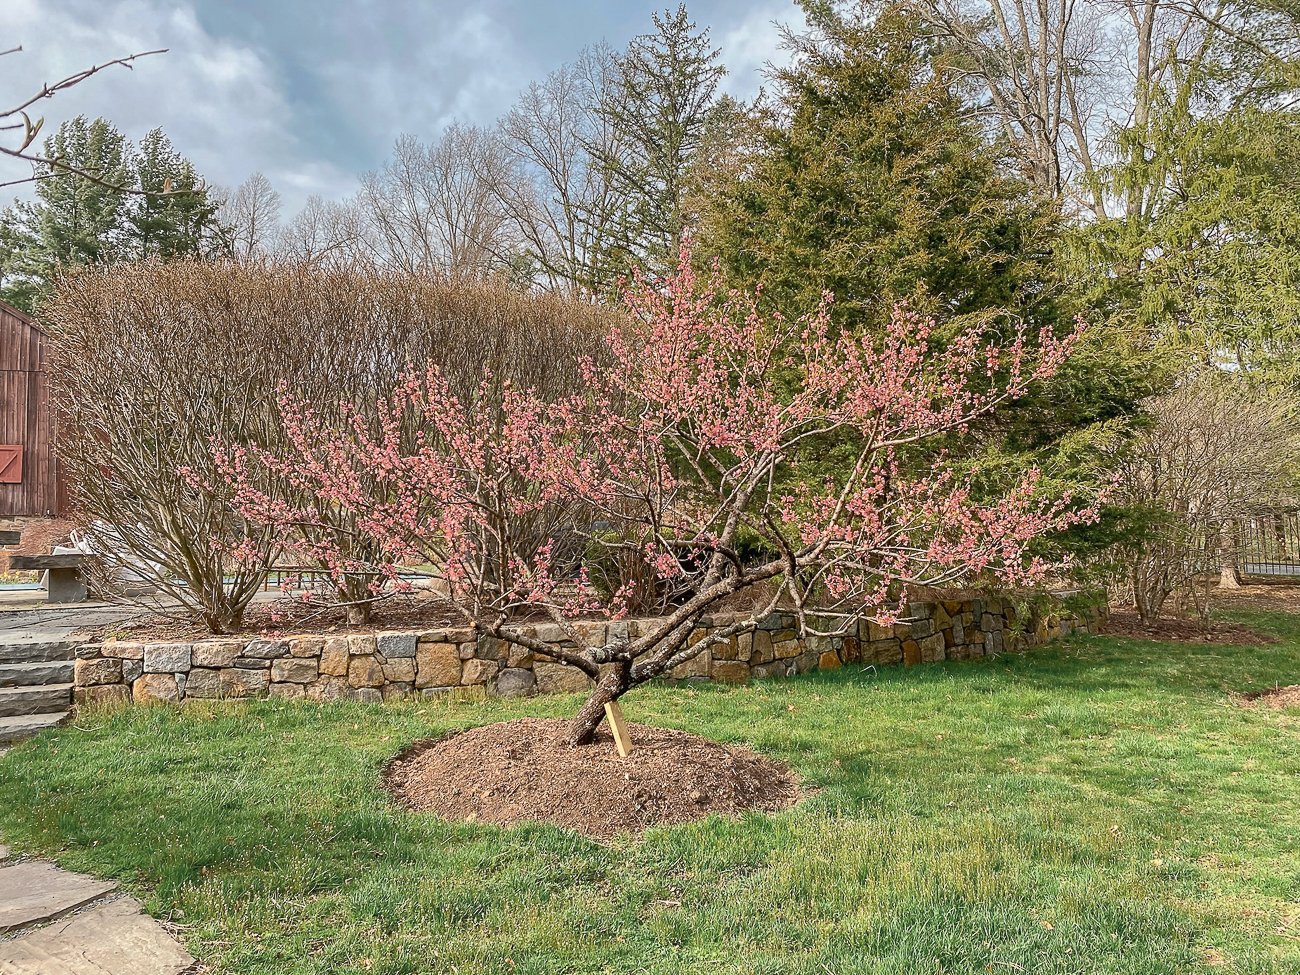
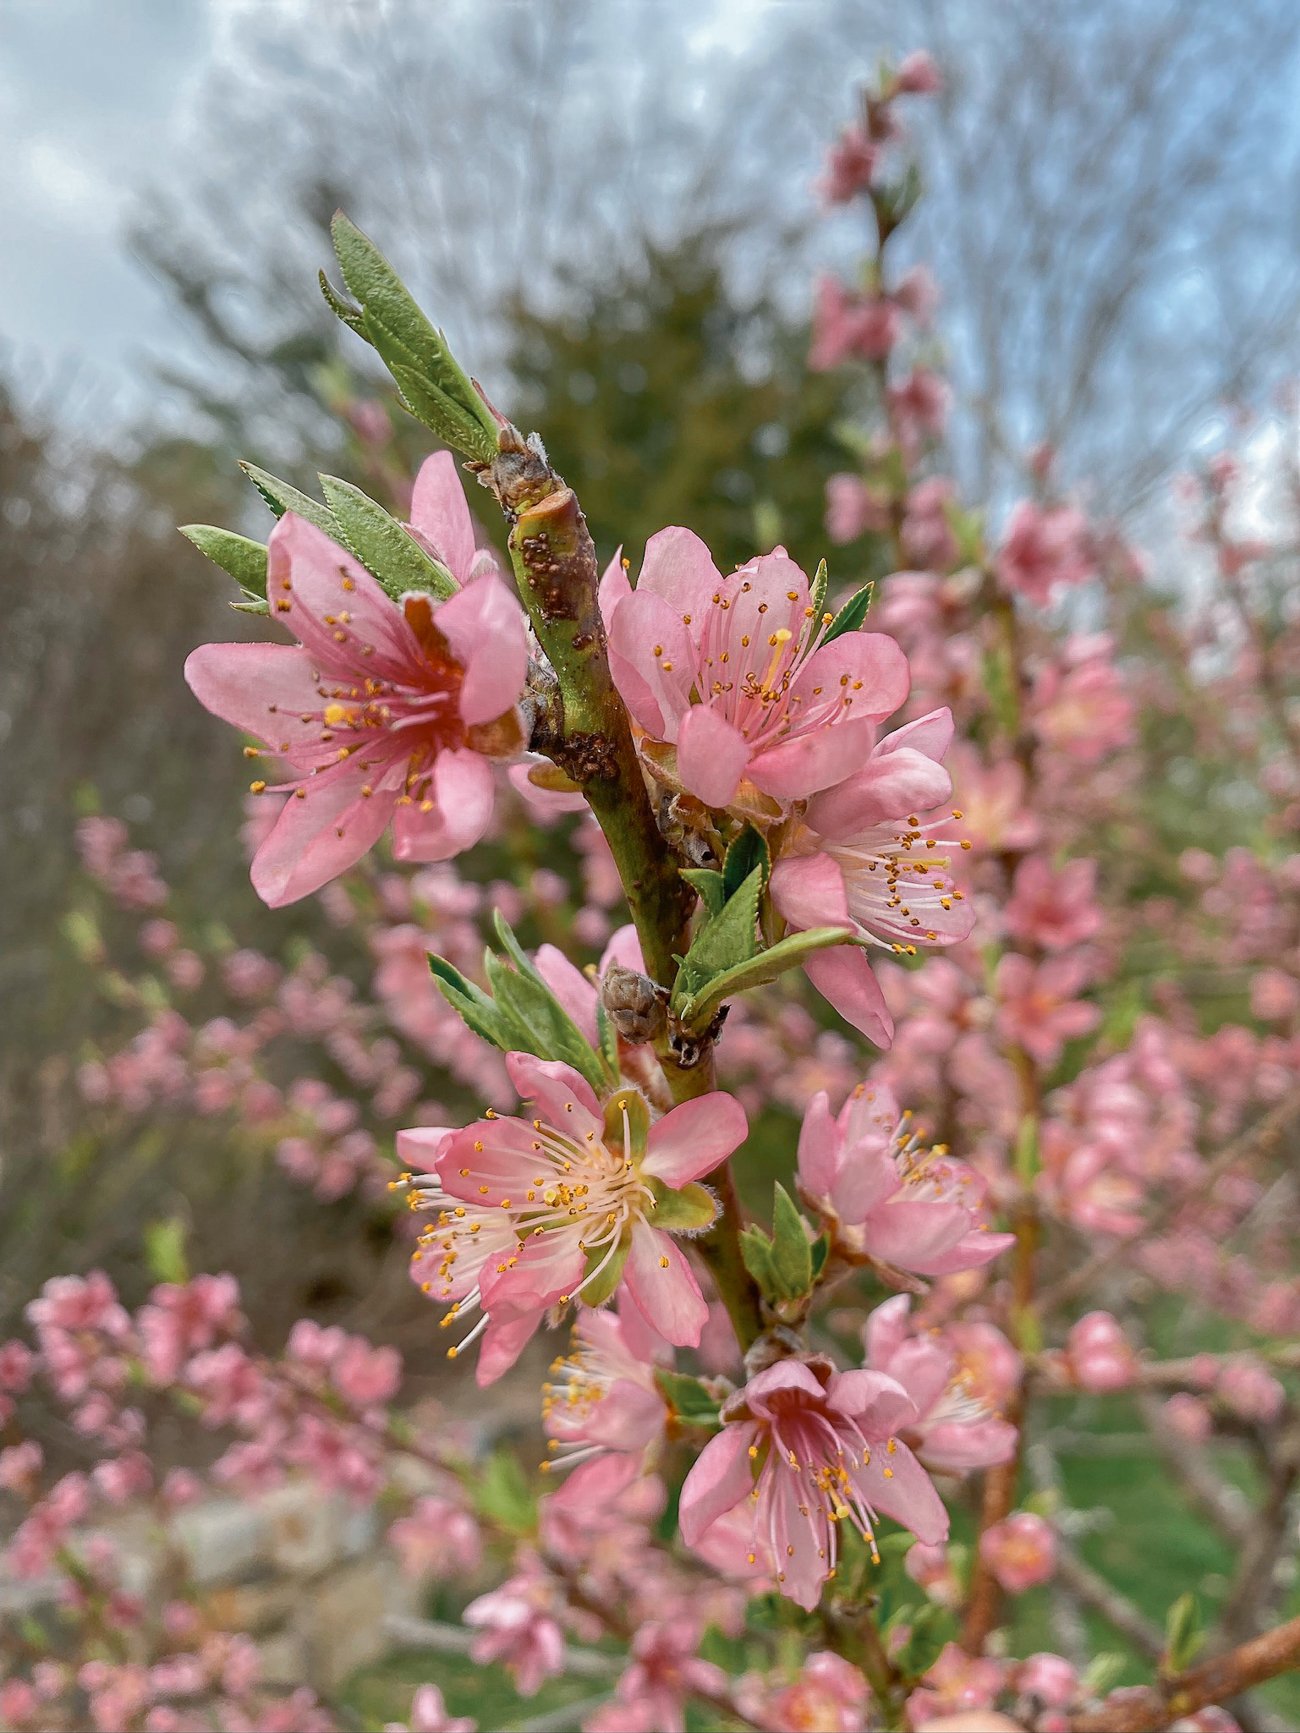
While last year, we didn’t get ANY peaches, pears, or apples due to fungal issues, we learned our lesson, and used fungicide spray to prevent this. I wish there was a way to do without it, but advice from folks at local New Jersey farms seems to indicate that the use of such sprays is necessary to yield a crop.
In the words of one farmer we spoke with, “If anyone tells you they don’t spray their peach trees, they’re lying!”
We also learned that you need to thin out the fruit on the tree to ensure the remaining fruit grows larger and sweeter. Here are the peaches my mom thinned:
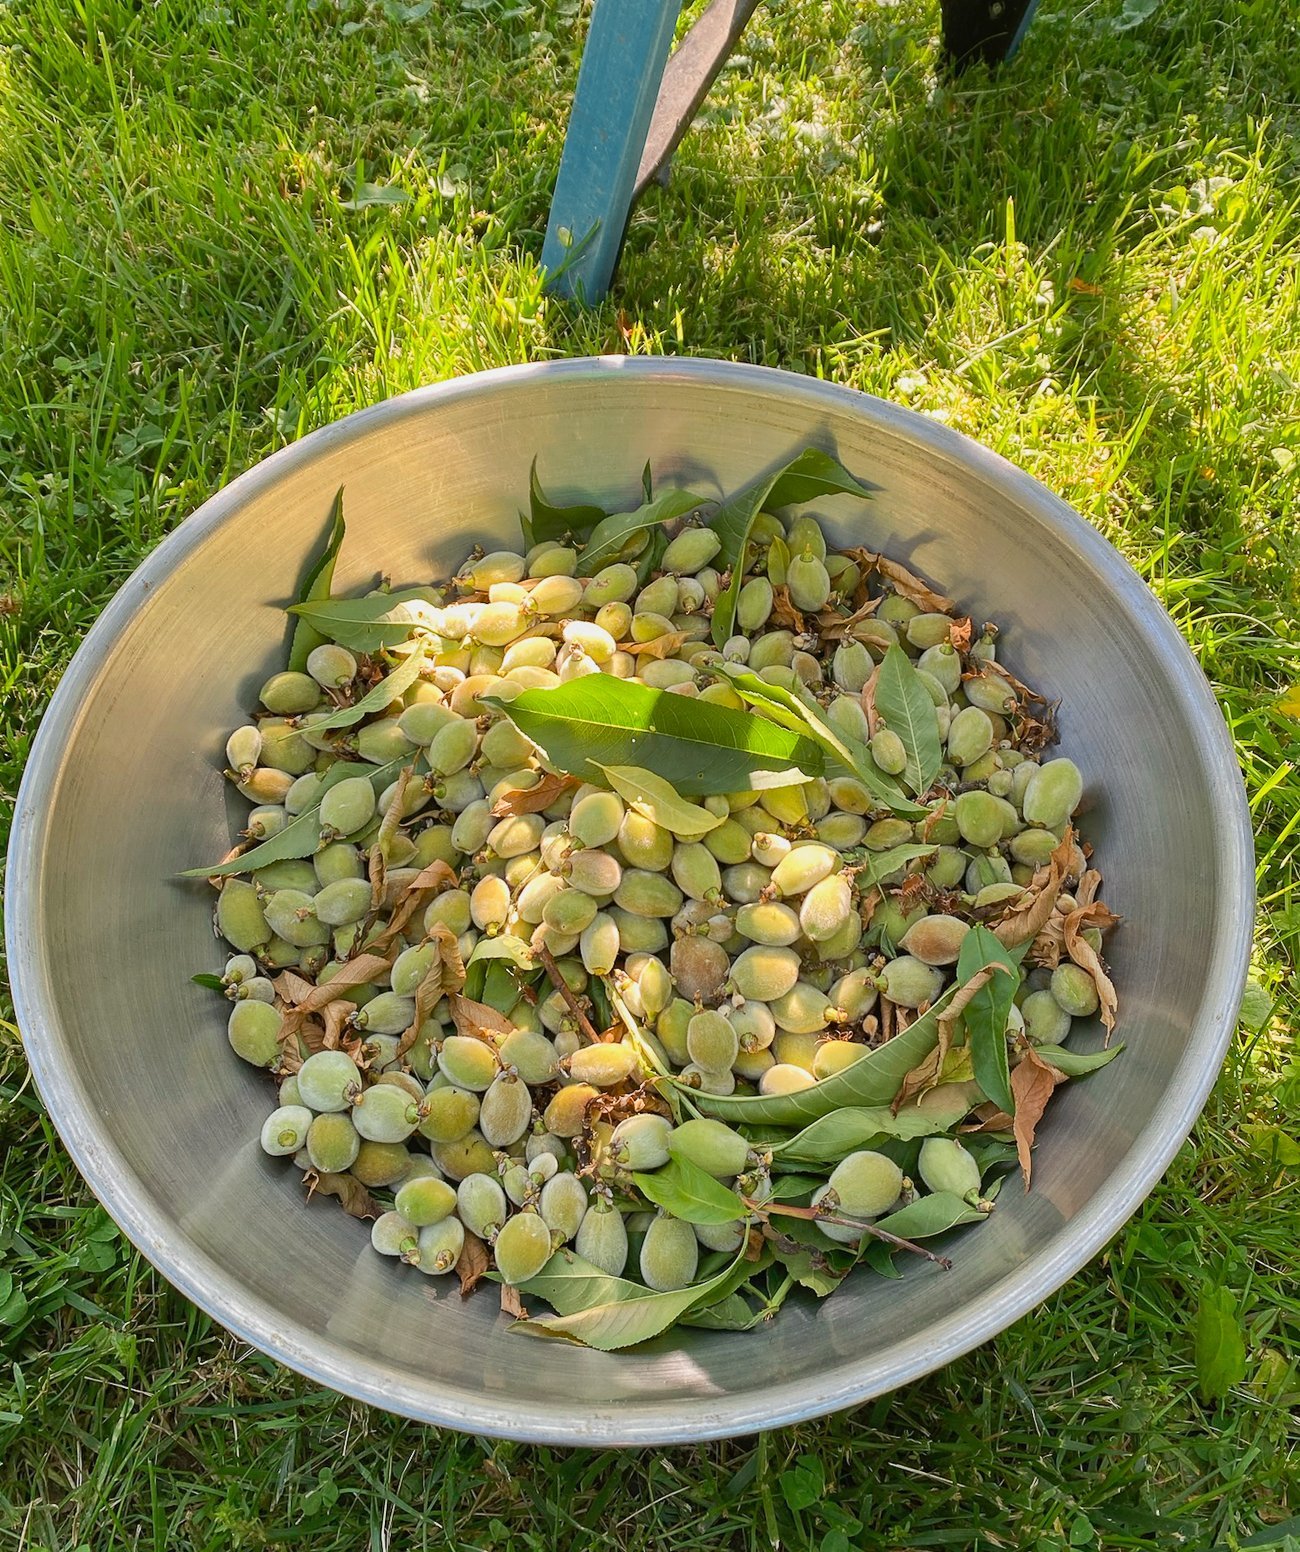
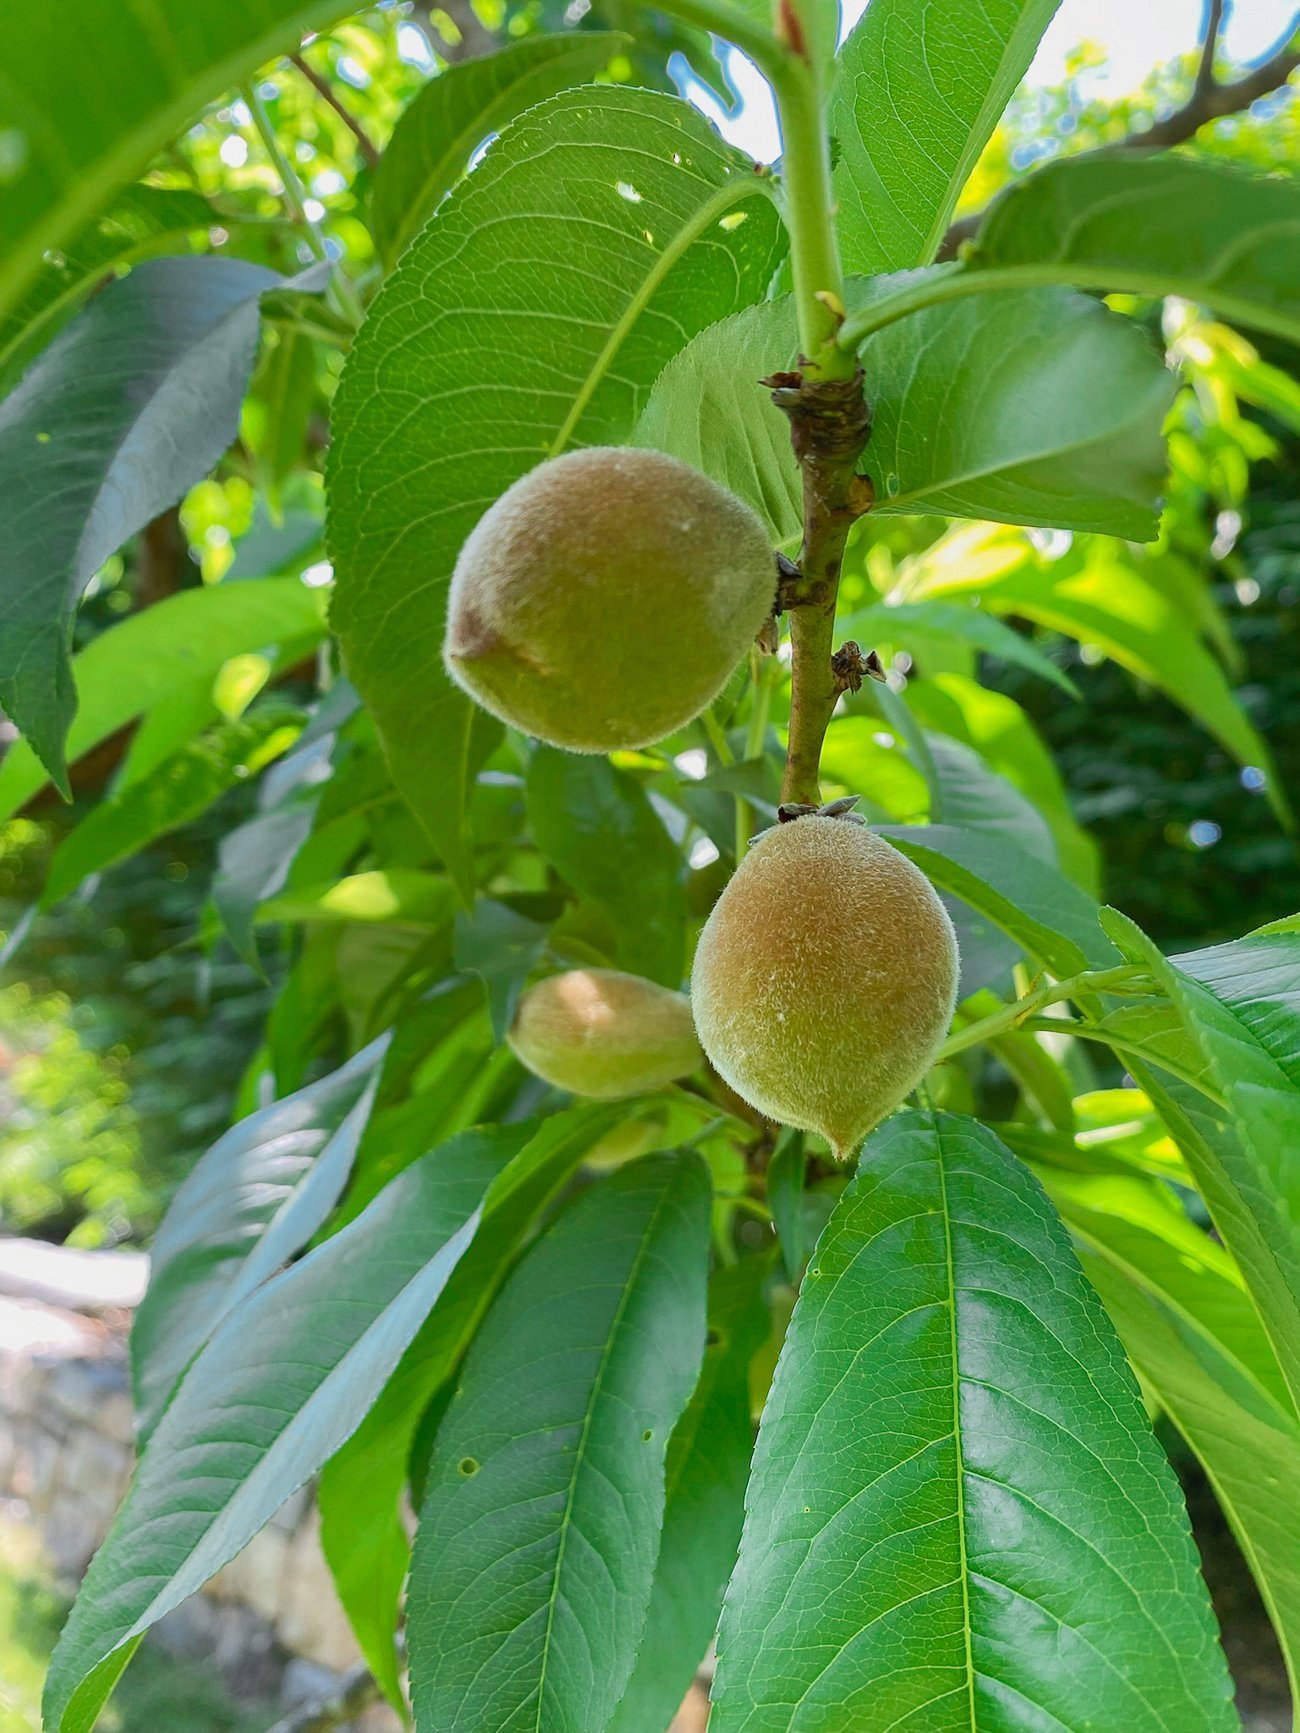
We did see some early signs of peach leaf curl (another fungal issue) on our two peach trees, but the dry weather seemed to prevent it from spreading too much, and for now, we still have fruit. Fingers crossed it stays that way!
The Next phase for the orchard:
We’re all hoping to actually harvest apples, pears, and peaches (in addition to the persimmons and paw paws)!
We did see that our new honeybee hives were pollinating the fruit trees like crazy earlier in the season. (It’s important to time your spraying around flowering, so the sprays don’t harm the bees.). So far, we do seem to have lots of fruit.
We did notice pear rust on some of our baby pears (it looks pretty gross, so I’ll spare you the photo), but hoping we keep the fungi at bay long enough to get a decent harvest.
The Pond & Streams
Oh, the pond. Who knew ponds were so high maintenance! The surest sign of spring is the appearance of the now dreaded-in-the-Leung-household pond weed in late April/early May.
There are few “organic” or “natural” ways to control this weed.
You can:
- Add chemicals to the water to kill it. Decidedly not natural or organic.
- Dye the water to block light from reaching it. A little more natural, but it changes the look of the pond.
- Just let it live and then eventually die off in the warmer weather of summer. This isn’t the best solution, because the more dead plant matter you have in your pond, the stronger it’ll come back next year (the decomposing weed acts as fertilizer).
- Rake it out. Manually.
Guess which method we’ve gone with for the last two seasons?
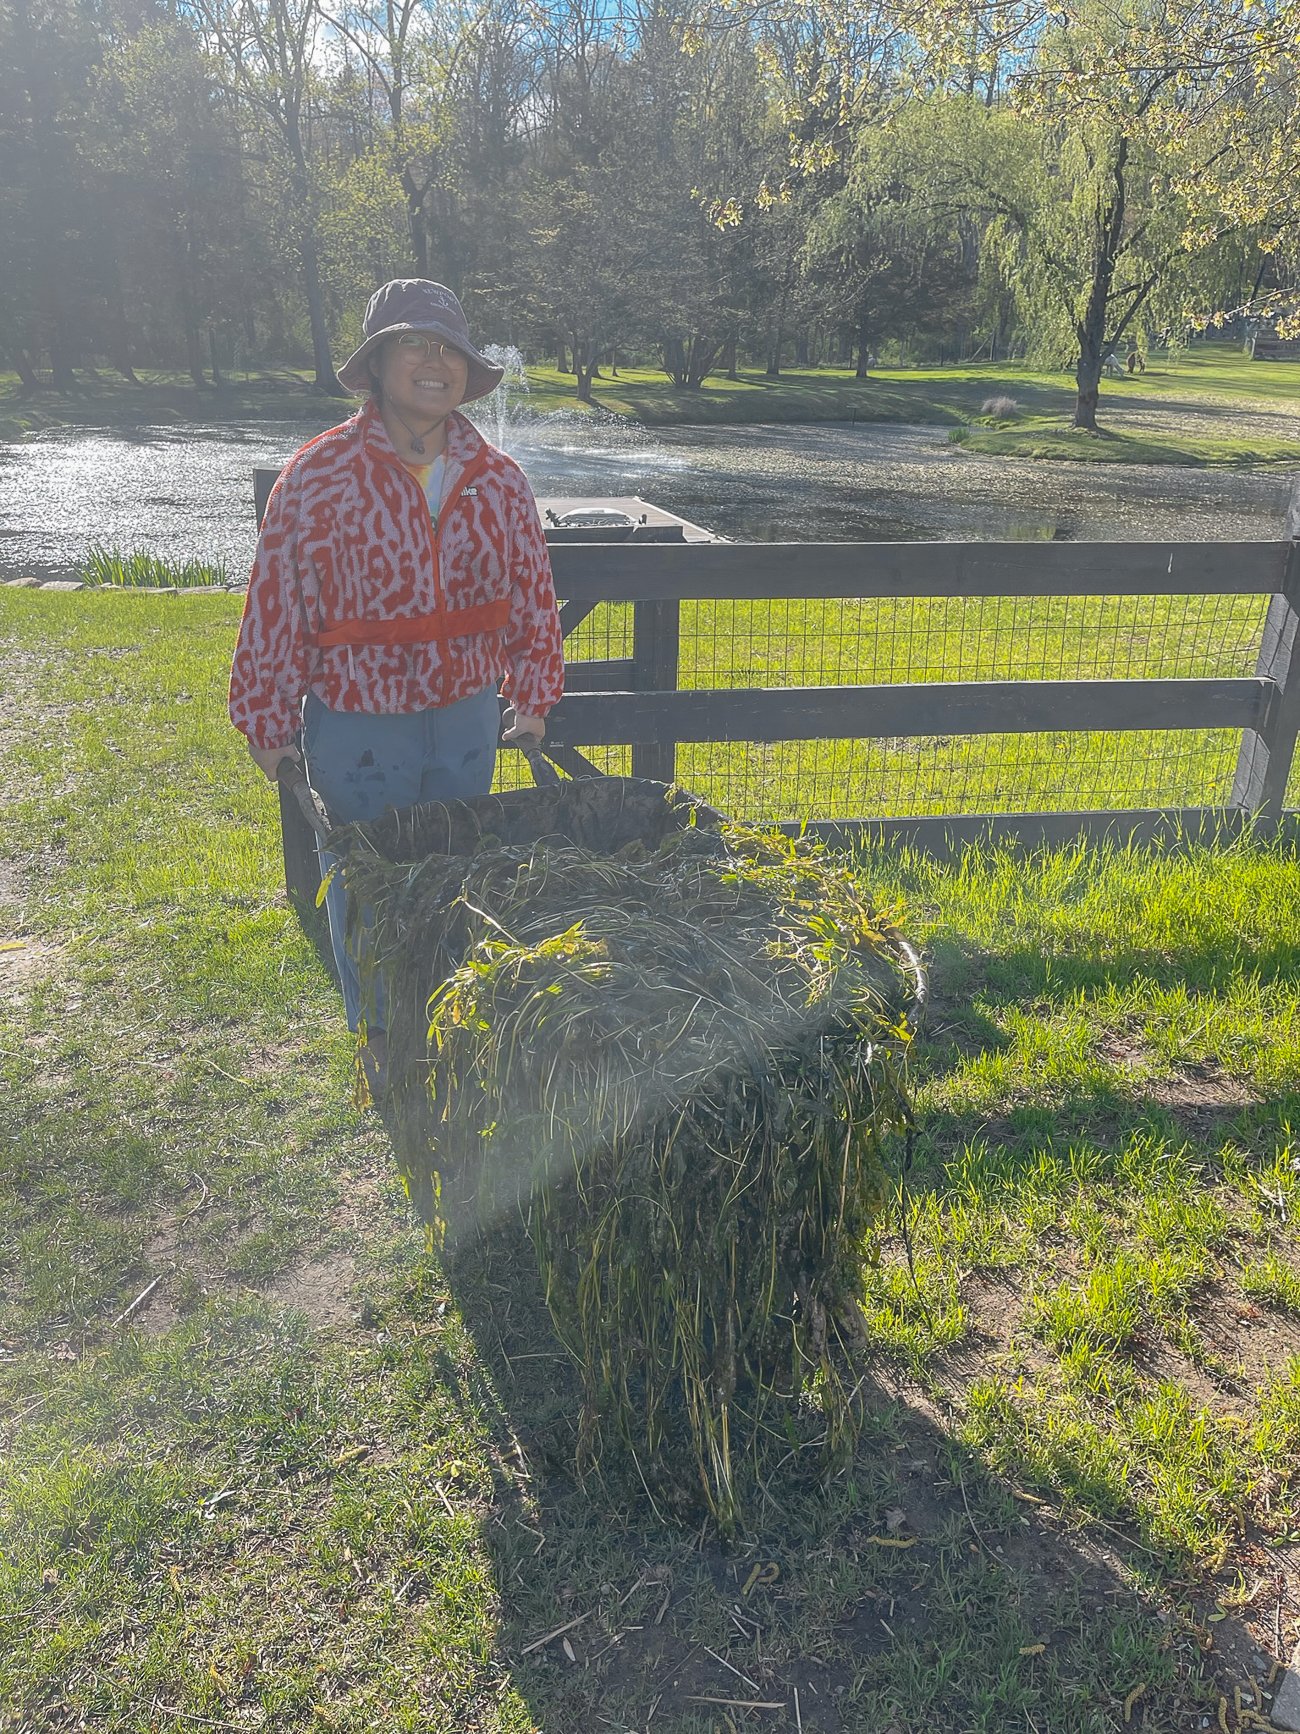
Needless to say, it’s a huge job. Year 2 was no less difficult than Year 1.
Here’s a photo of a nice, clean pond:
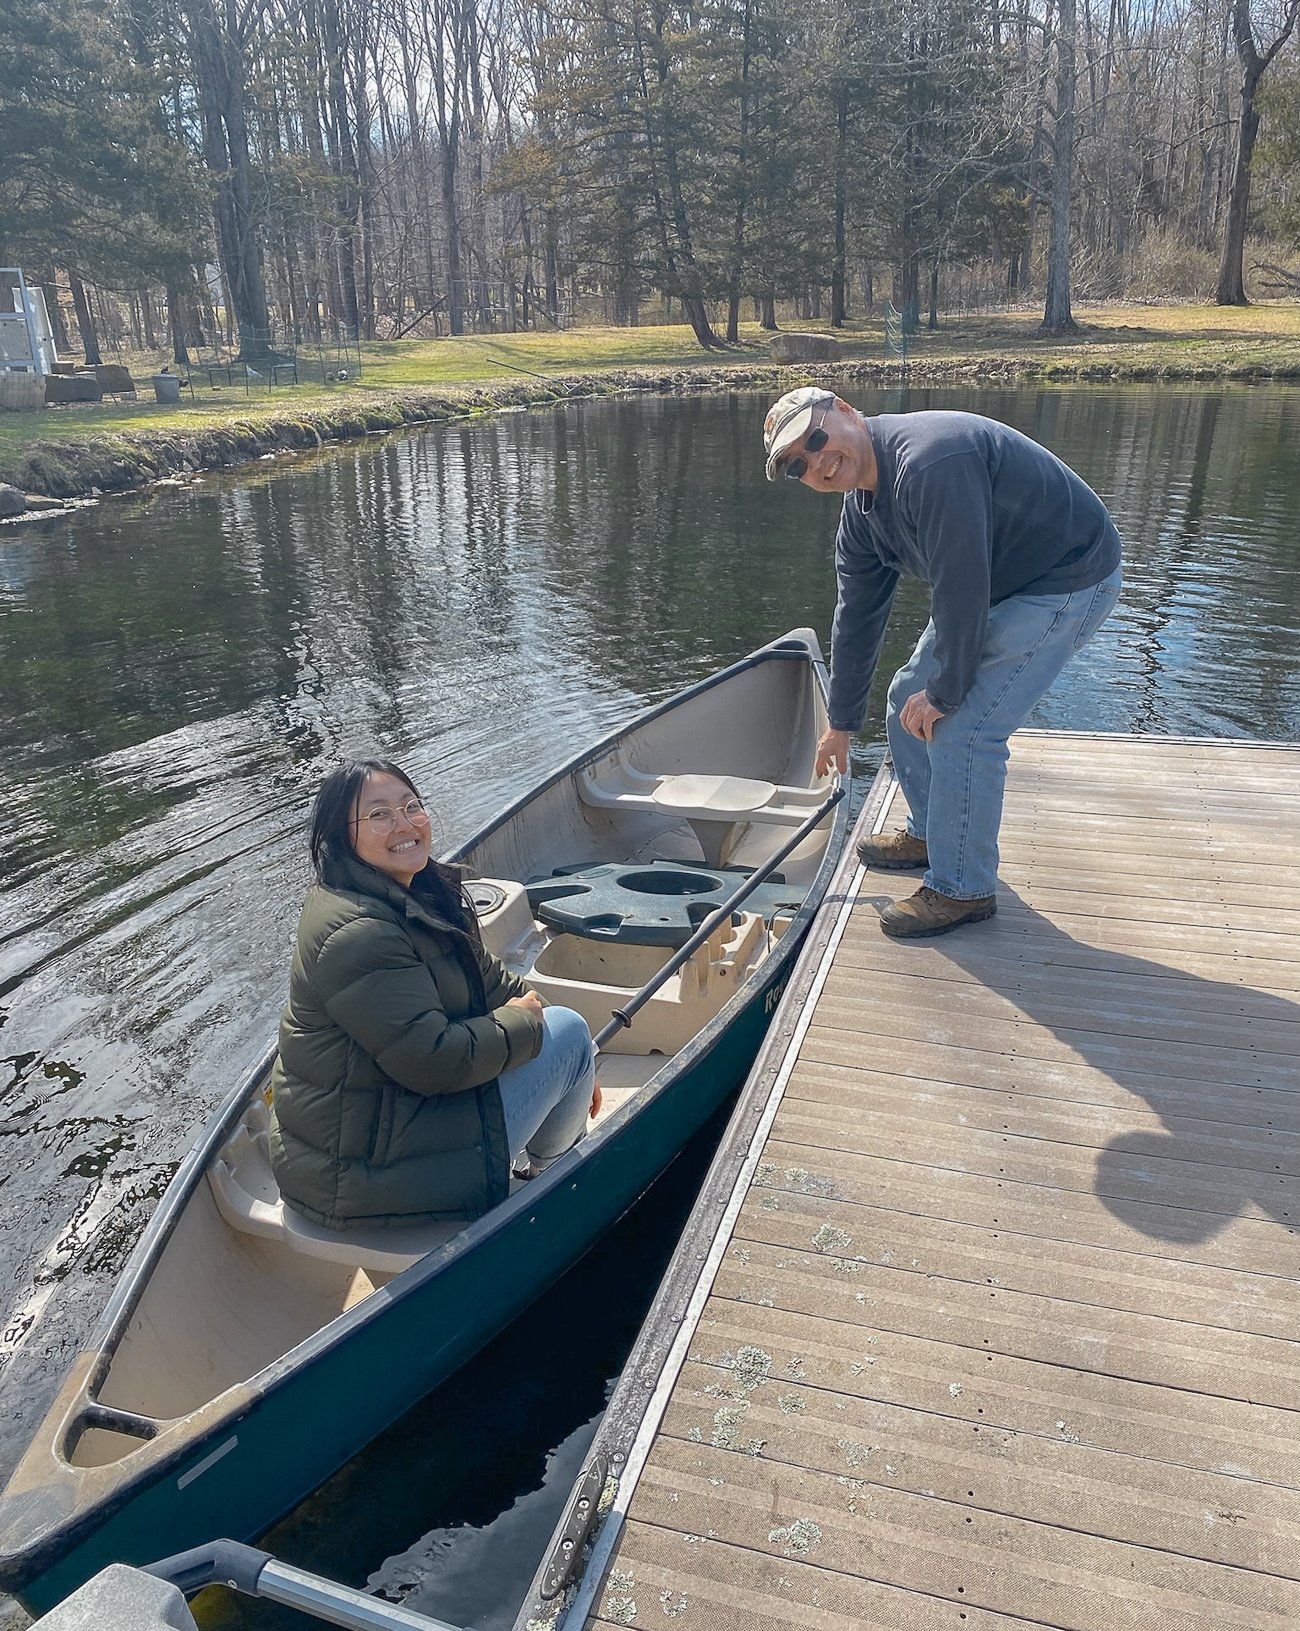
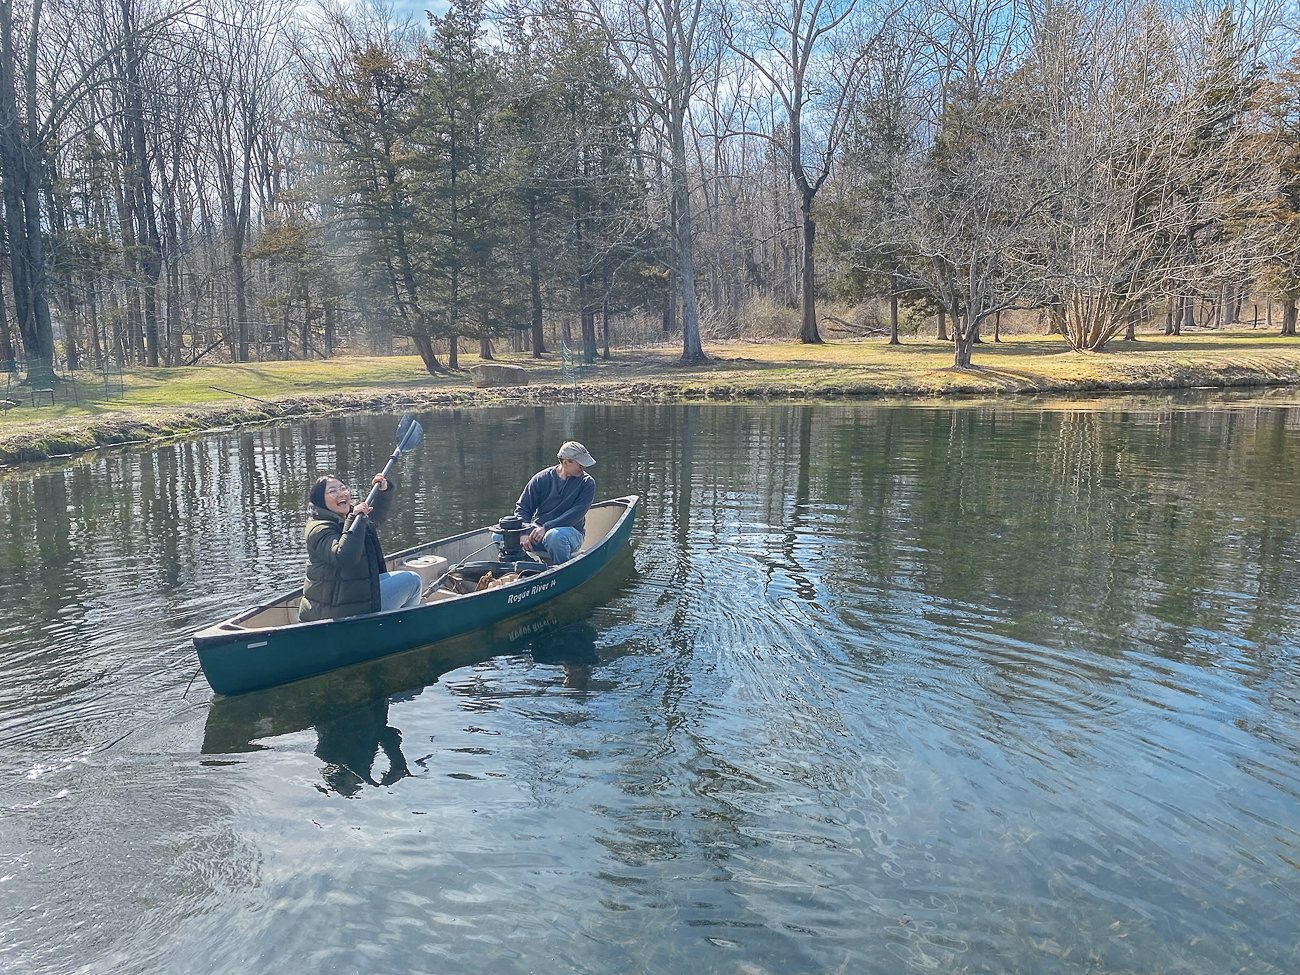
My dad and Kaitin are paddling out to put the fountain in! We’ve had that canoe for years and used to take it on camping trips. Now it’s the pond maintenance vessel.
Despite the dry weather we had almost all spring, we did notice that the area surrounding the pond was still persistently muddy and squishy. Hence, the digging of more drainage ditches:
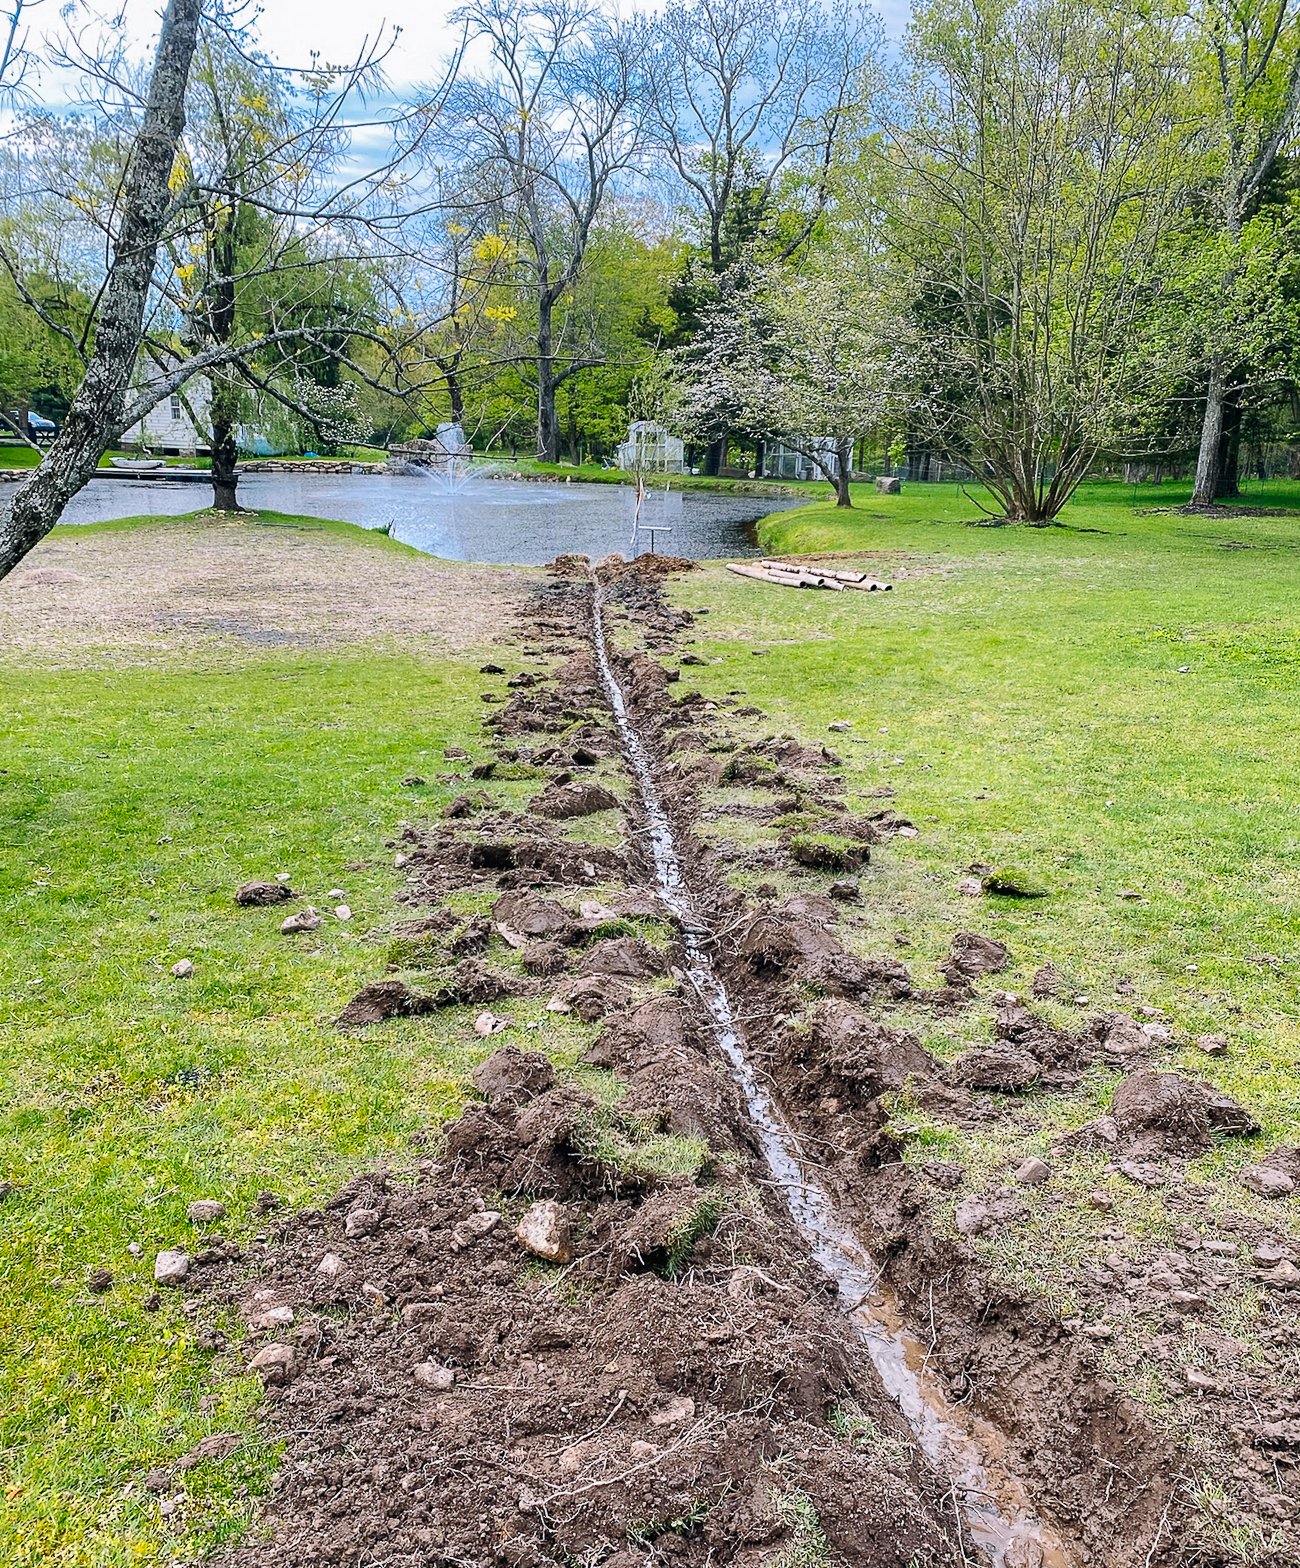
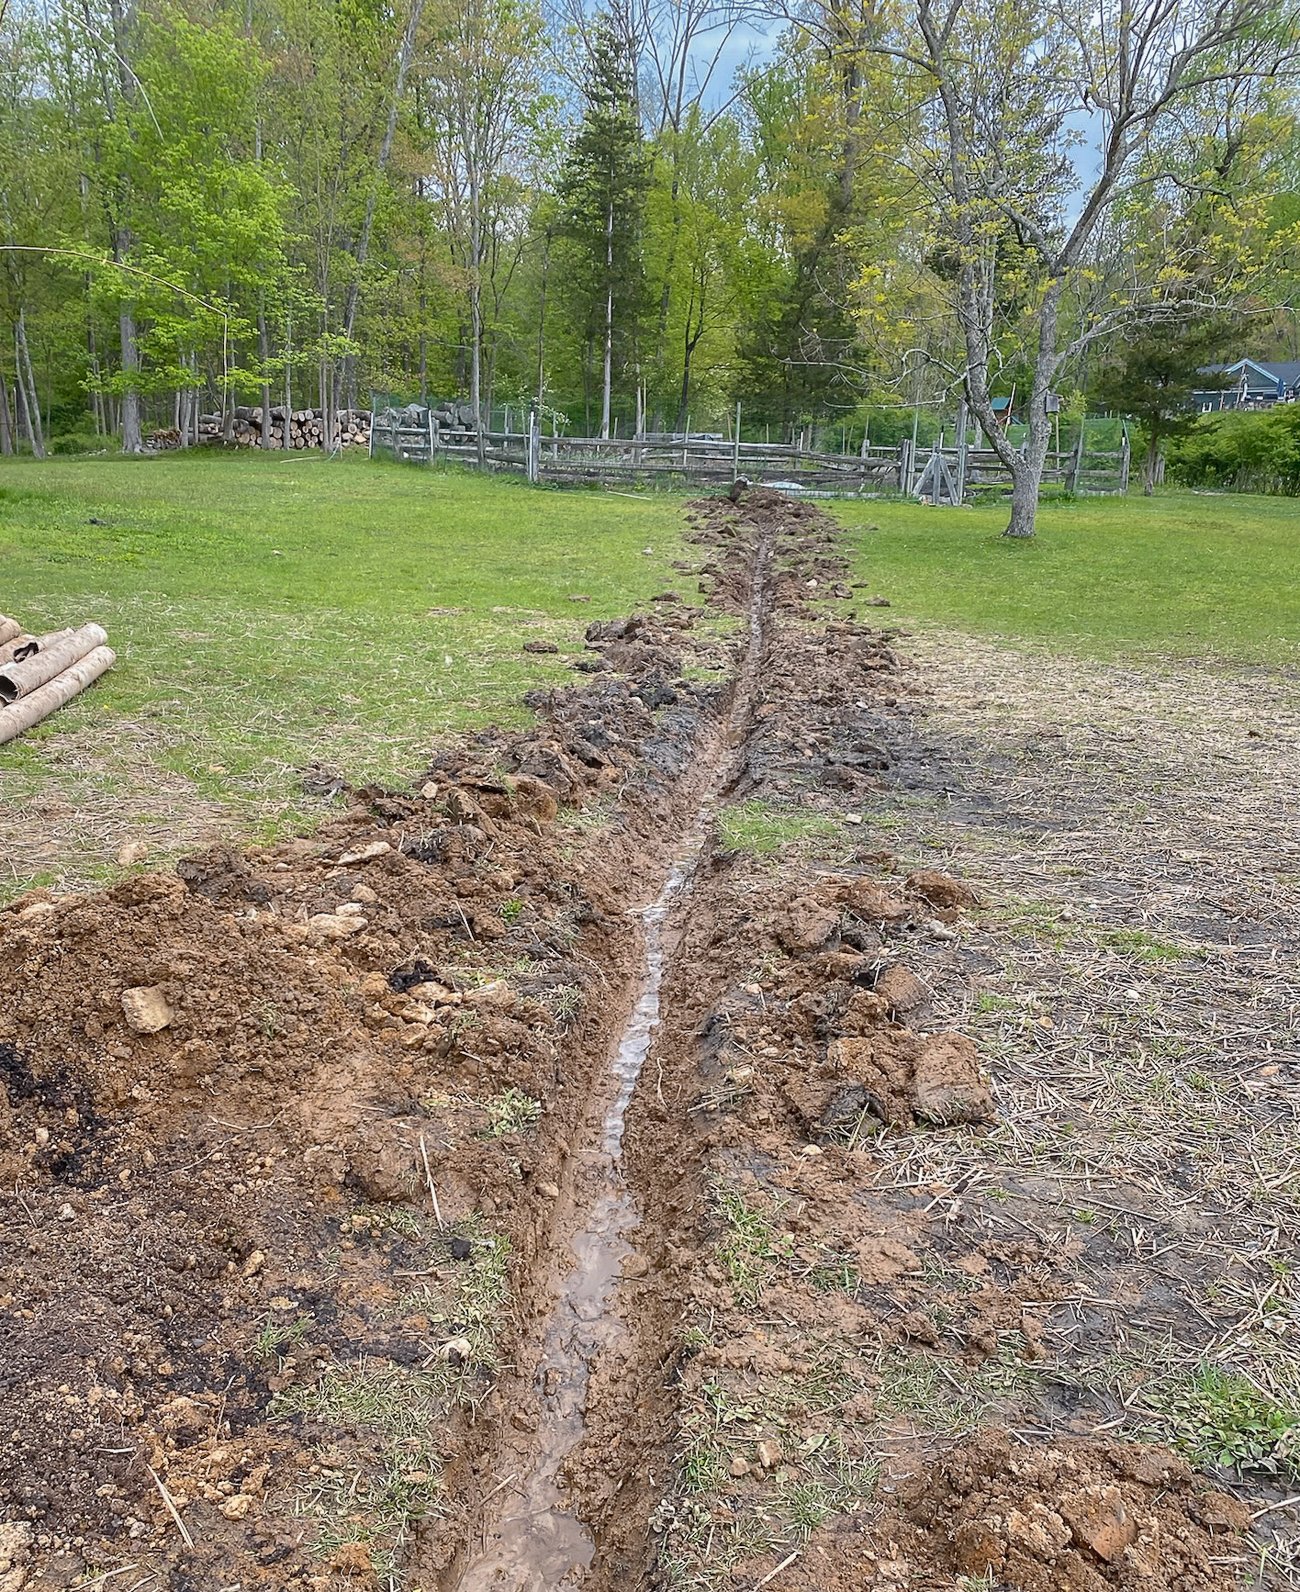
The hope is that this helps the grass grow better for the alpacas, goats, and Trooper (we get a lot of moss in this area currently), and makes the area more pleasant to walk on.
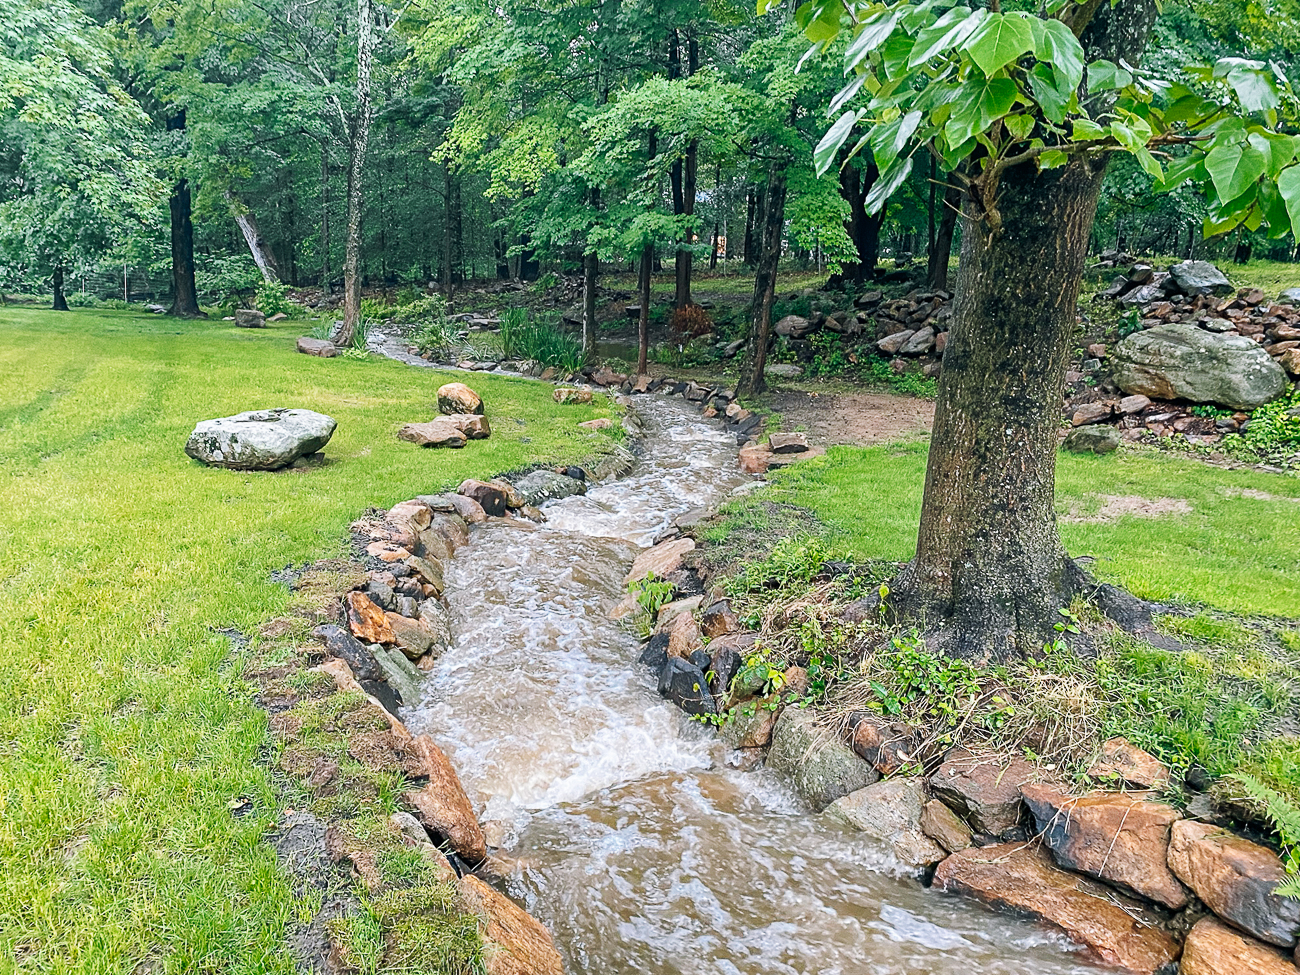
What about the stream—that project from last year?
It’s looking pretty good! (See below: the stream on a regular day, and after a big rain!)
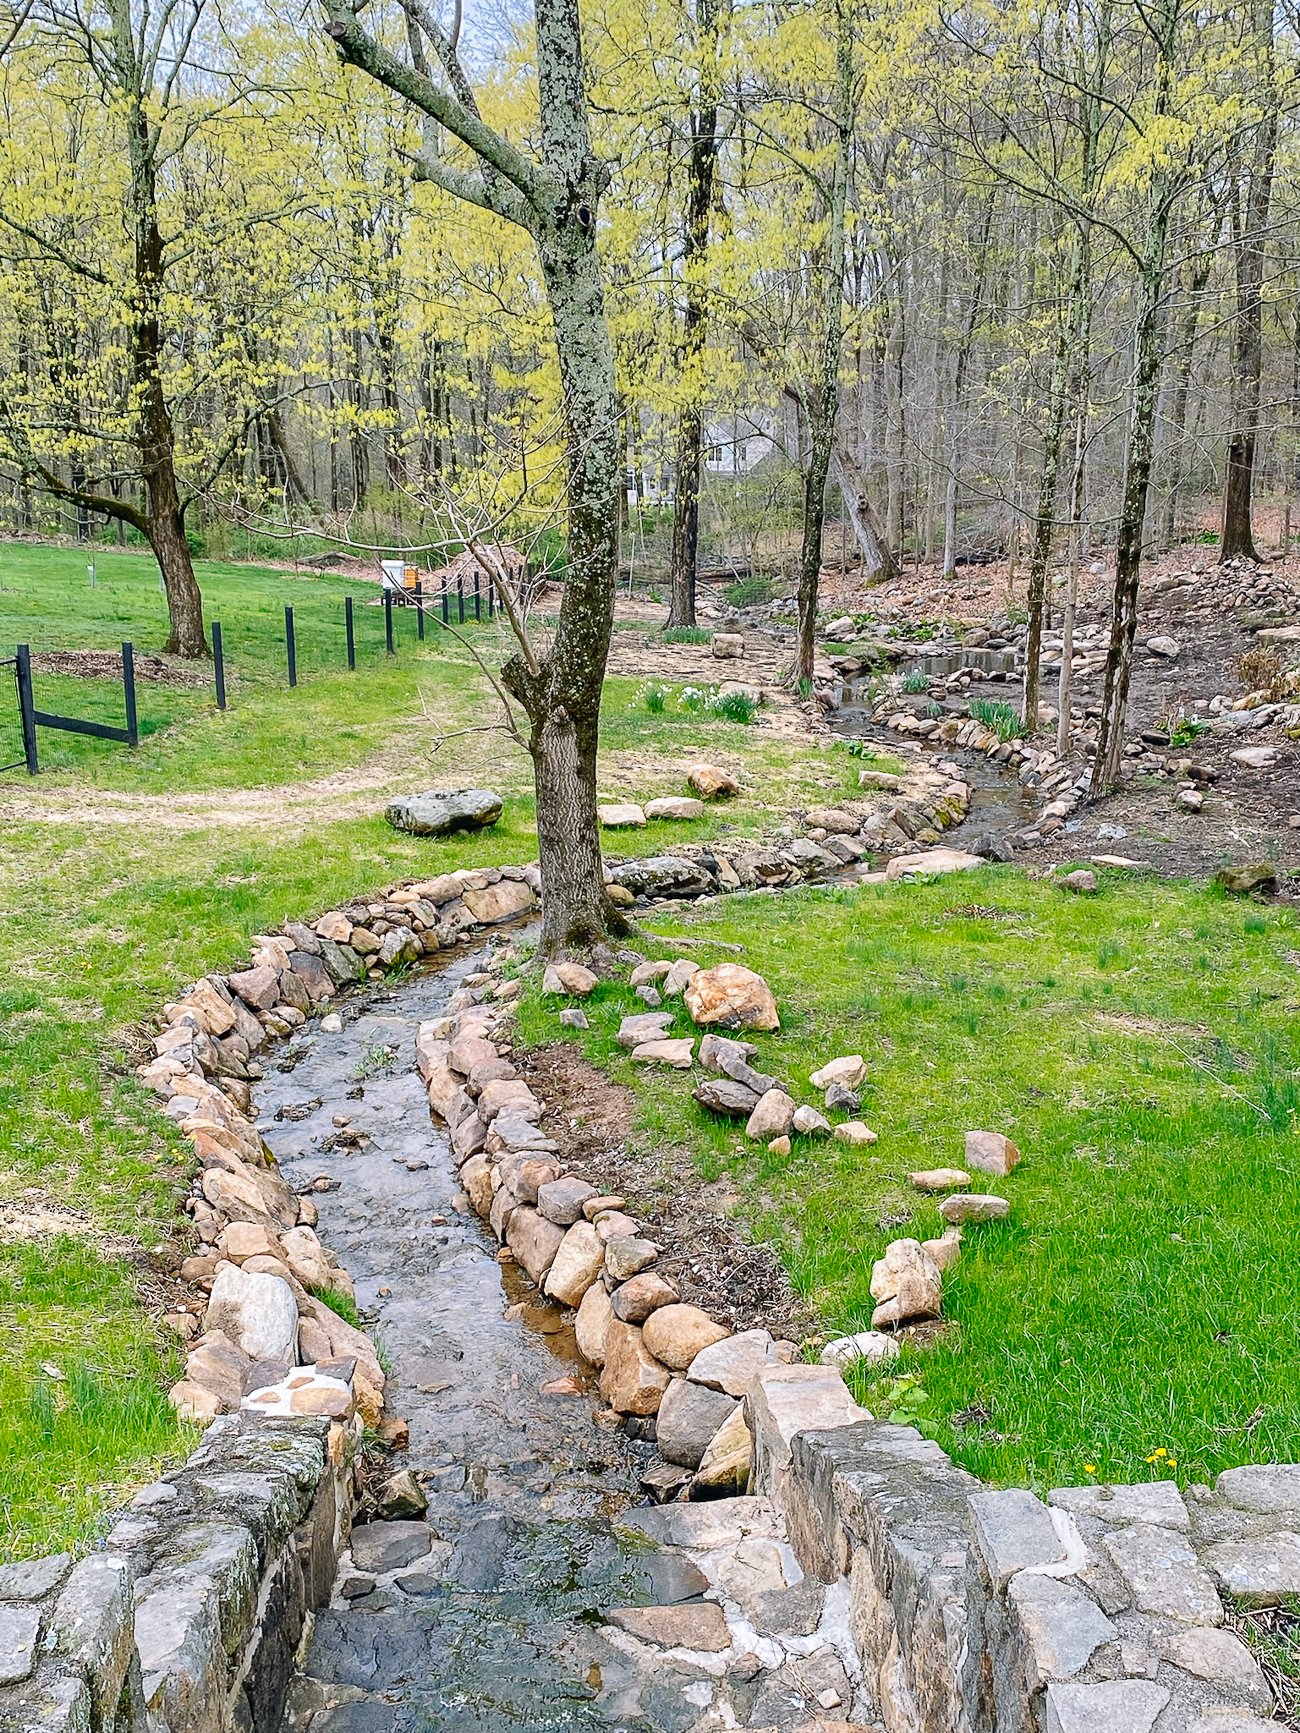
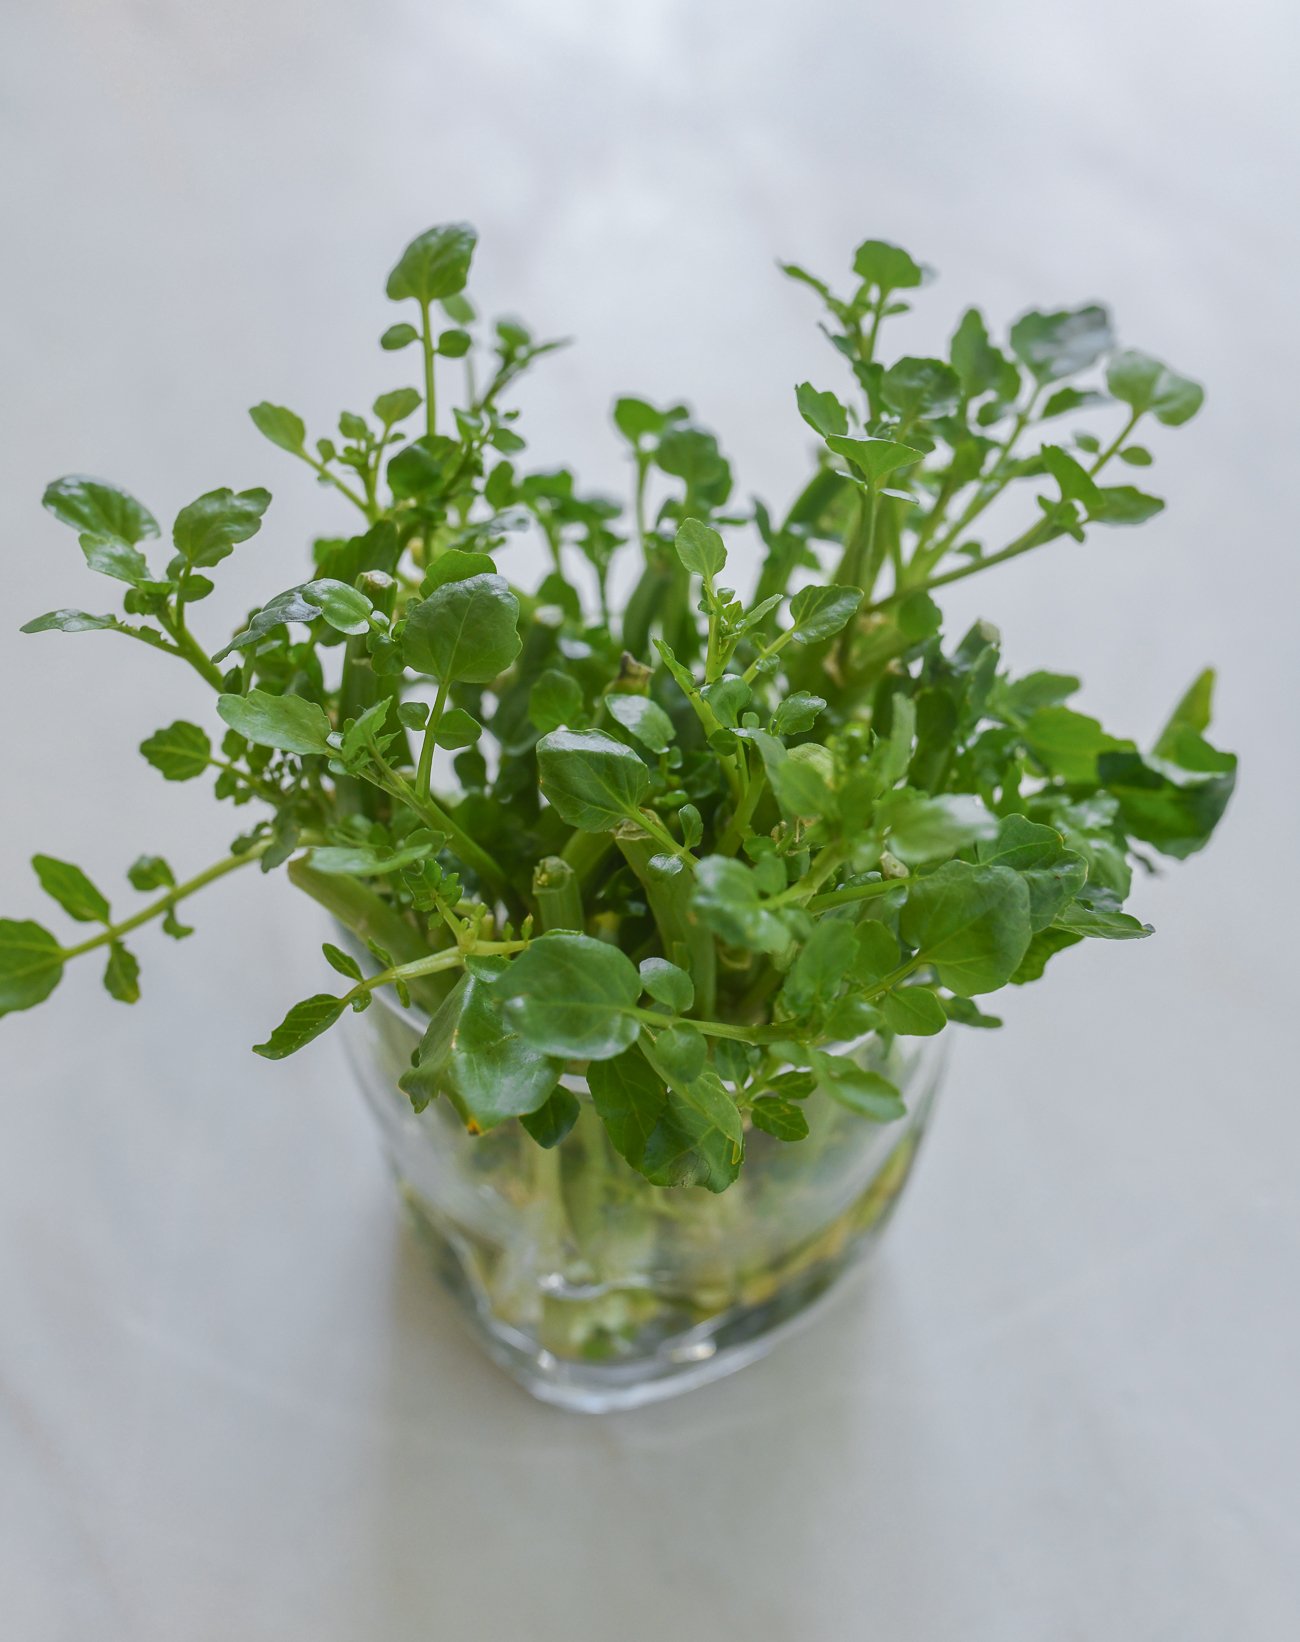
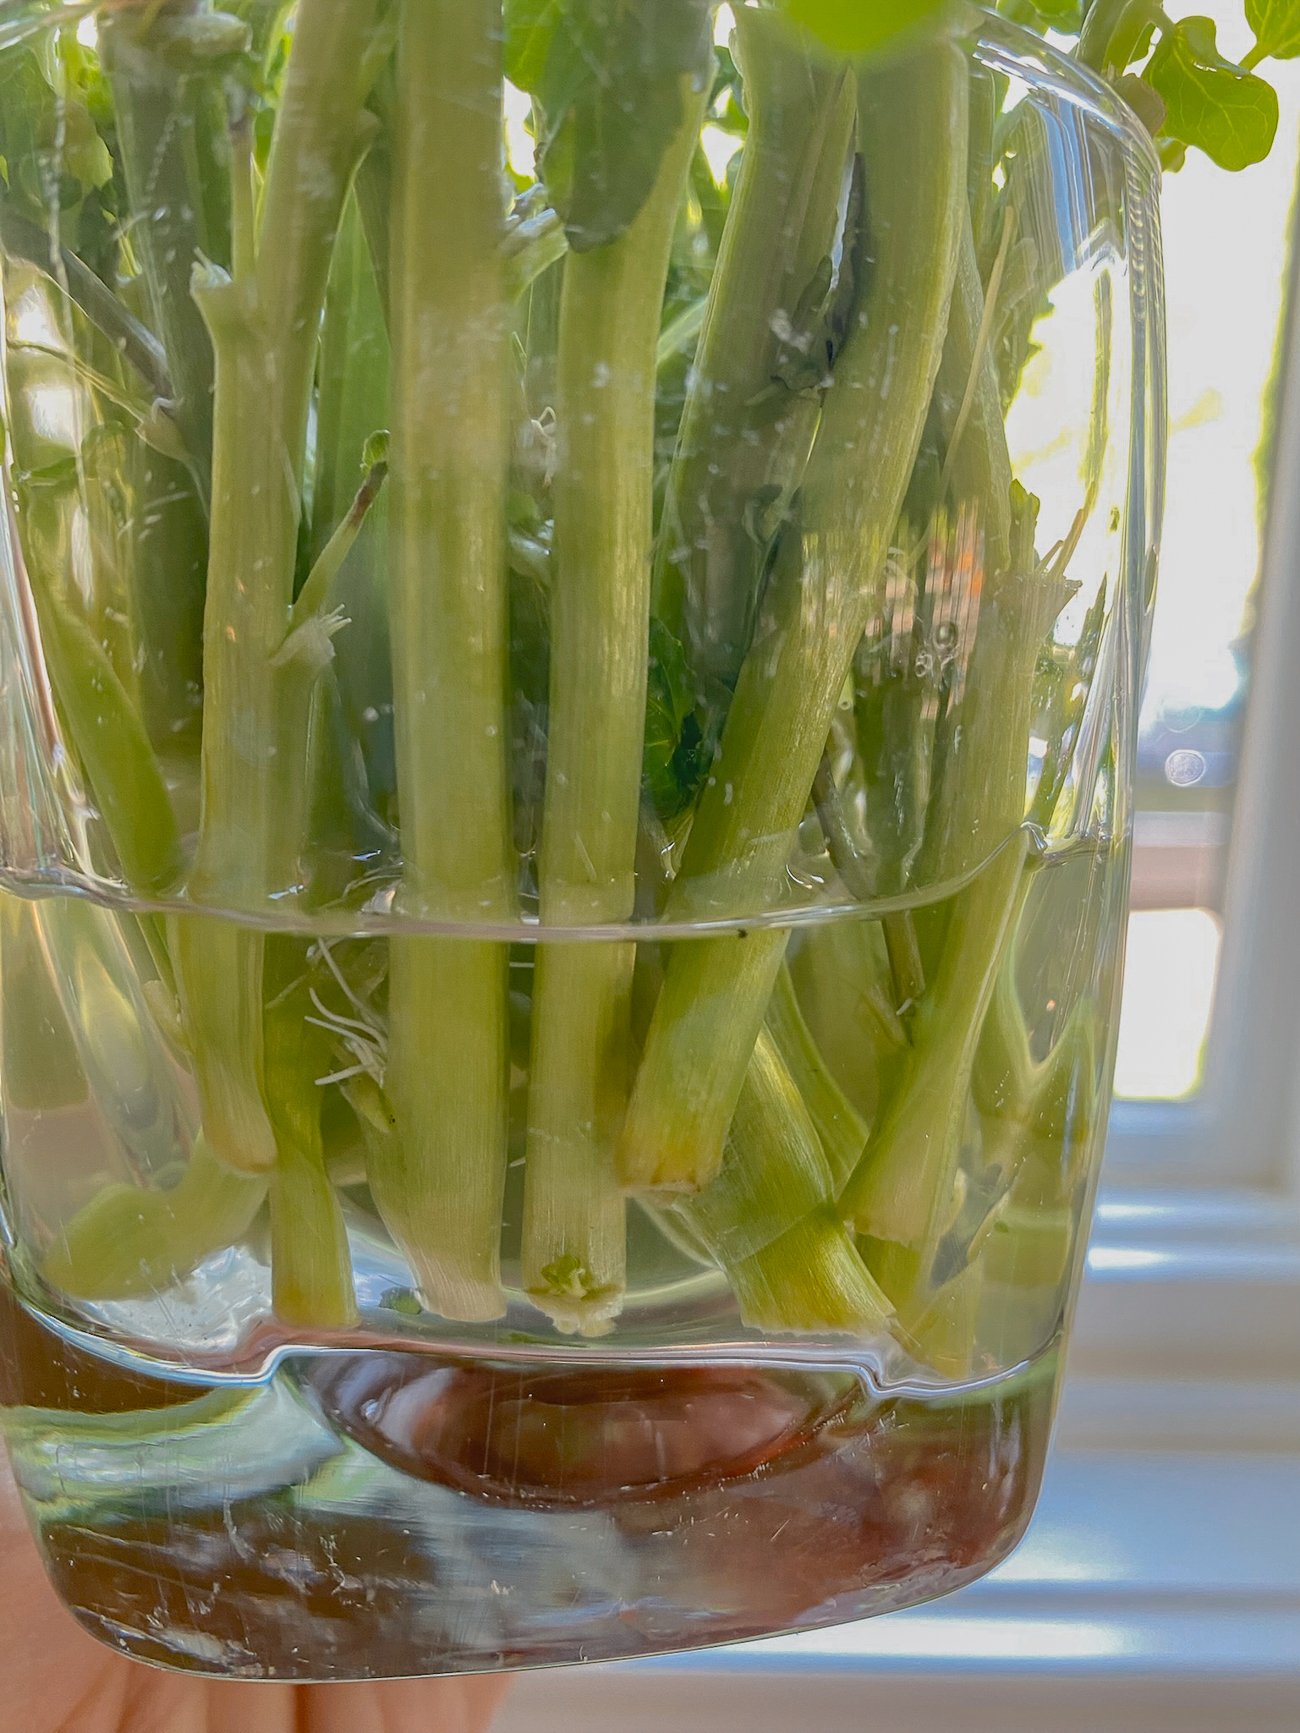
Perhaps the most exciting development this year was that we planted watercress in and around the running water of the lower stream. We literally took store-bought watercress, looked for stems with little nodes at the base, and rooted them in a glass of water.
Once they had a strong root system, my aunt planted them along the stream bed, and they’re happily growing away!
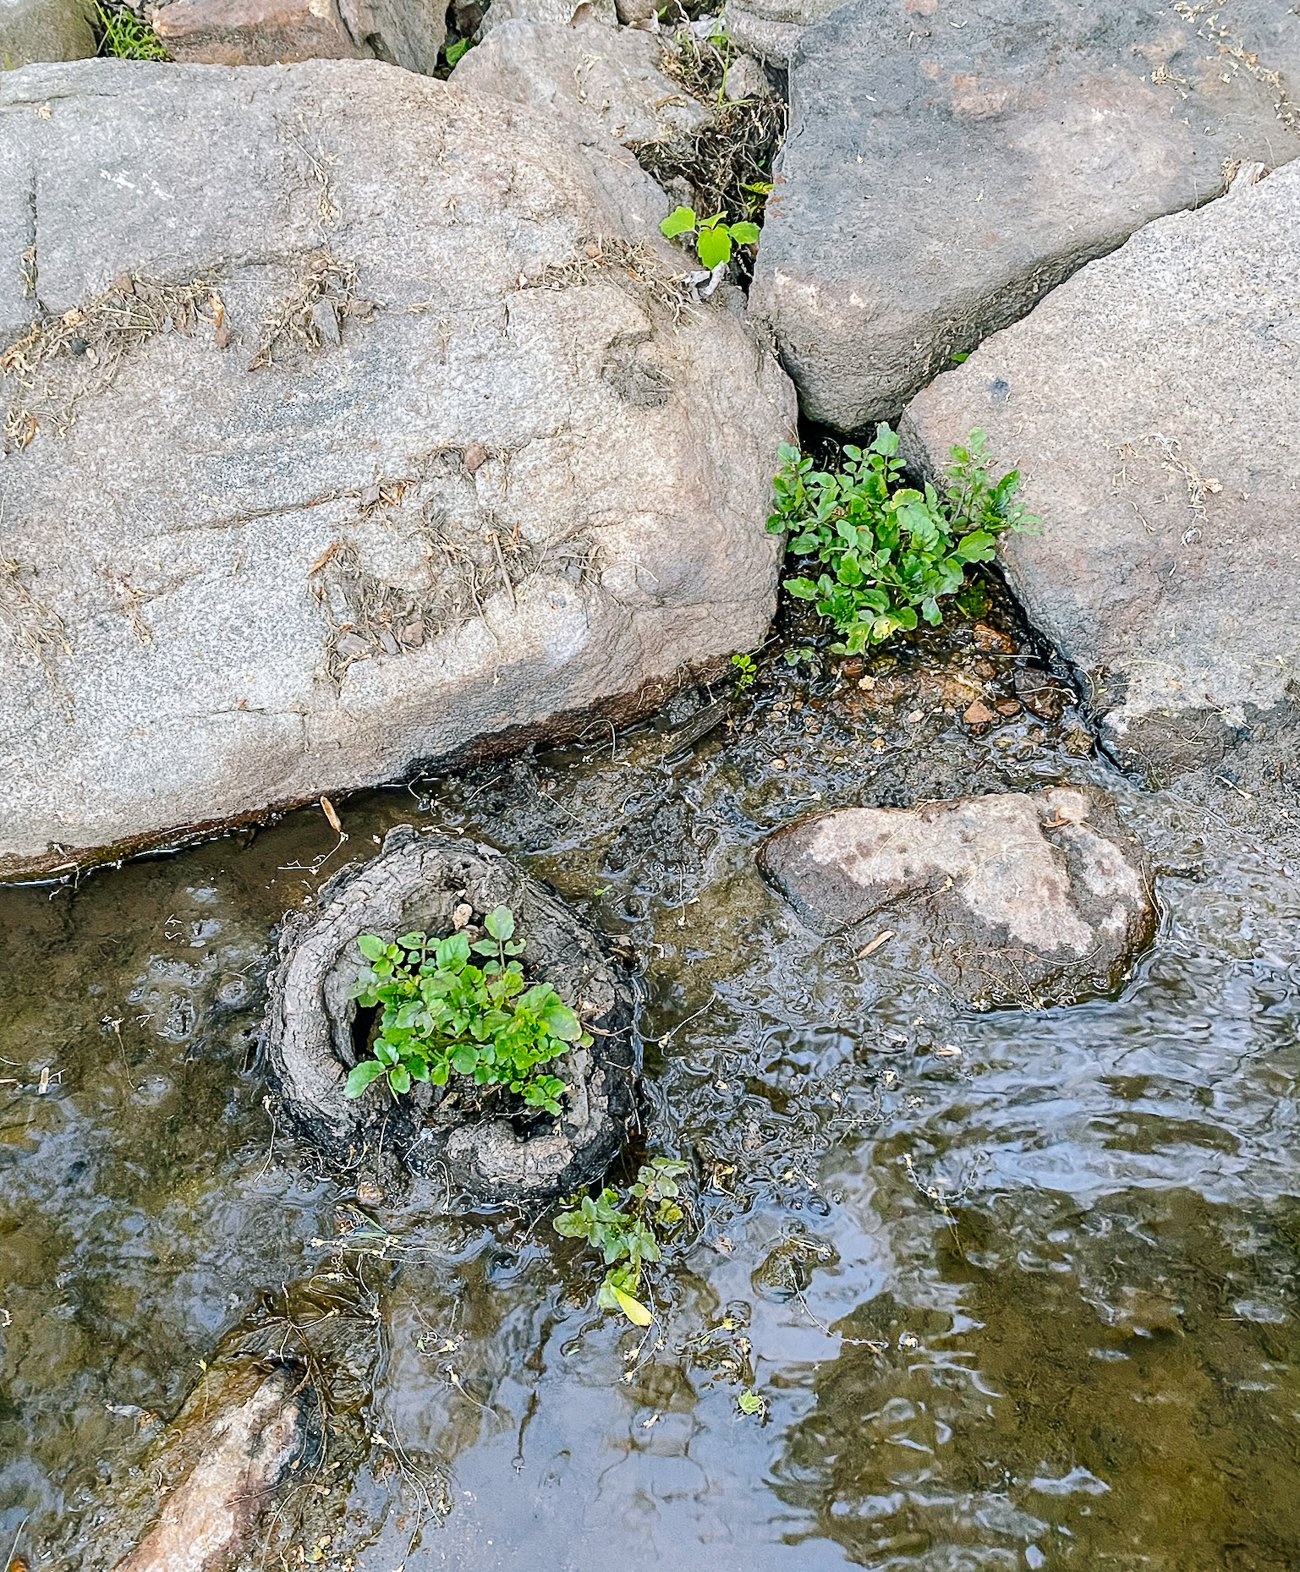
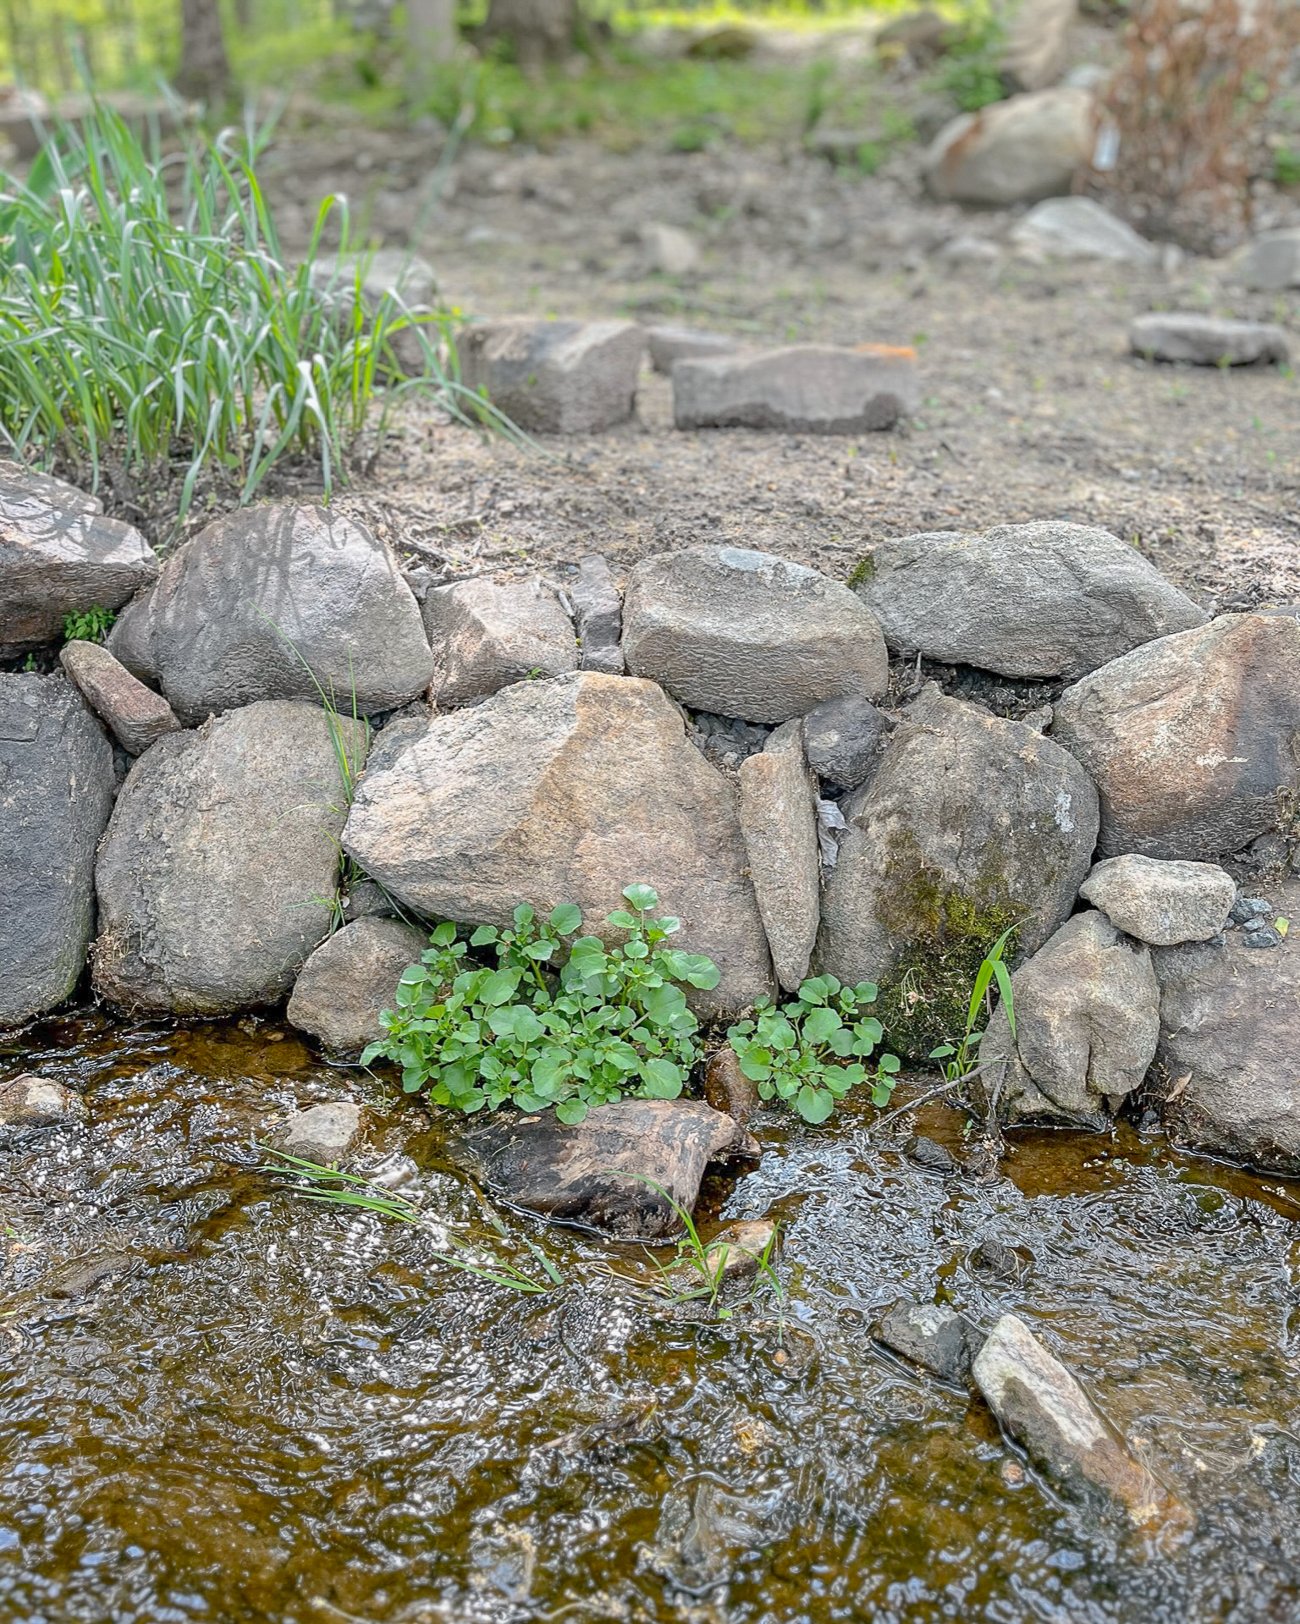
This was my dad’s big goal from last year. He grew up in the Catskills, where his family used to pick wild watercress along streams and rivers. Now we have our own “wild” watercress supply—mission accomplished!
The Next phase for the stream:
Next year, or perhaps this fall, we’re going to plant the stream-side areas with shade-loving, moisture loving native plants.
Have to do some more planning and research on that front, but we’re excited to build a woodland garden around it! My dad wants to get fancy and add paths and a little downstream bridge. We’ve been visiting botanical gardens all spring for inspo!
The Apiary
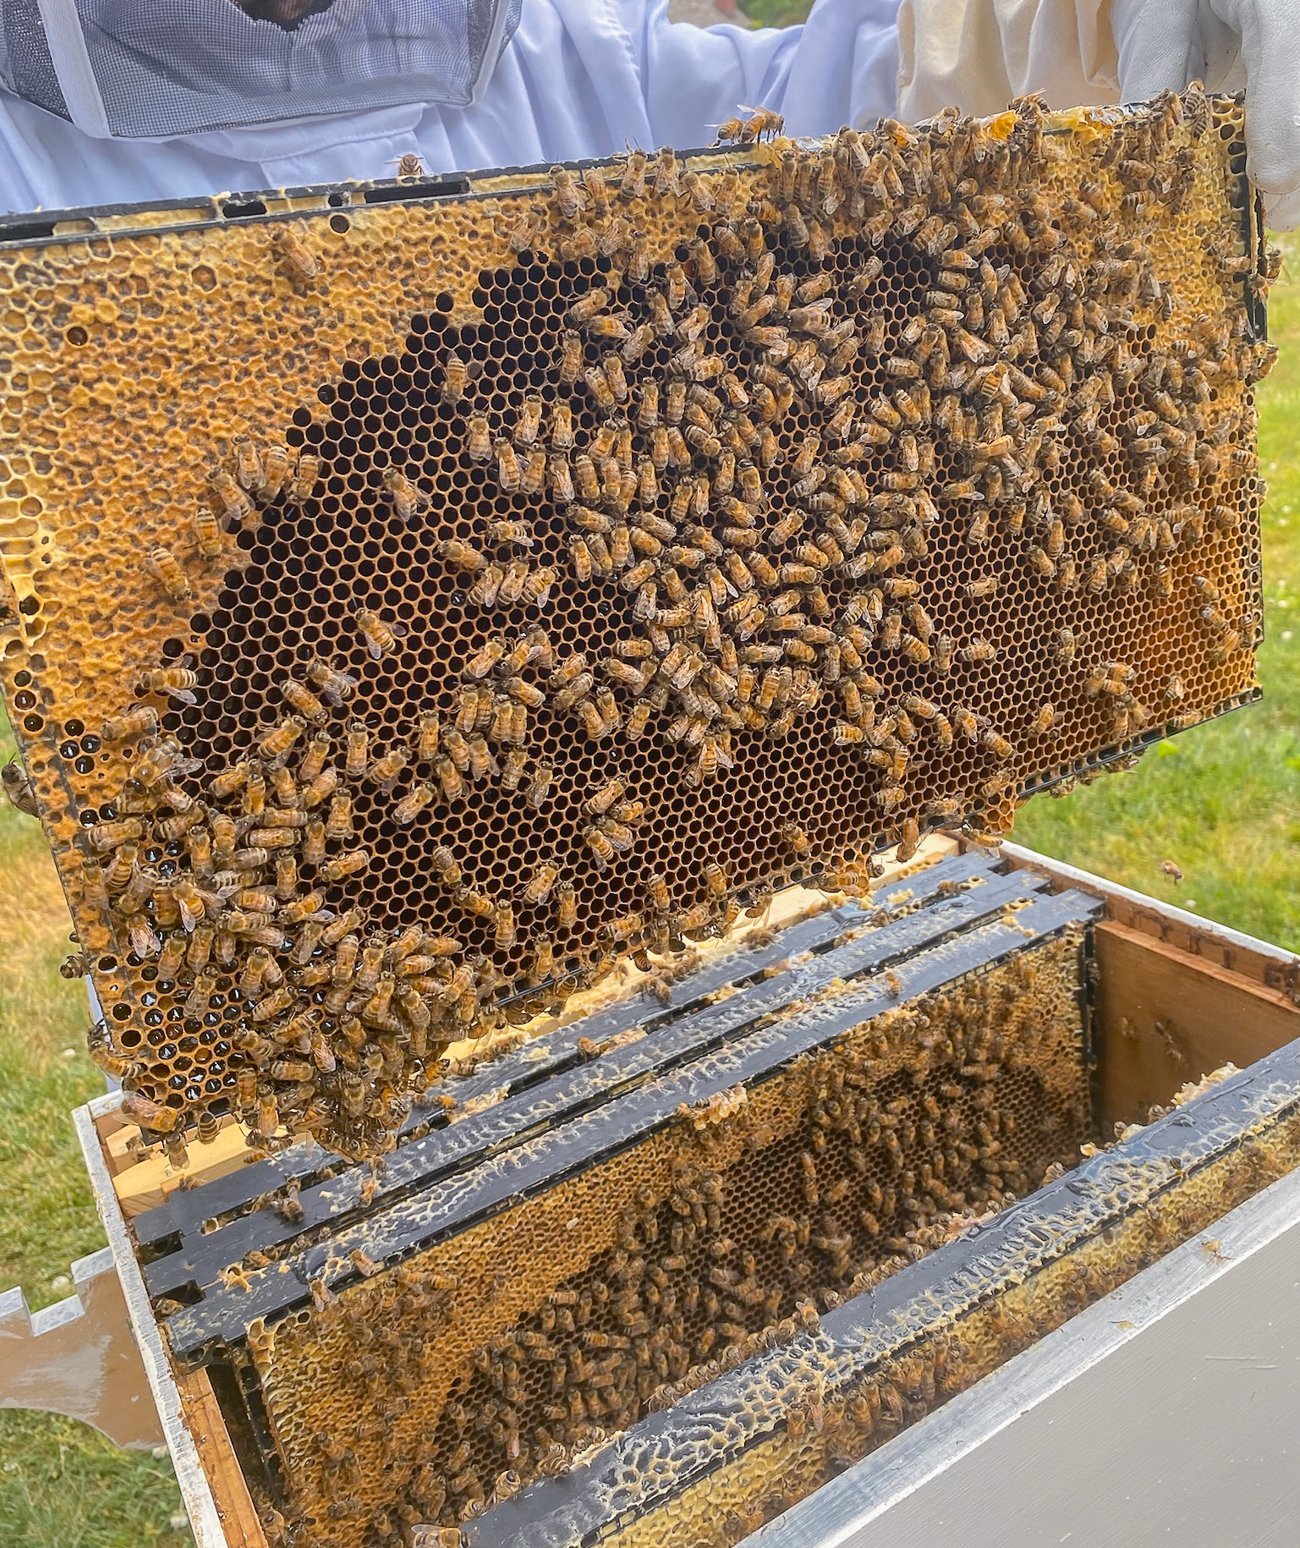
The biggest change on the farm from last year to this year? We now have a beekeeper in the family:
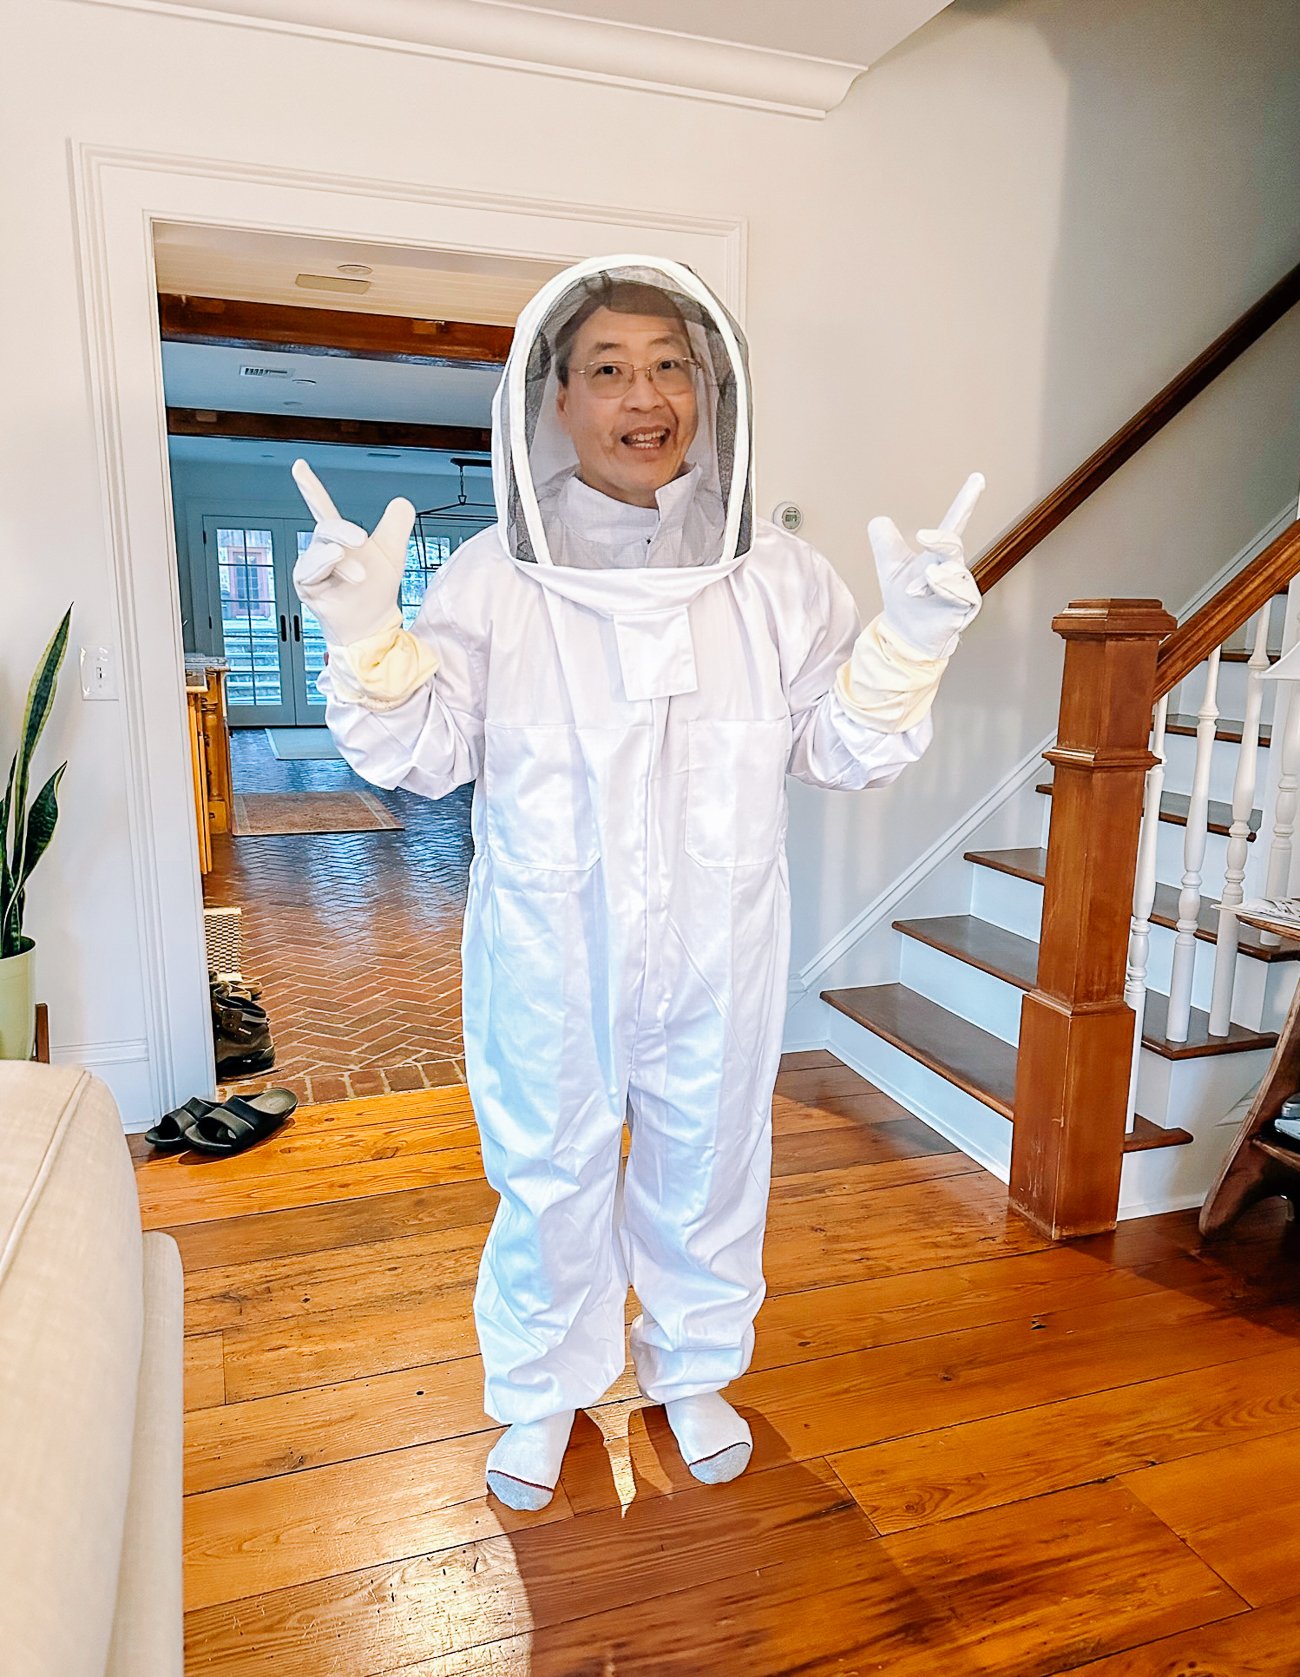
Some time last winter, my parents went out to dinner with friends, and my dad and his friend Scott somehow got the idea to start a beekeeping hobby.
Bees?? On top of everything else we have going on? I’ll admit that the female contingent of The Woks of Life advised strongly against this move.
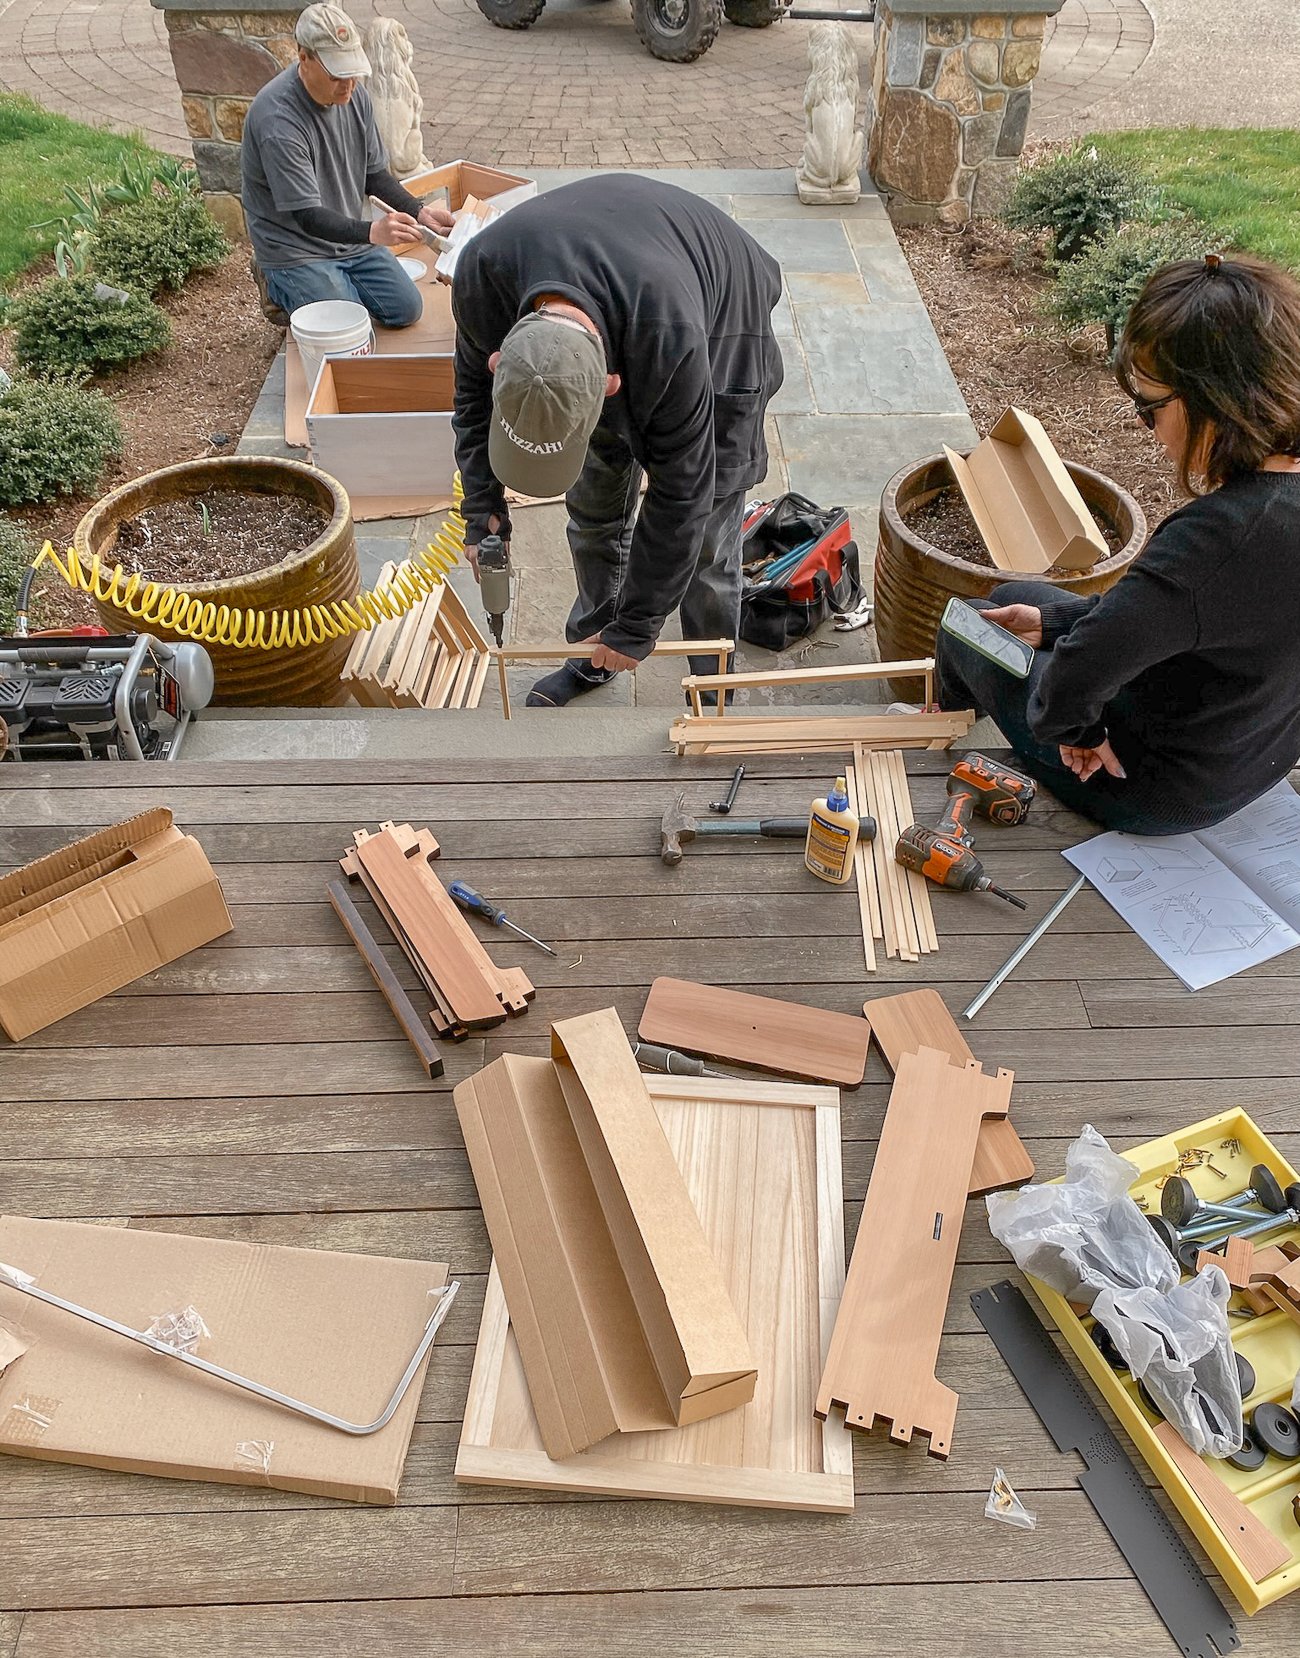
But I think my dad is a hobby guy and can’t resist a new project. They bought hives, suits, and nucs (small colonies of bees) from a local beekeeper, and put it all together in early spring.
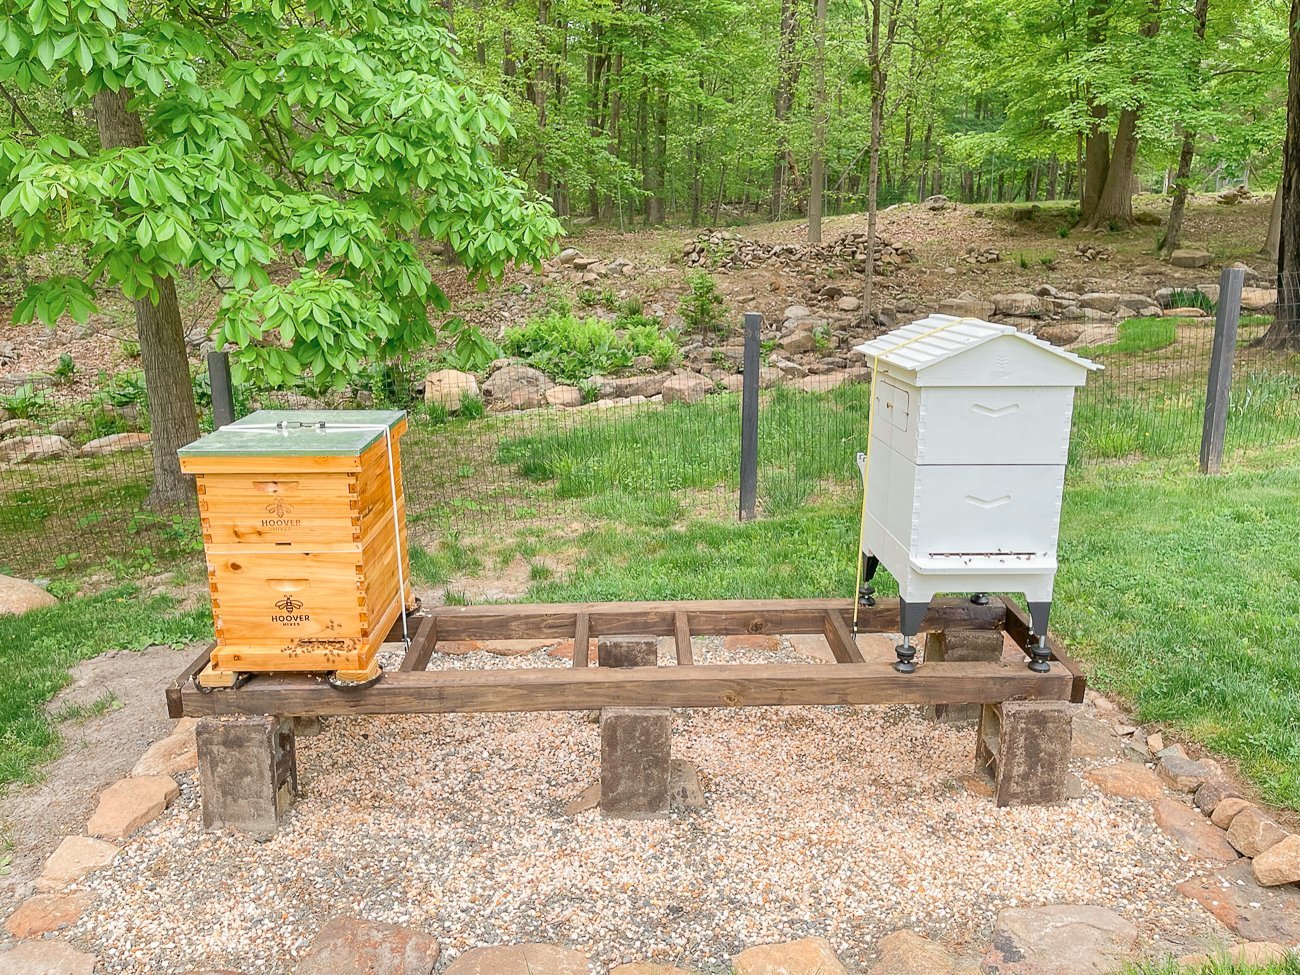
We started with two hives: one Hoover hive (below left), and one Flow hive (below right), which apparently allows you to harvest honey without disturbing the bees inside:
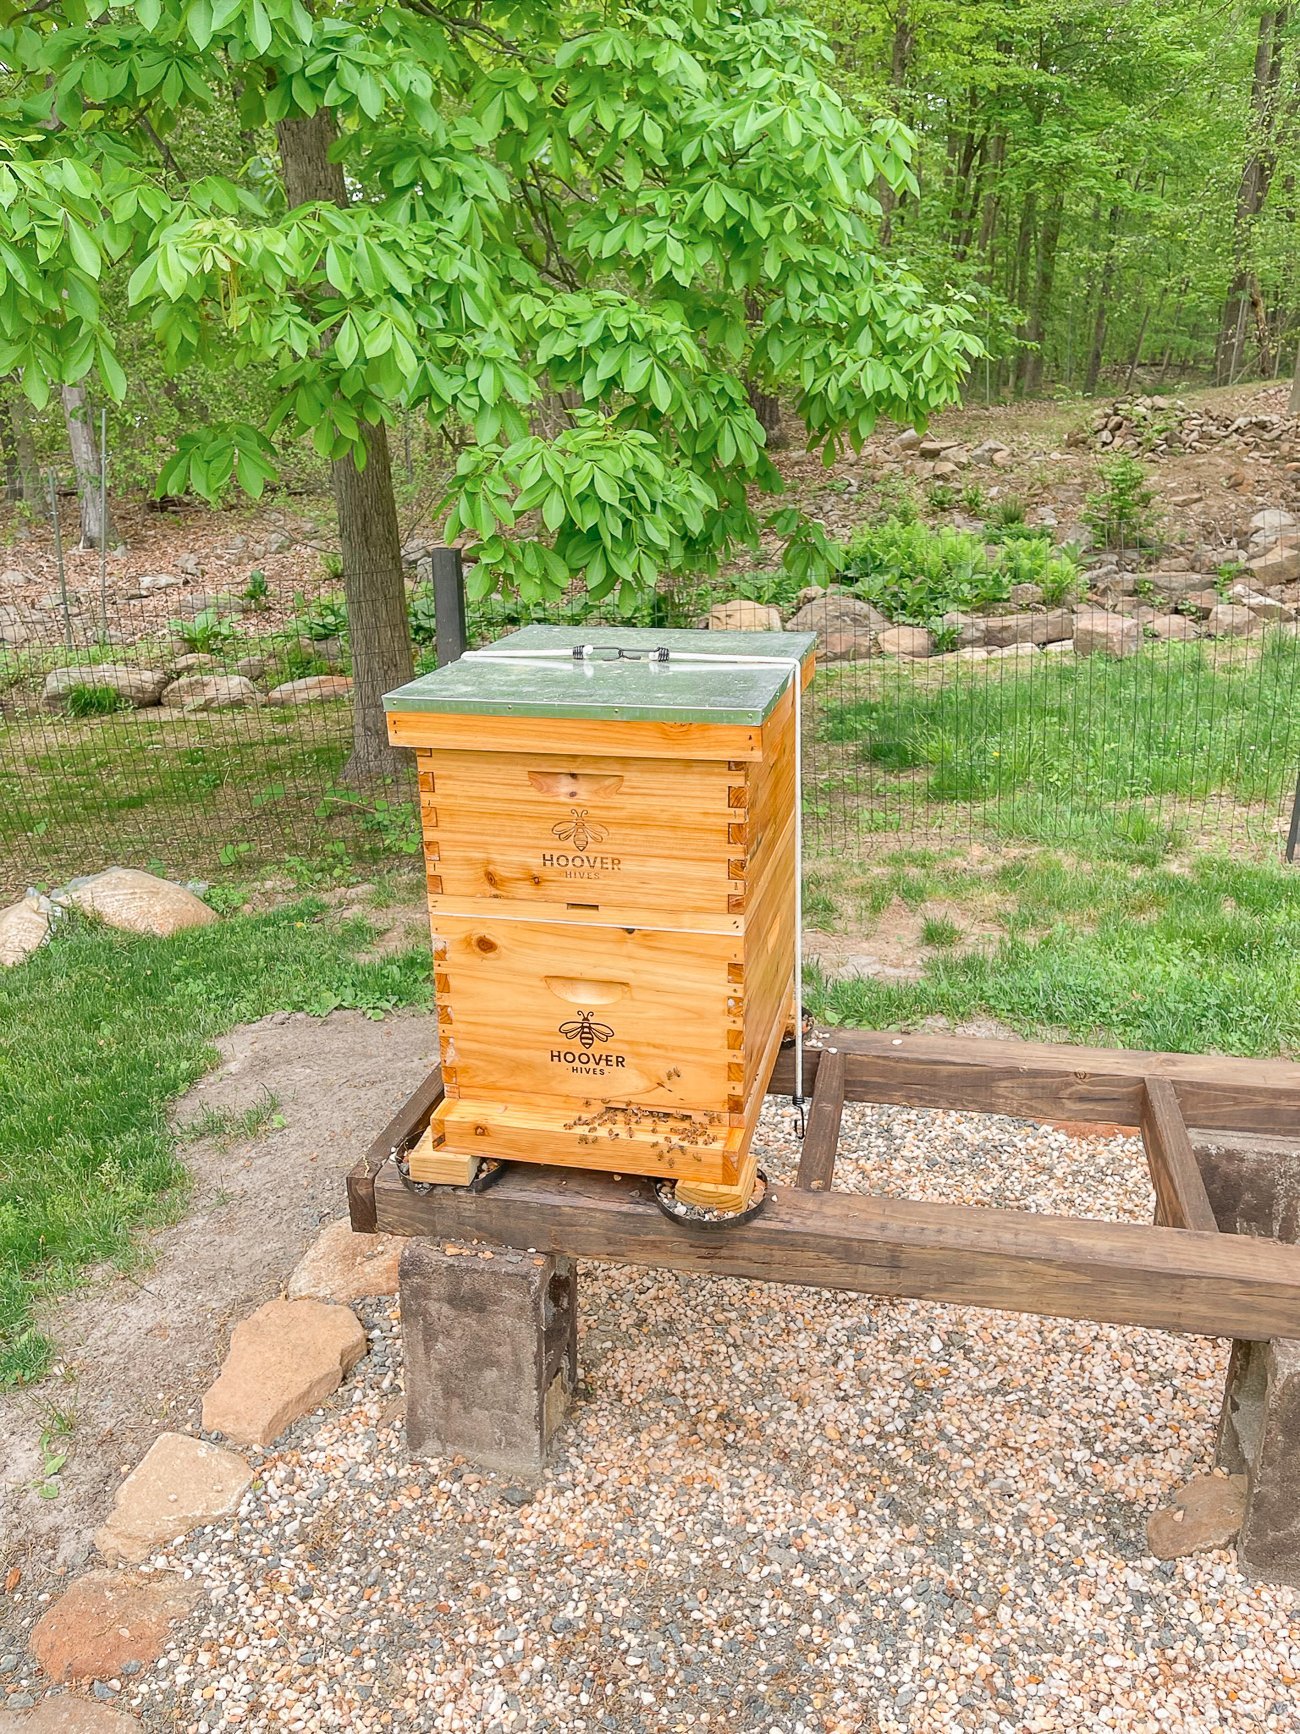
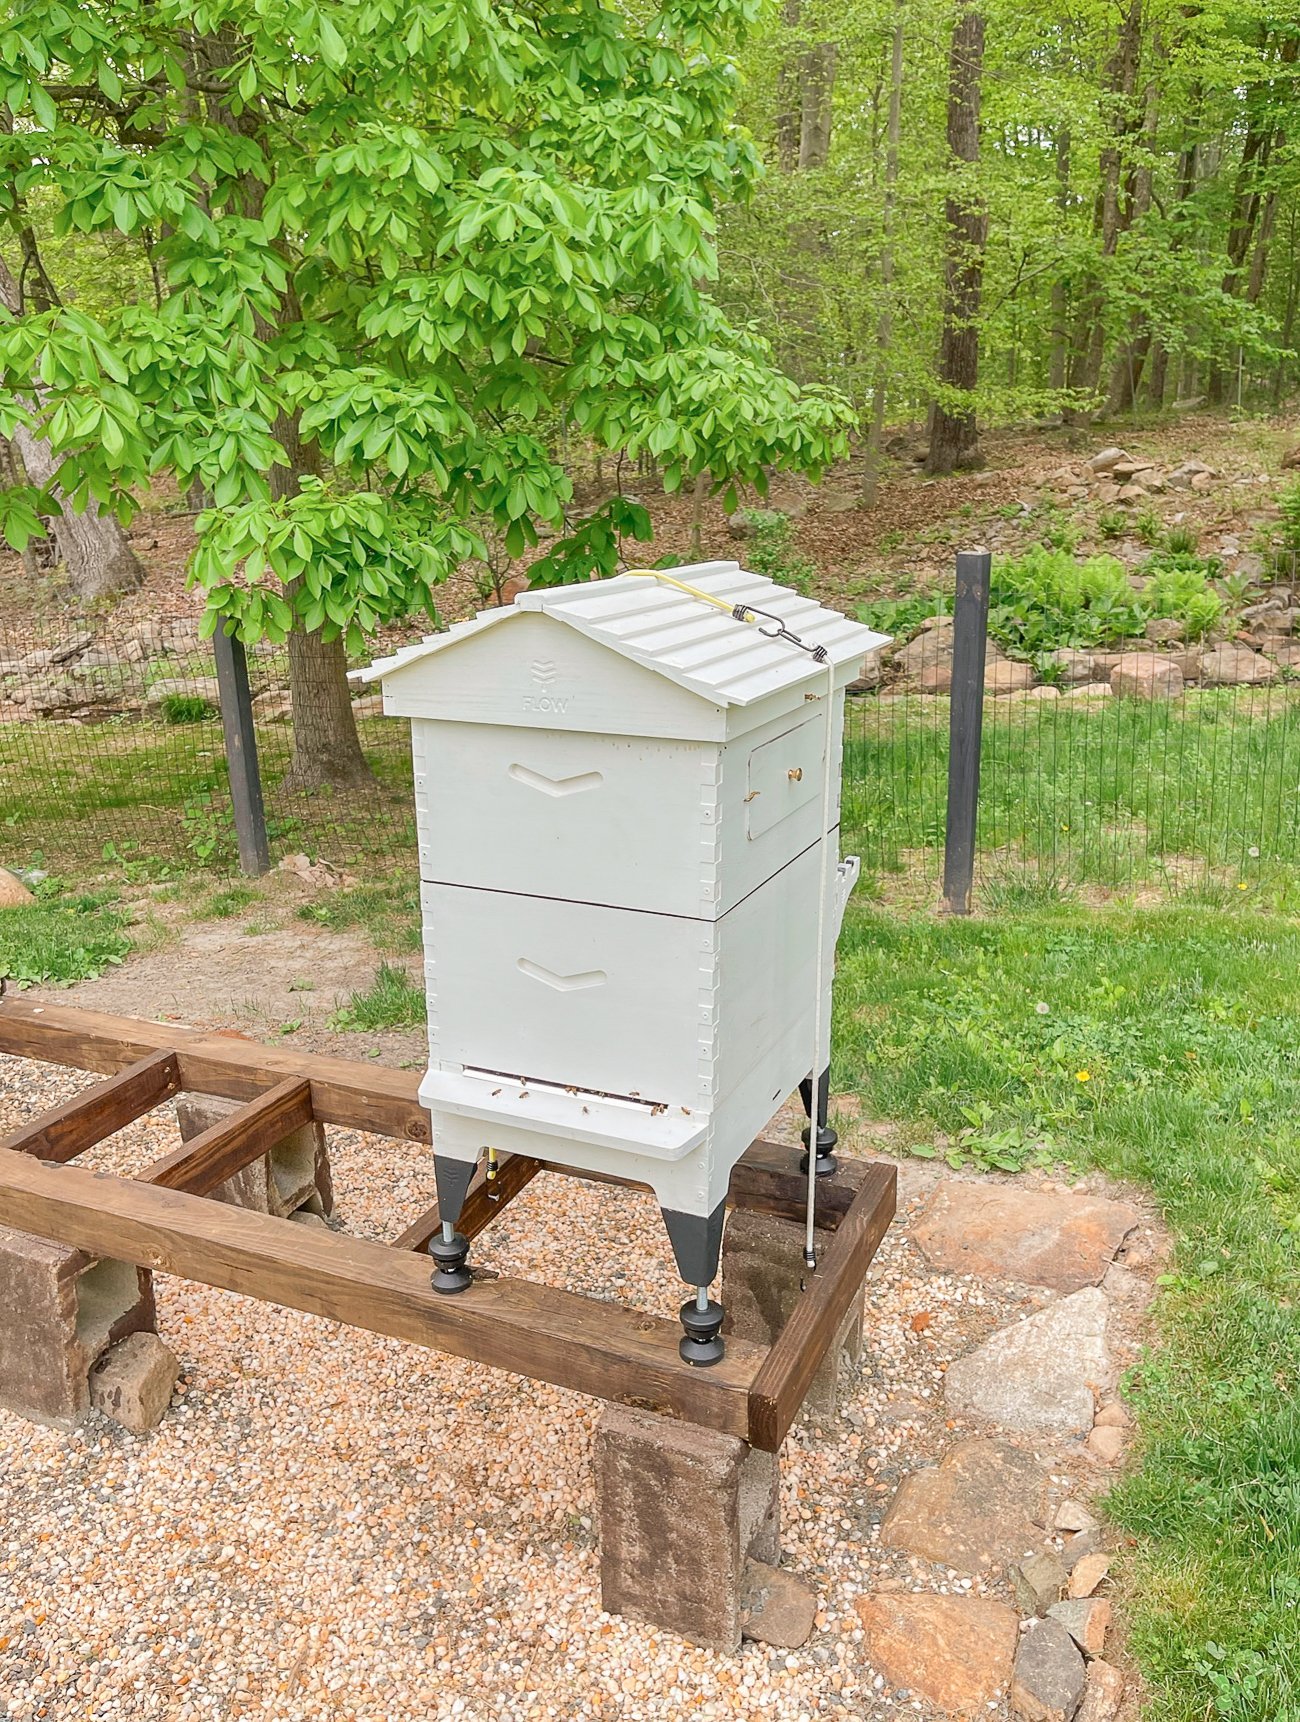
I will admit that occasionally walking down to the hives to see the honeybees flitting in and out and buzzing around our flowering fruit trees has added a new dimension of excitement around this place.
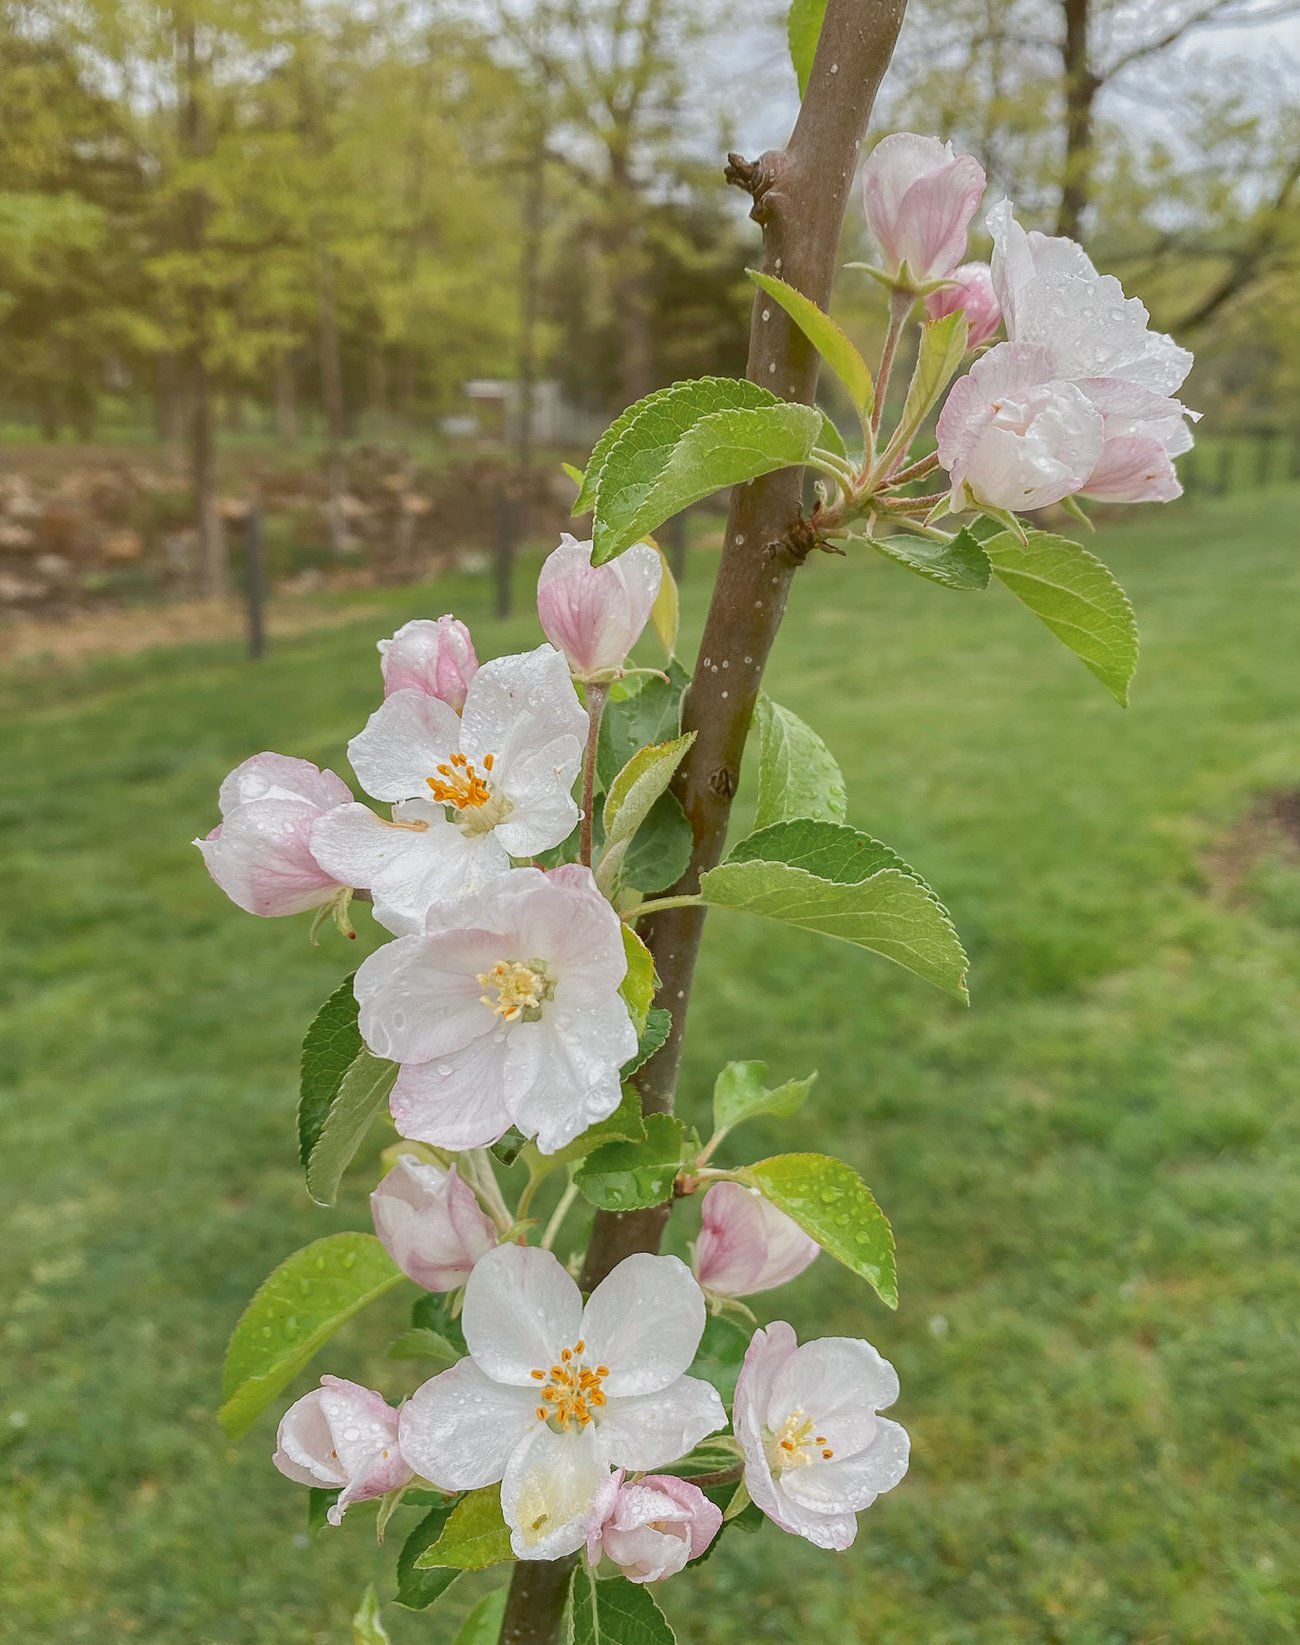
Justin’s uncle is an experienced beekeeper out in California, so he’s been sharing some great advice with us, but we have already found that beekeeping books and YouTube videos can only take you so far. We still have a lot to learn about bees!
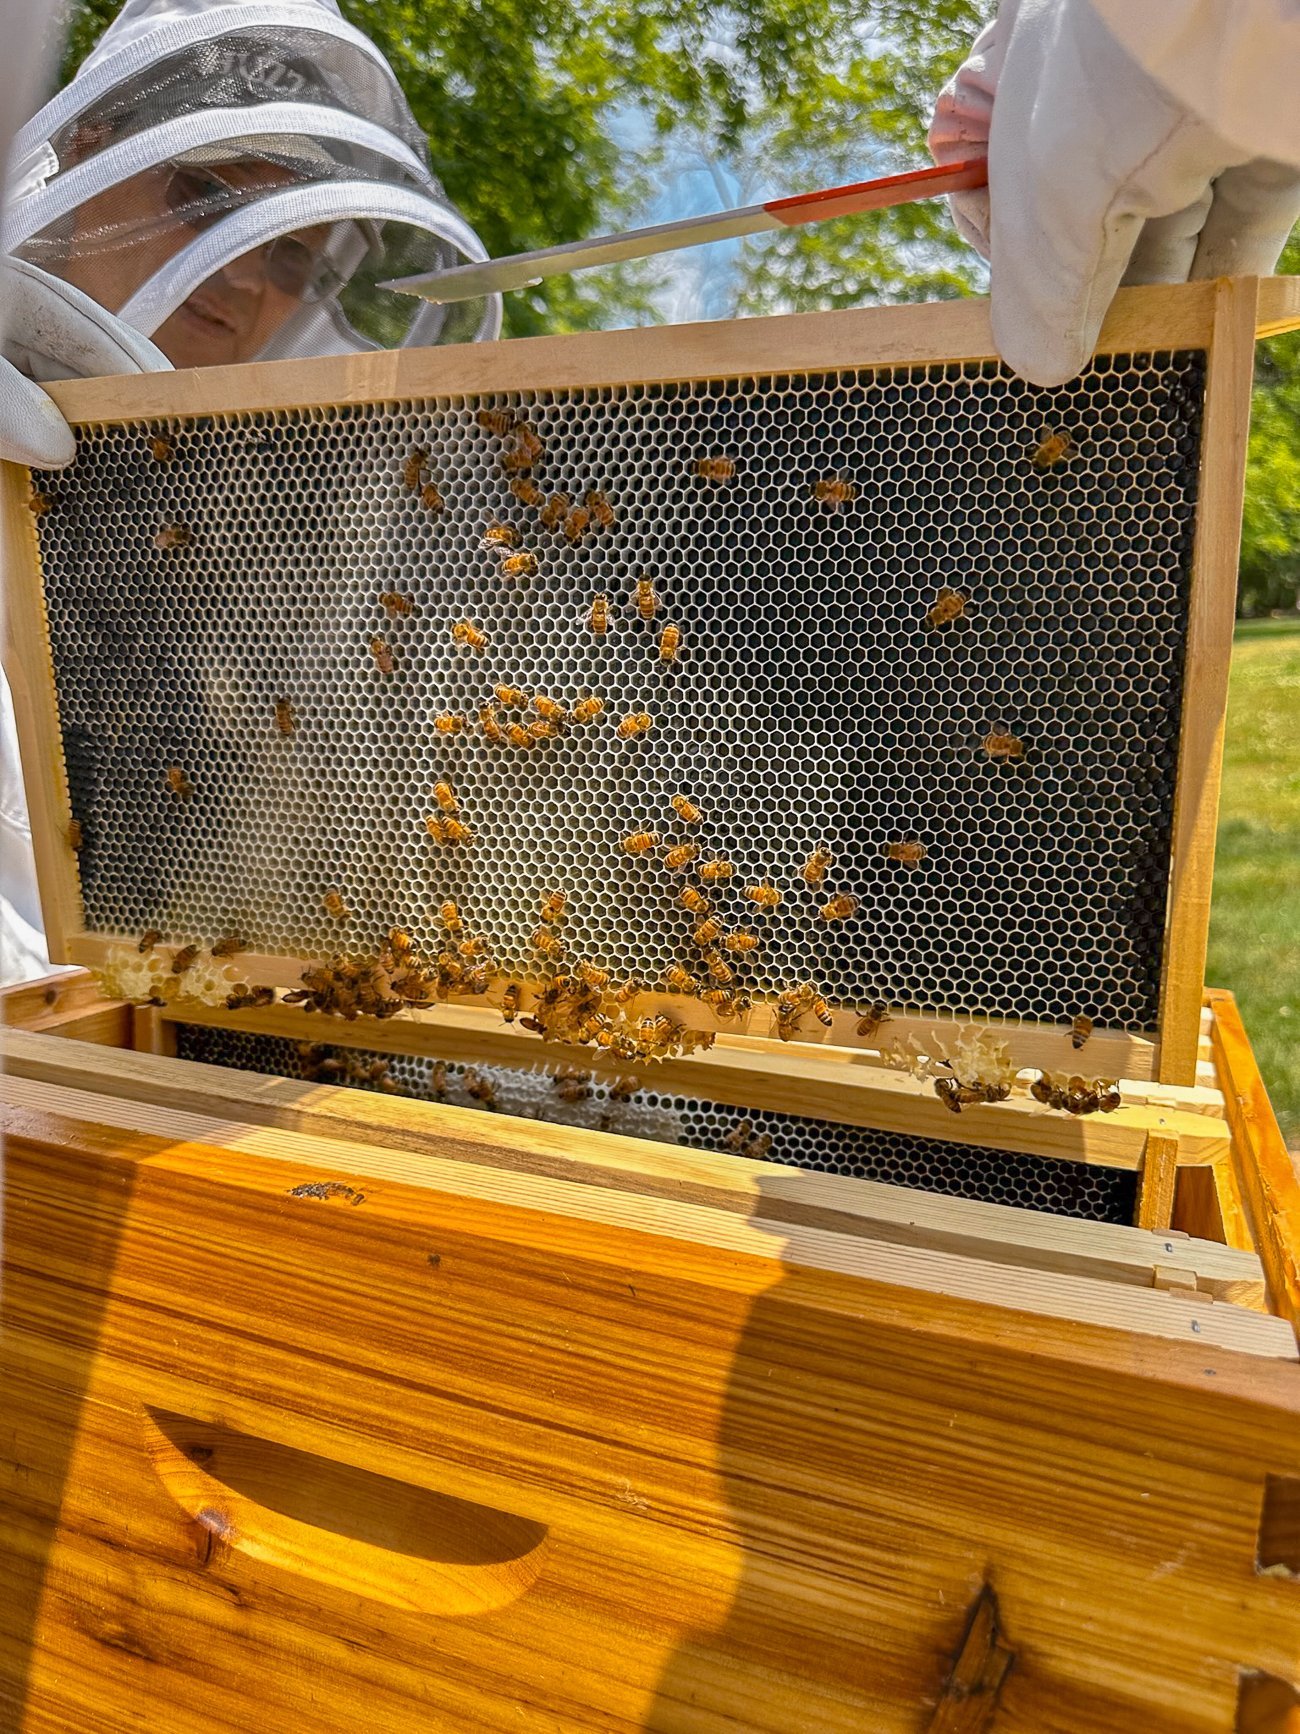
Just two weeks ago, my dad and Scott were conducting a hive check and panicked when they couldn’t find any new brood (larvae, indicating the presence of a queen bee and a growing, healthy hive). They couldn’t find queens in either hive either!
Cut to the following week, when they called the local beekeeper they got the nucs from, who said they could come out to pick up two new vetted queens.
When they went to put the queens into the hives, however, they found that both hives already had a NEW queen who hadn’t yet mated.
We now suspect that the hives had swarmed, taking the original queens and half of each hive’s bees with them. (Swarming is when a honeybee colony separates and forms a new colony, generally to make space in the hive and keep the population under control.)
So the remaining bees had made new queens after all. After a call and some texted photos to the aforementioned local beekeeper, we now have FOUR hives, each with their own queen.
We’re hoping that this doesn’t set our bees back, as generally, you want the hive to be big and strong to survive the winter, and I hear from my dad that splitting hives isn’t always the best course of action. We will hold back from harvesting any honey this year to give them their best chance at it!
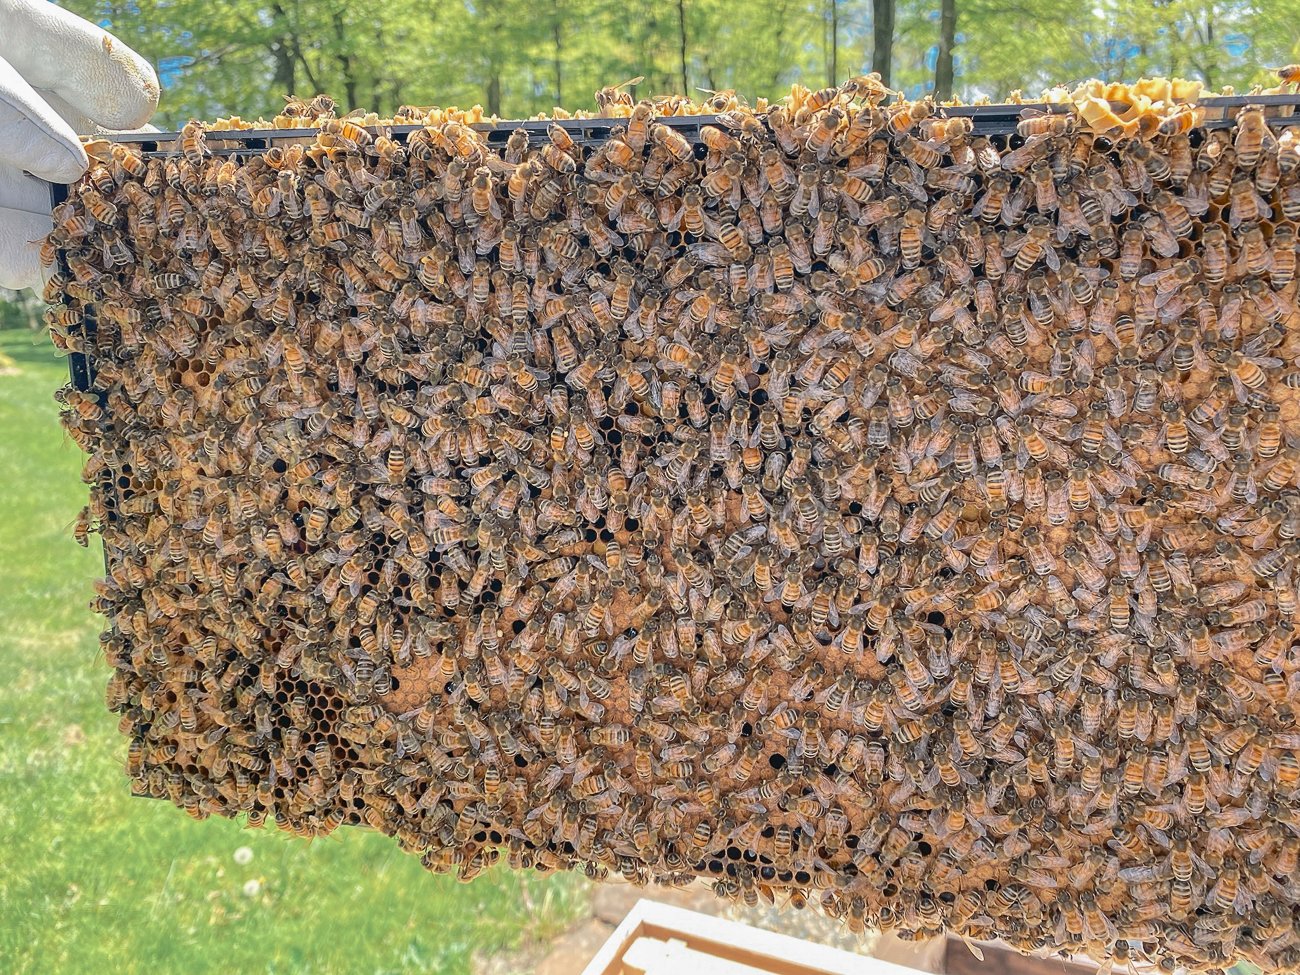
The remaining bees seemed to be a bit discombobulated, making honeycomb at the top and bottom of the frames, and generally doing kind of a messy job of things. We hope they get back on track soon!
The Chickens & Ducks
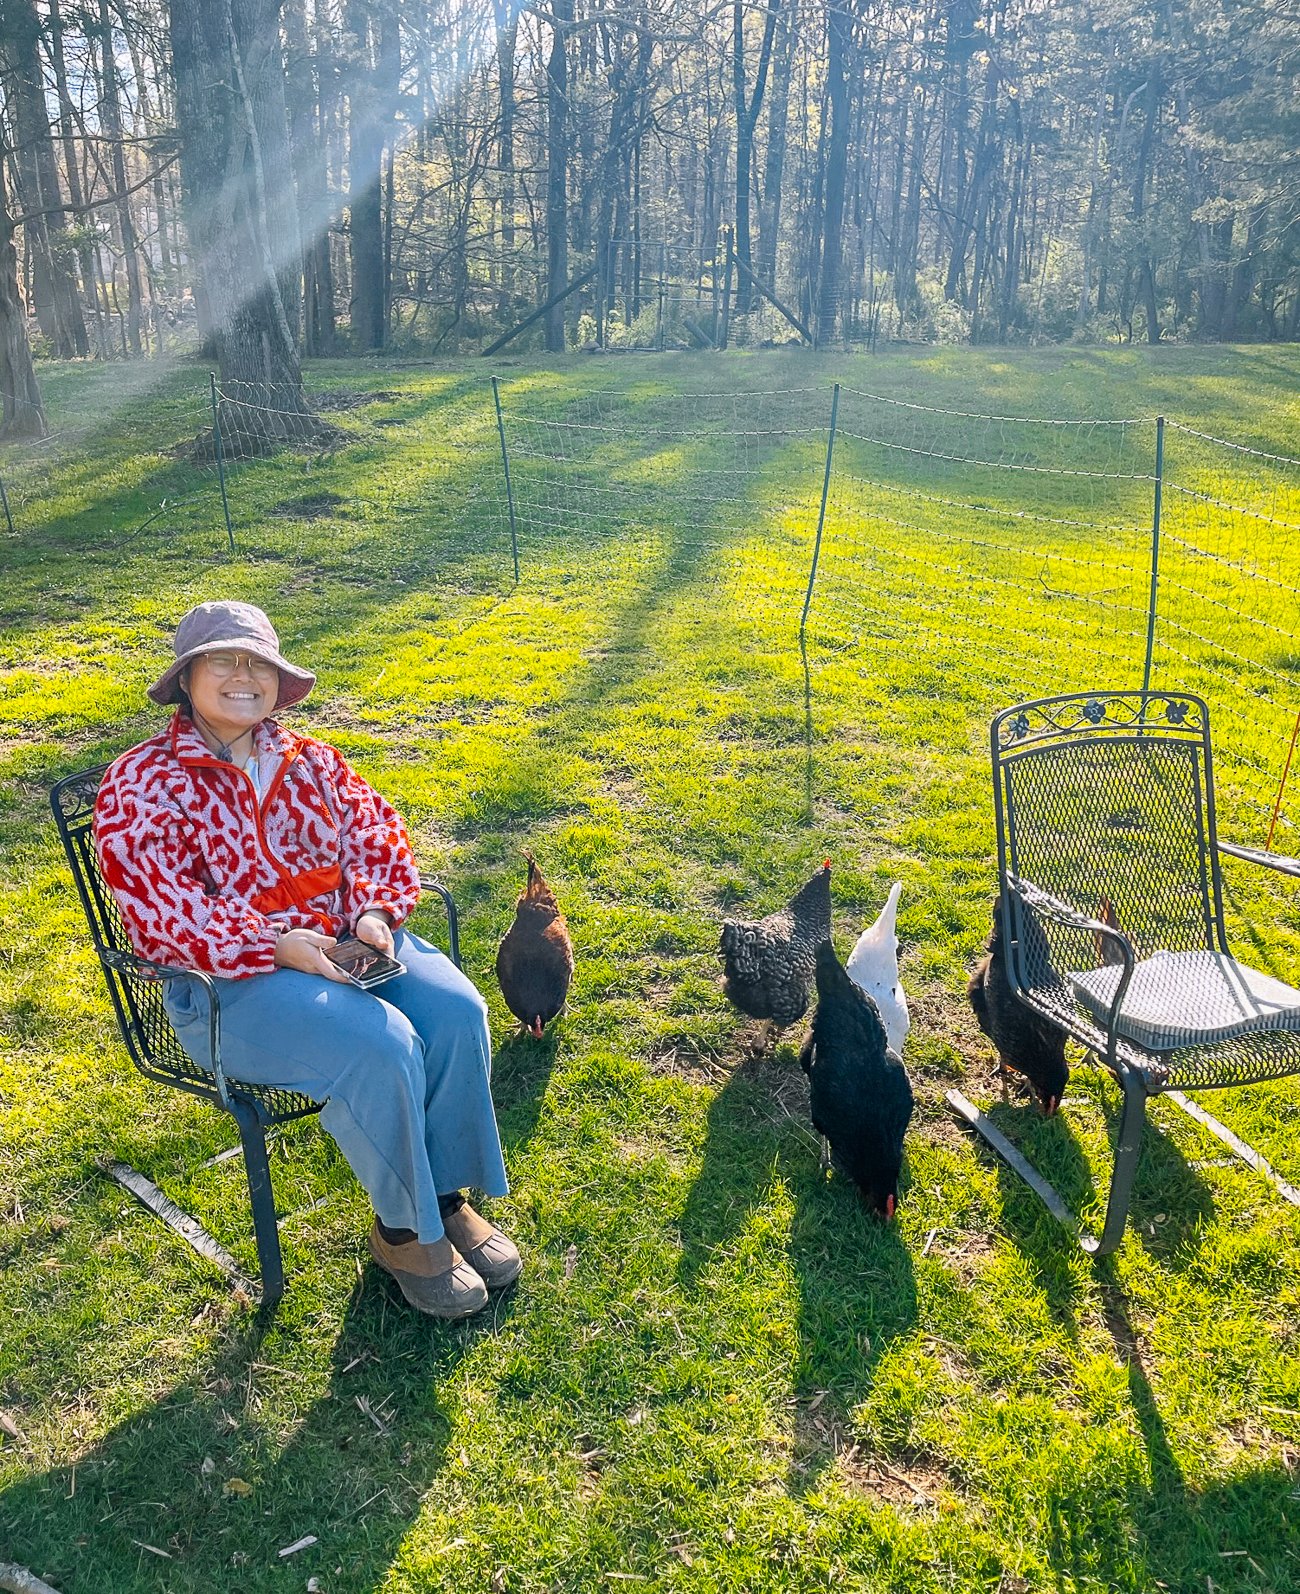
Ah, our trusty chickens and ducks. These gals have solidly become part of the family, all with names and distinct personalities: Feather, Sloane, Esmerelda, Eggy, Chen Kenichi, Hiroyuki Sakai (sadly, Morimoto was caught by a fox), Mariah, Red, and Diana Ross.
Having invested much of last spring raising them and getting their housing in order (read more about the chickens here and the ducks here), we didn’t have much to do this year but enjoy the fruits of our labor.
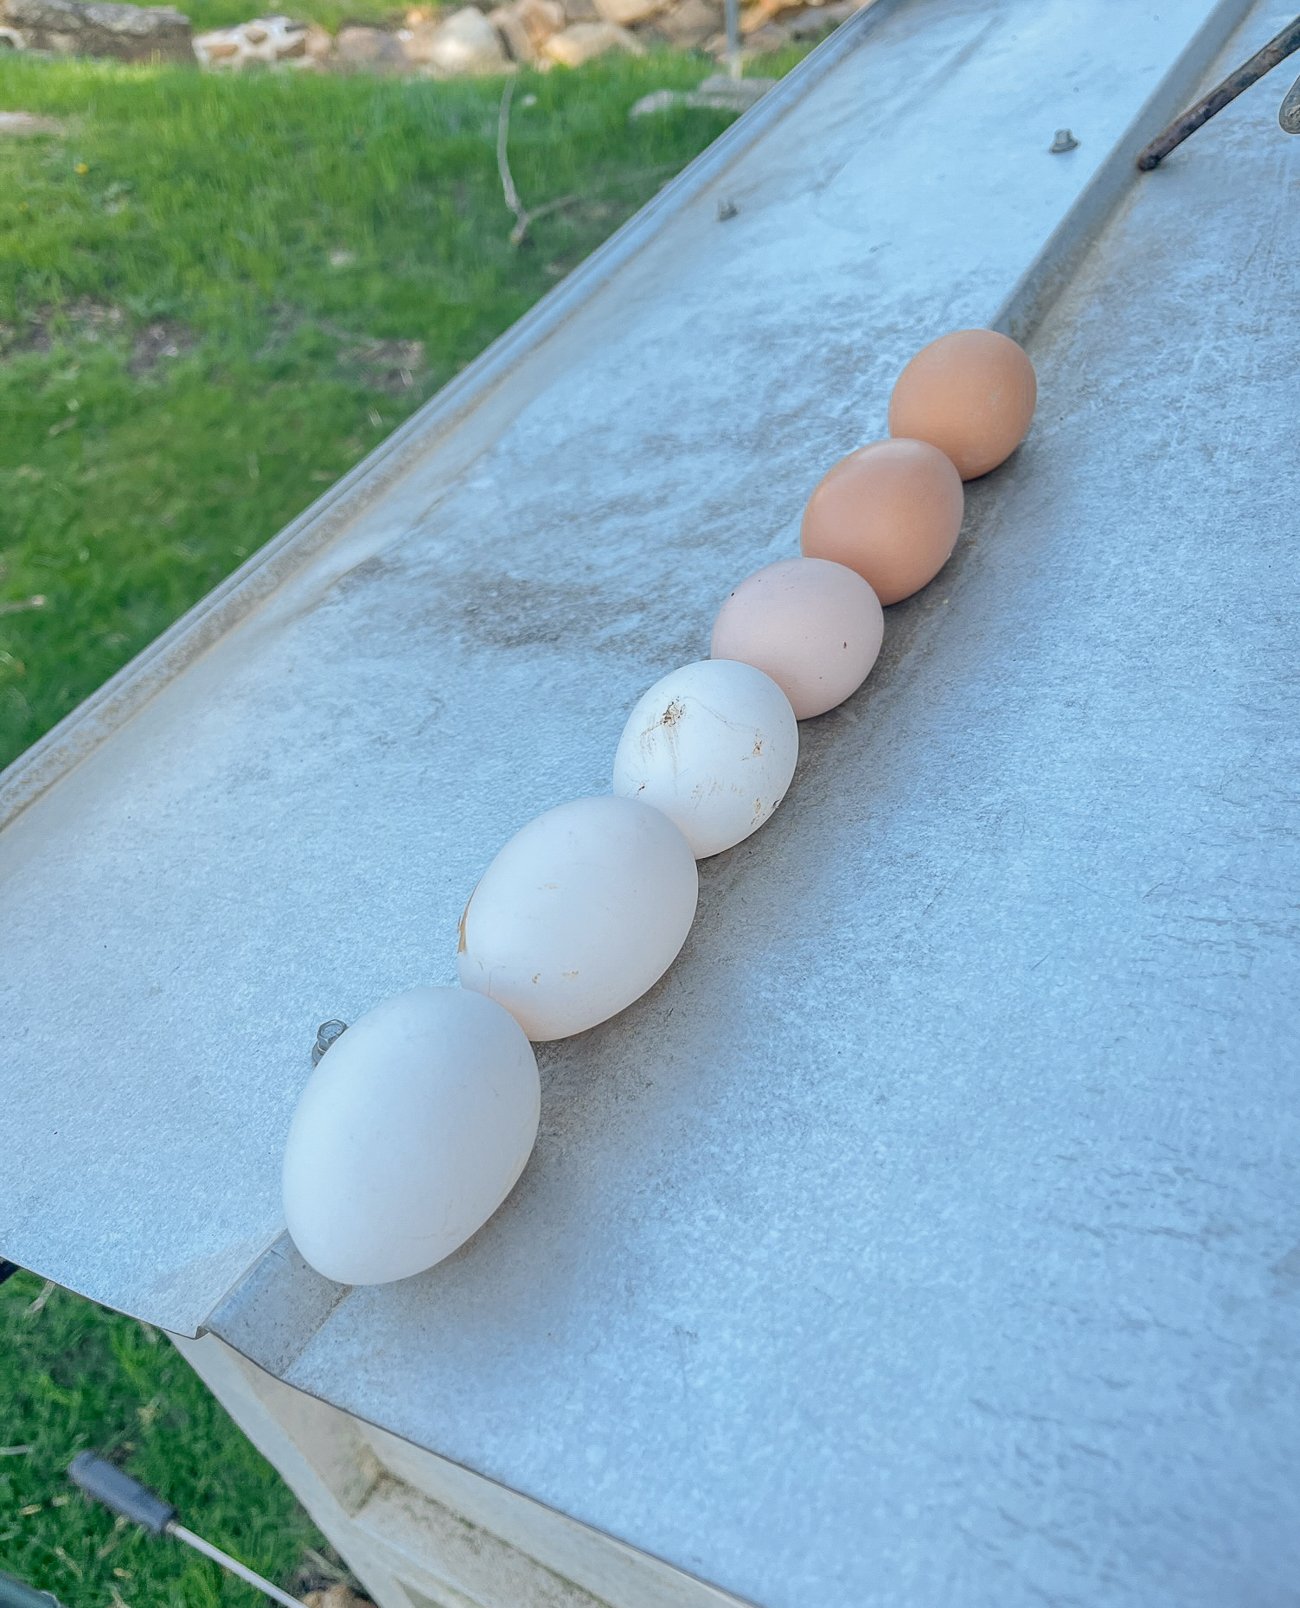
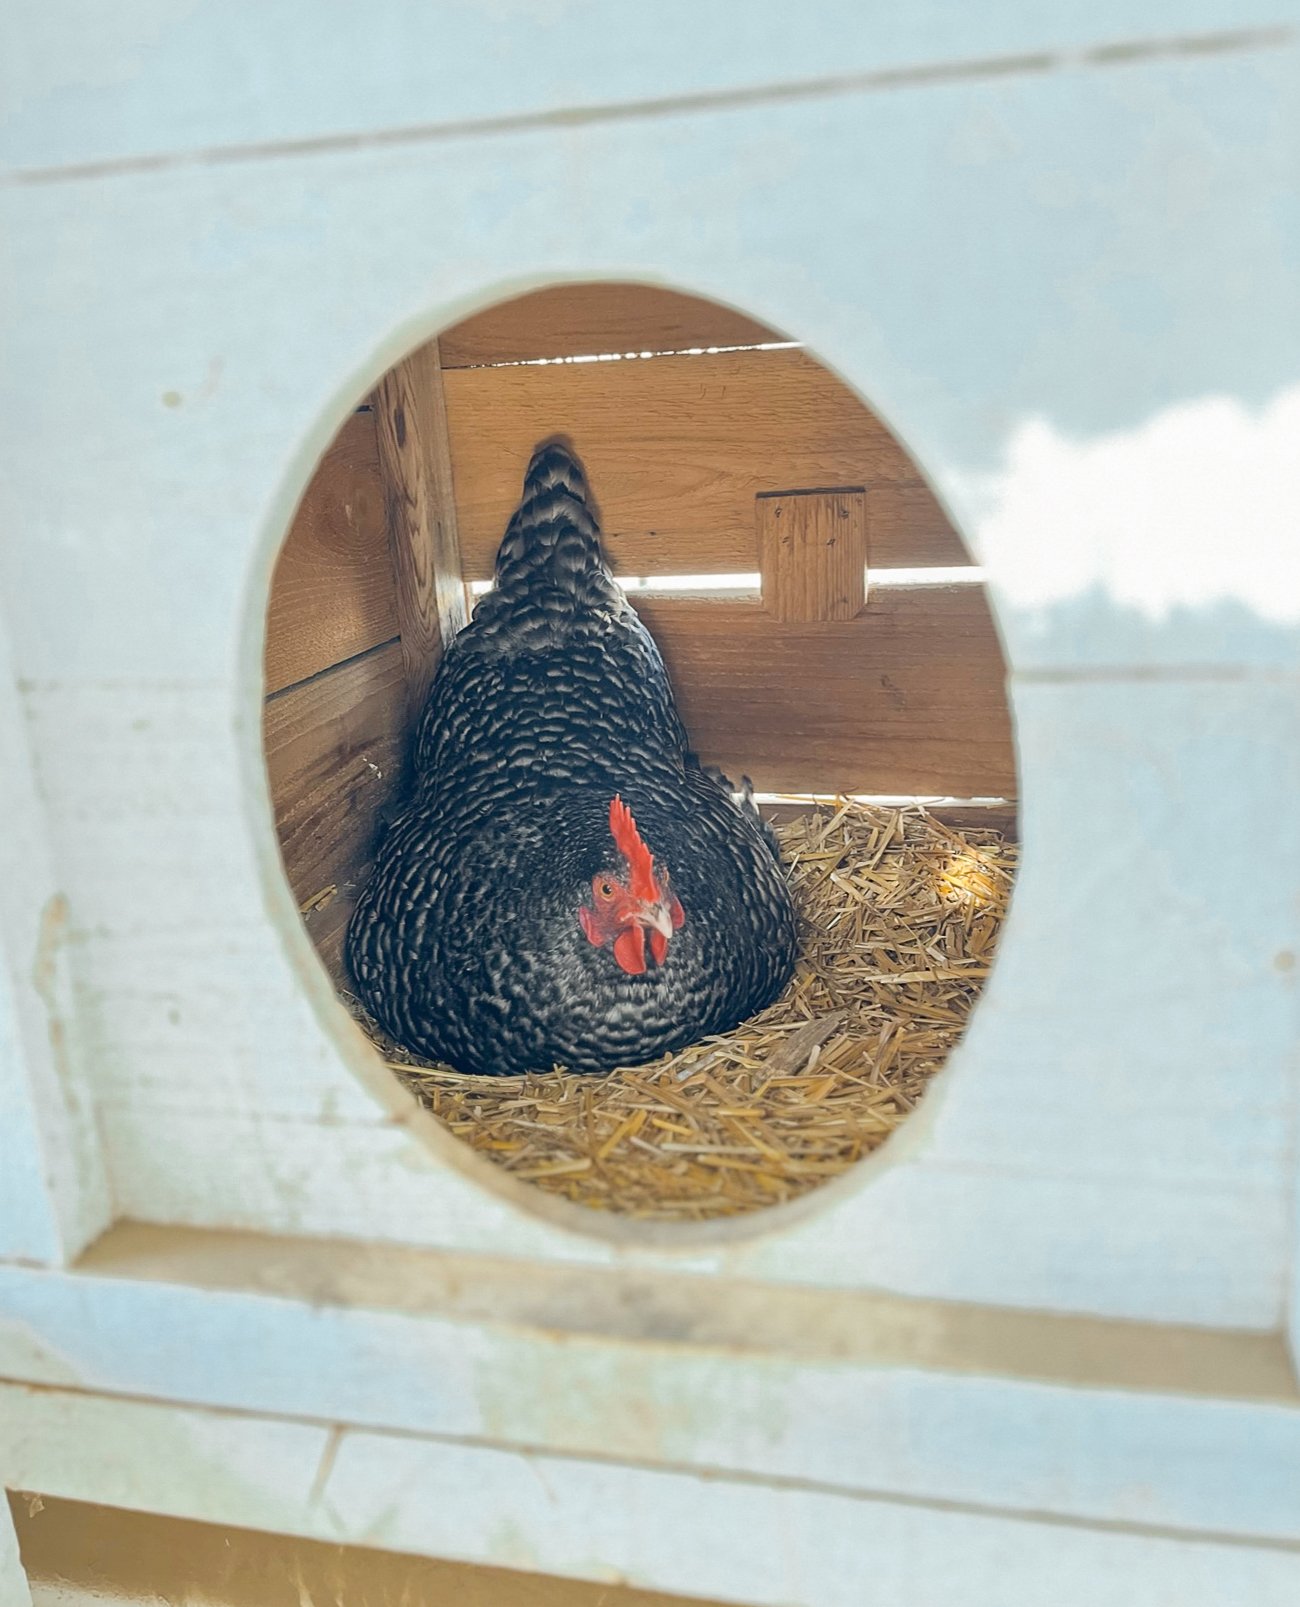
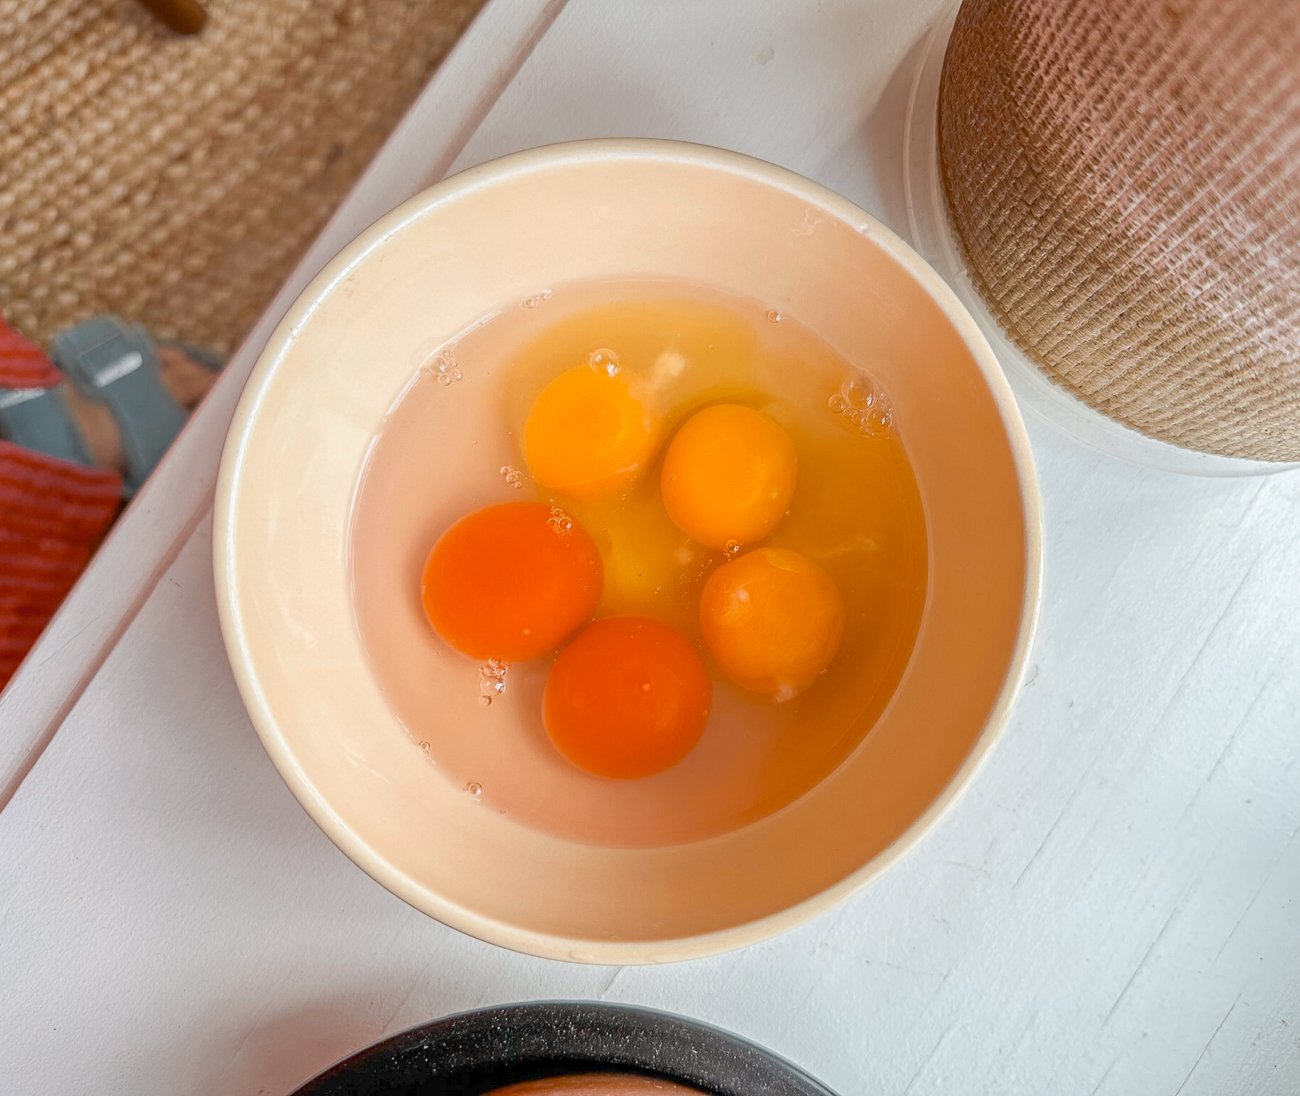
As the days got longer, the hens started revving up their egg production again. The ducks never stopped laying through winter, so they’ve been our champion egg suppliers for months.
Just look at the color on those duck eggs (the two deep orange ones in the lower left)!
The Next Phase for the Chickens & Ducks
Basically, we’re just keeping the girls happy with kitchen scraps and cuttings from the garden, and keeping a closer eye out for predators. We’re thinking of adding more birds to the flock next year.
The Herd
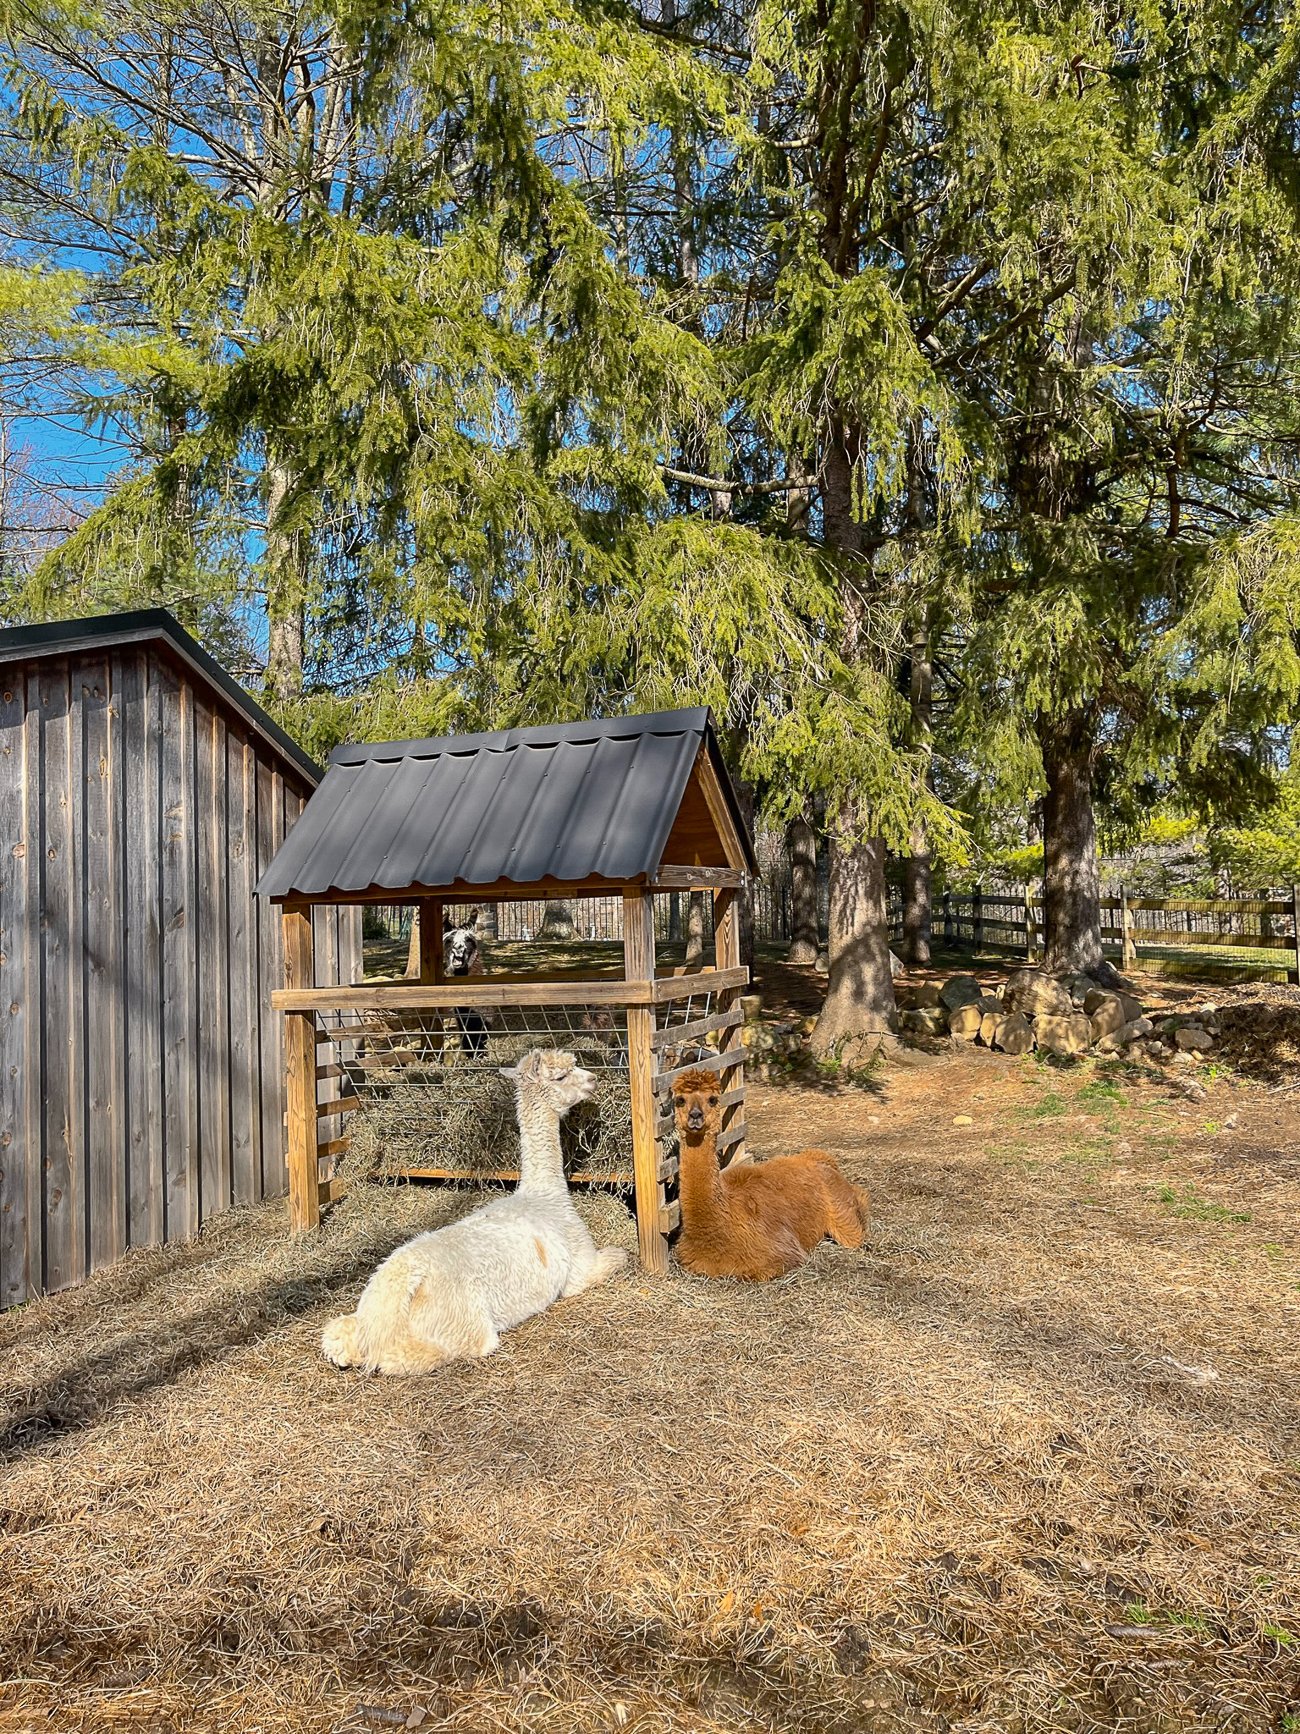
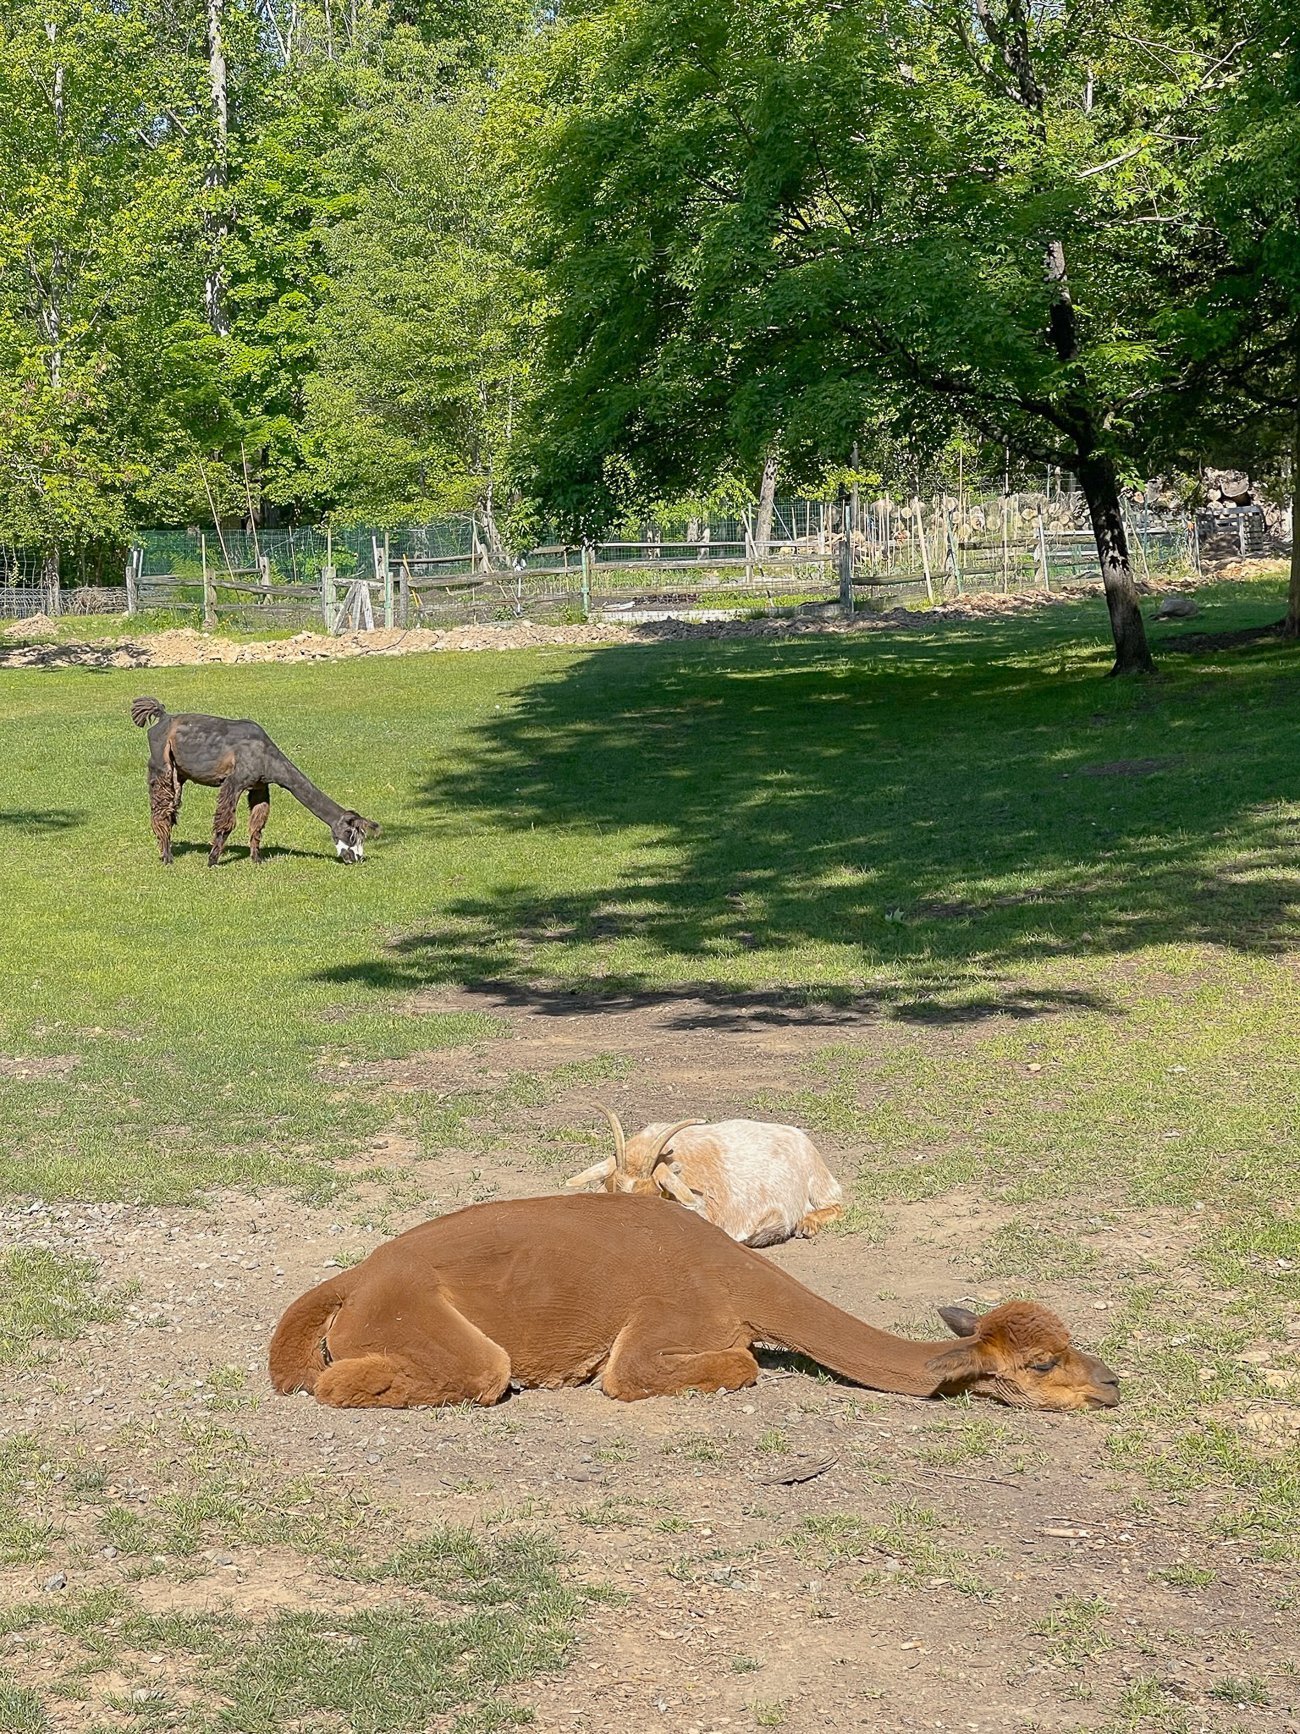
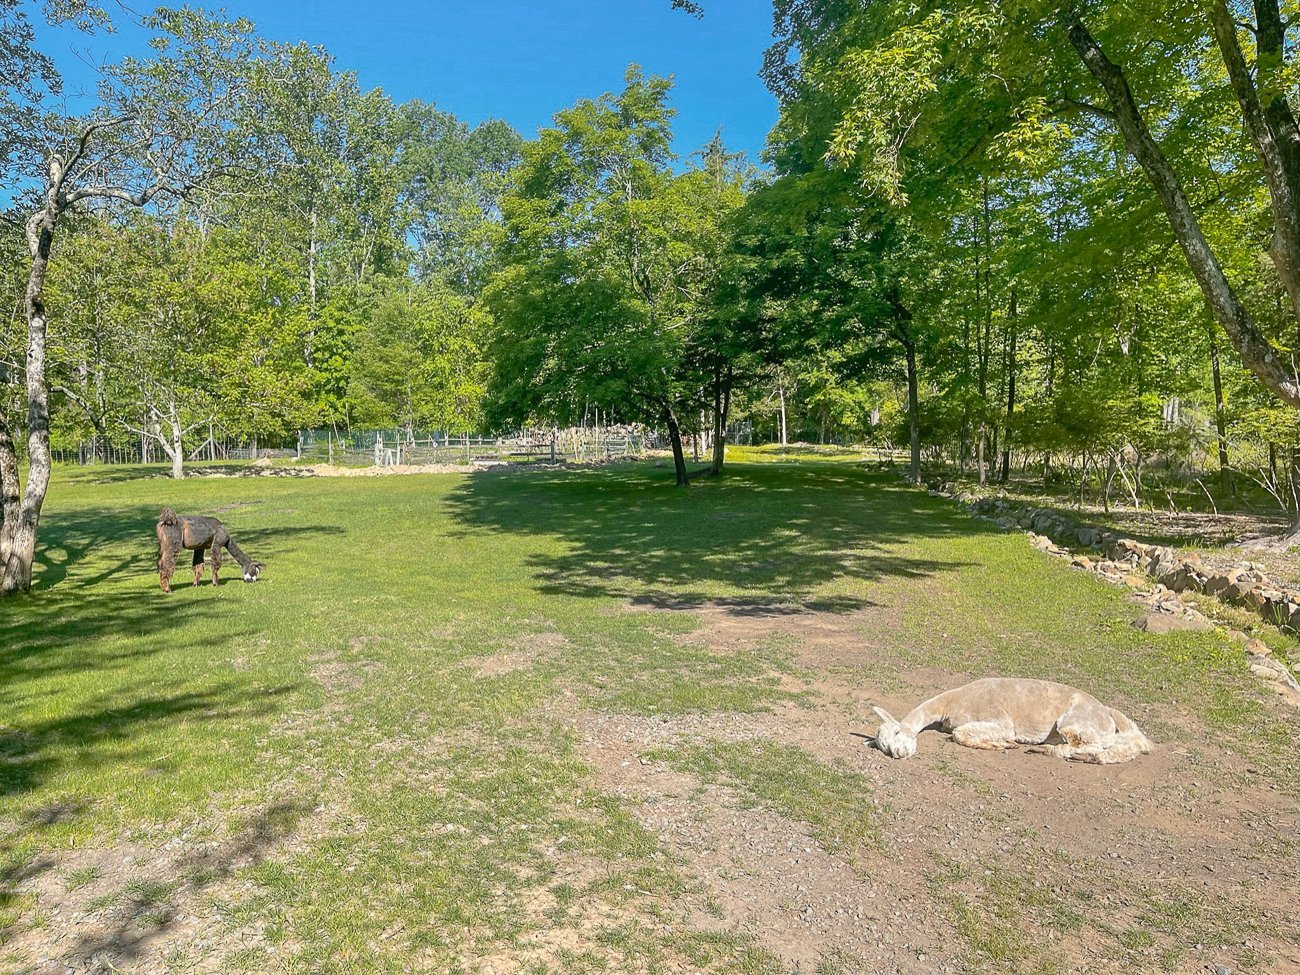
The alpacas, goats, and Trooper (our llama) have been doing well. We’ve gotten much more used to doing their vaccines every 6 weeks, and beyond a few very cold days (and a bizarre 55°F rainy day in December that transitioned into a night of 3°F/-16°C lows, in which we literally blow-dried them with hair-dryers before putting on their jackets), they enjoyed a somewhat mild, snow-free winter.
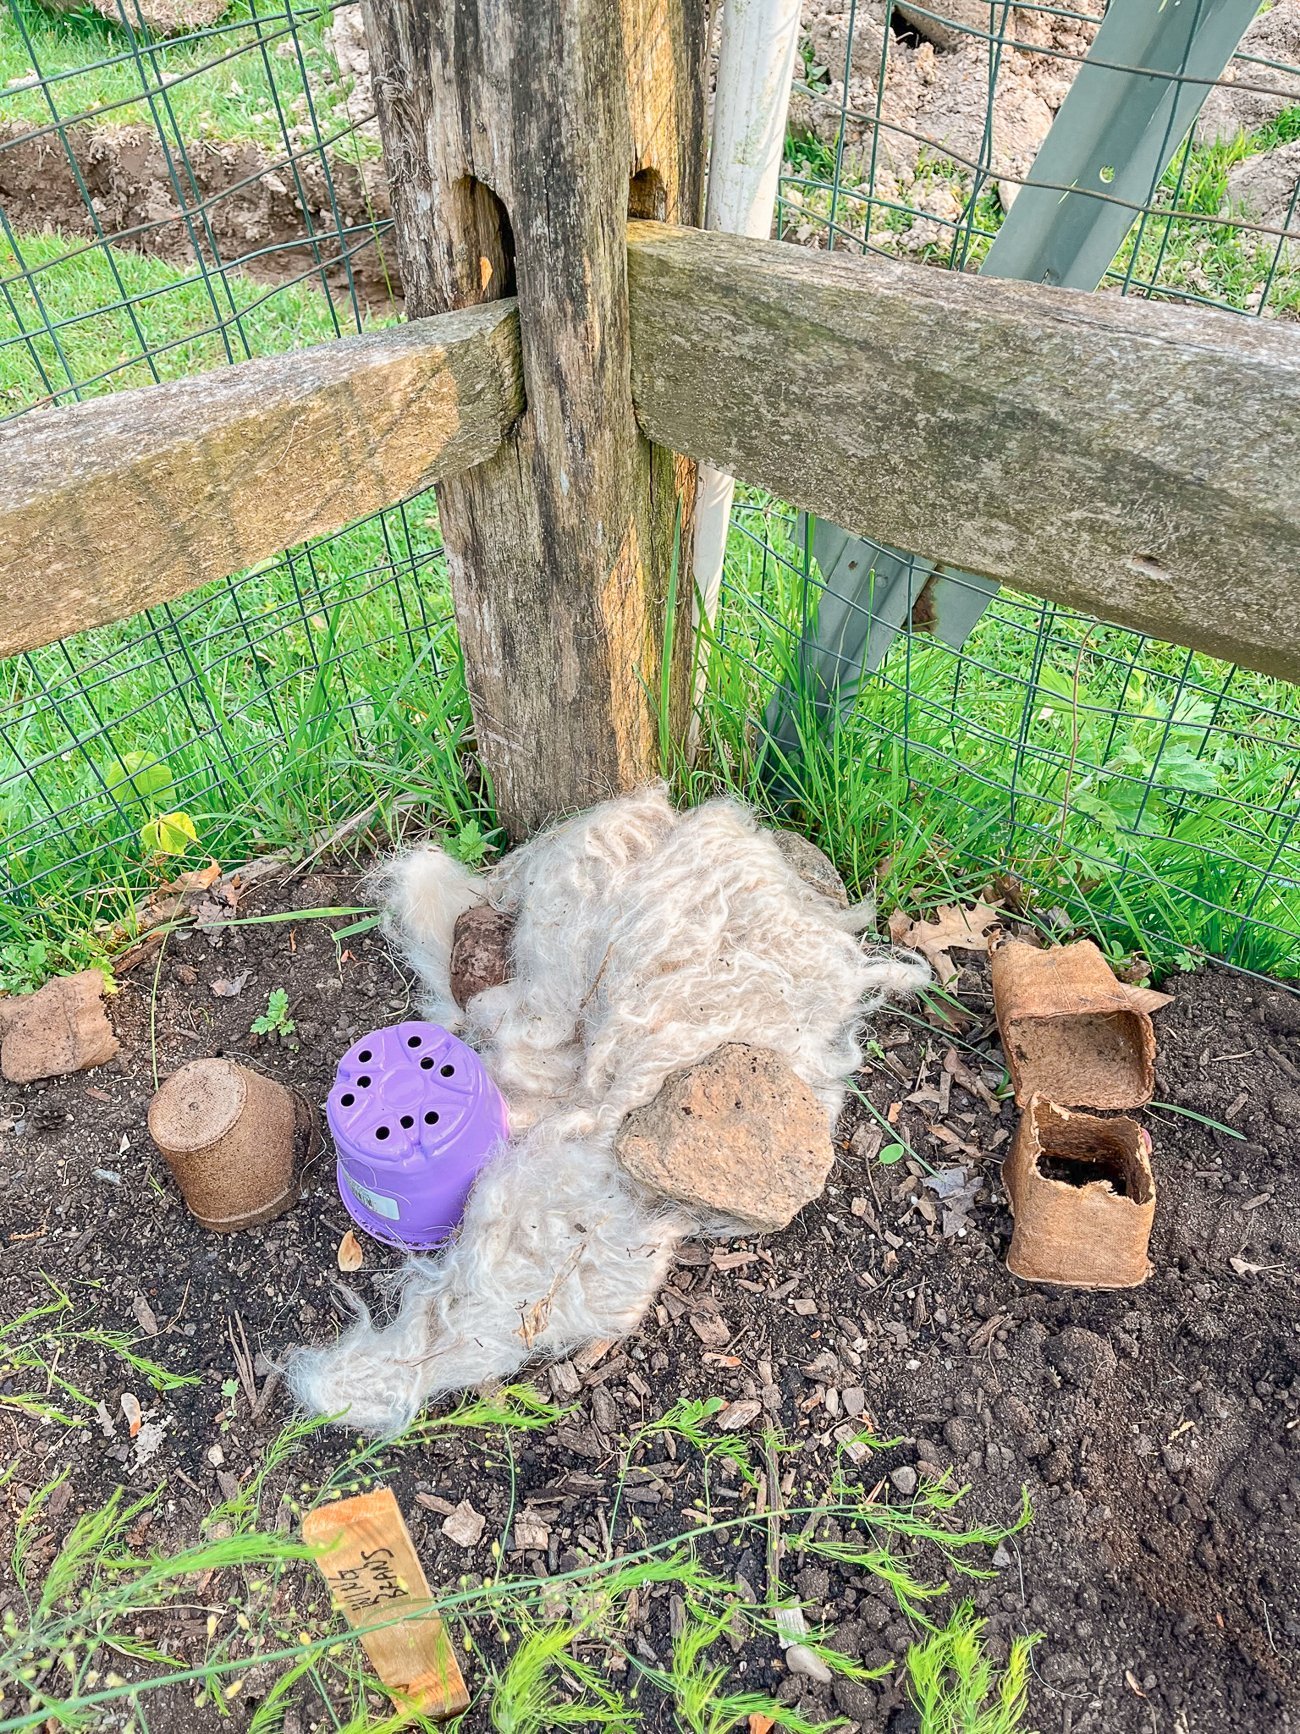
Every spring, the goats shed out their coats on their own. It’s the SOFTEST fleece, which ends up in clumps around the lawn. We actually used it to cover some young seedlings on a particularly cold spring night:
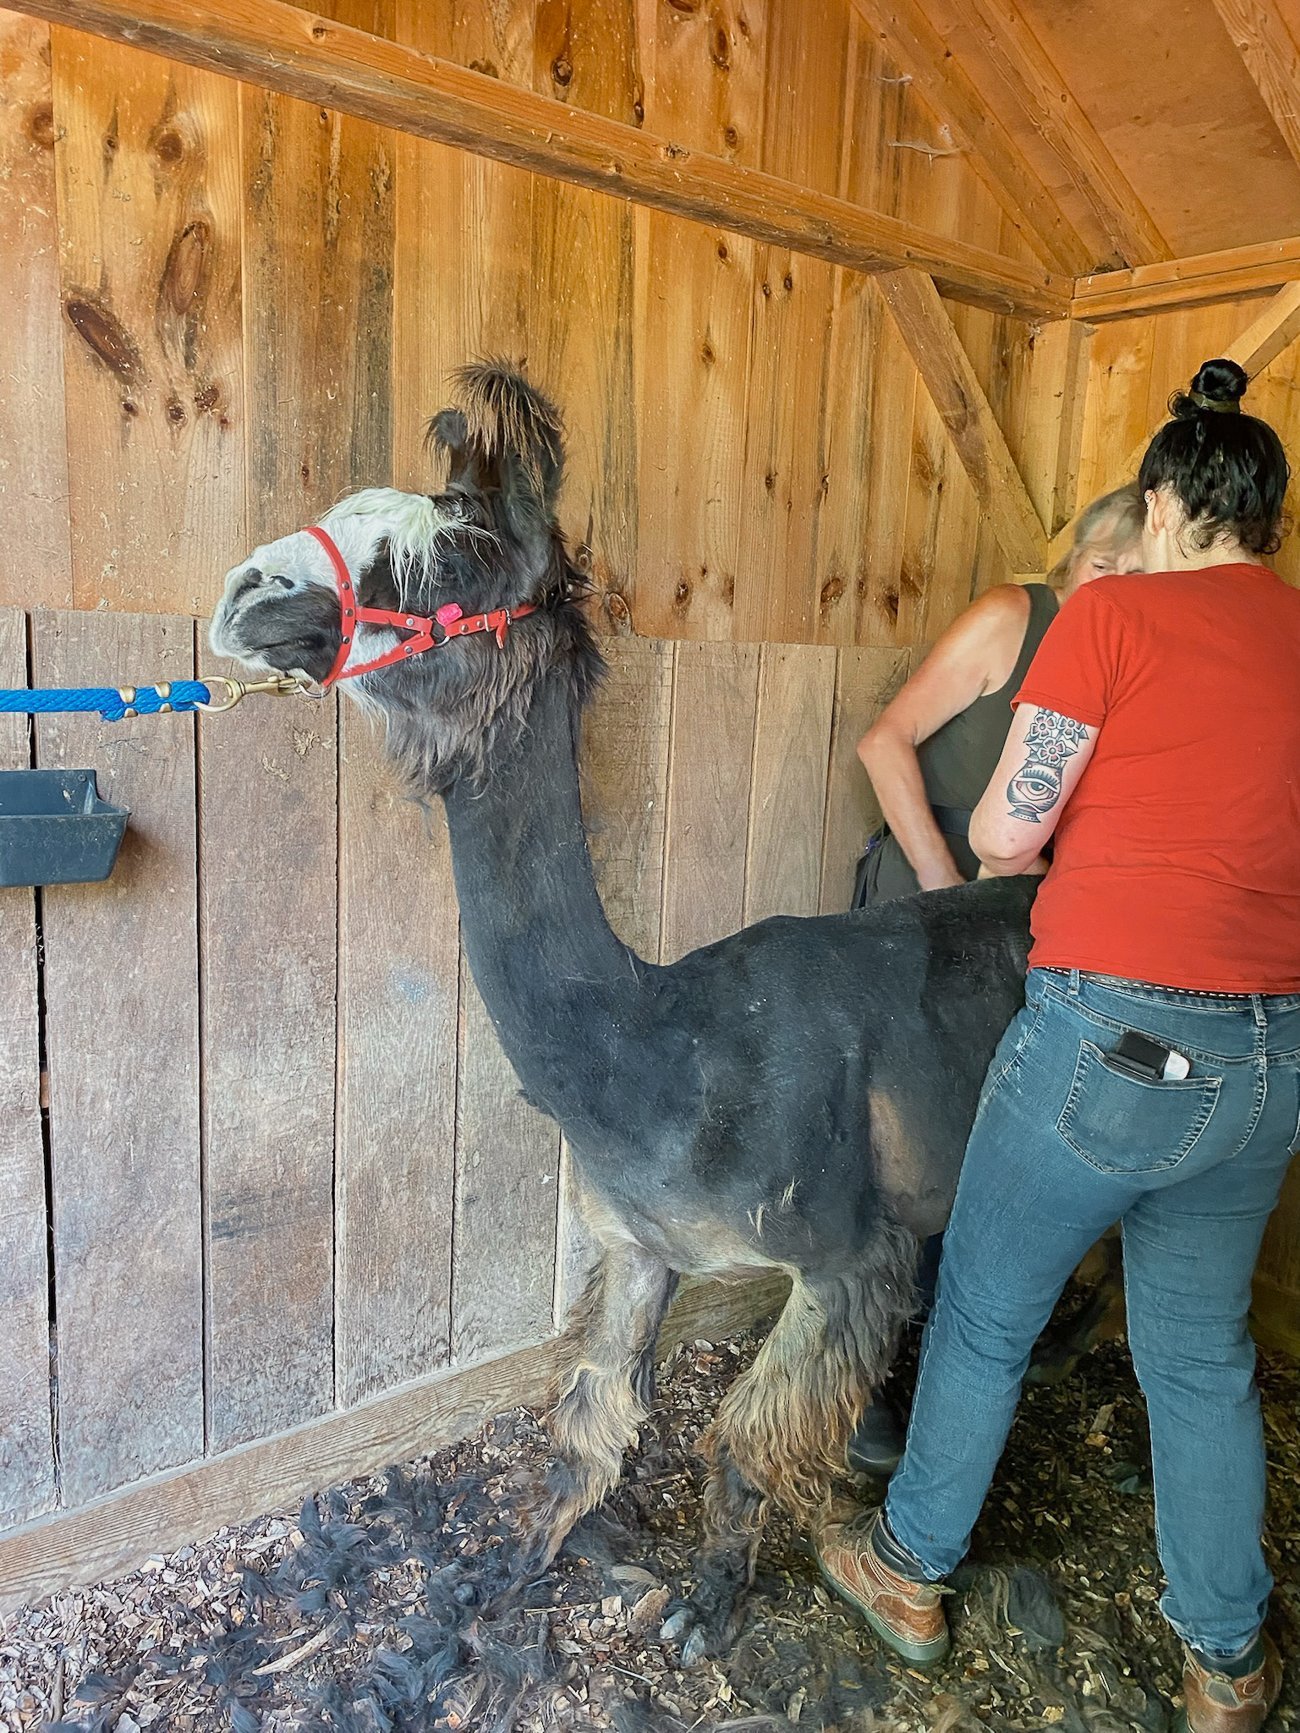
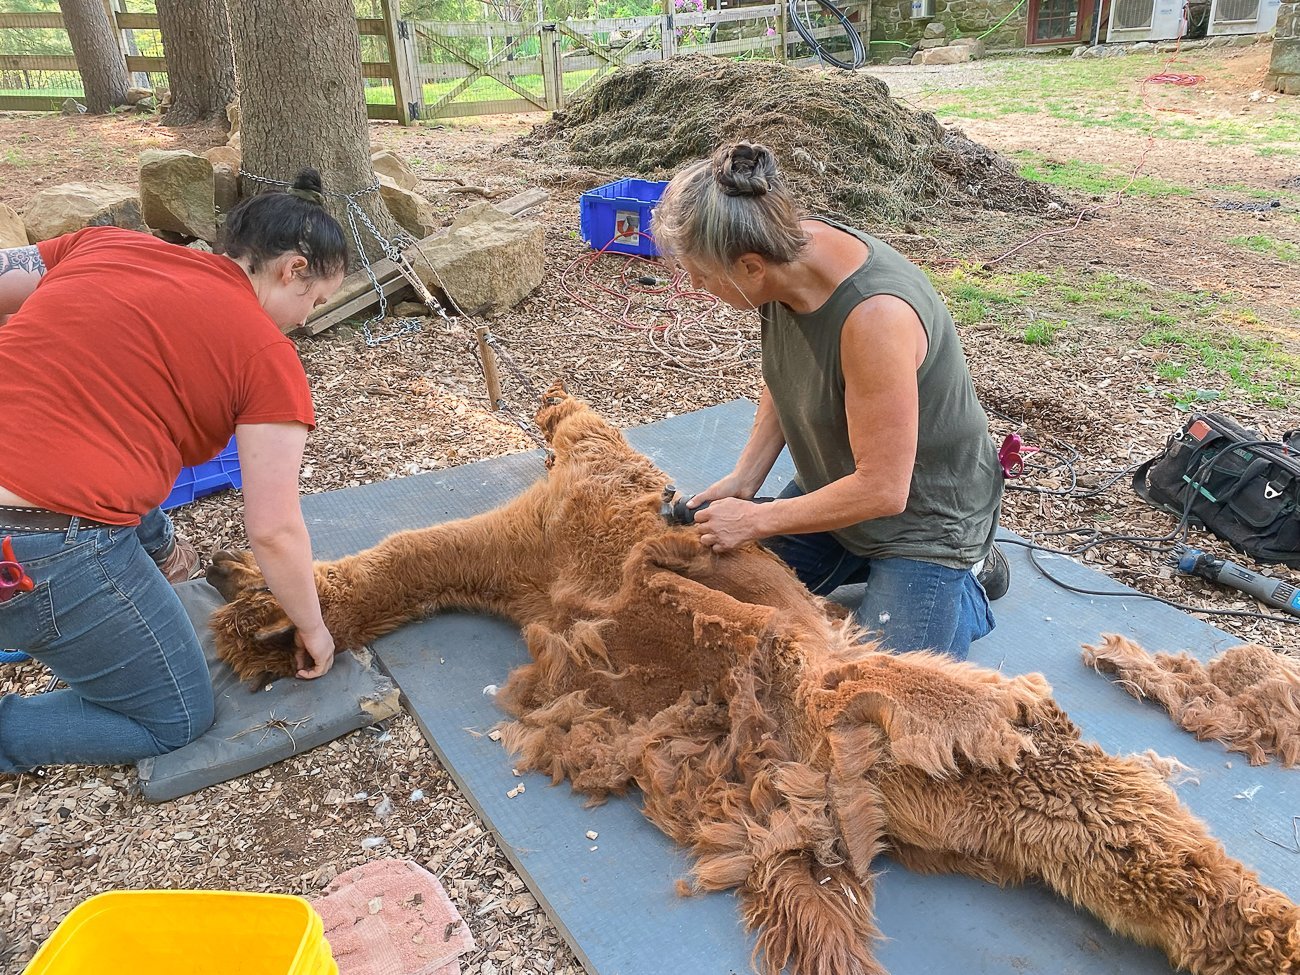
However, Trooper and the alpacas, Bonnie and Bessie, need their fleece shorn off every spring. It was business as usual this year:
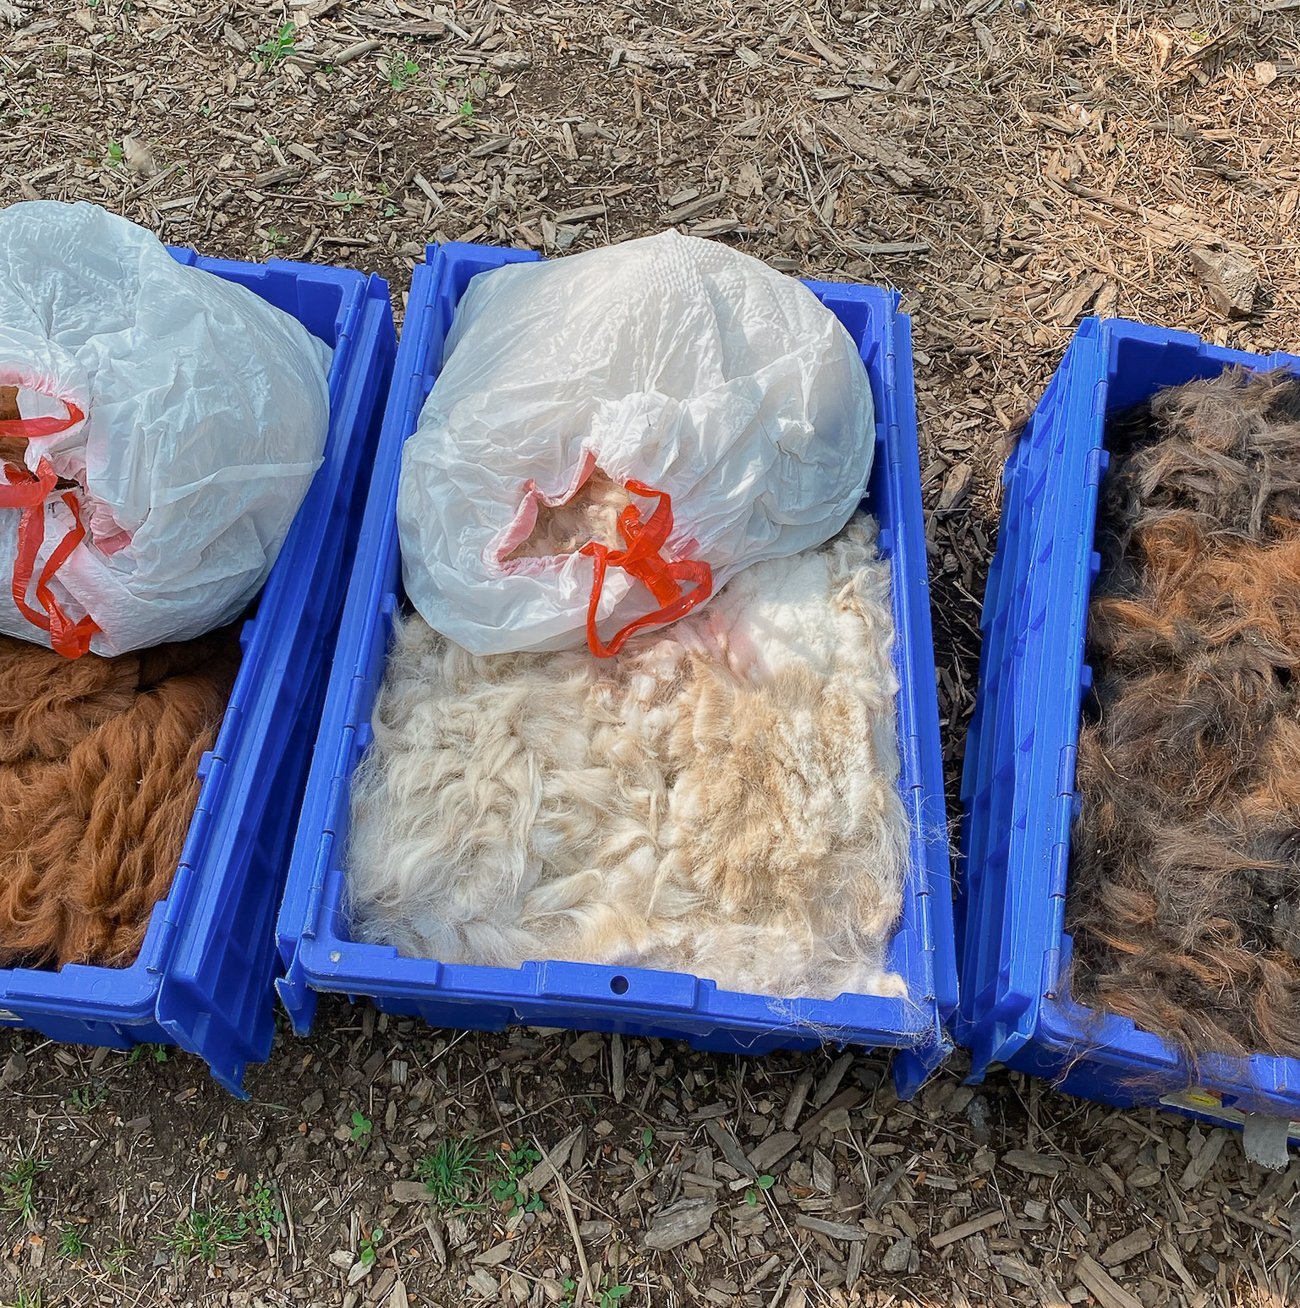
On a recent trip to Maine, however, we learned a lot about how to take that fiber and make it into something useful! Kaitlin visited Cape Newagen Alpaca Farm, and it spurred our ambitions to finally get some usable wool and yarn out of this deal.
The farm’s owners, Anne and Michael, were super generous with their time in talking about alpaca husbandry and fiber processing.
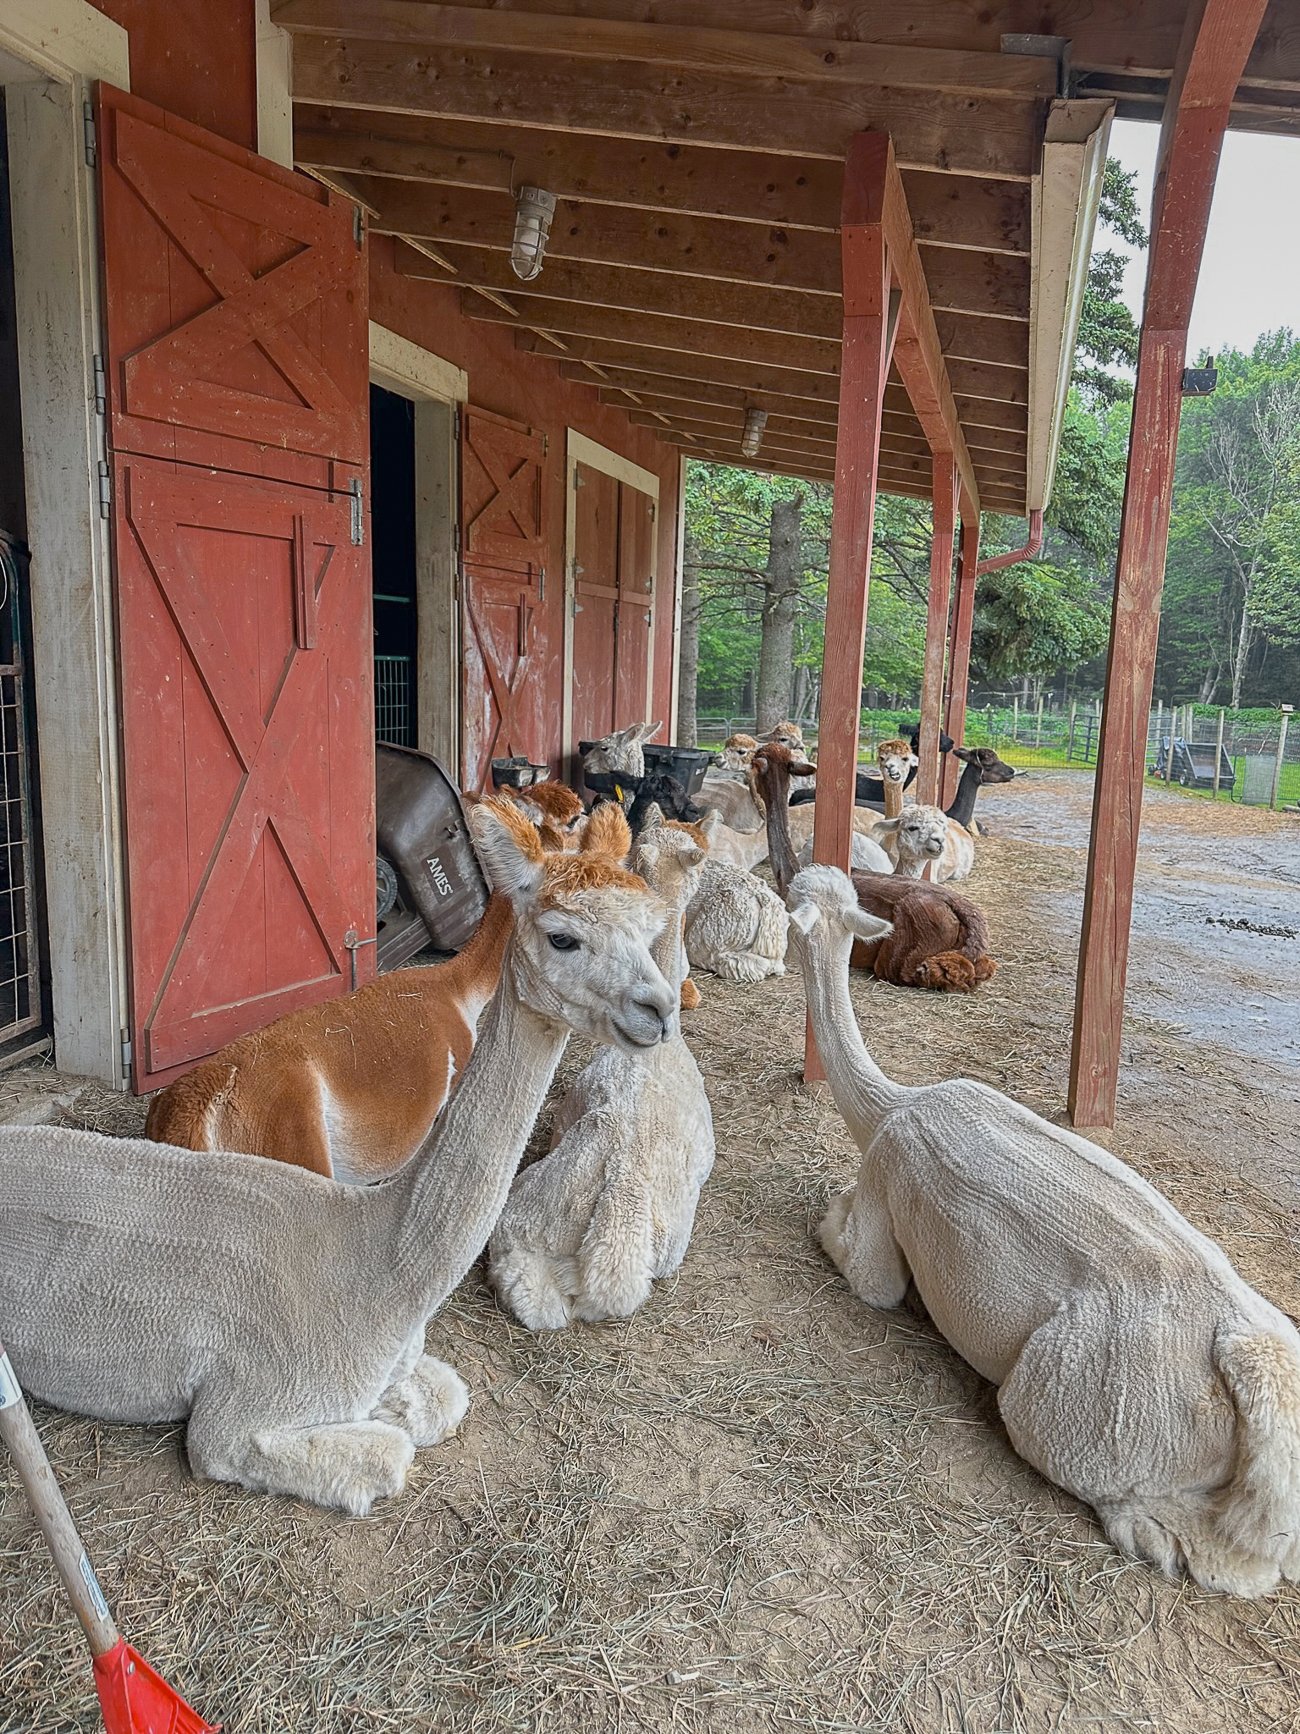
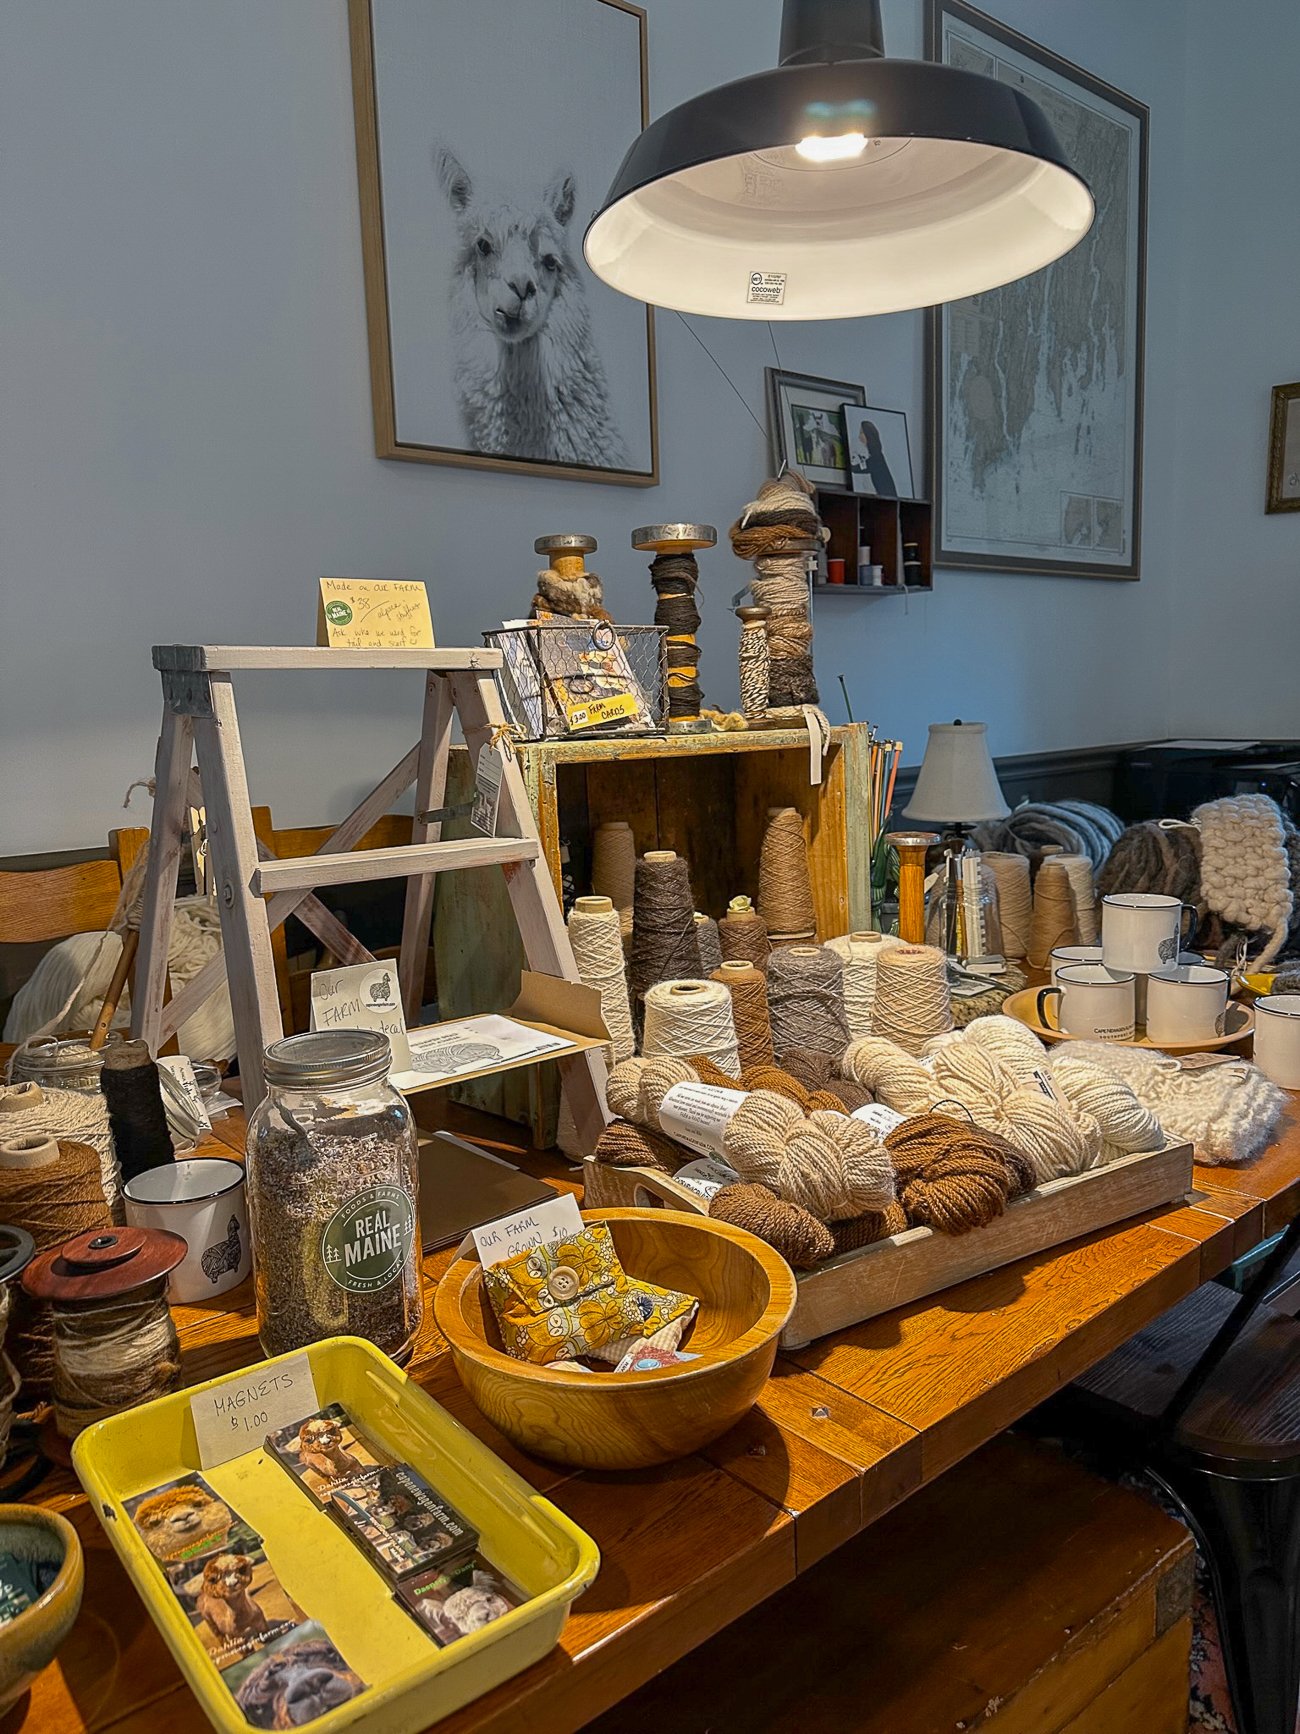
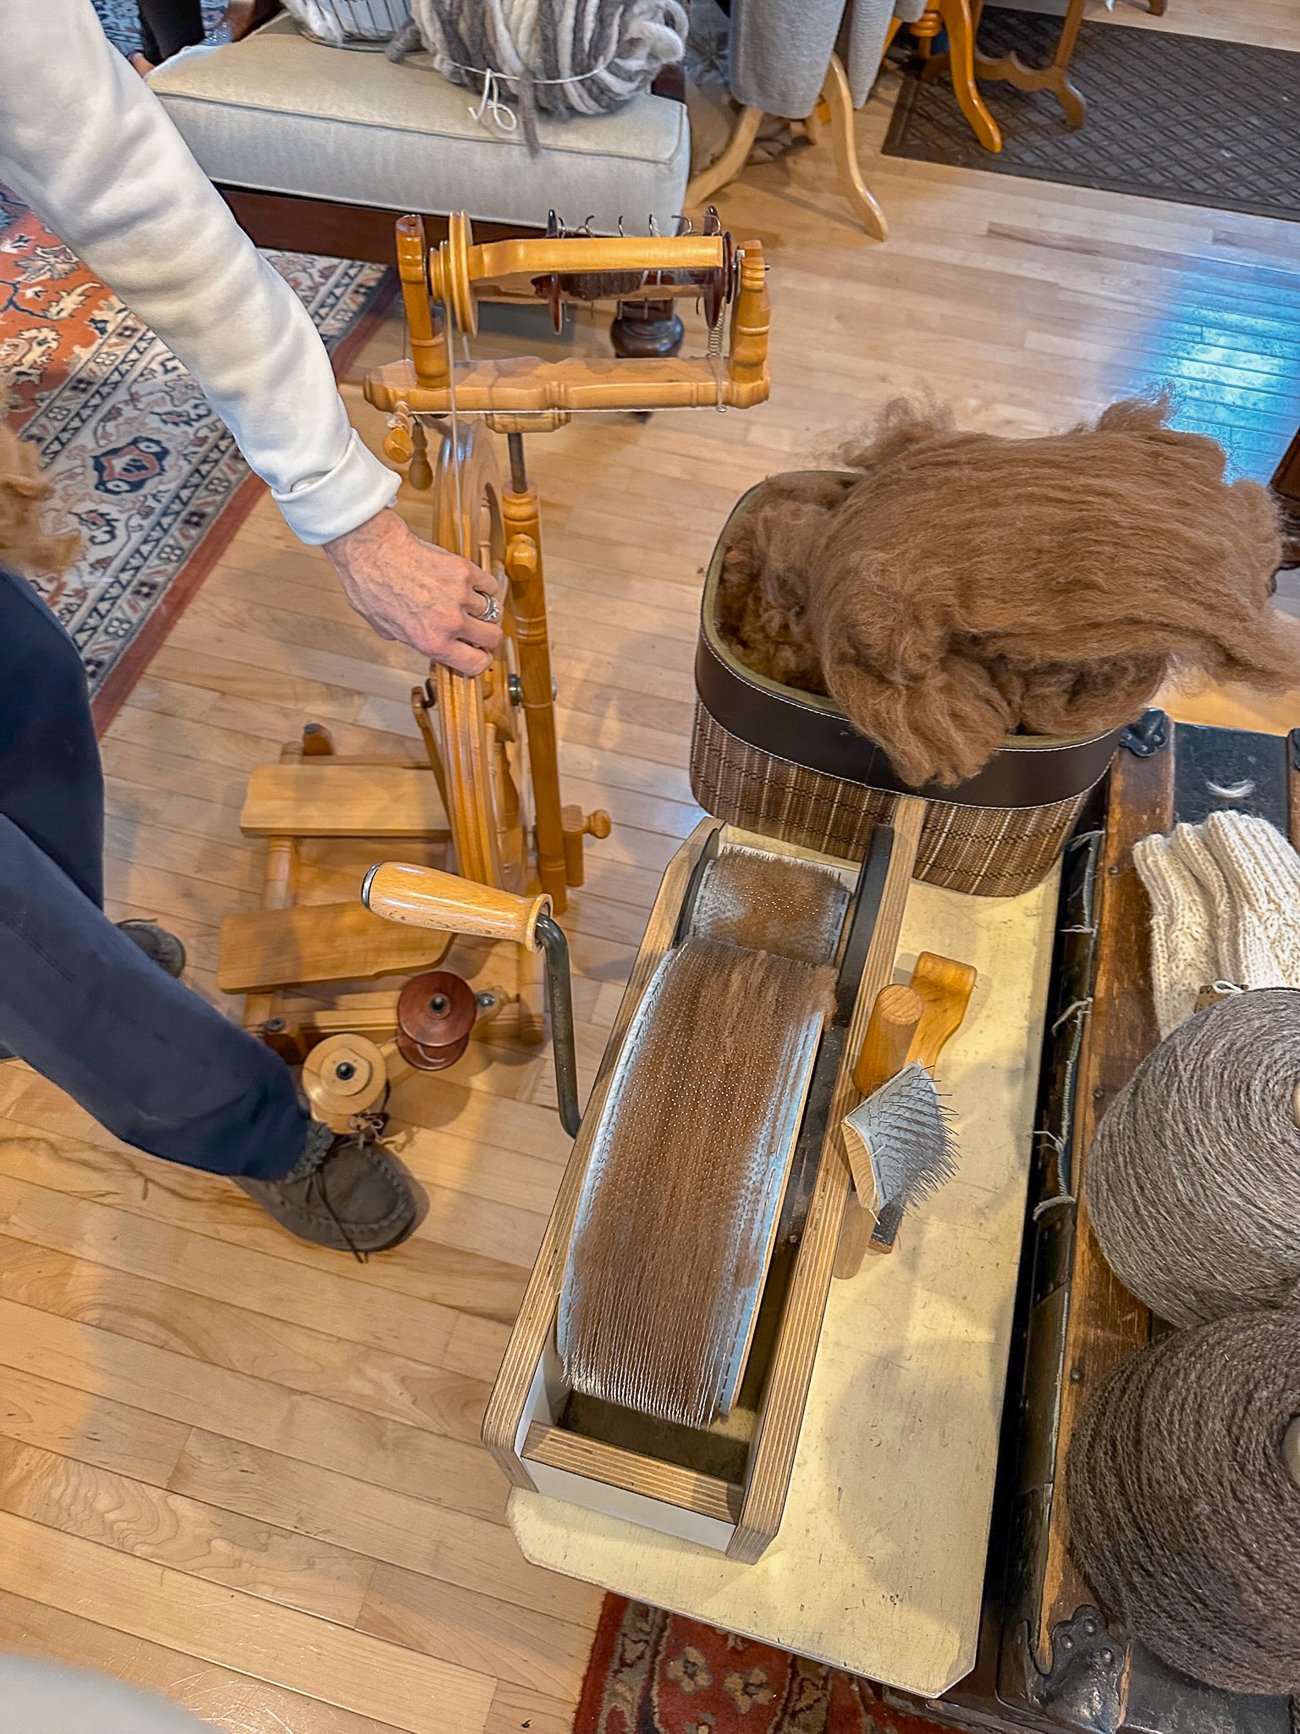
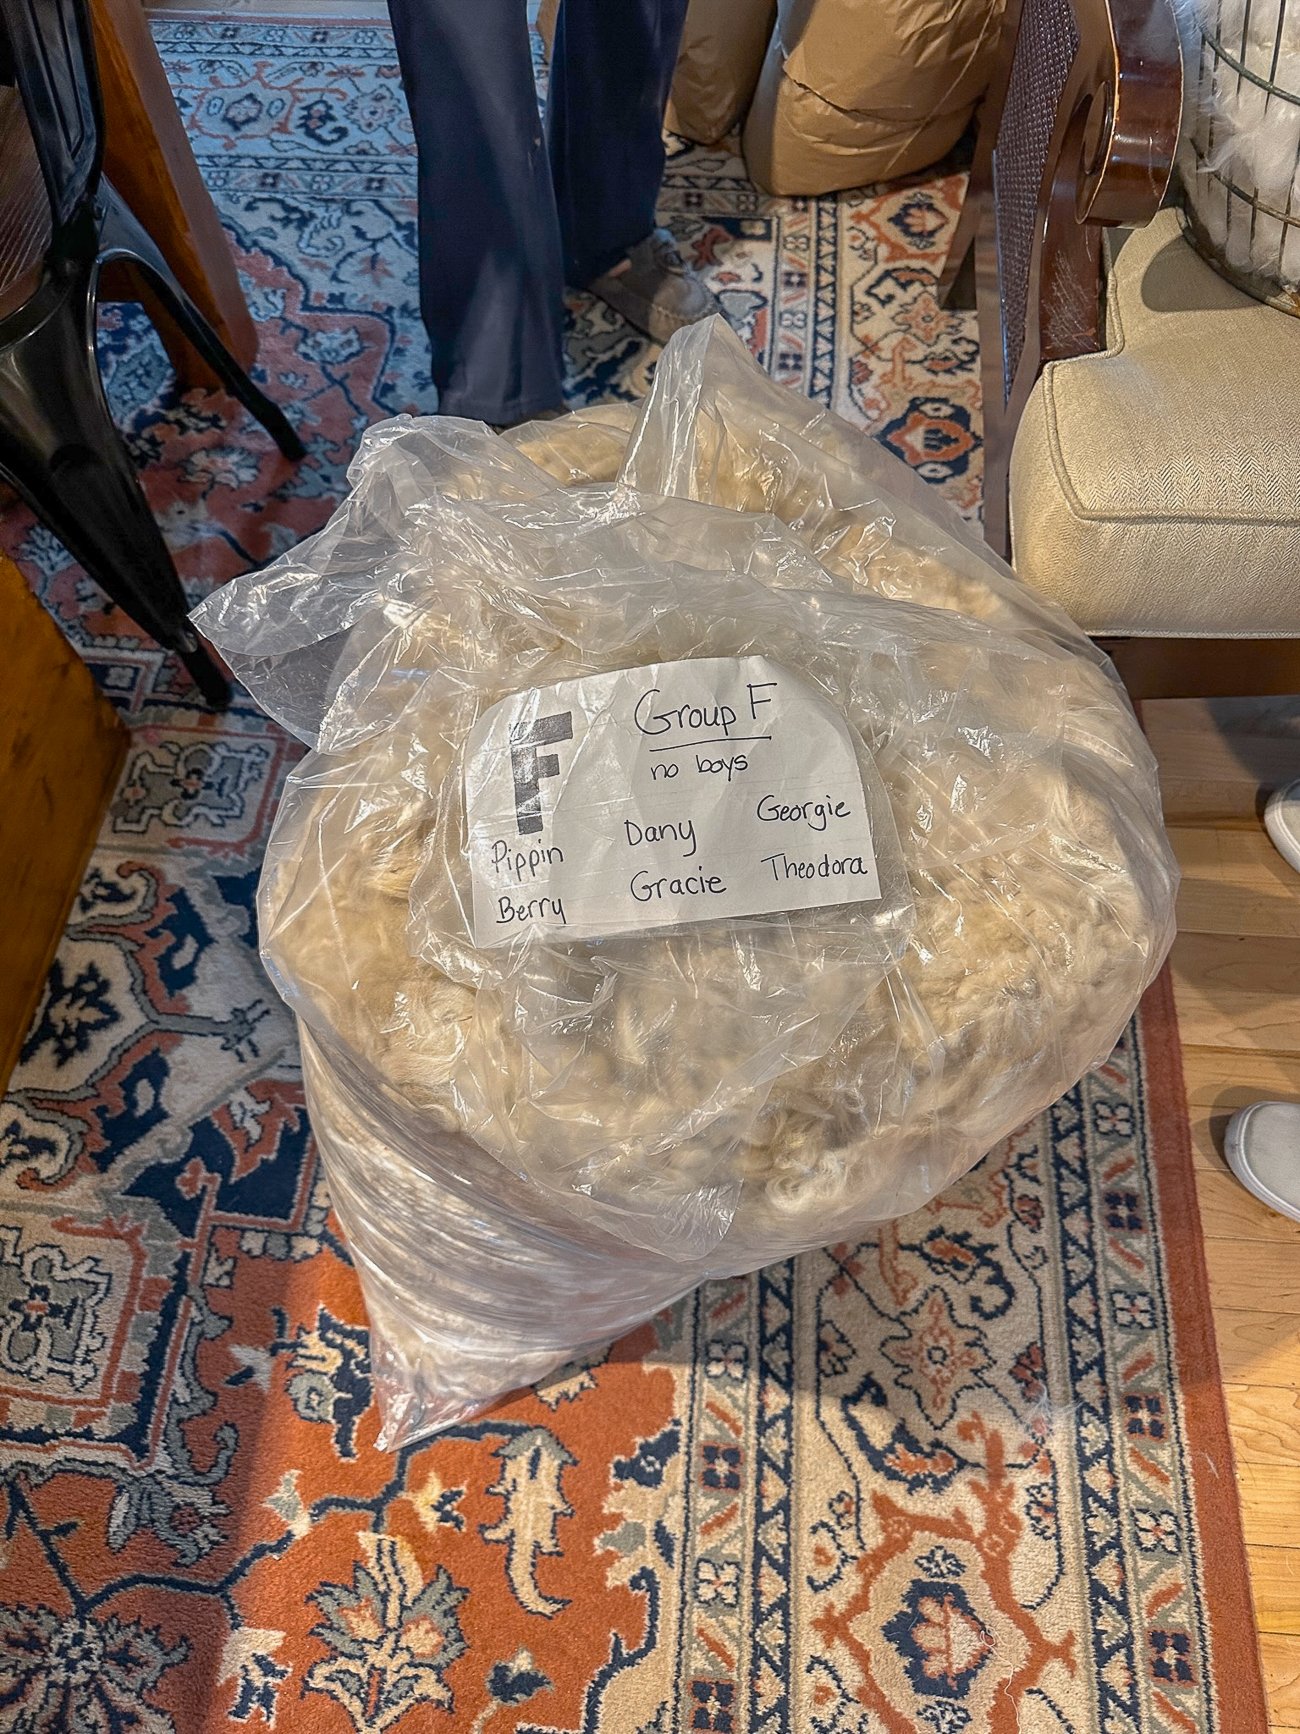
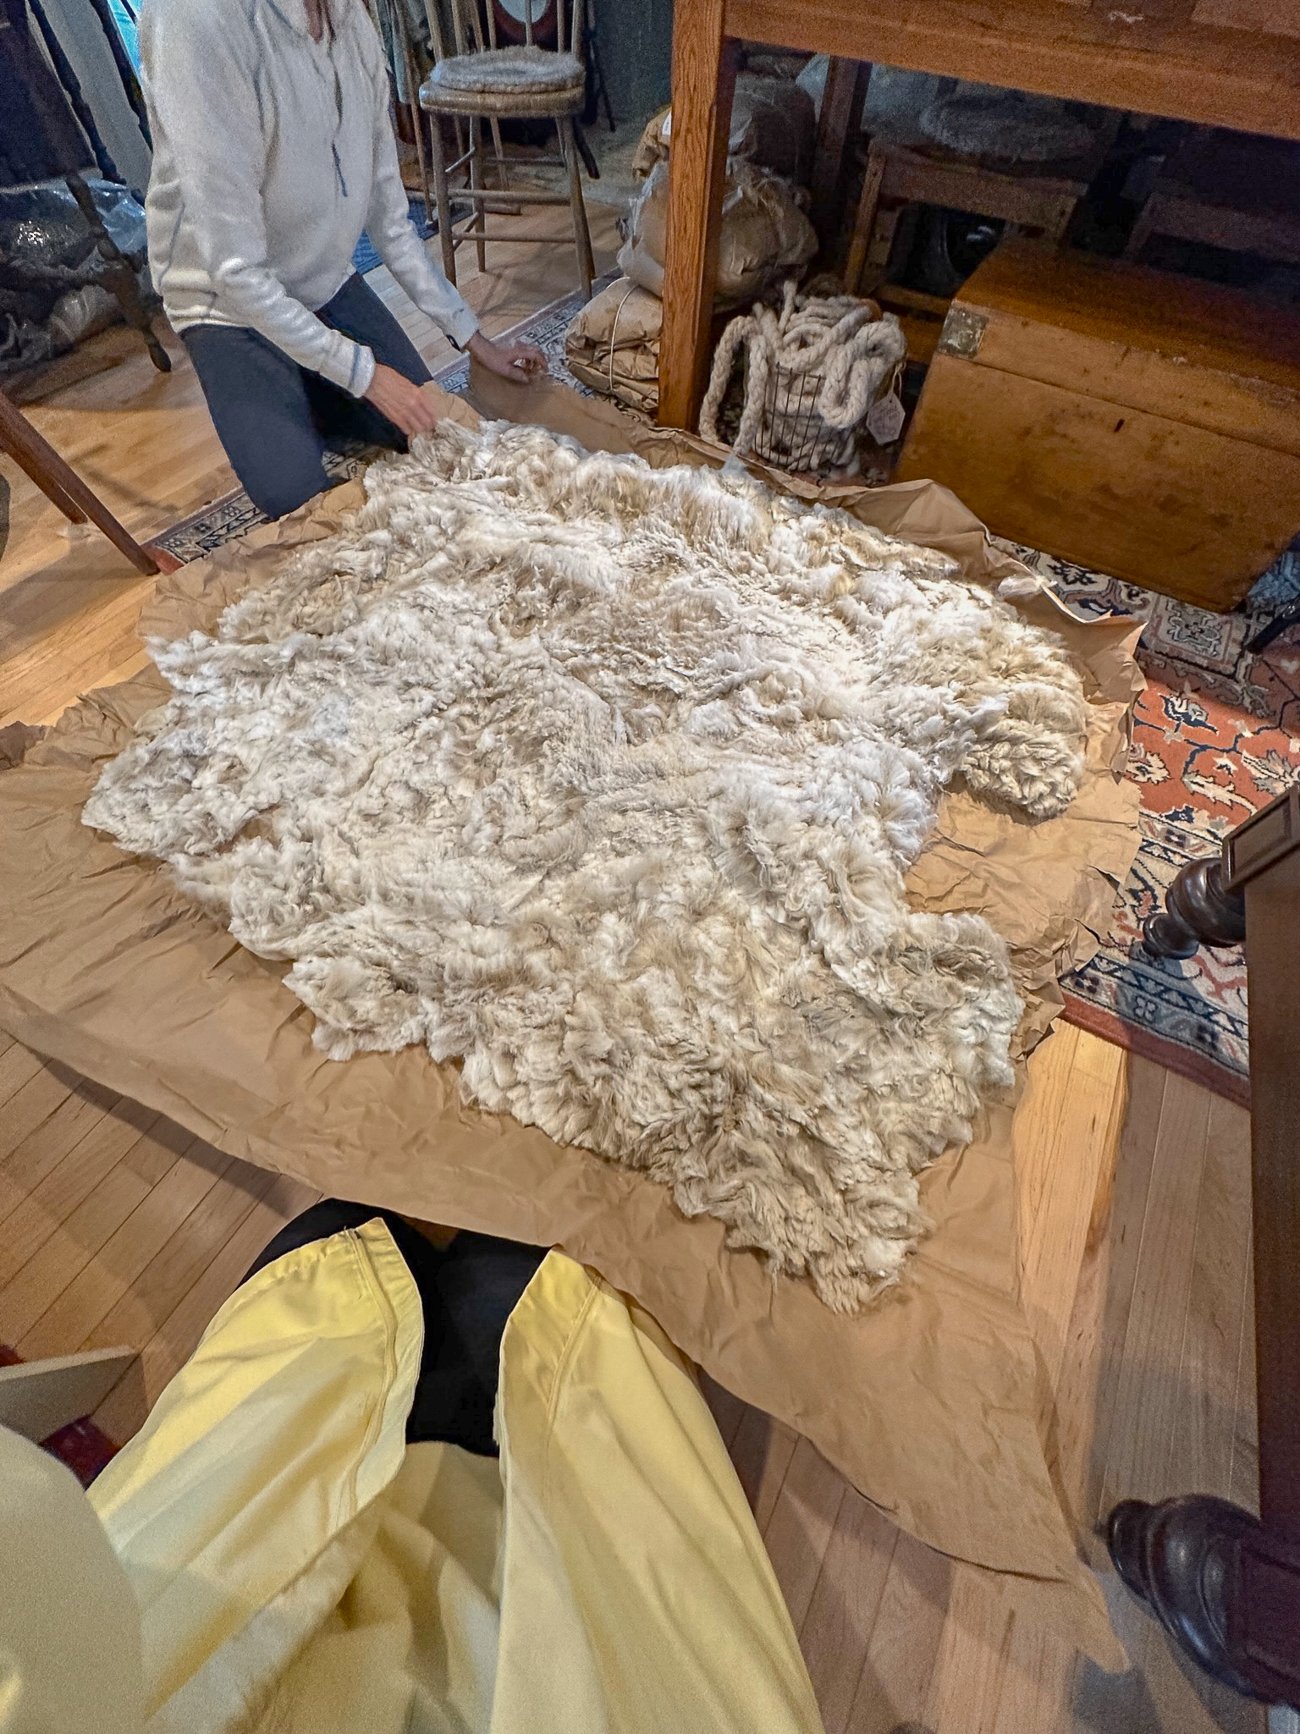
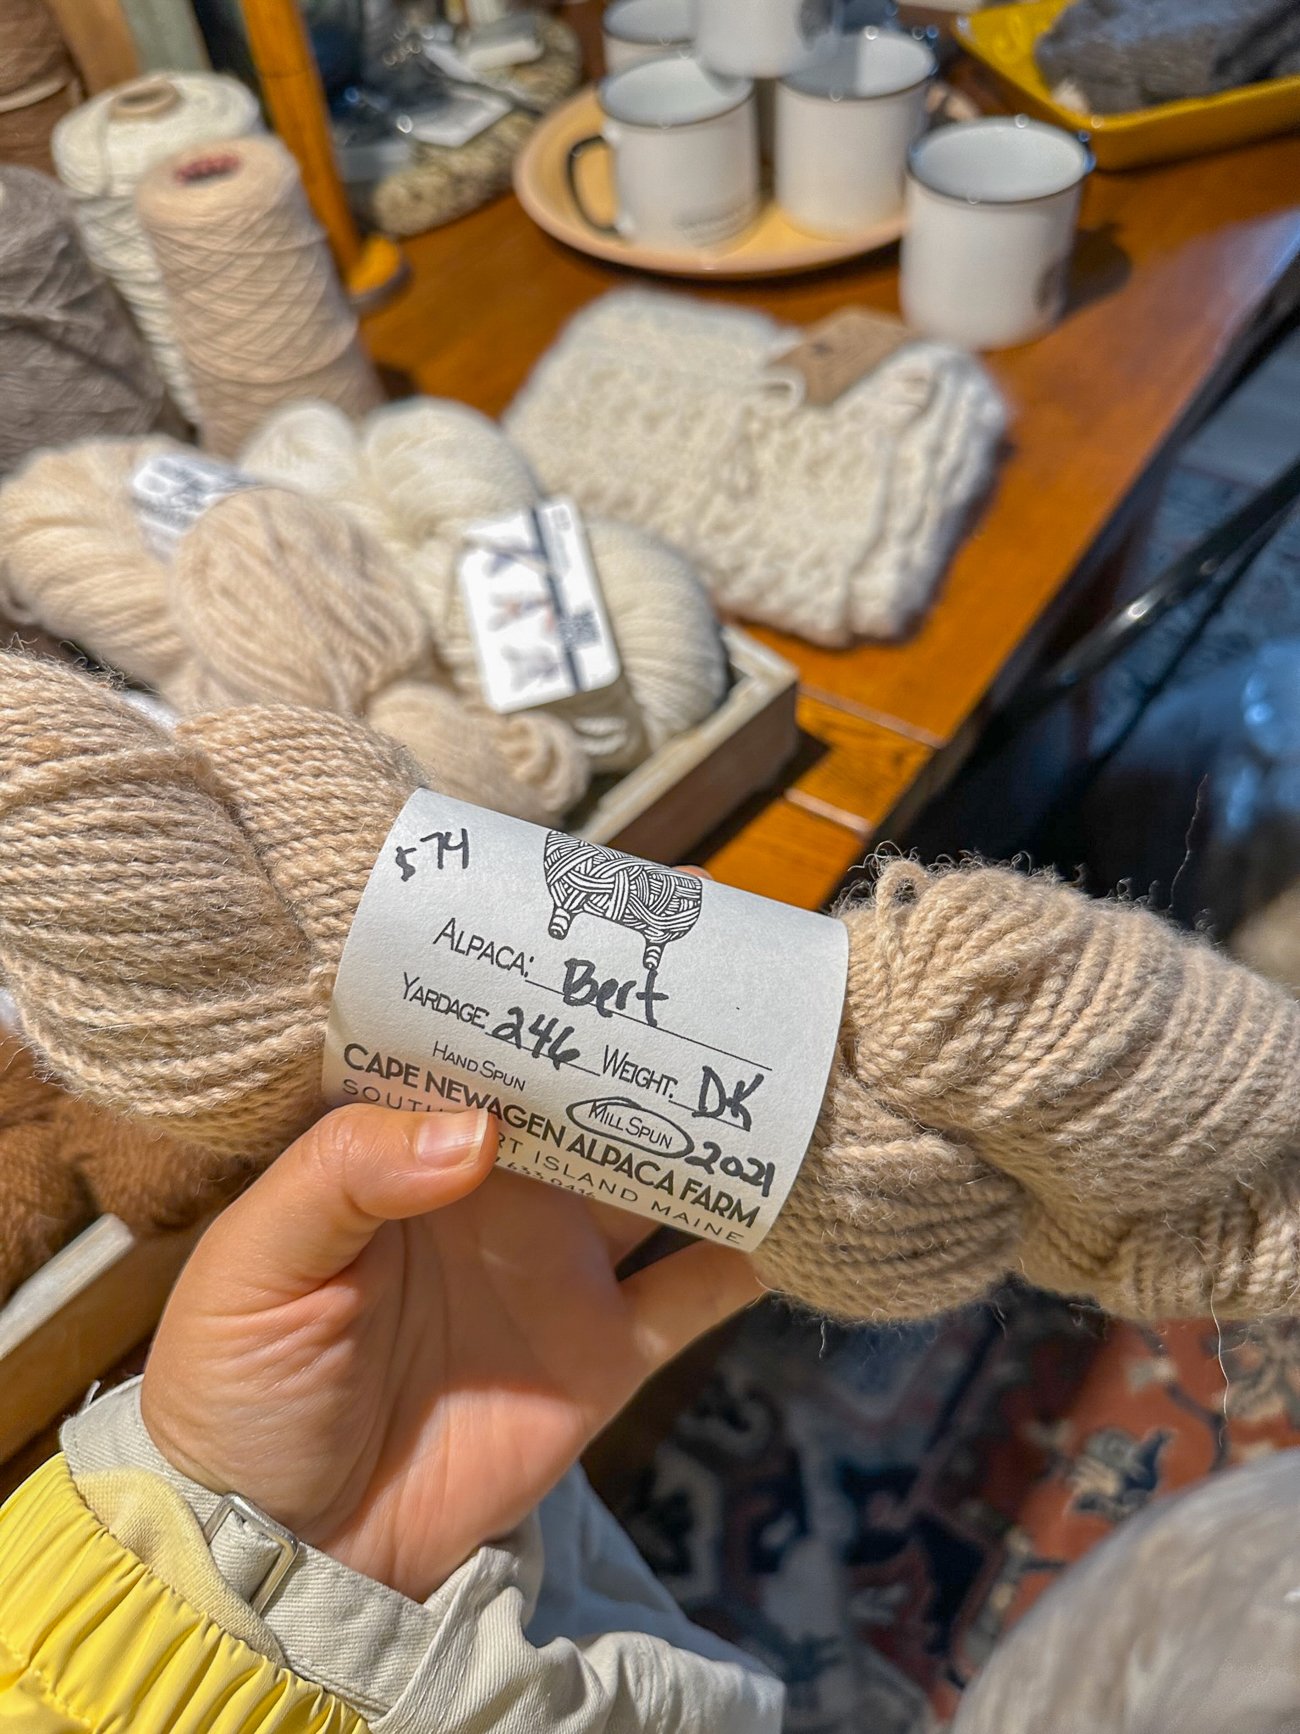
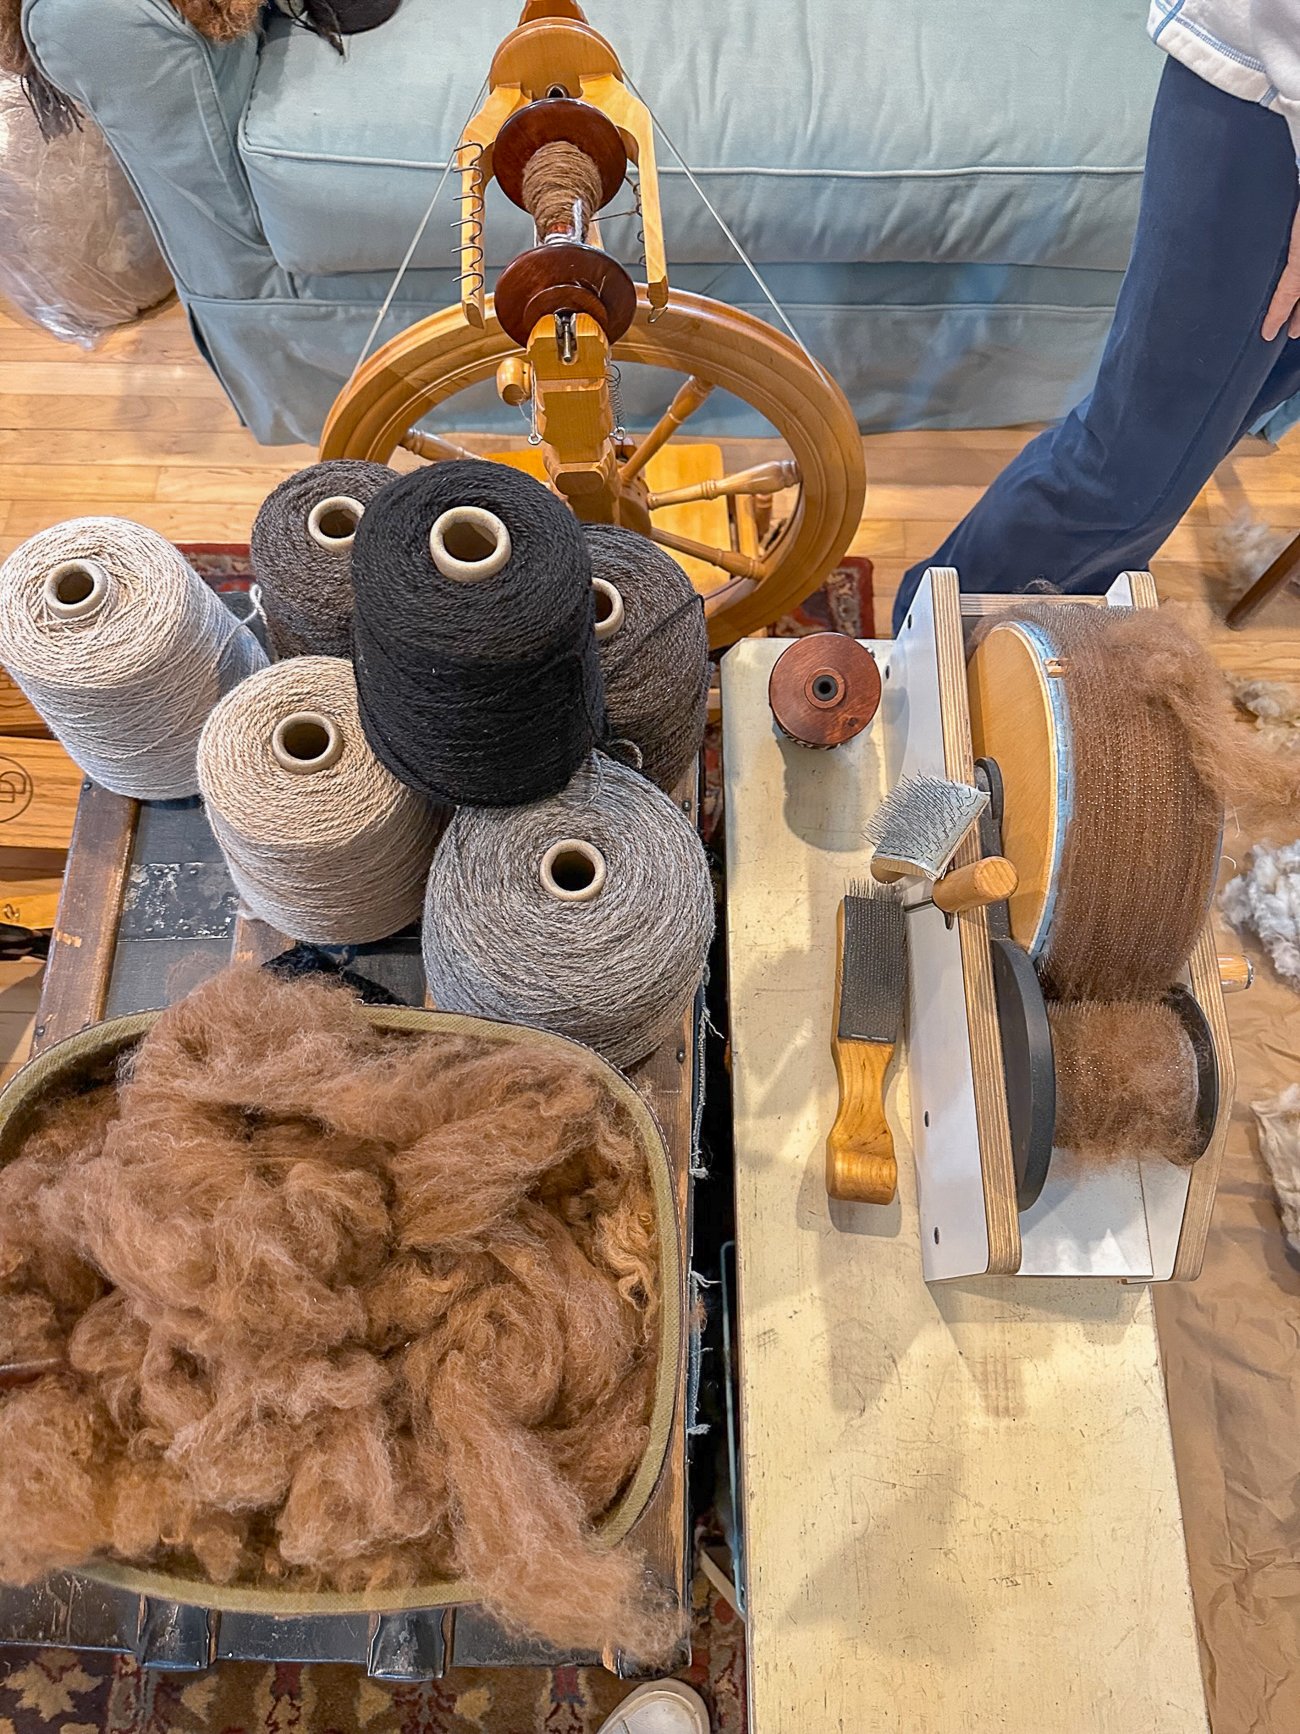
It’s galvanized us to figure out what to do with our bounty. Kaitlin is even thinking about going to the NJ Sheep & Fiber Festival in September. (HOW DID WE GET HERE??)
The Next Phase for Our Herd
Nothing new for these guys—they can keep enjoying their sunbathing naps and hay in peace. But for us, we’re hoping to actually turn all that soft fiber into some yarn to make some Bonnie/Bessie hats and scarves!
The Flowers
Let’s talk flowers—the surprise and delight-generators of the garden!
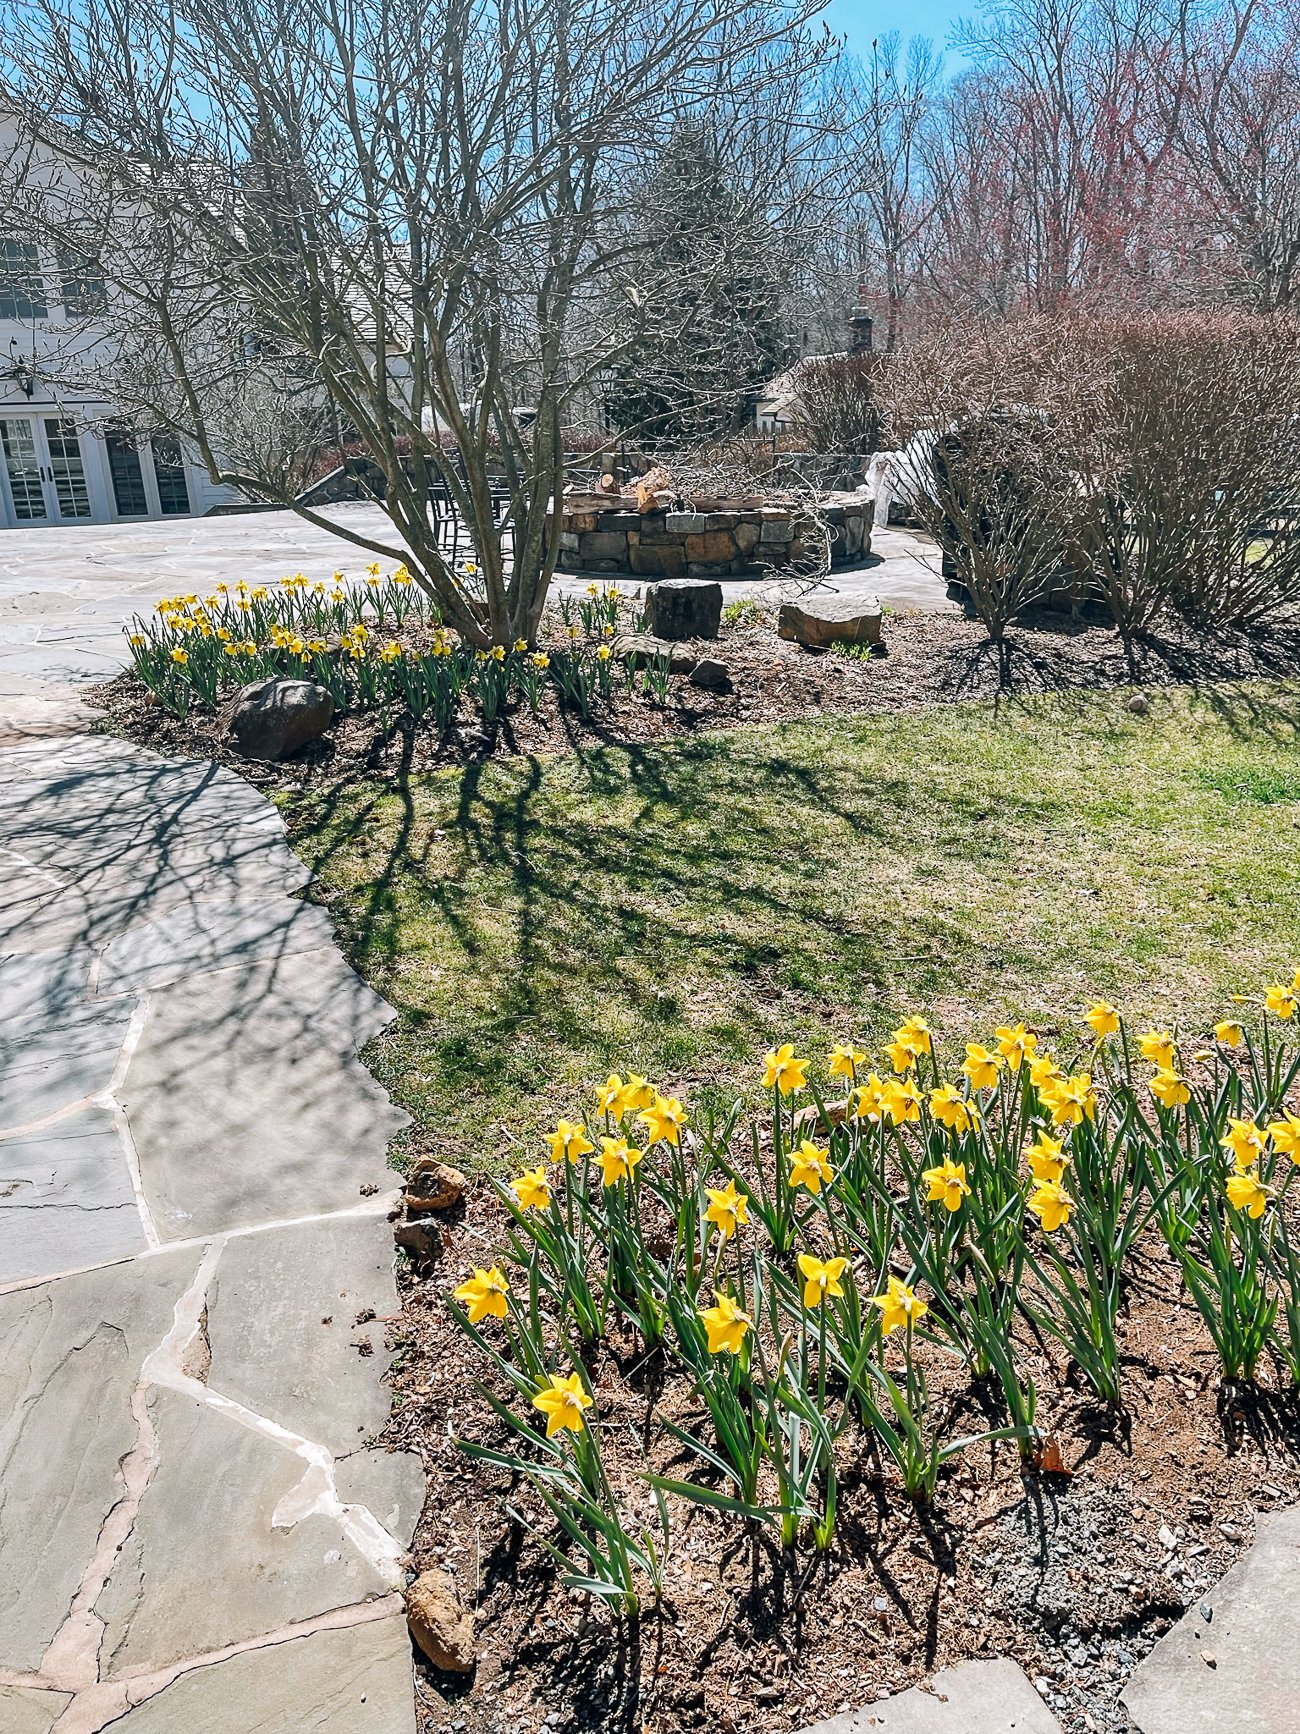
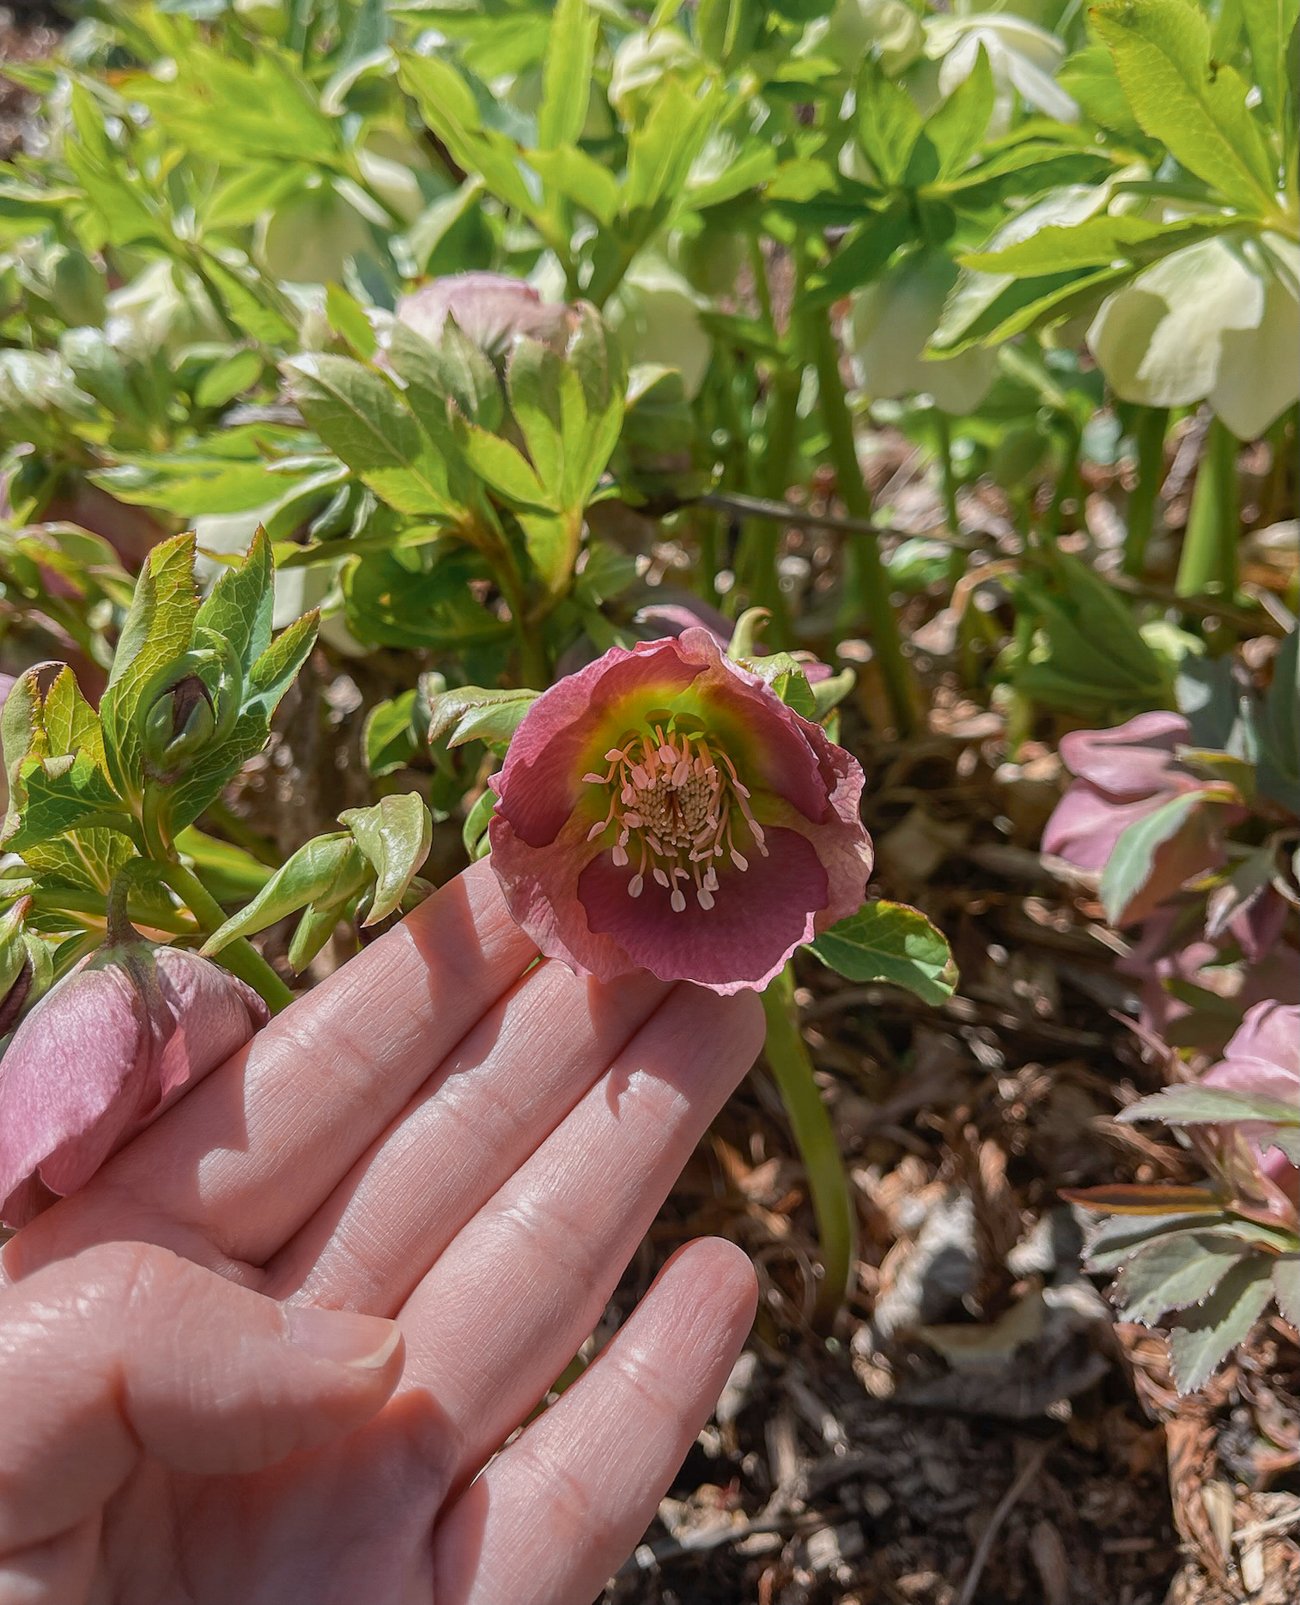
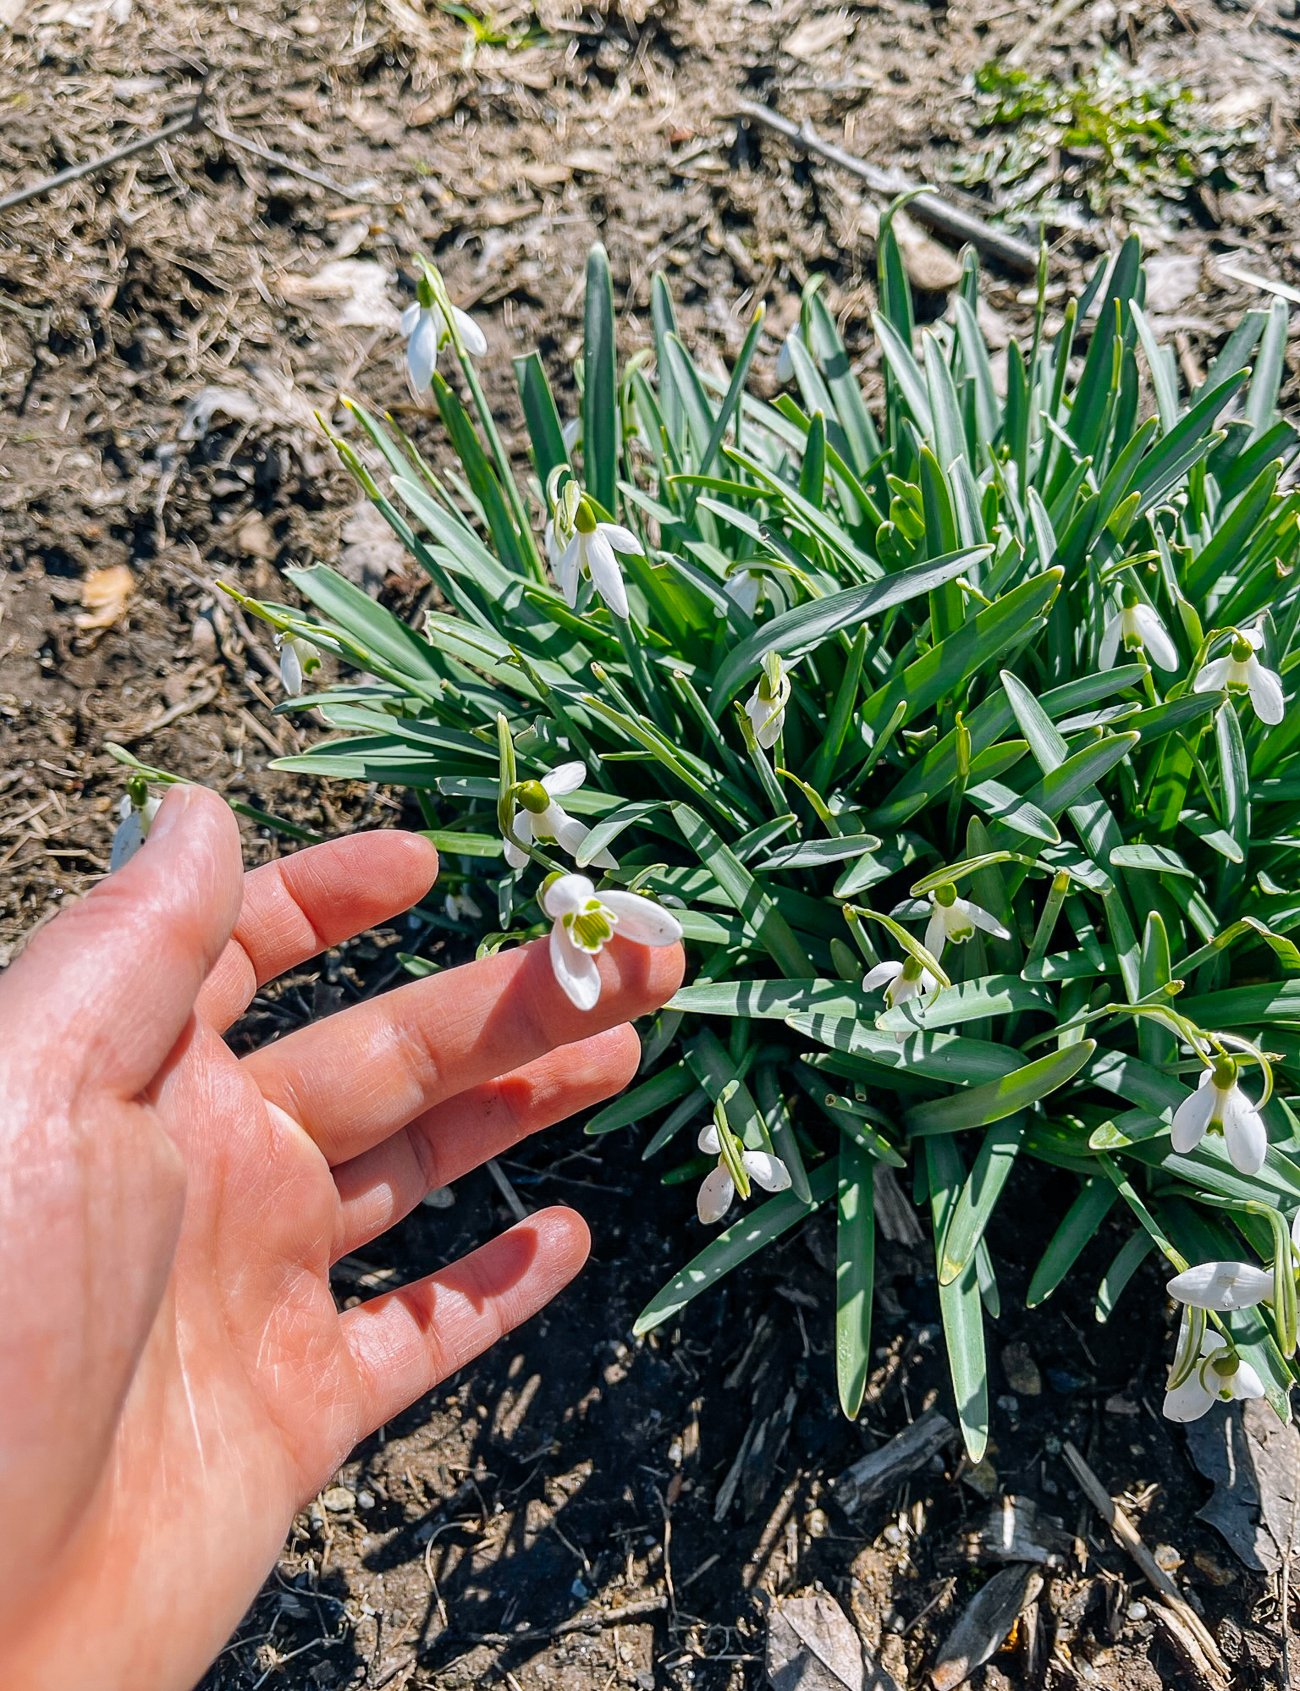
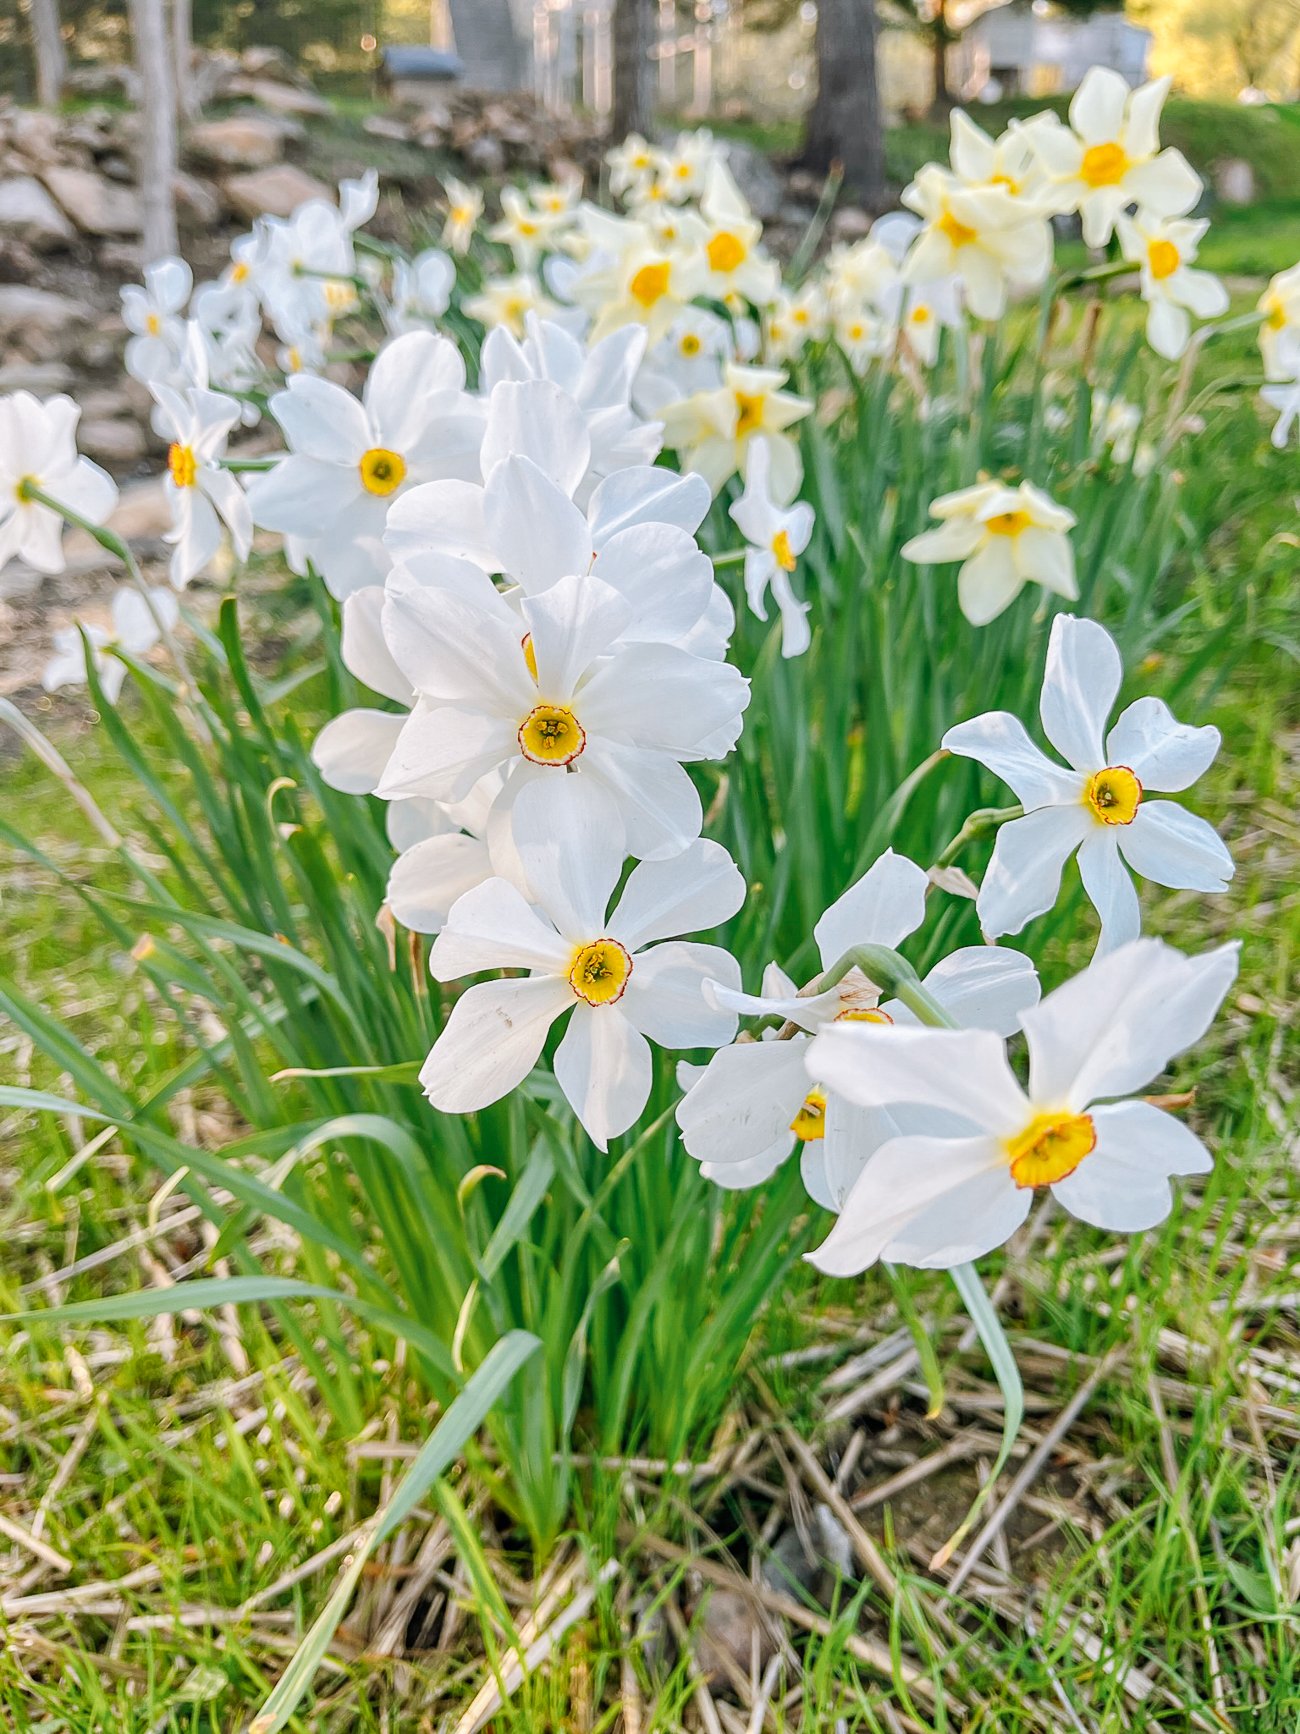
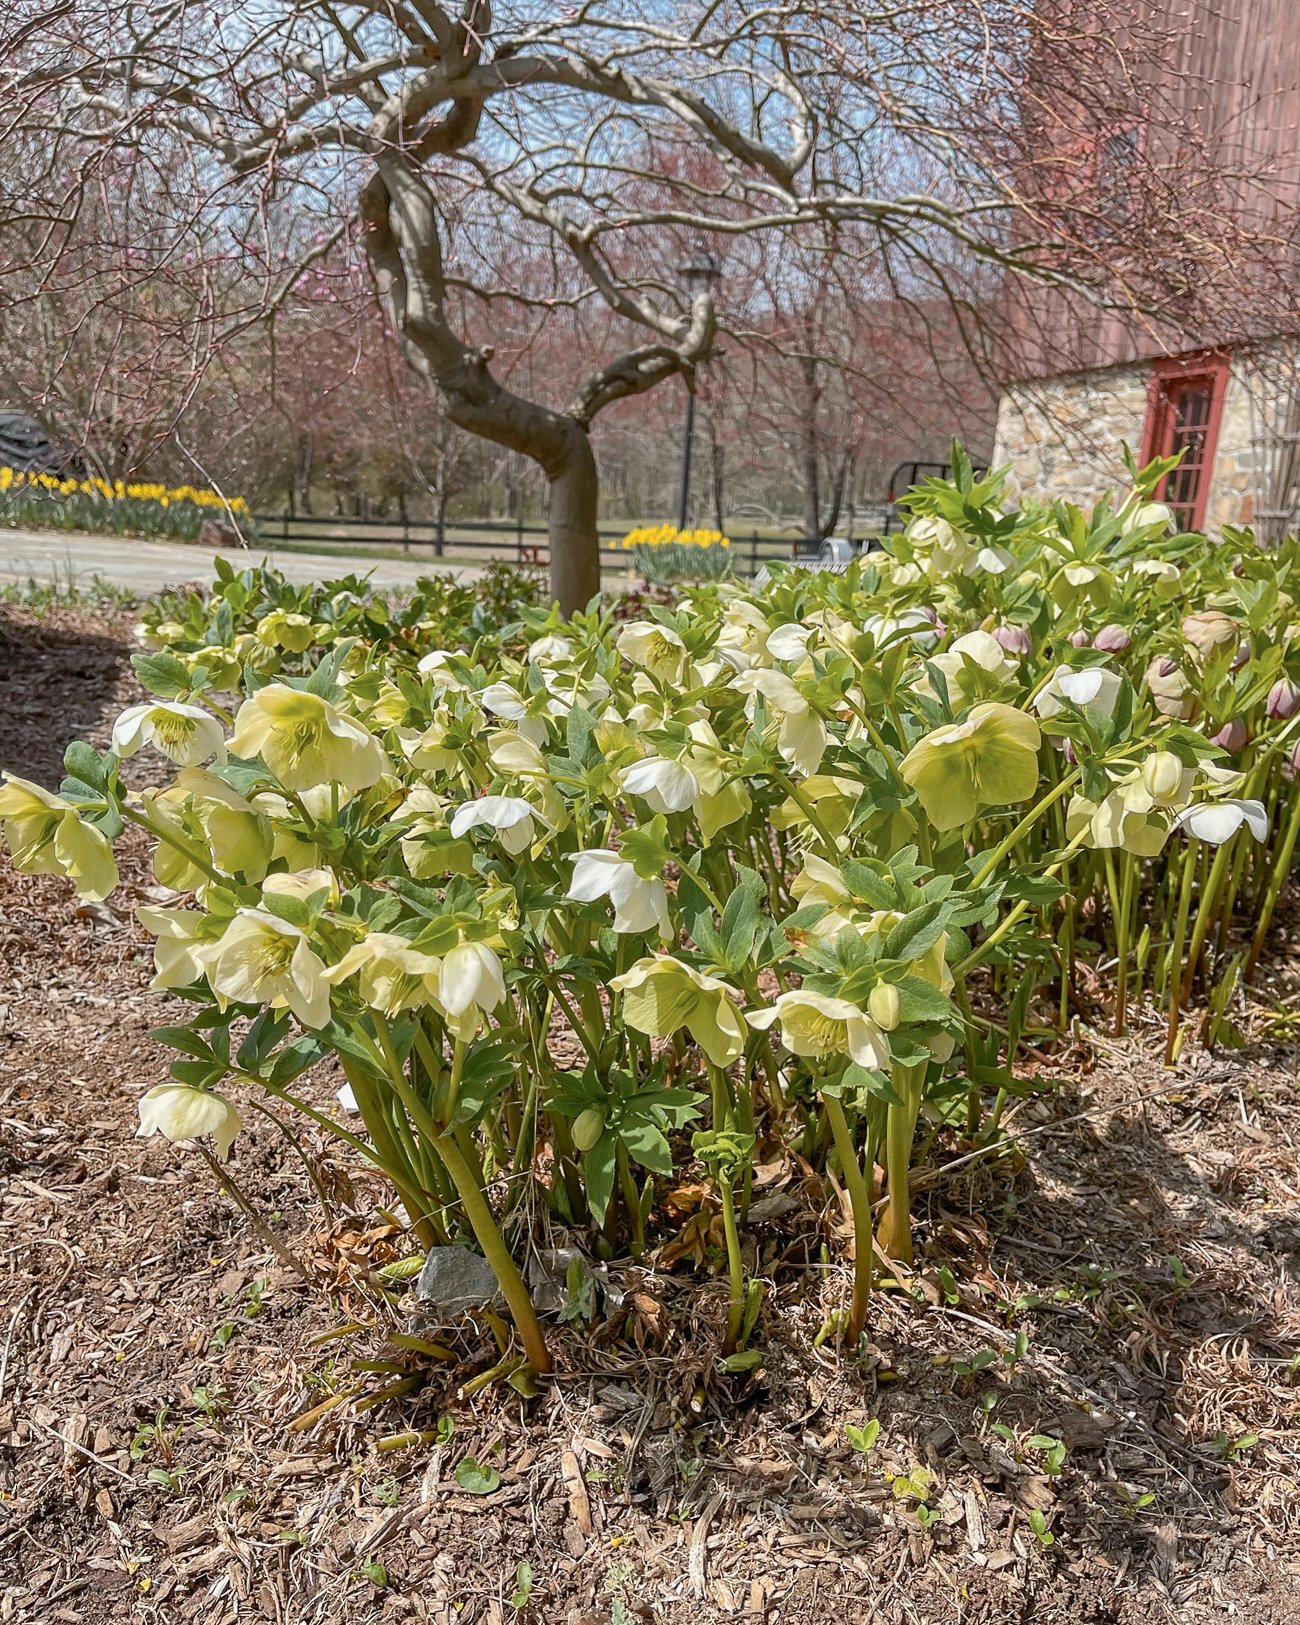
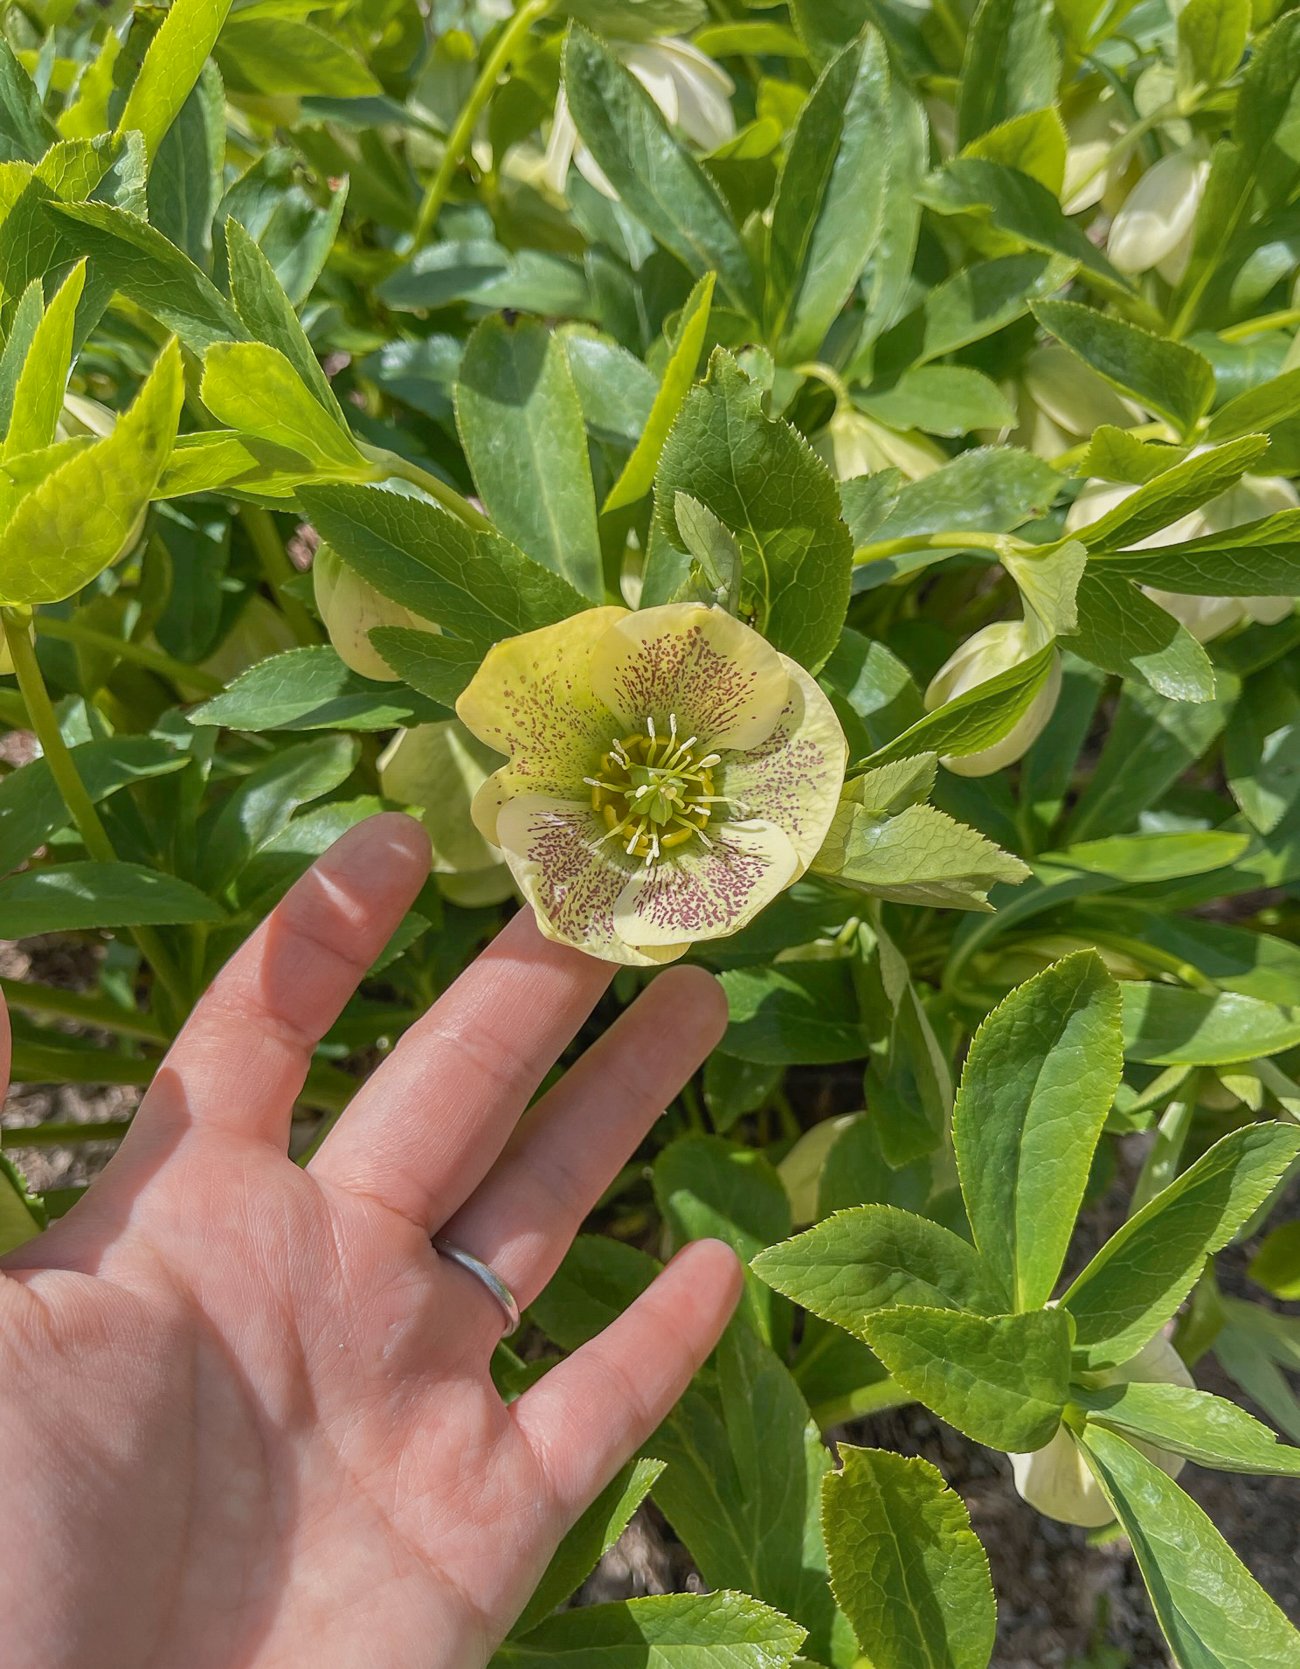
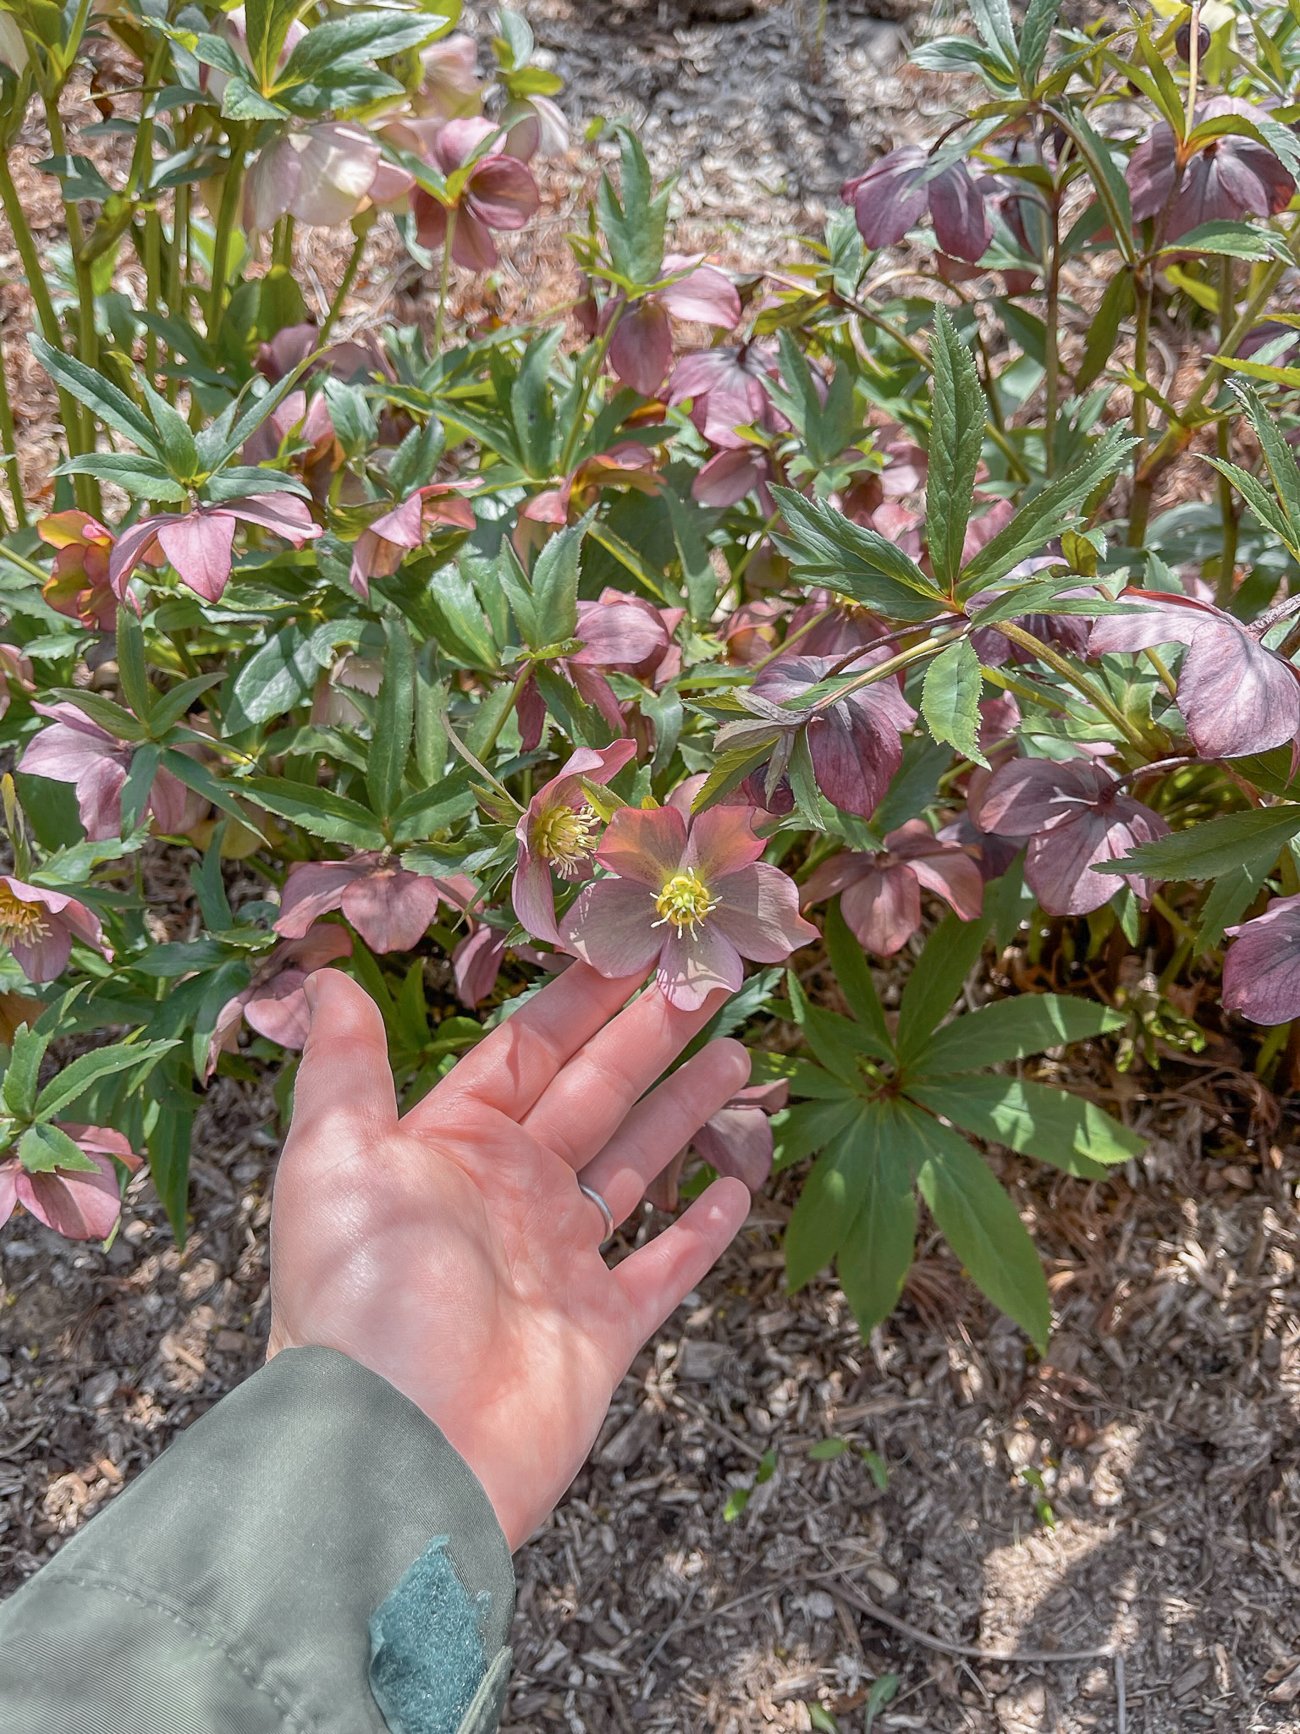
Our hellebores didn’t disappoint this year, though they weren’t quite as robust as they were last year. I’m thinking maybe it was due to the drought conditions we got last summer?
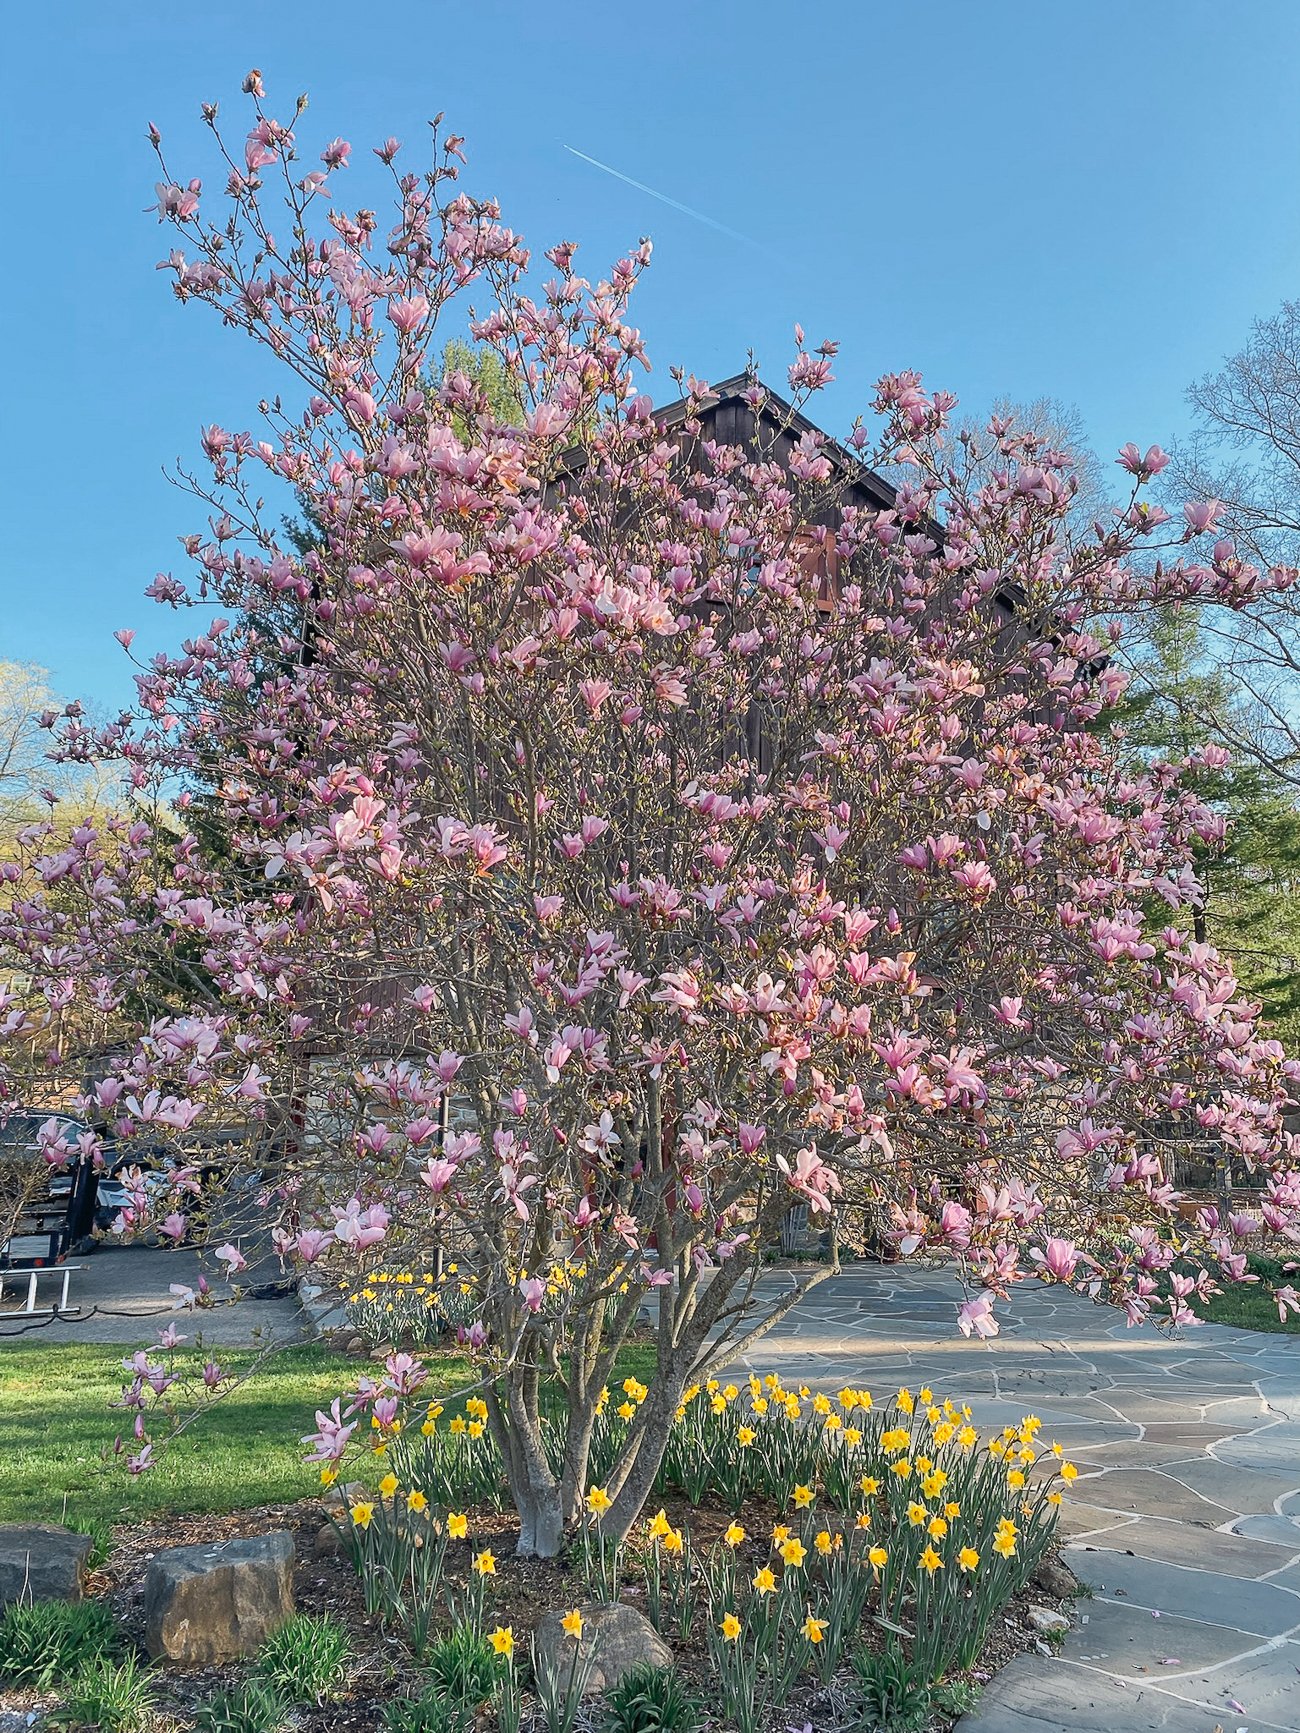
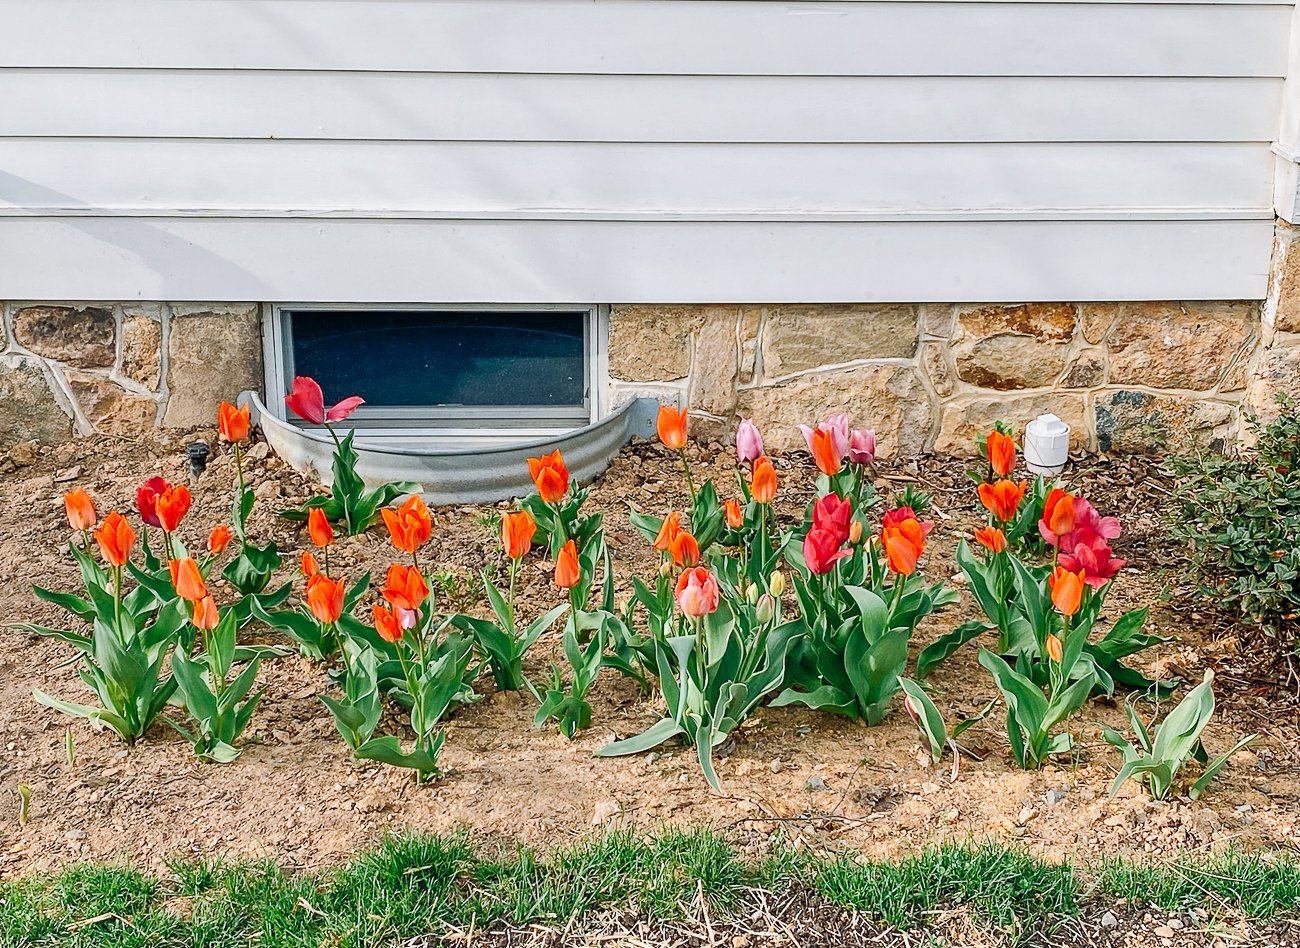
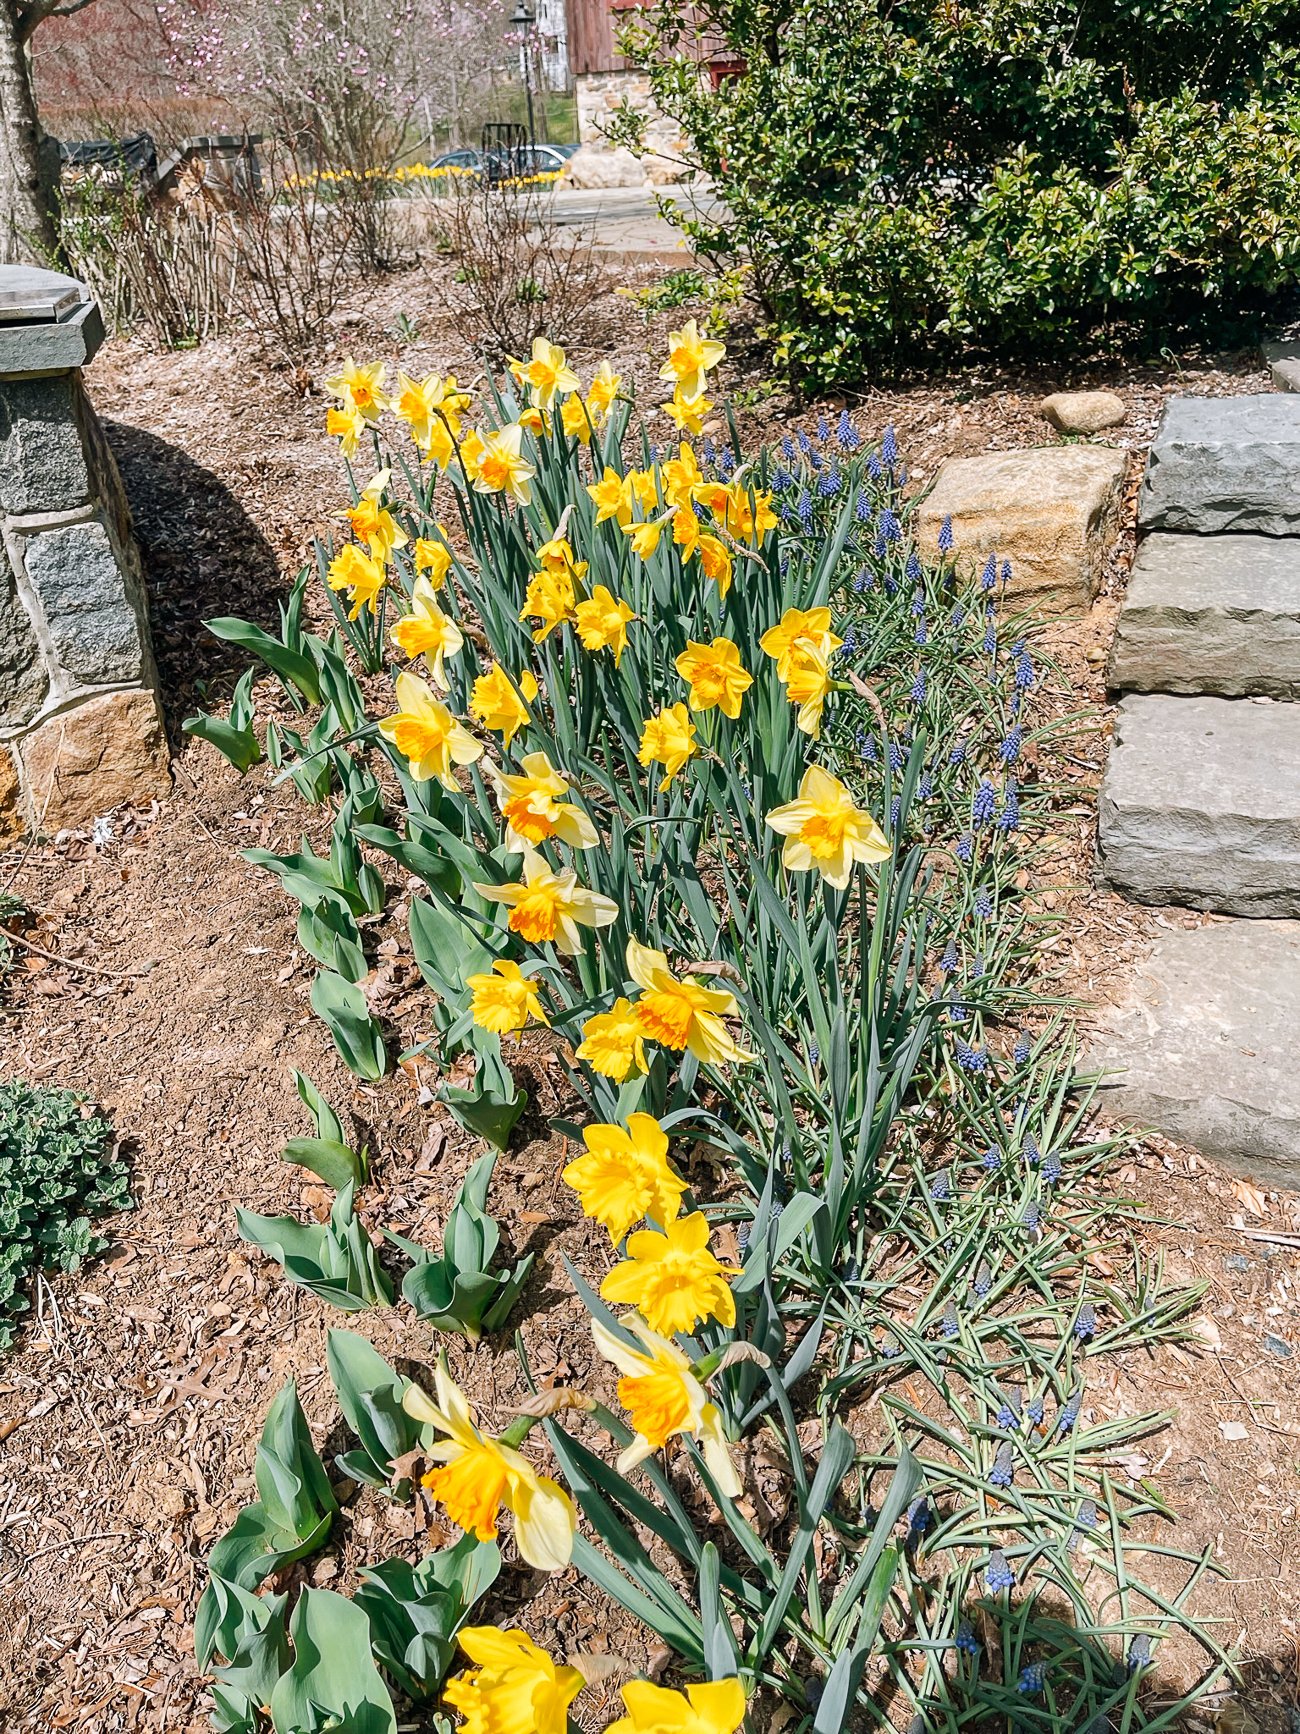
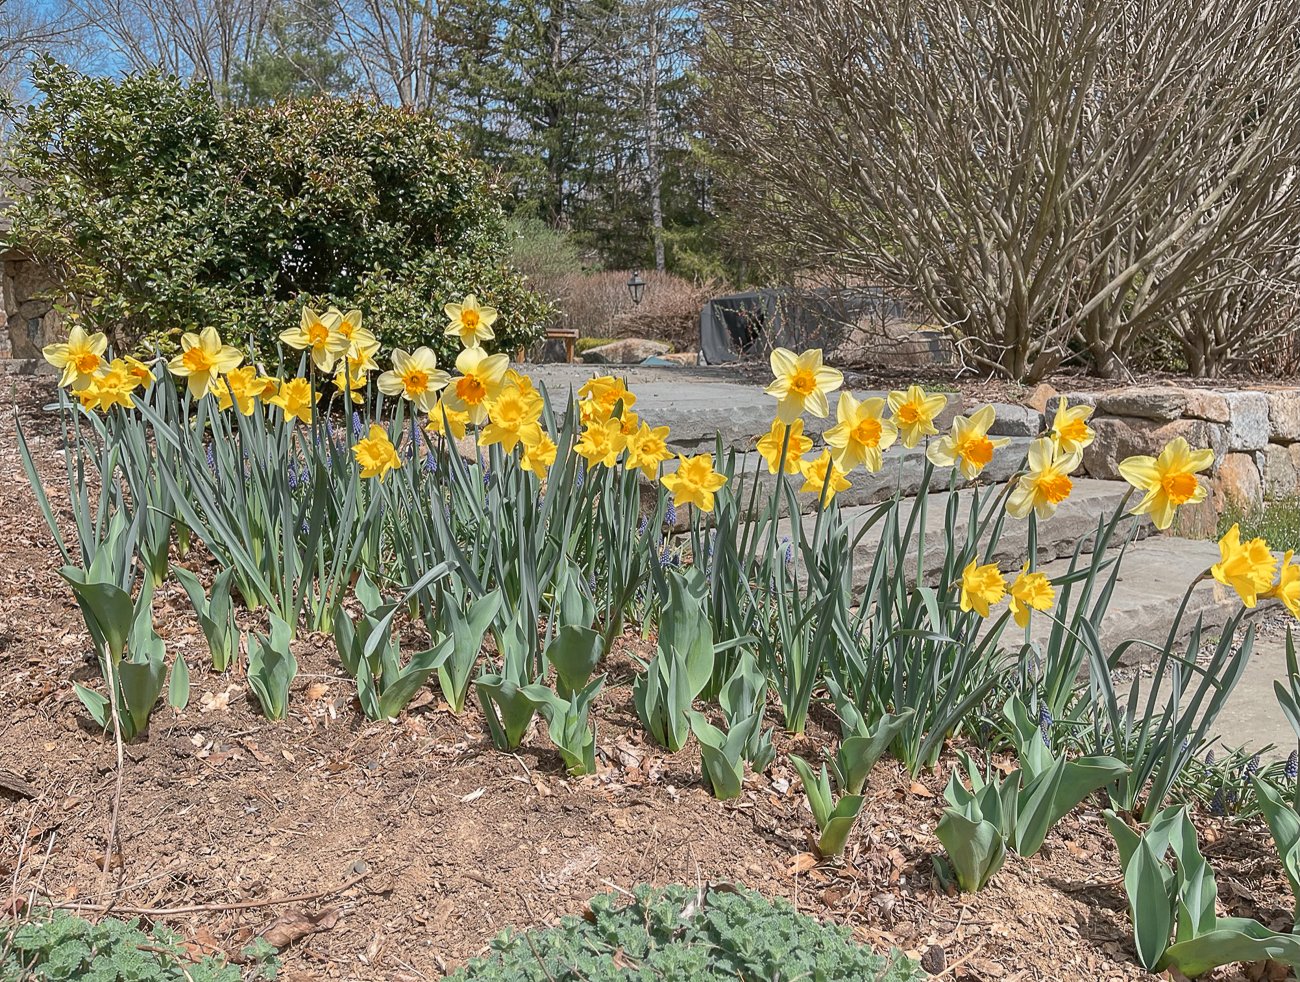
Those bulbs we planted last fall certainly performed—we had a fireworks show of daffodils, muscari, tulips, and anemones!
We didn’t get a ton of 2021-planted tulips back this year, though, which tells me that we may have to replenish the tulip supply each fall more than I originally thought.
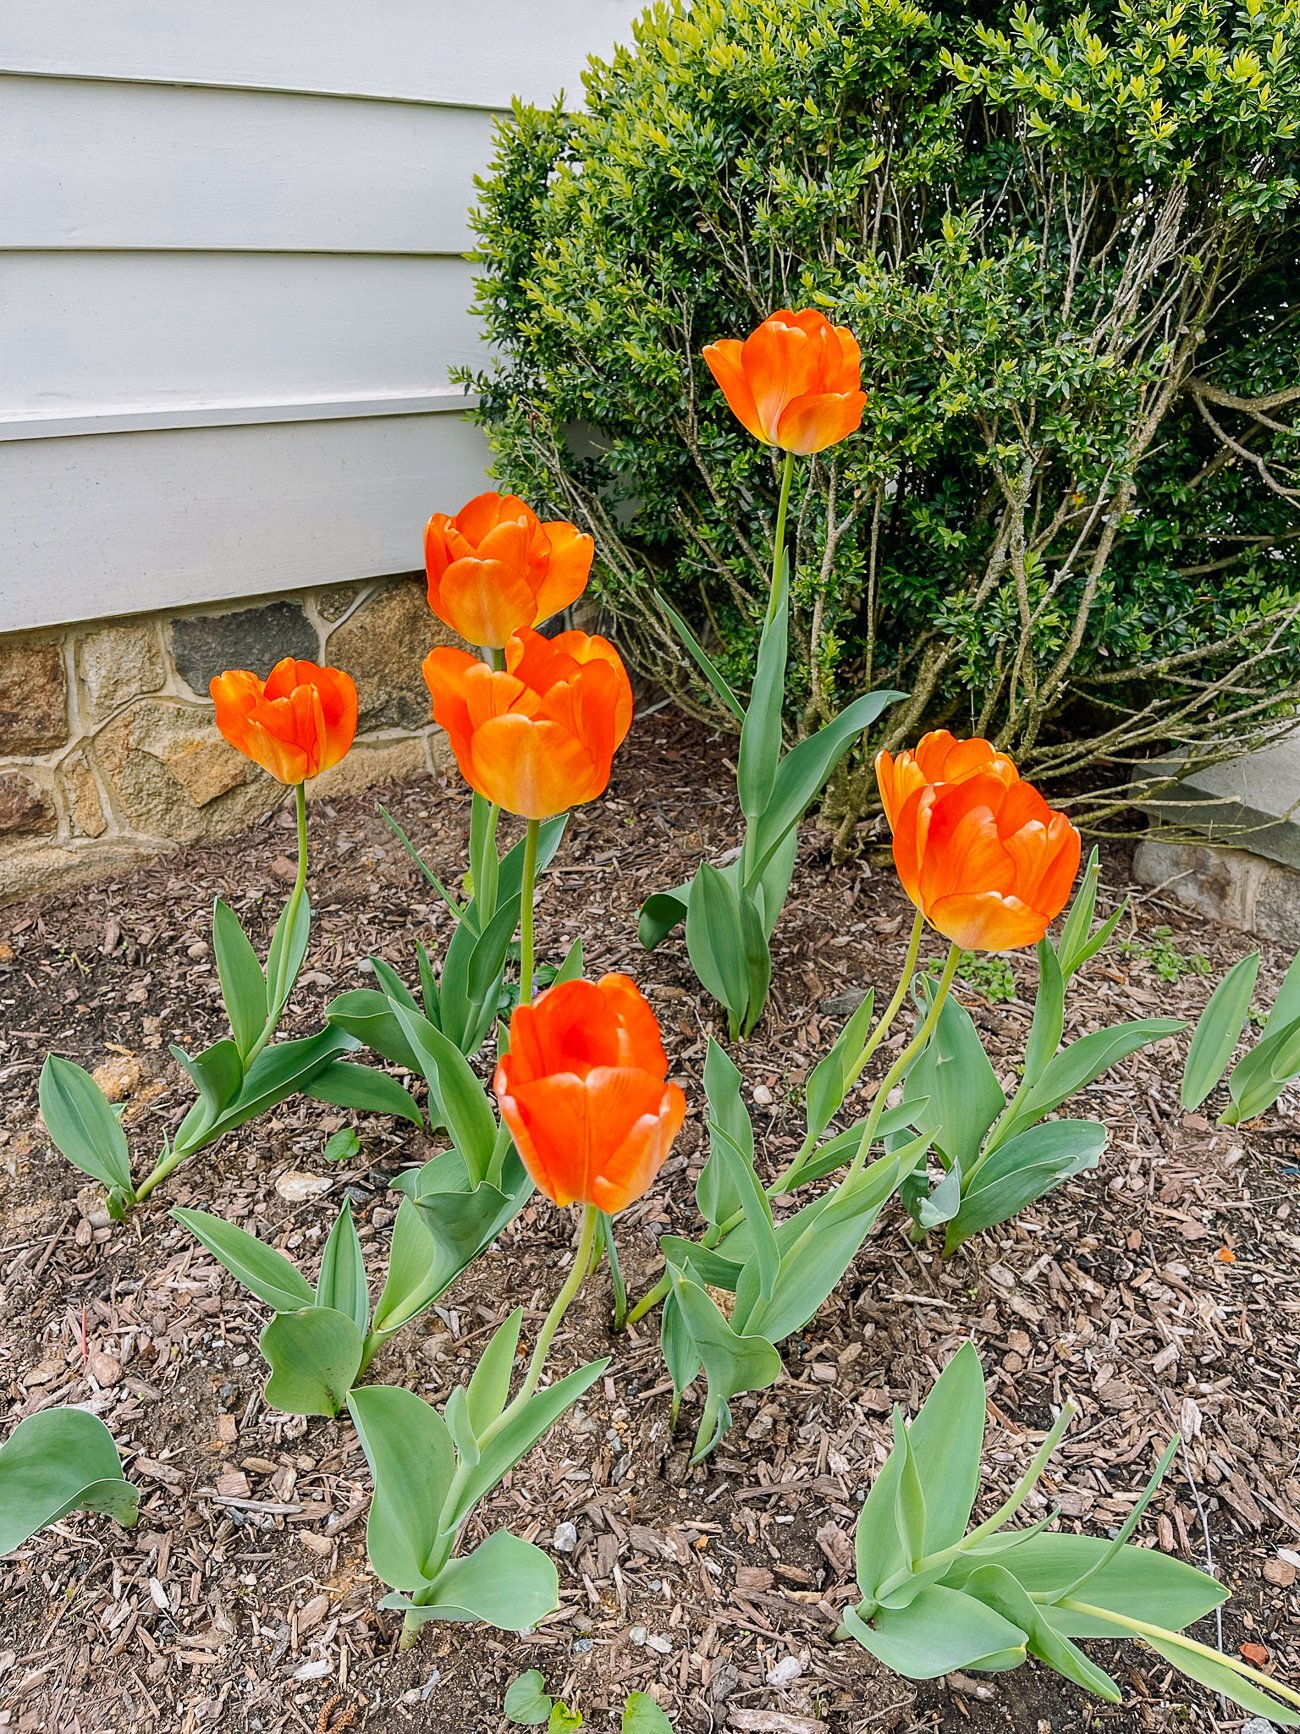
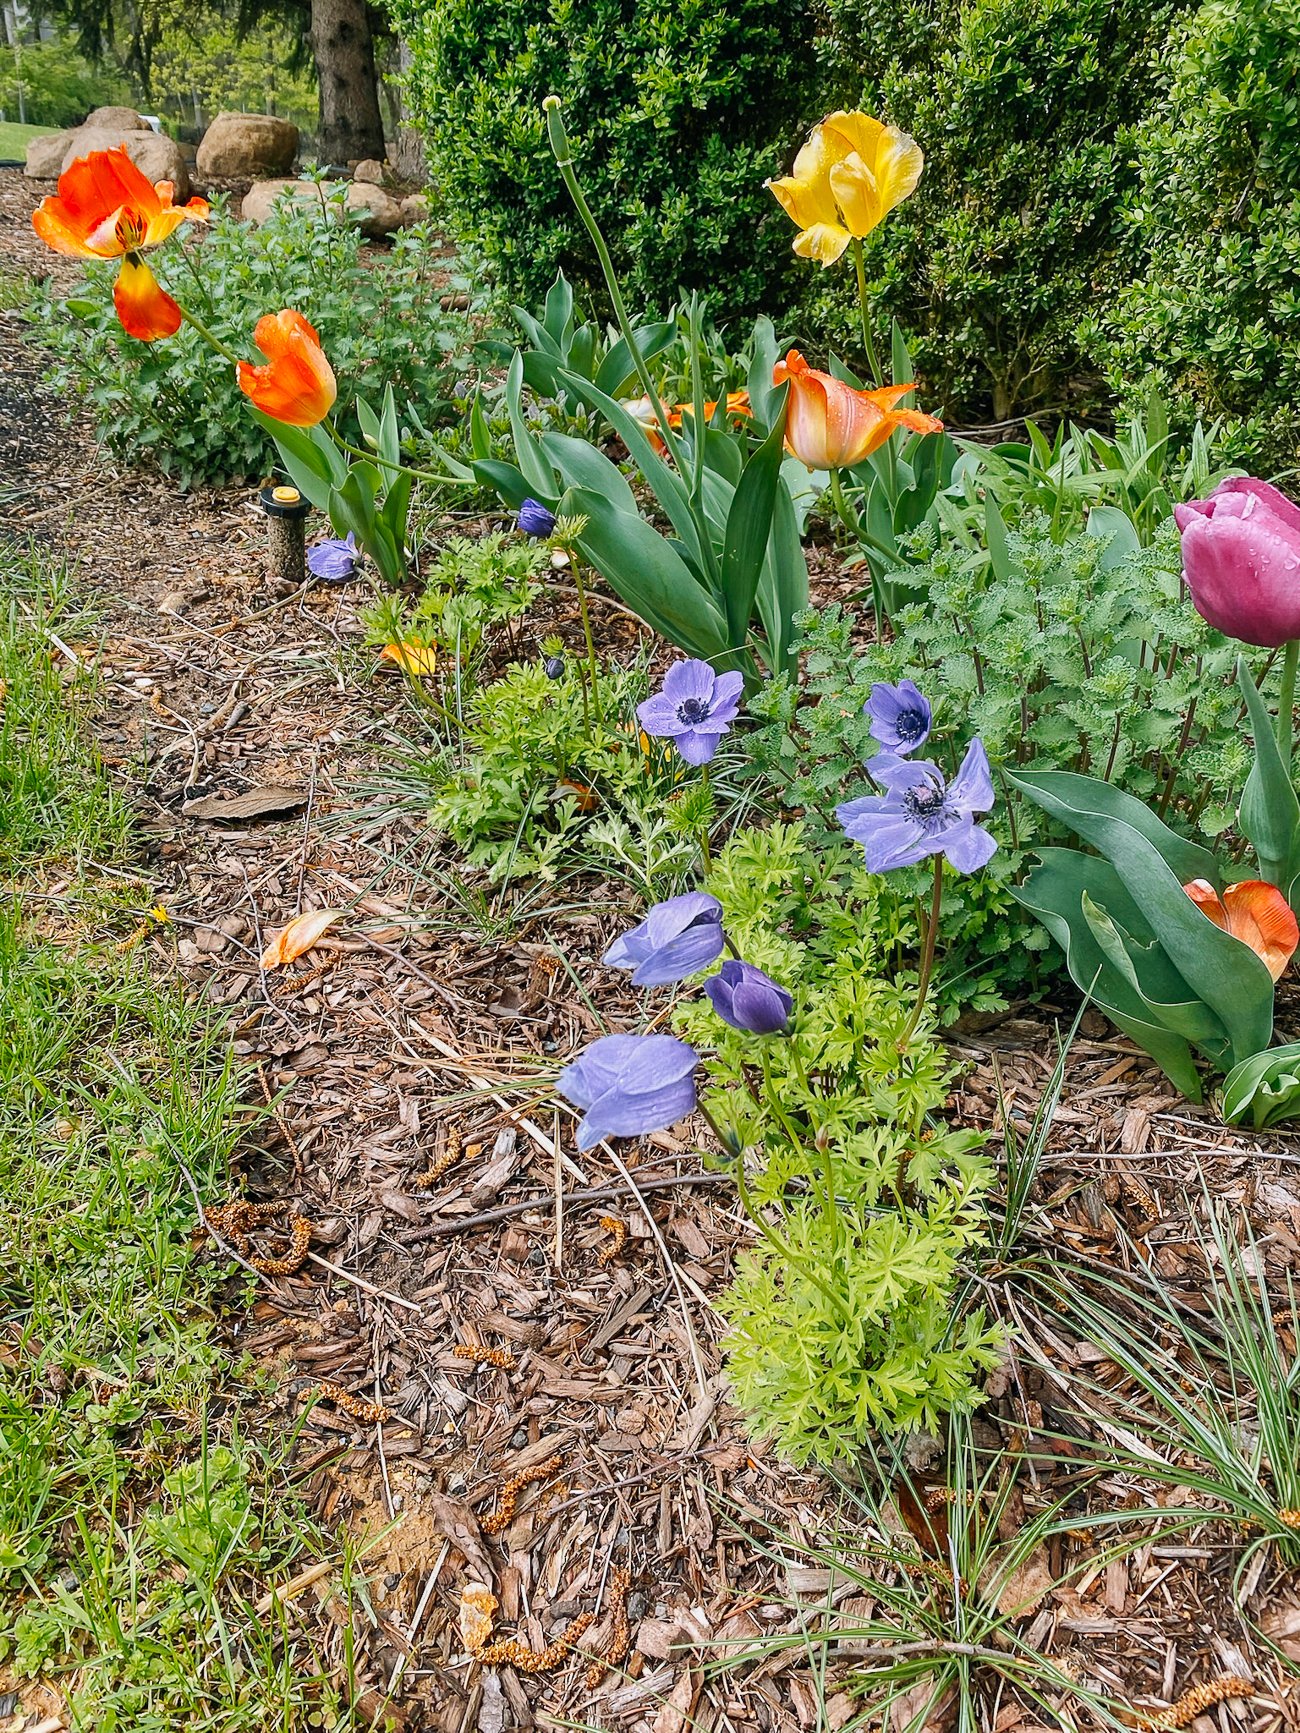
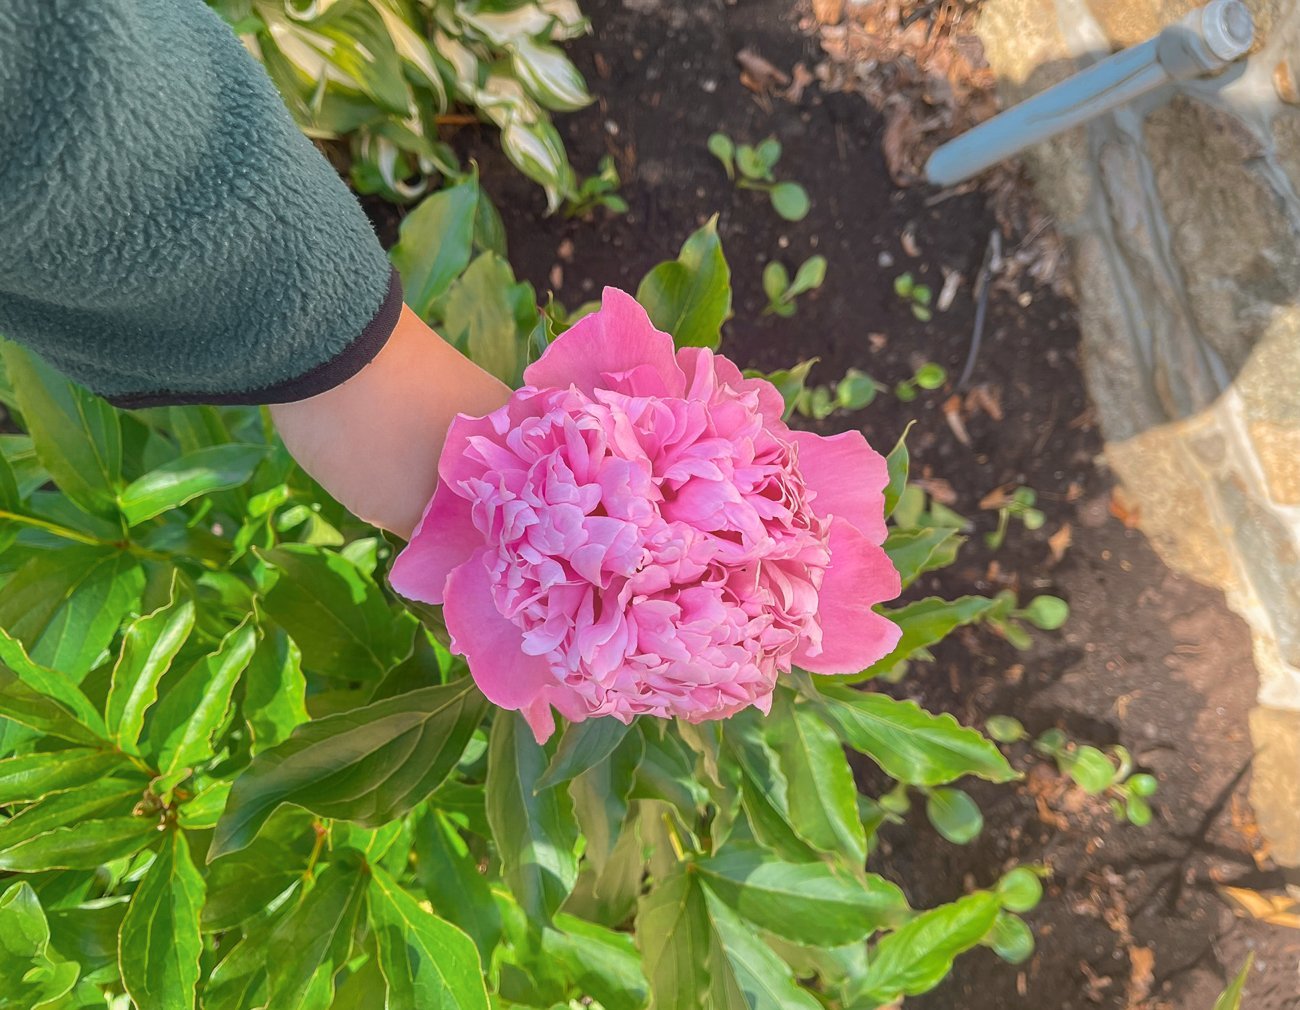
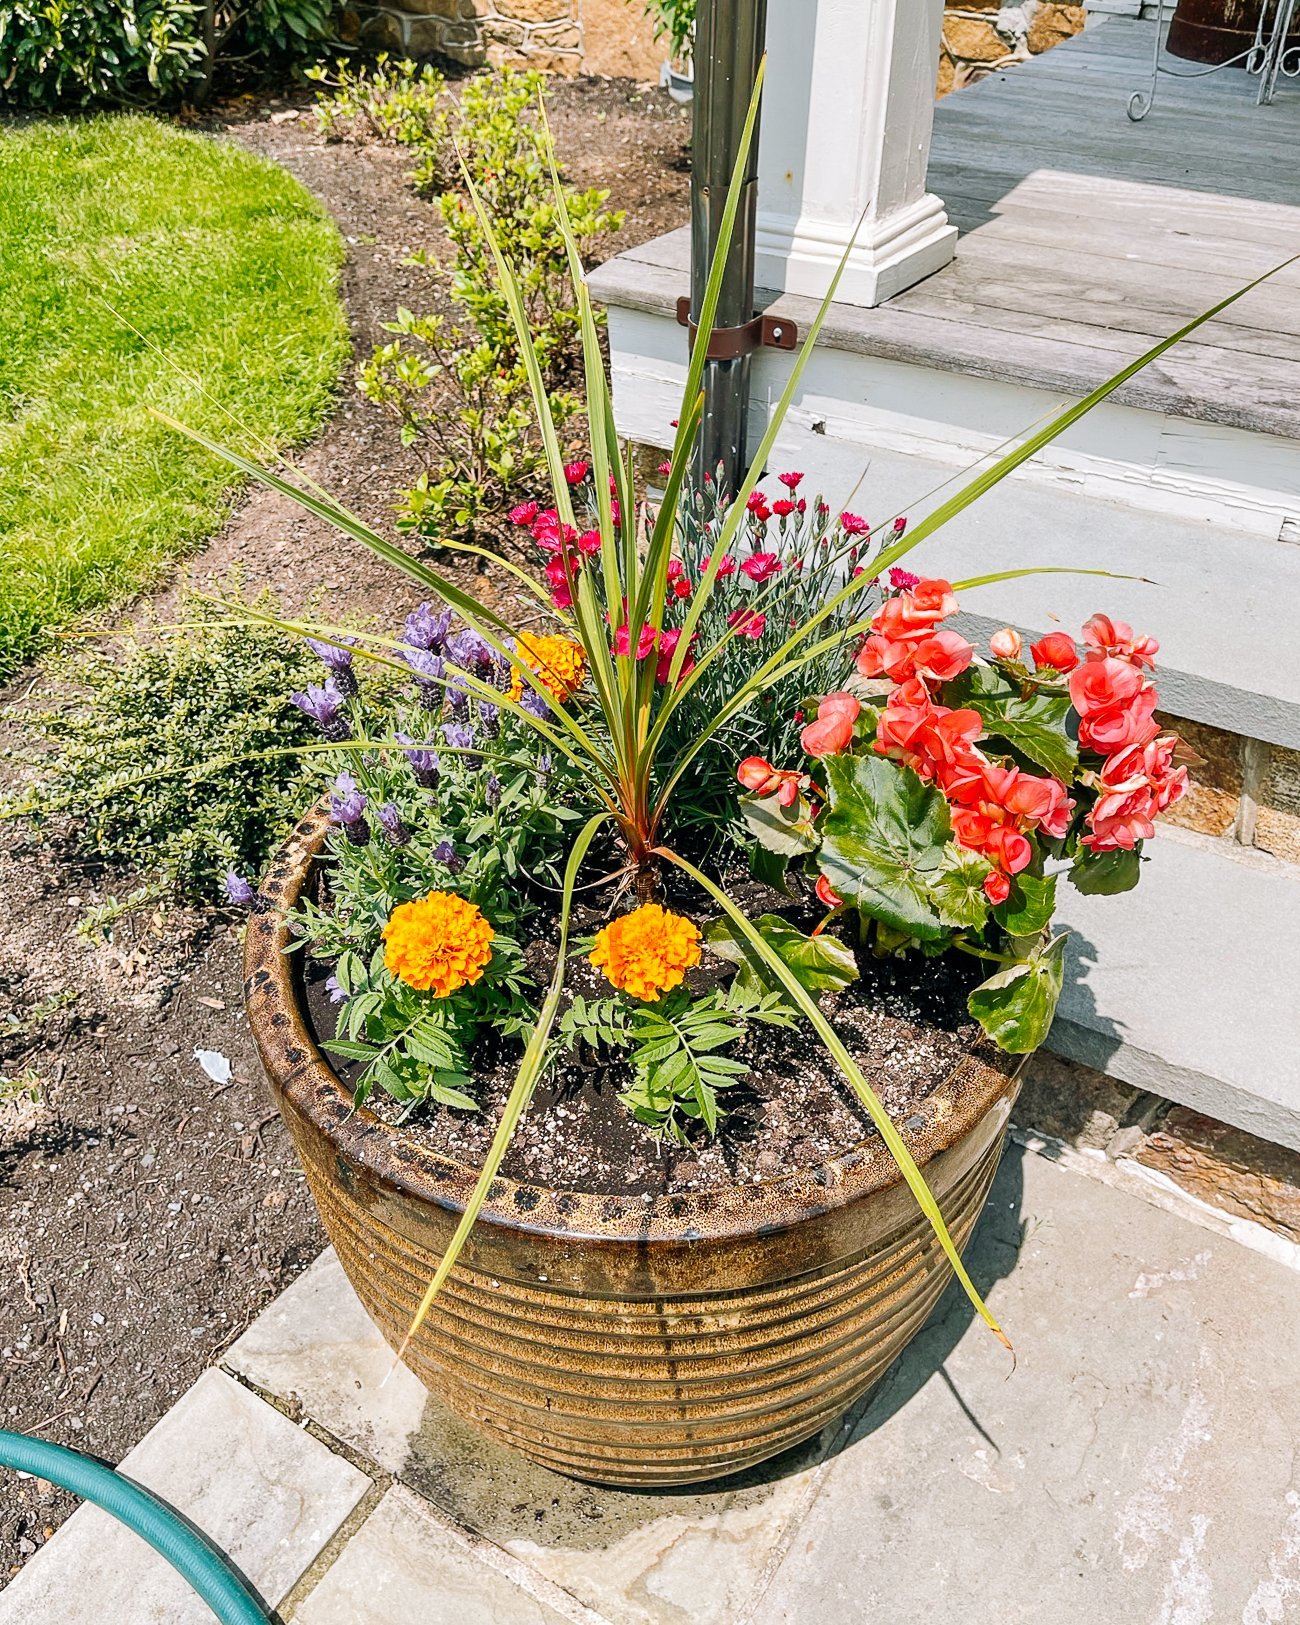
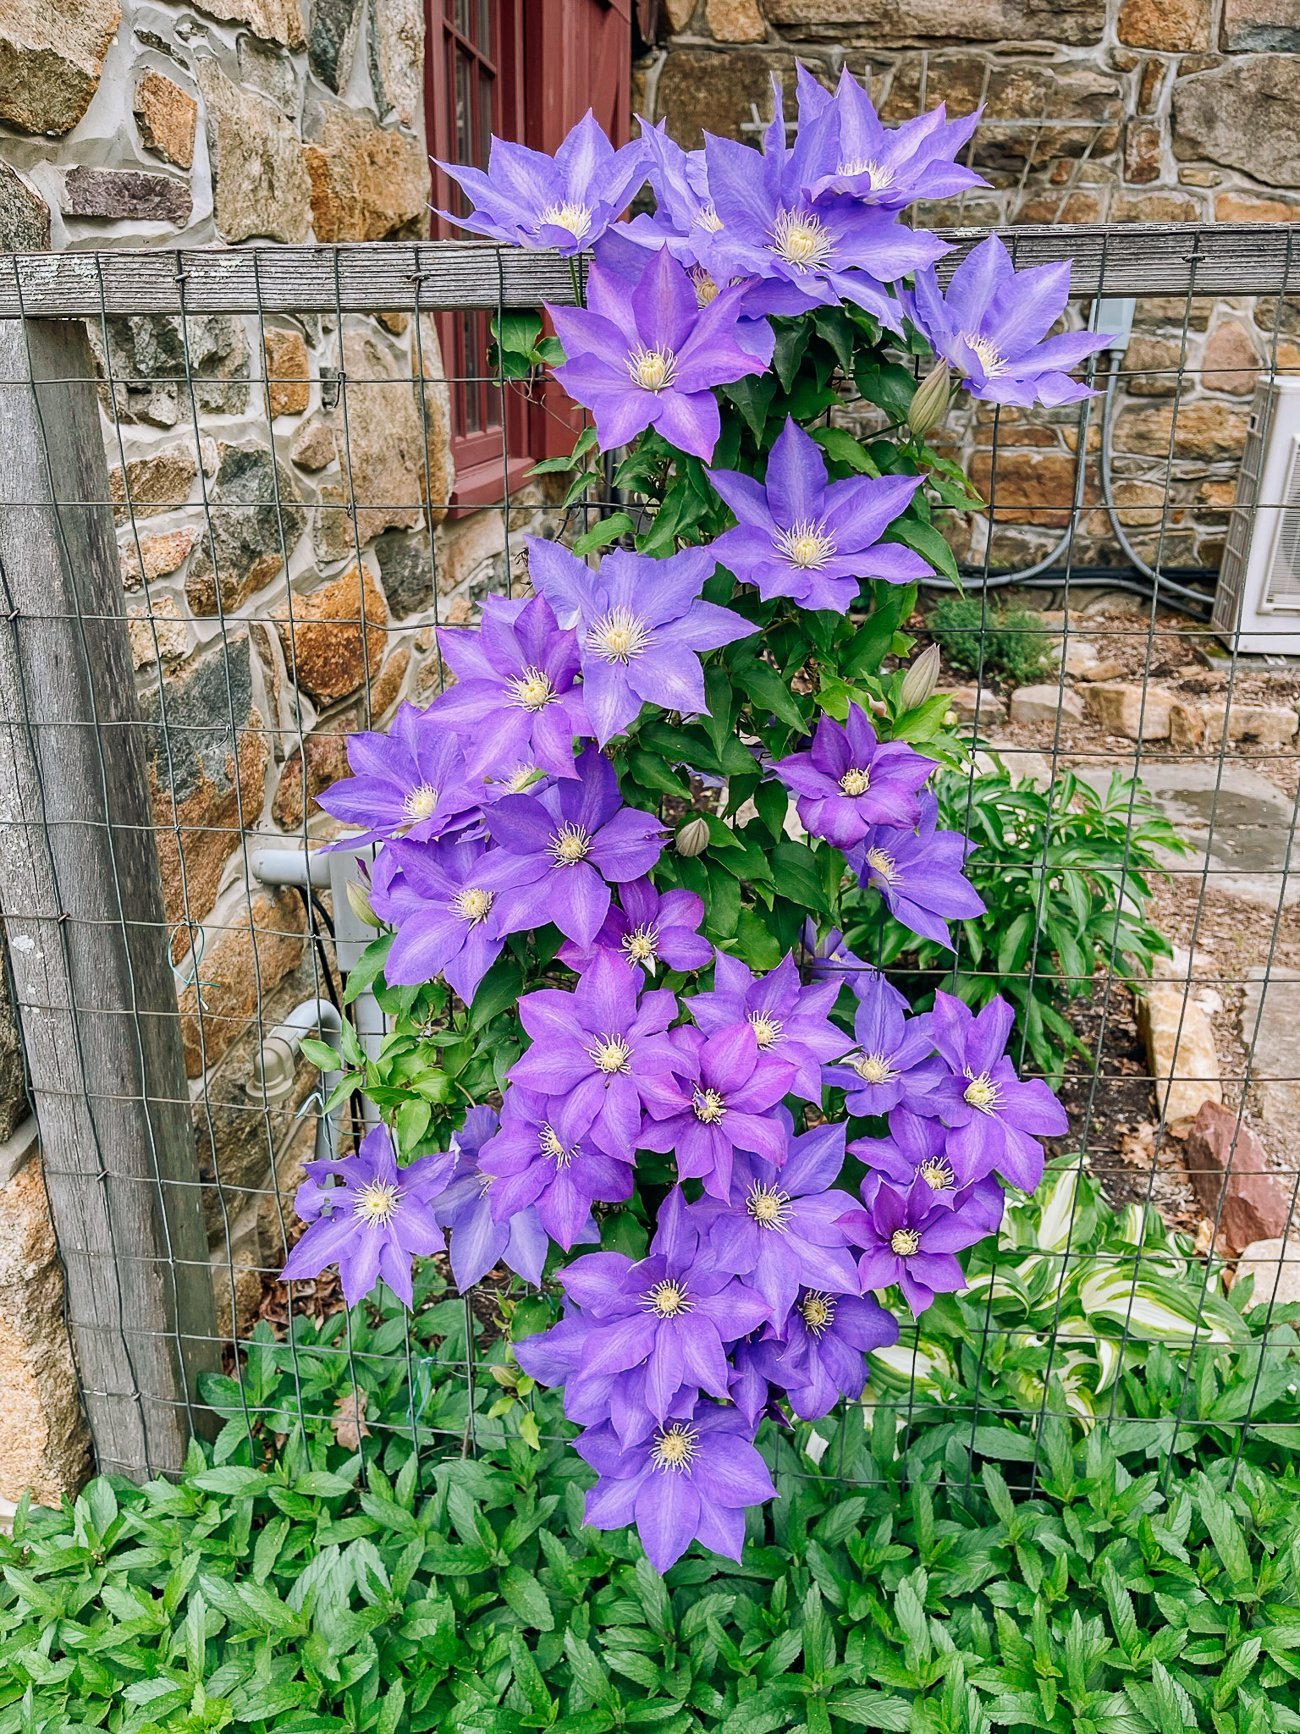
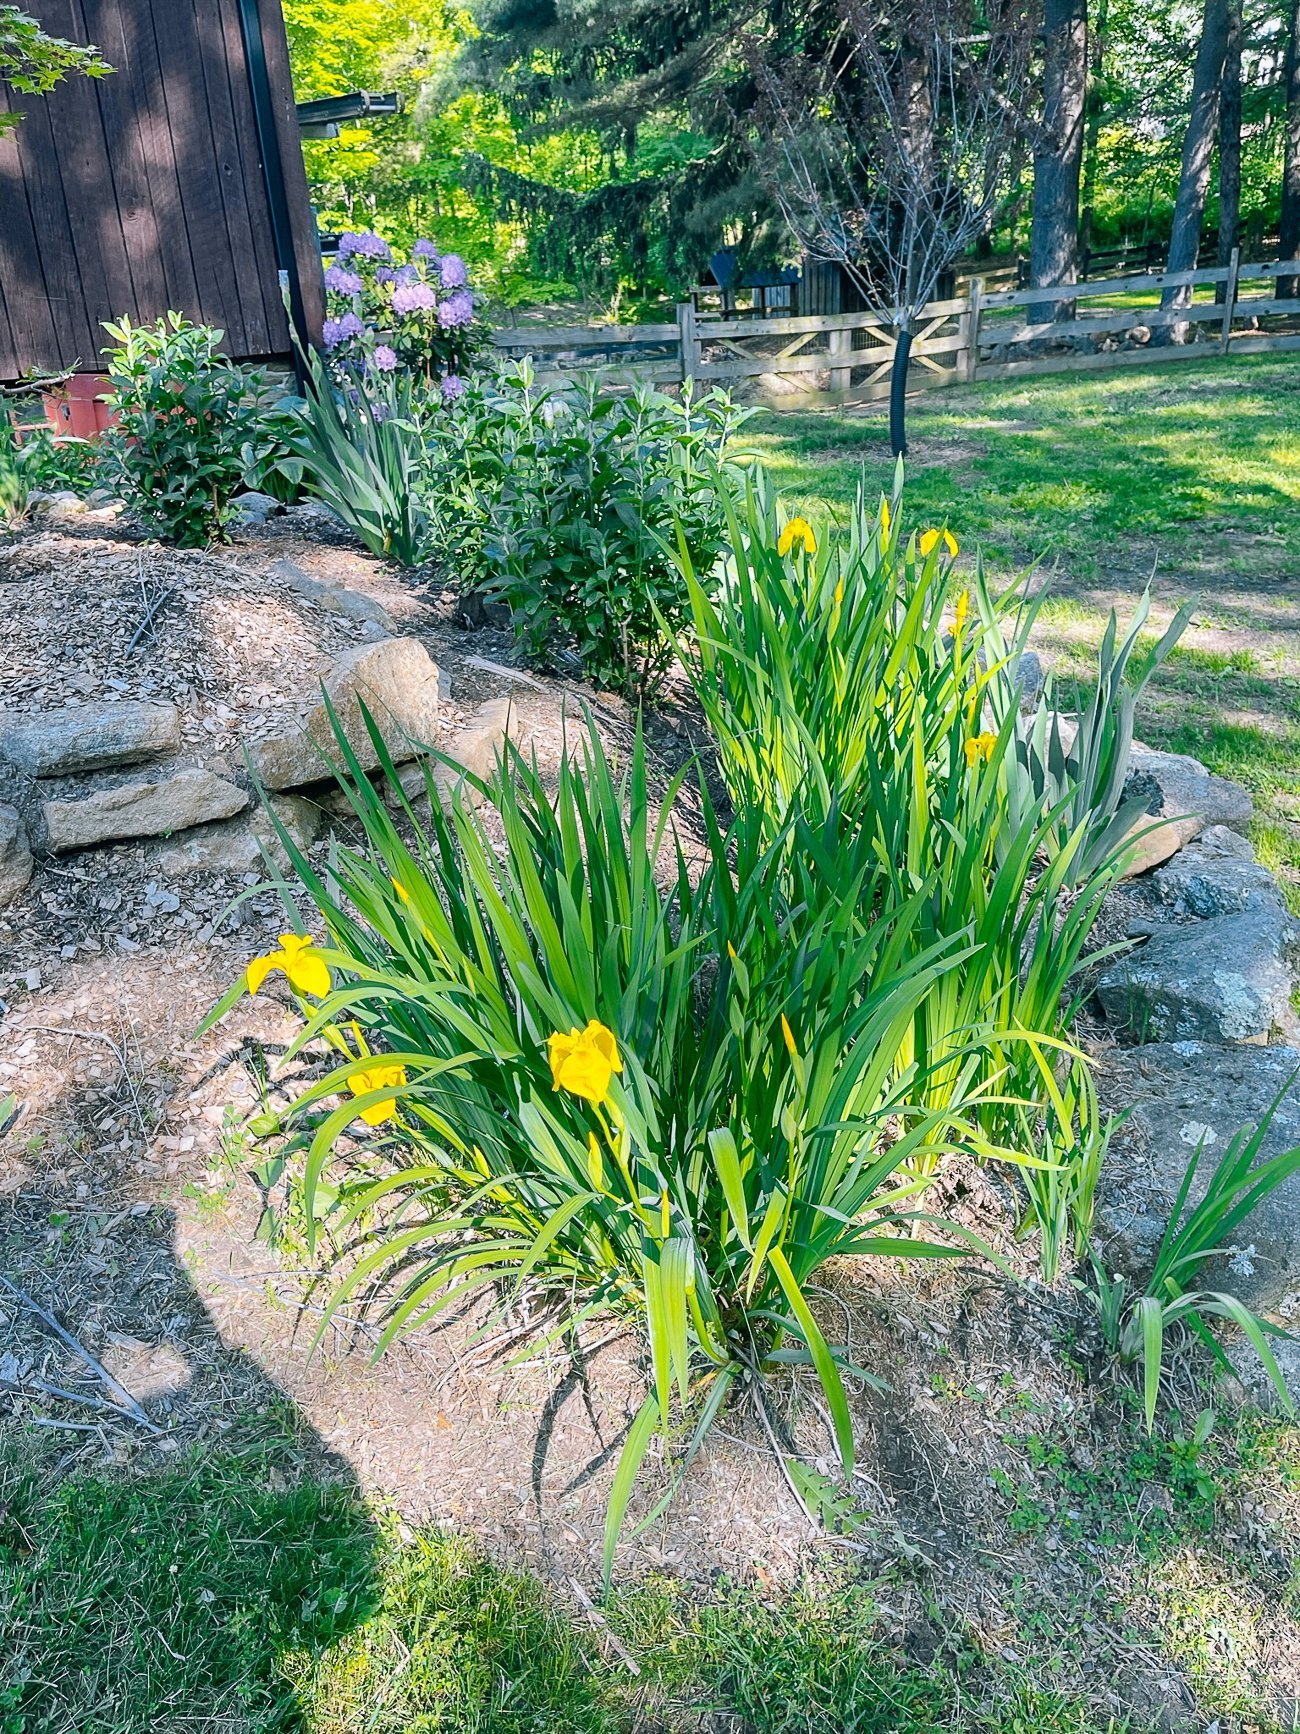
There were more delights throughout the garden, including flower pots we planted up (though after last year’s drought, we did fewer pots this year than last—too much watering). We also got lovely clematis, baptisia, and peonies.
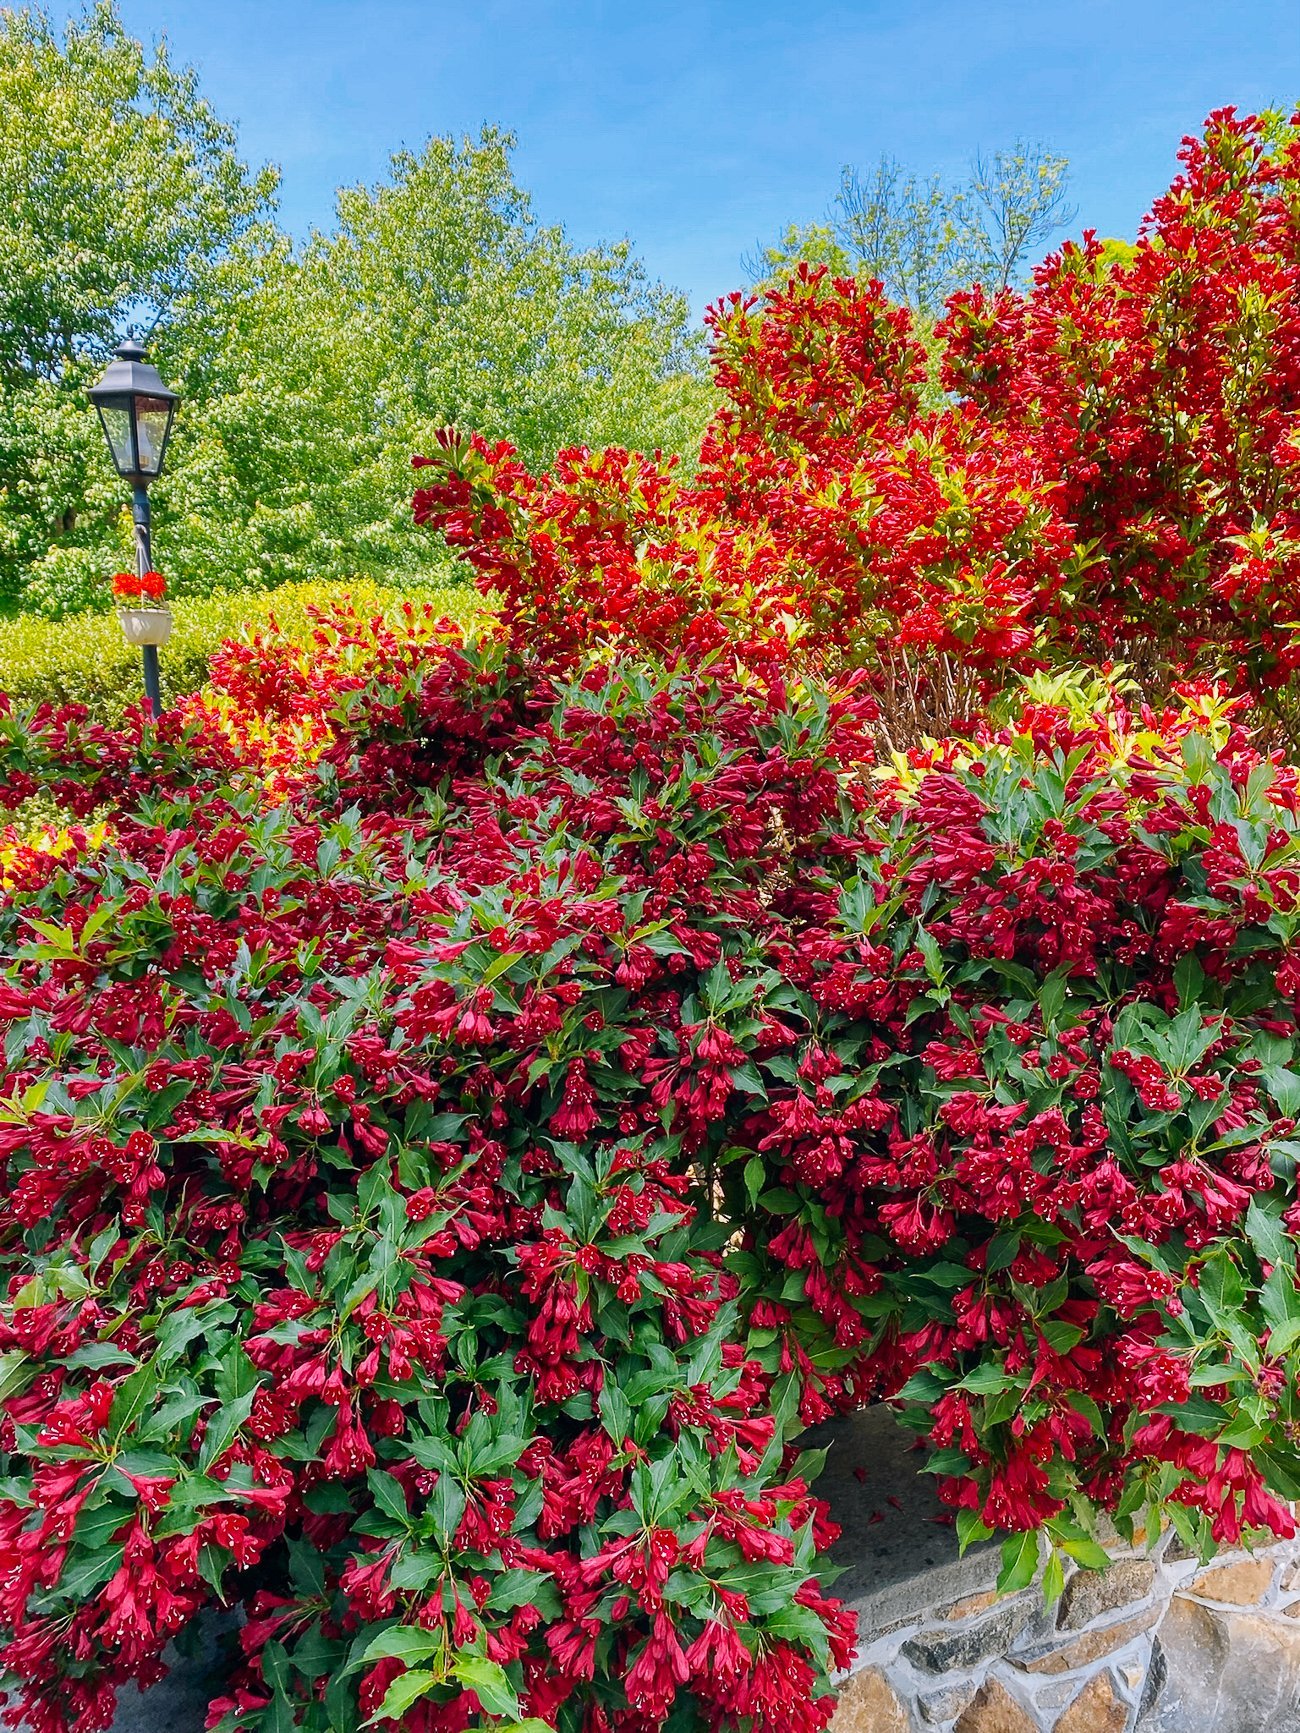
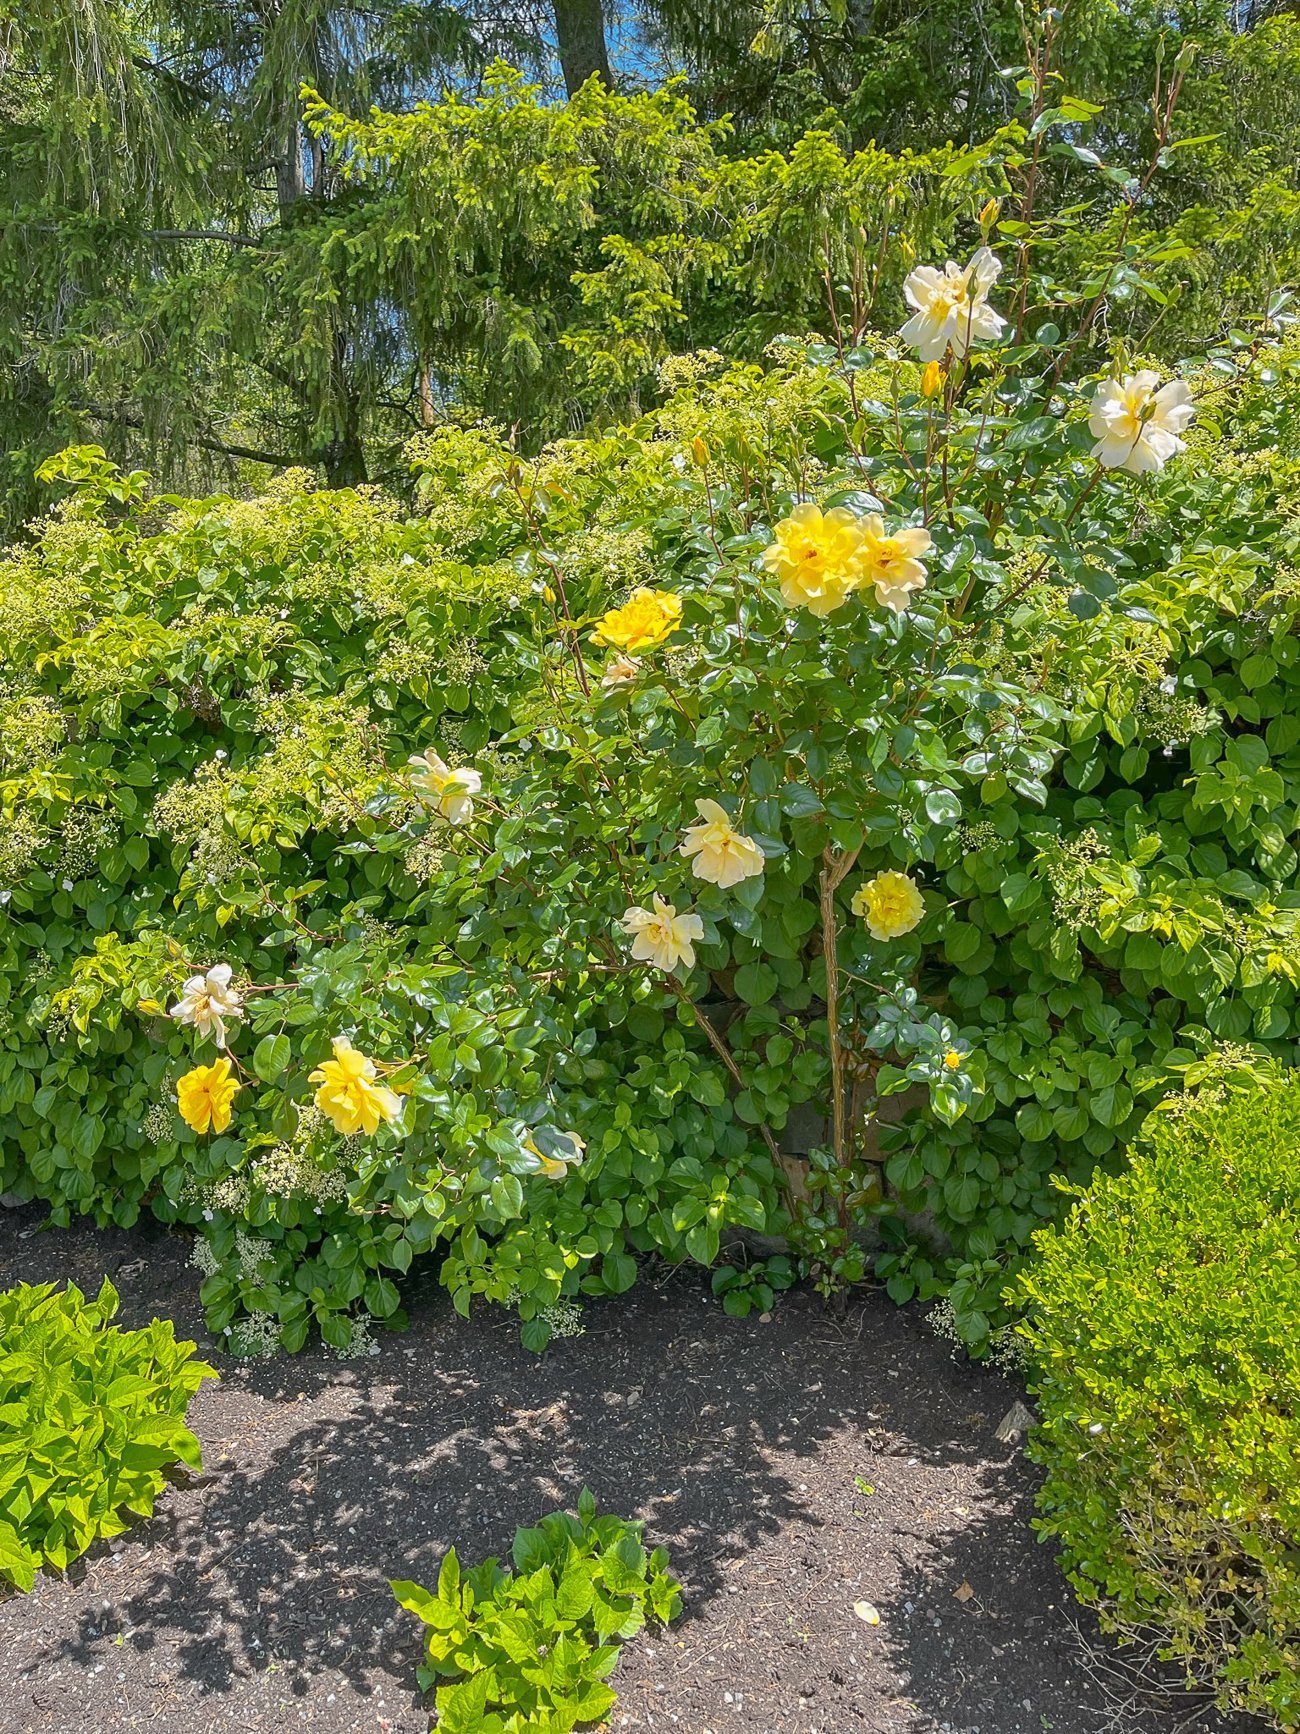
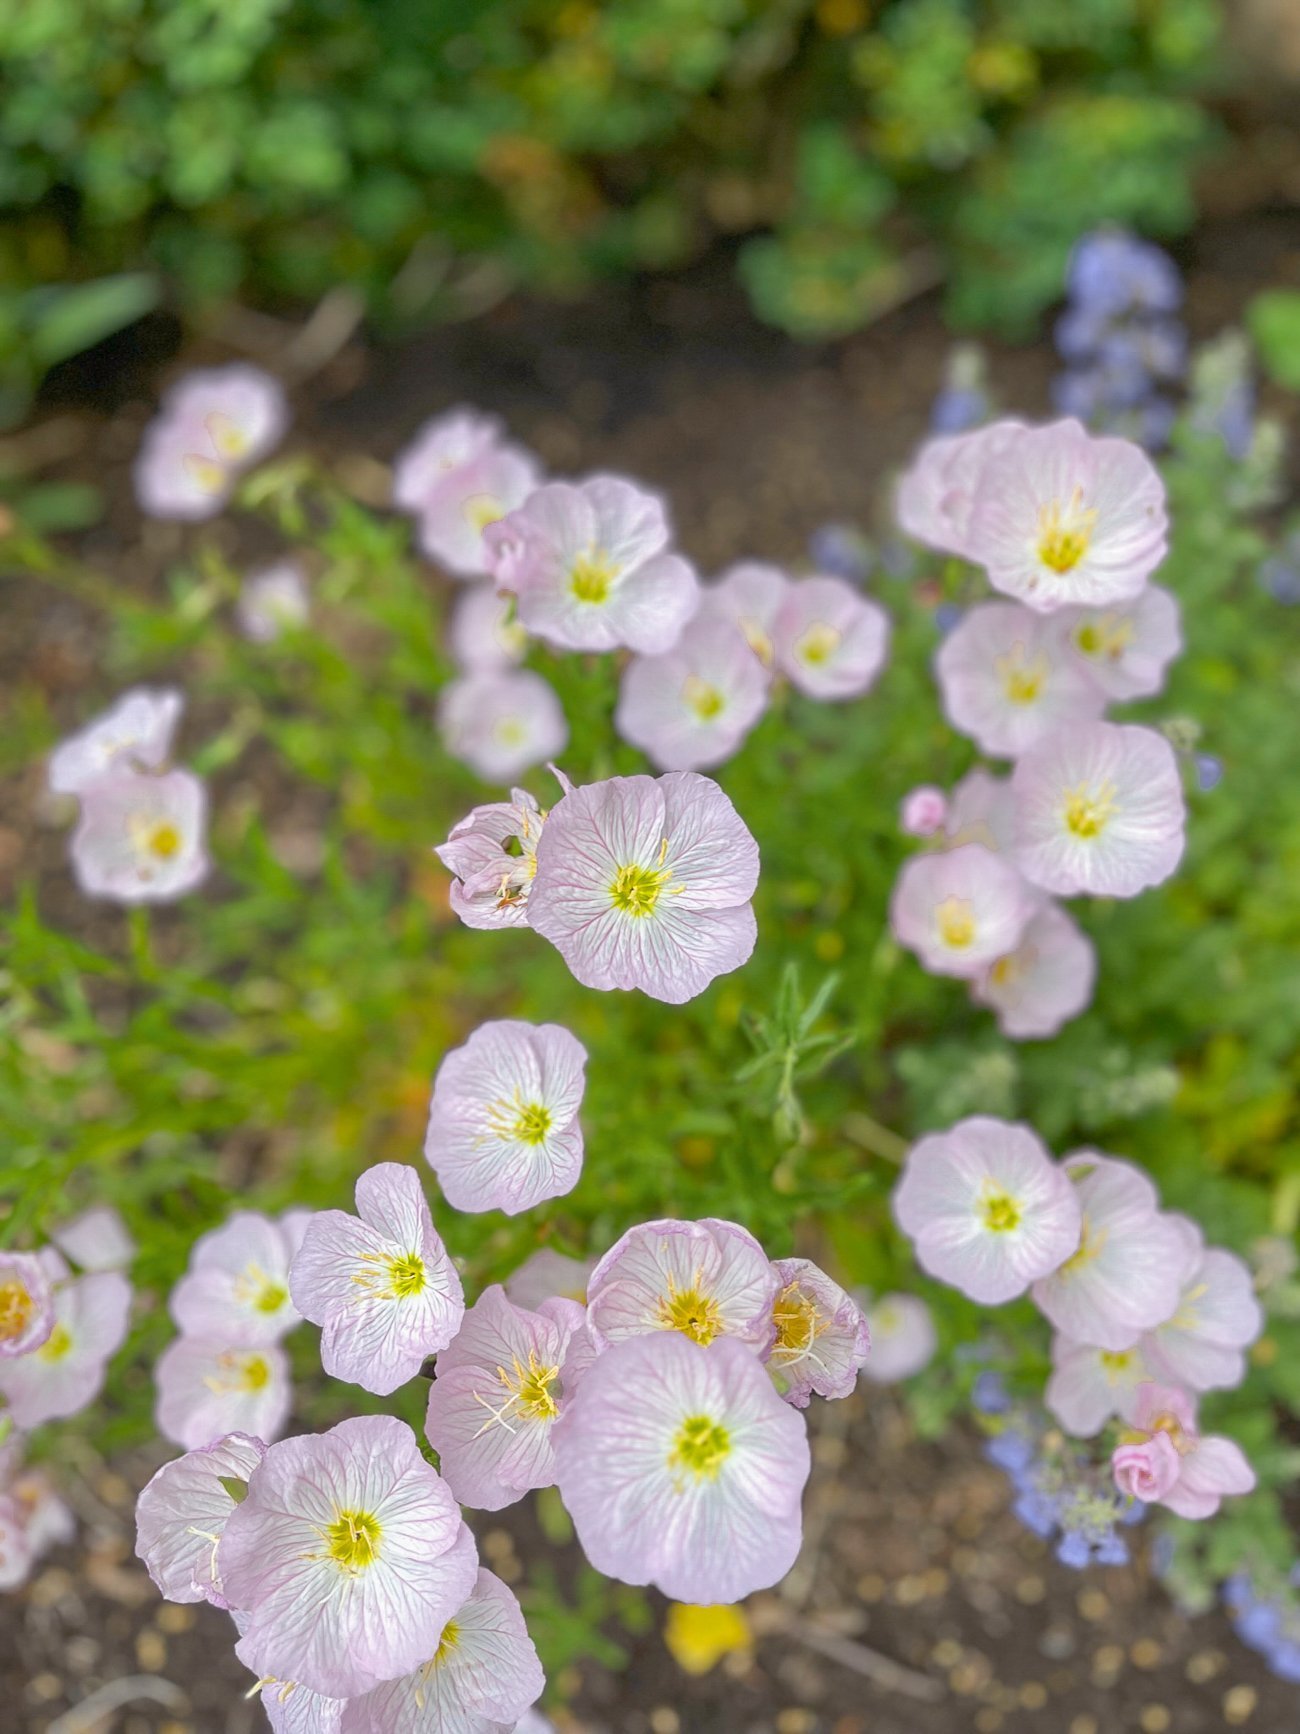
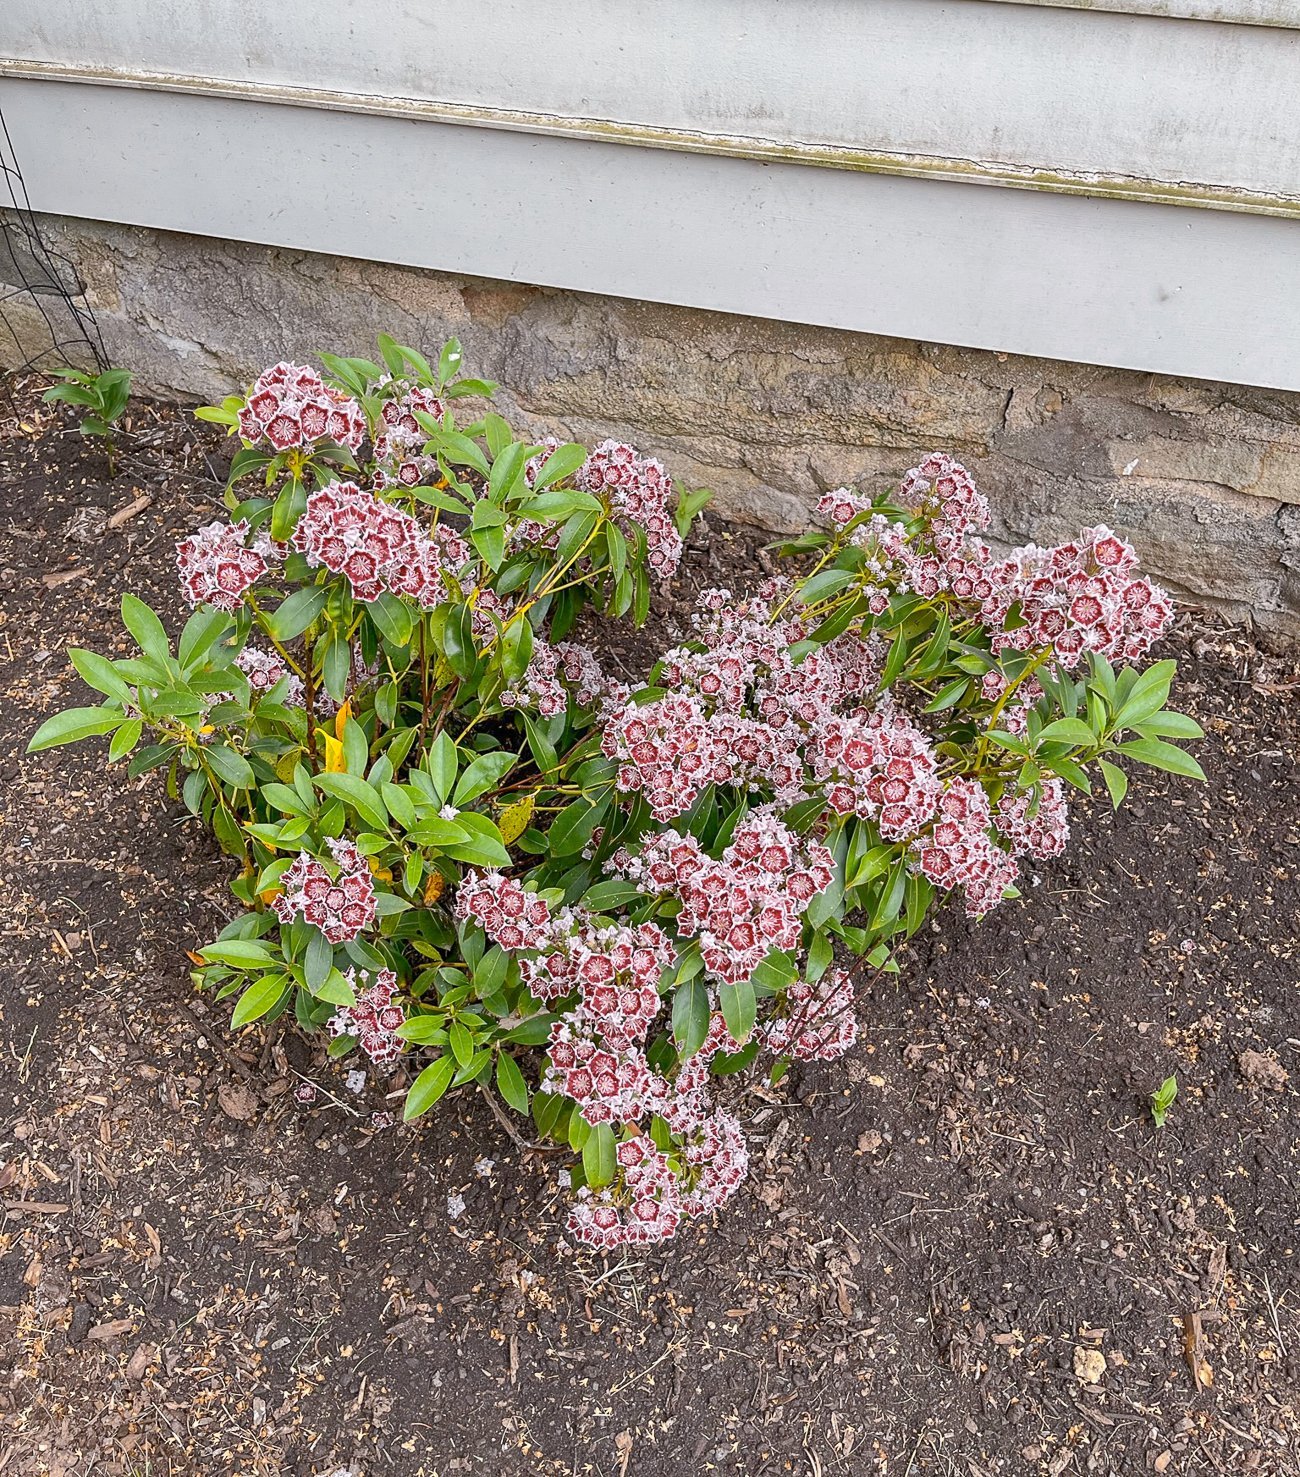
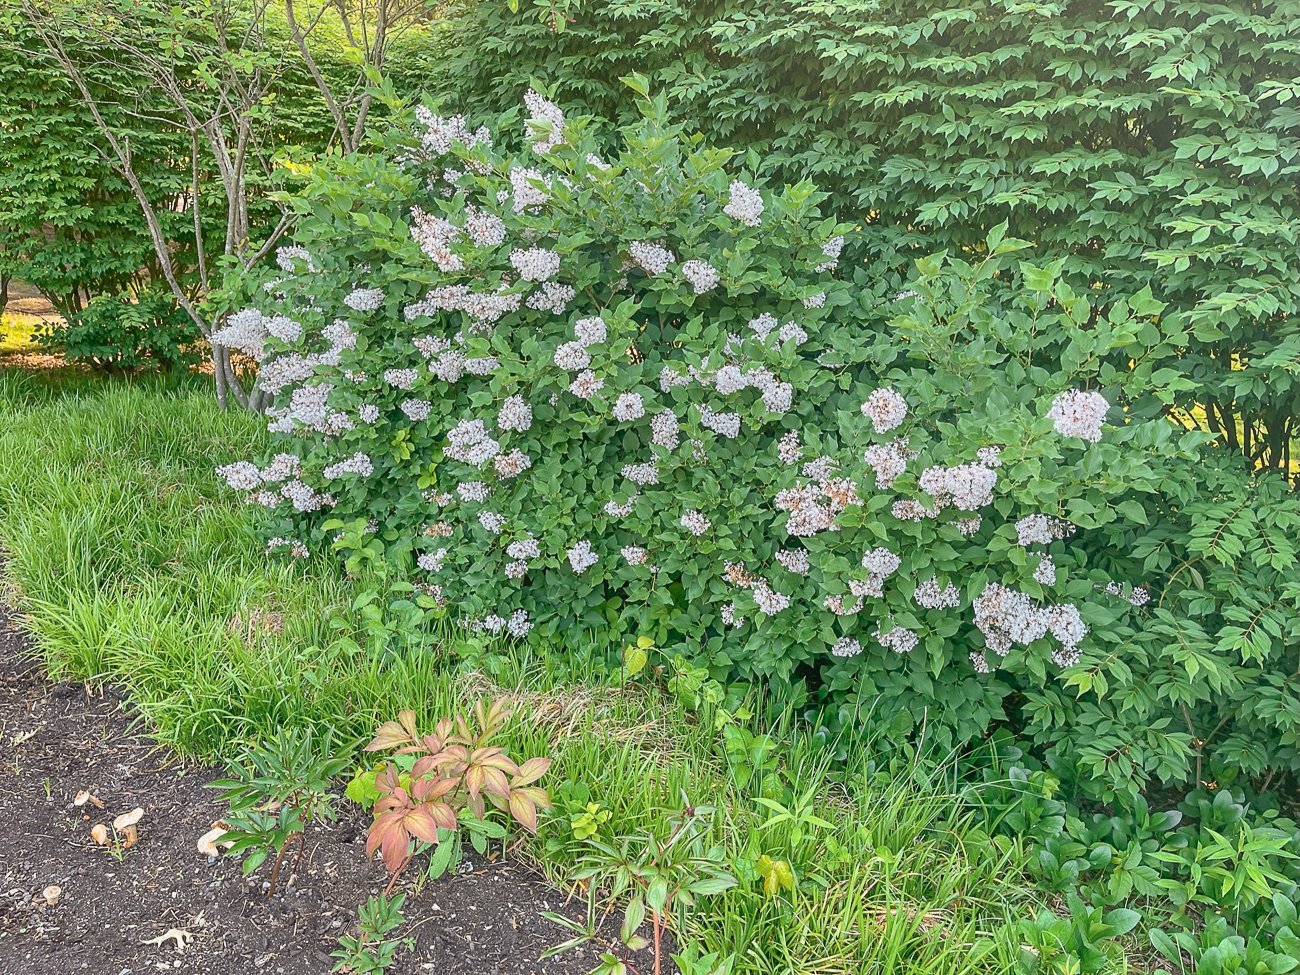
Our yellow rose performed 10x better this year after a hard late winter prune, and we had some perennials we planted last year come back even better, including soft pink evening primroses and mountain laurel.
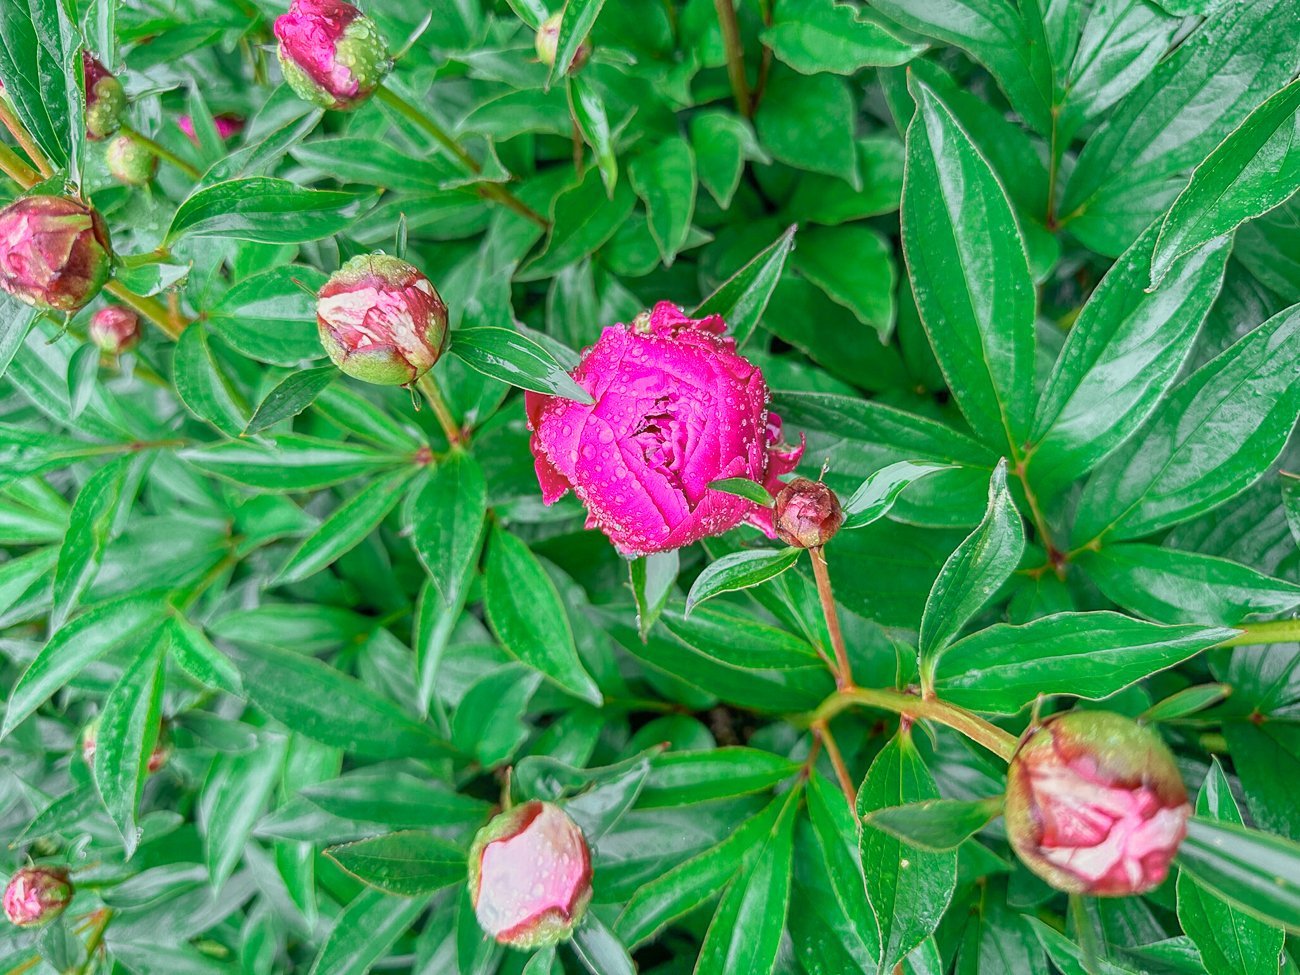
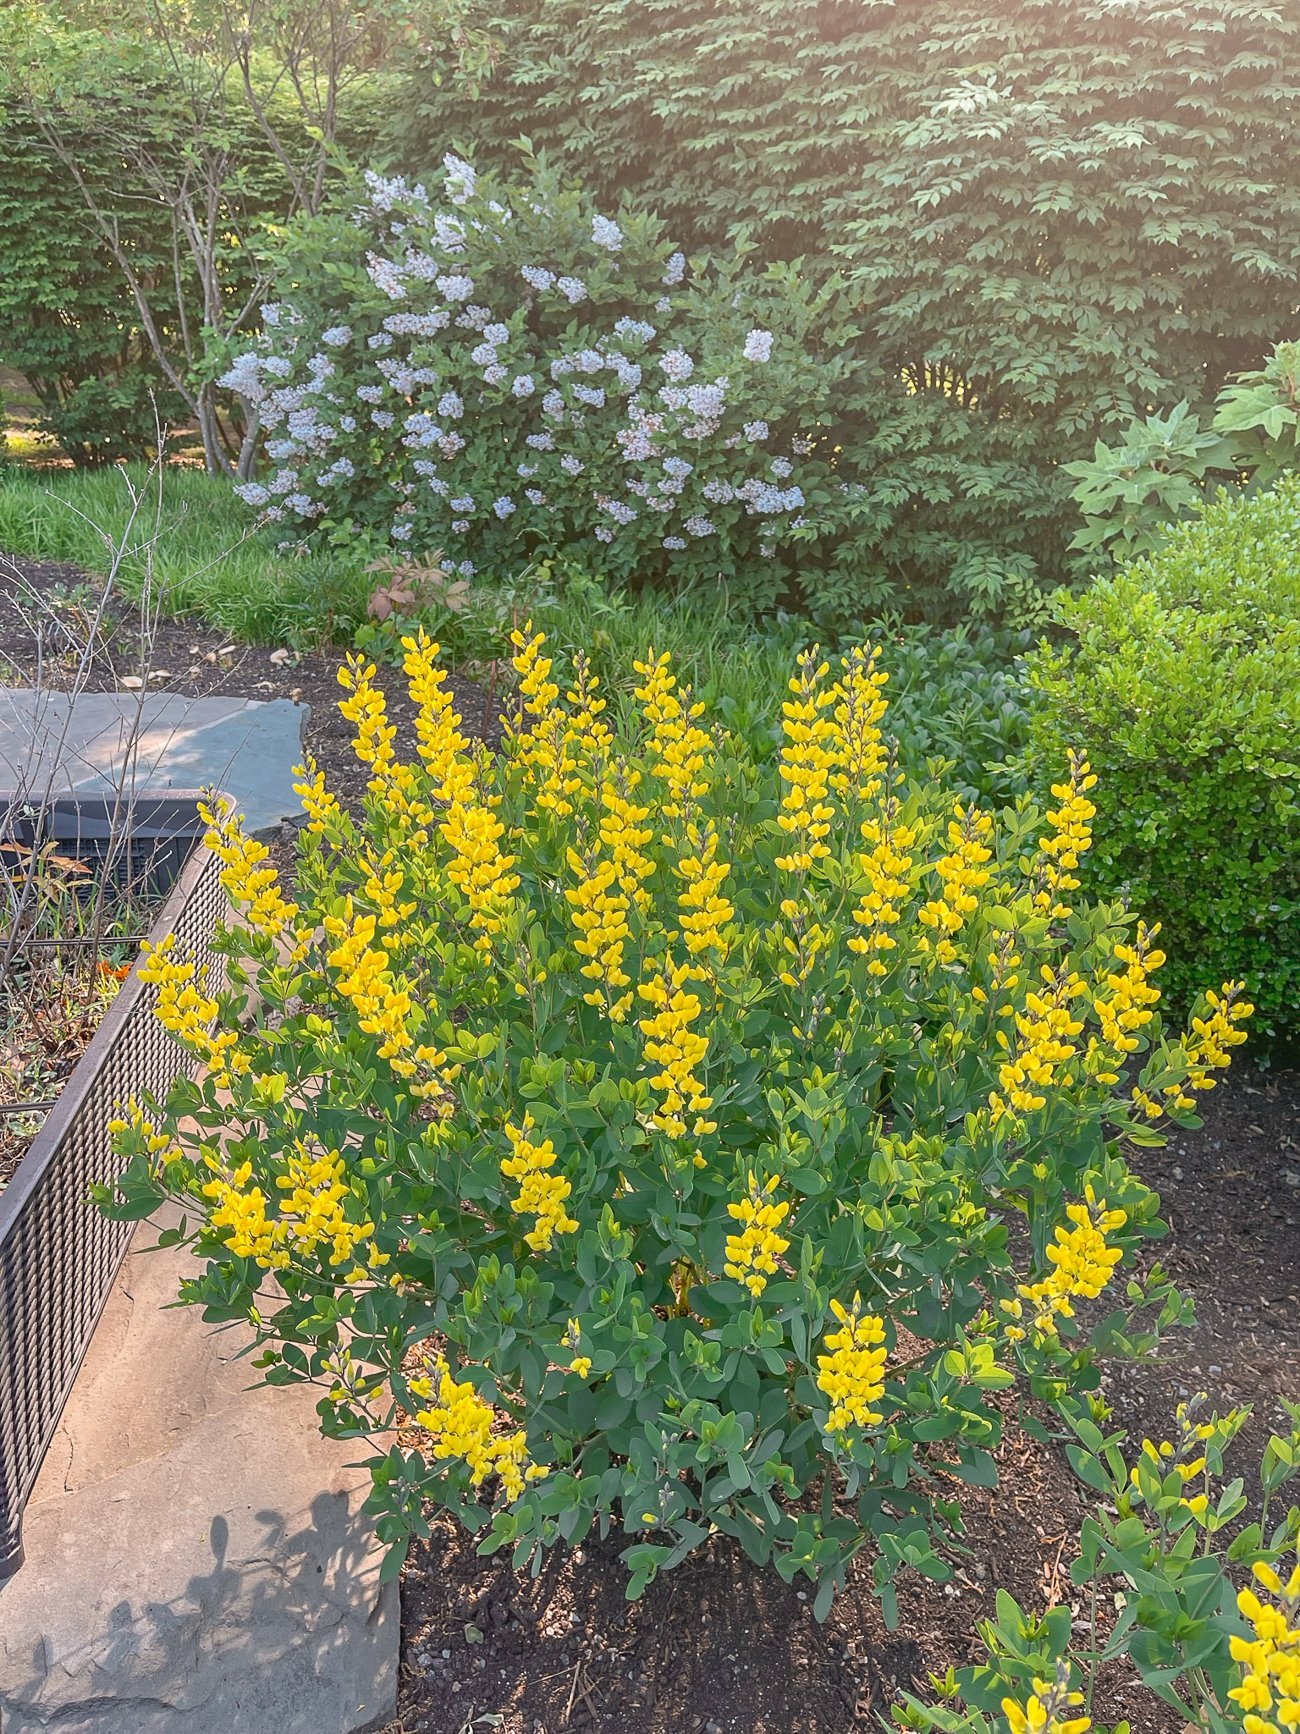
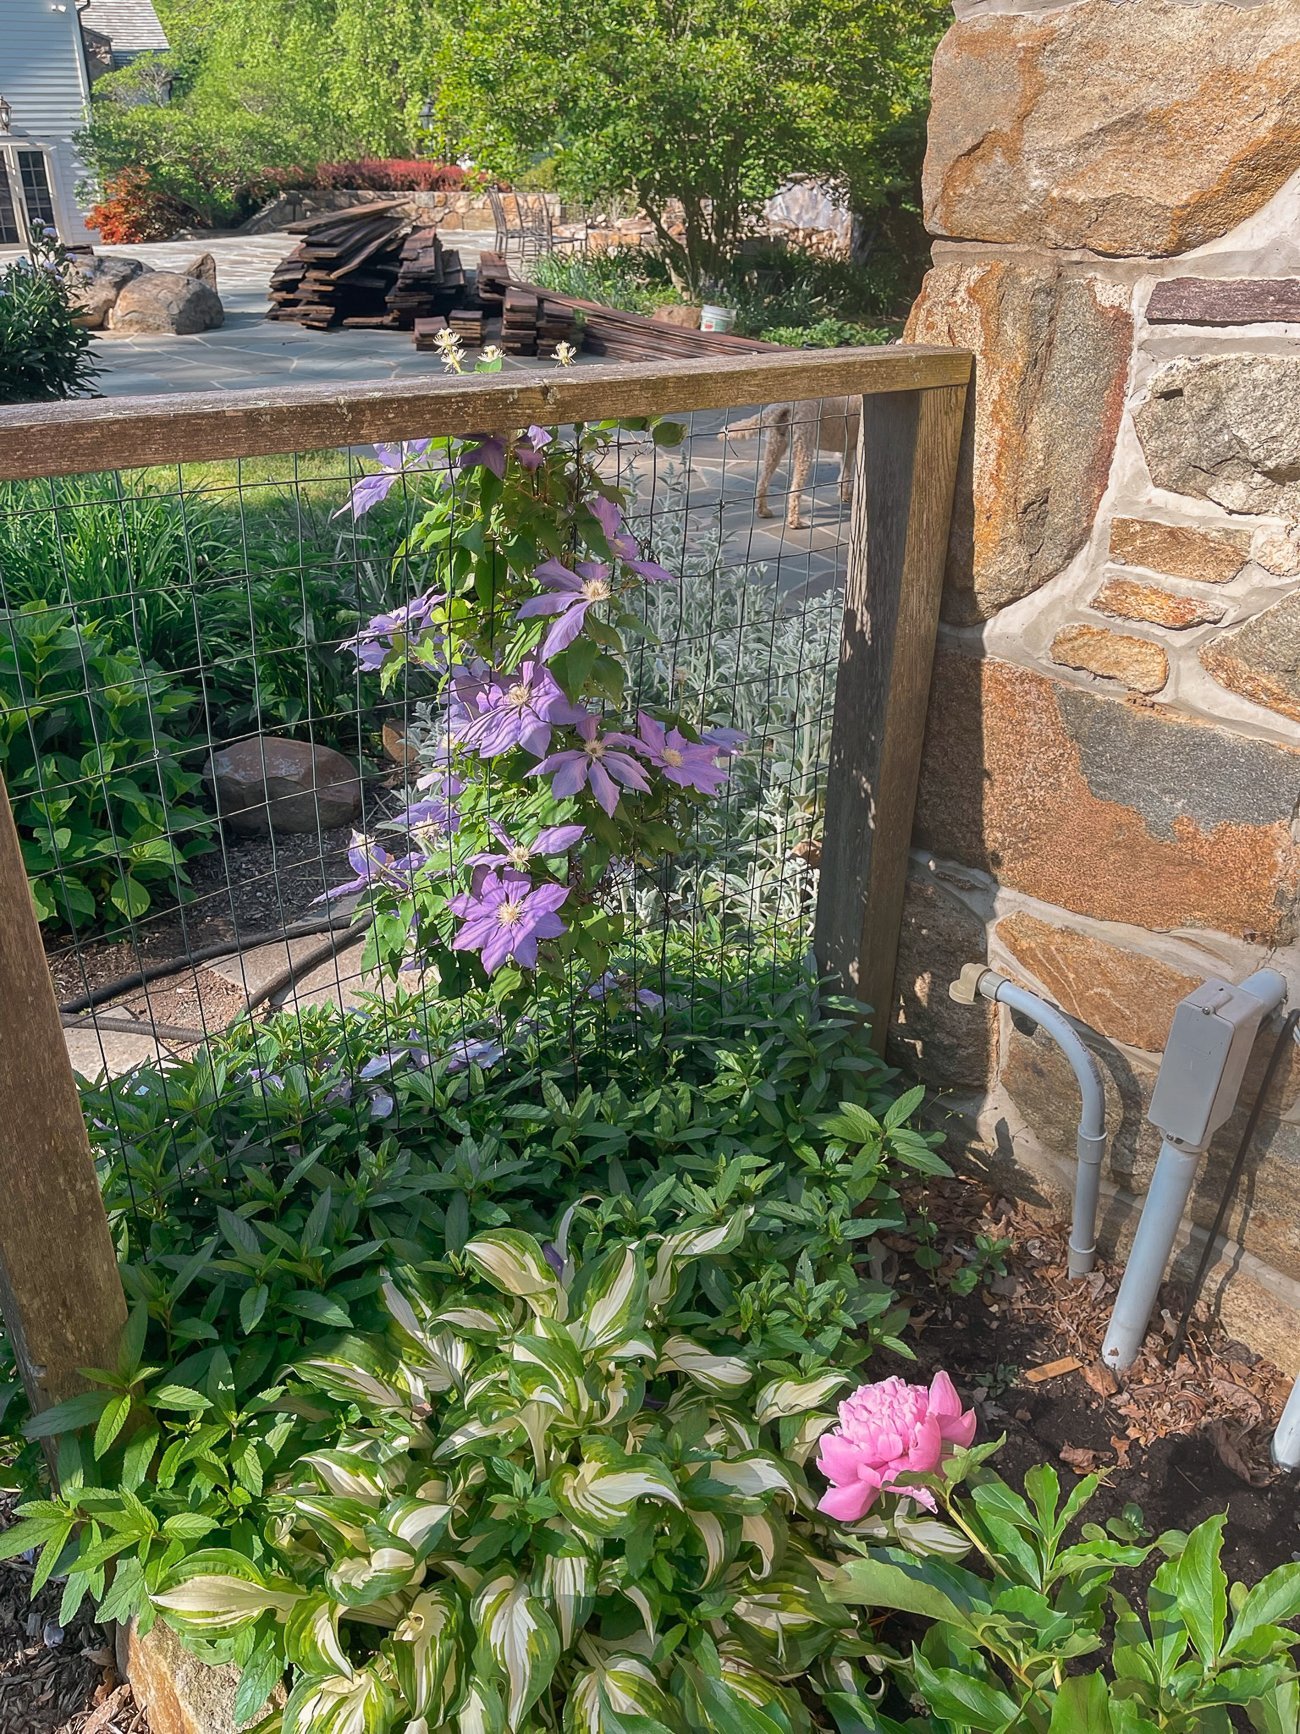
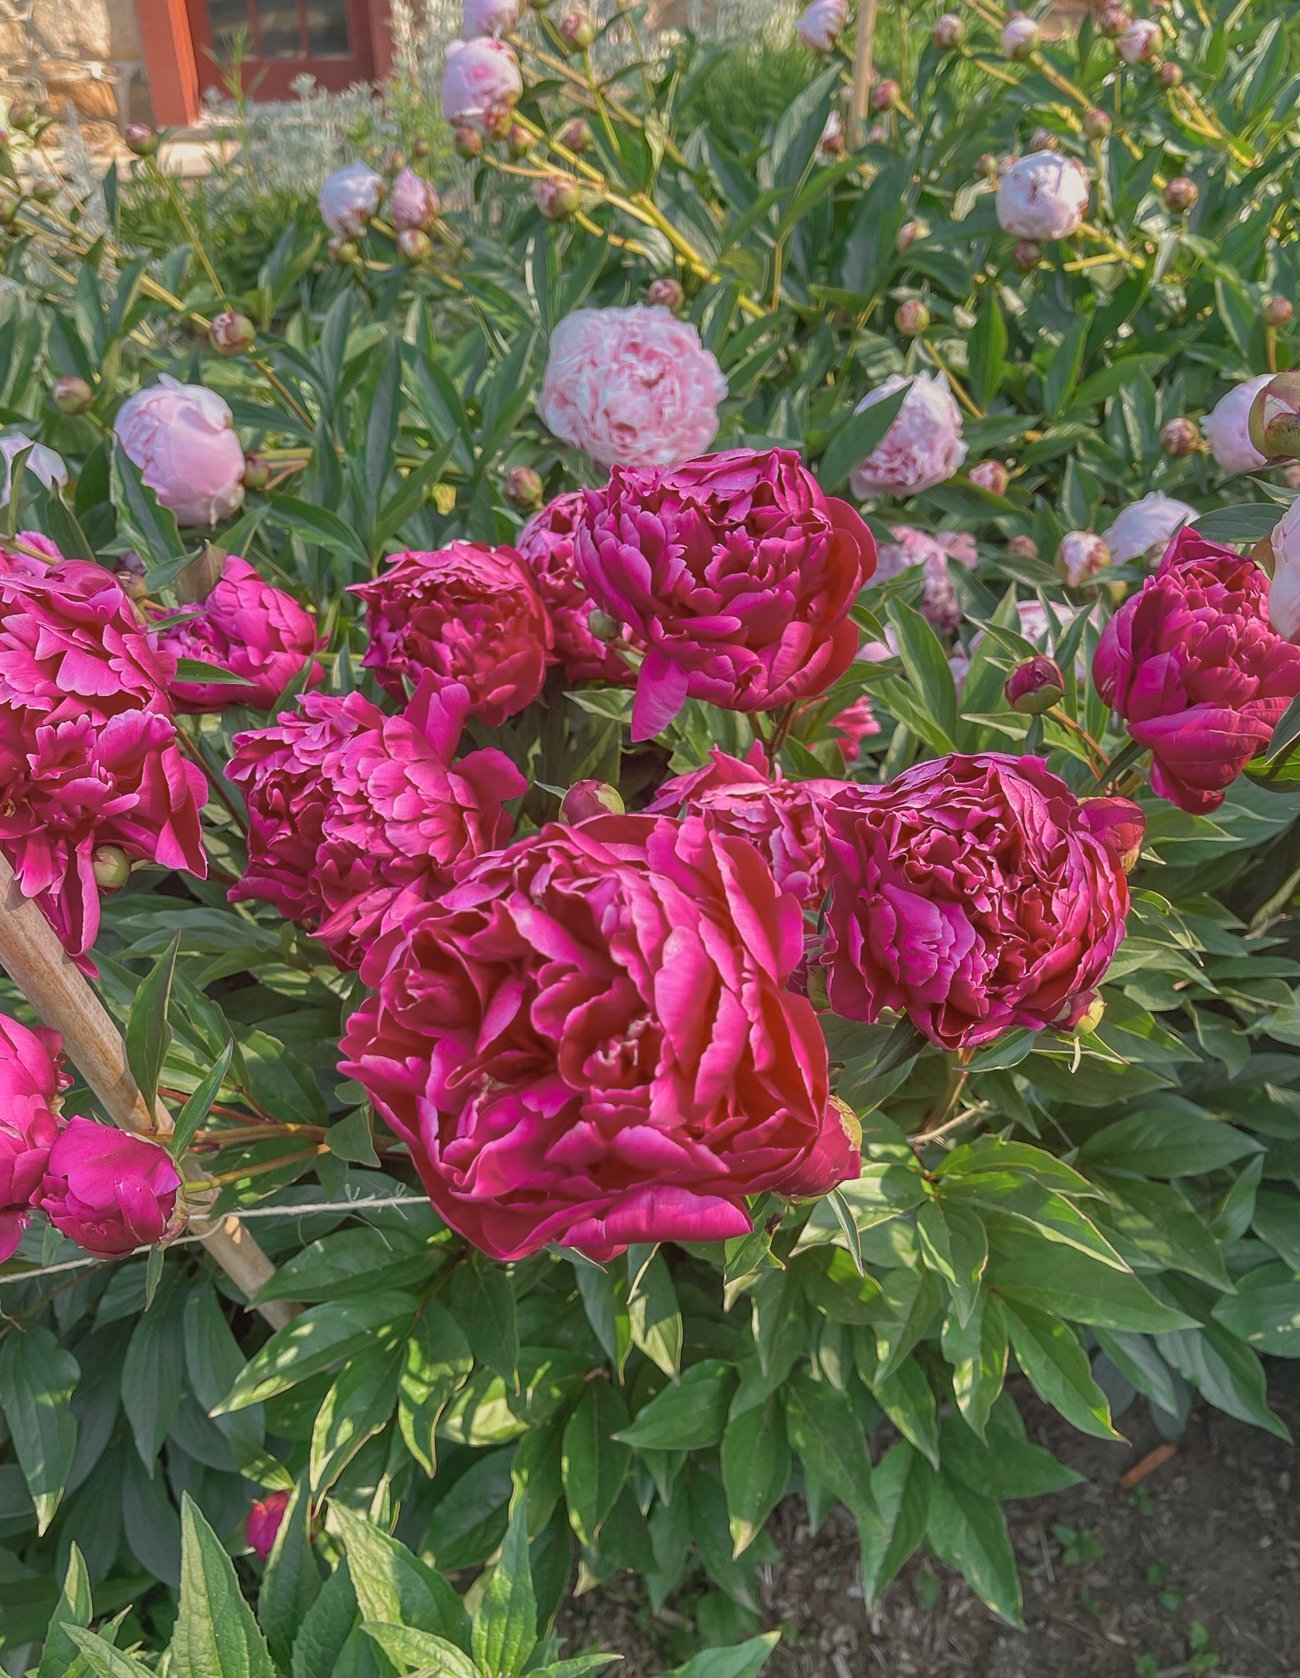
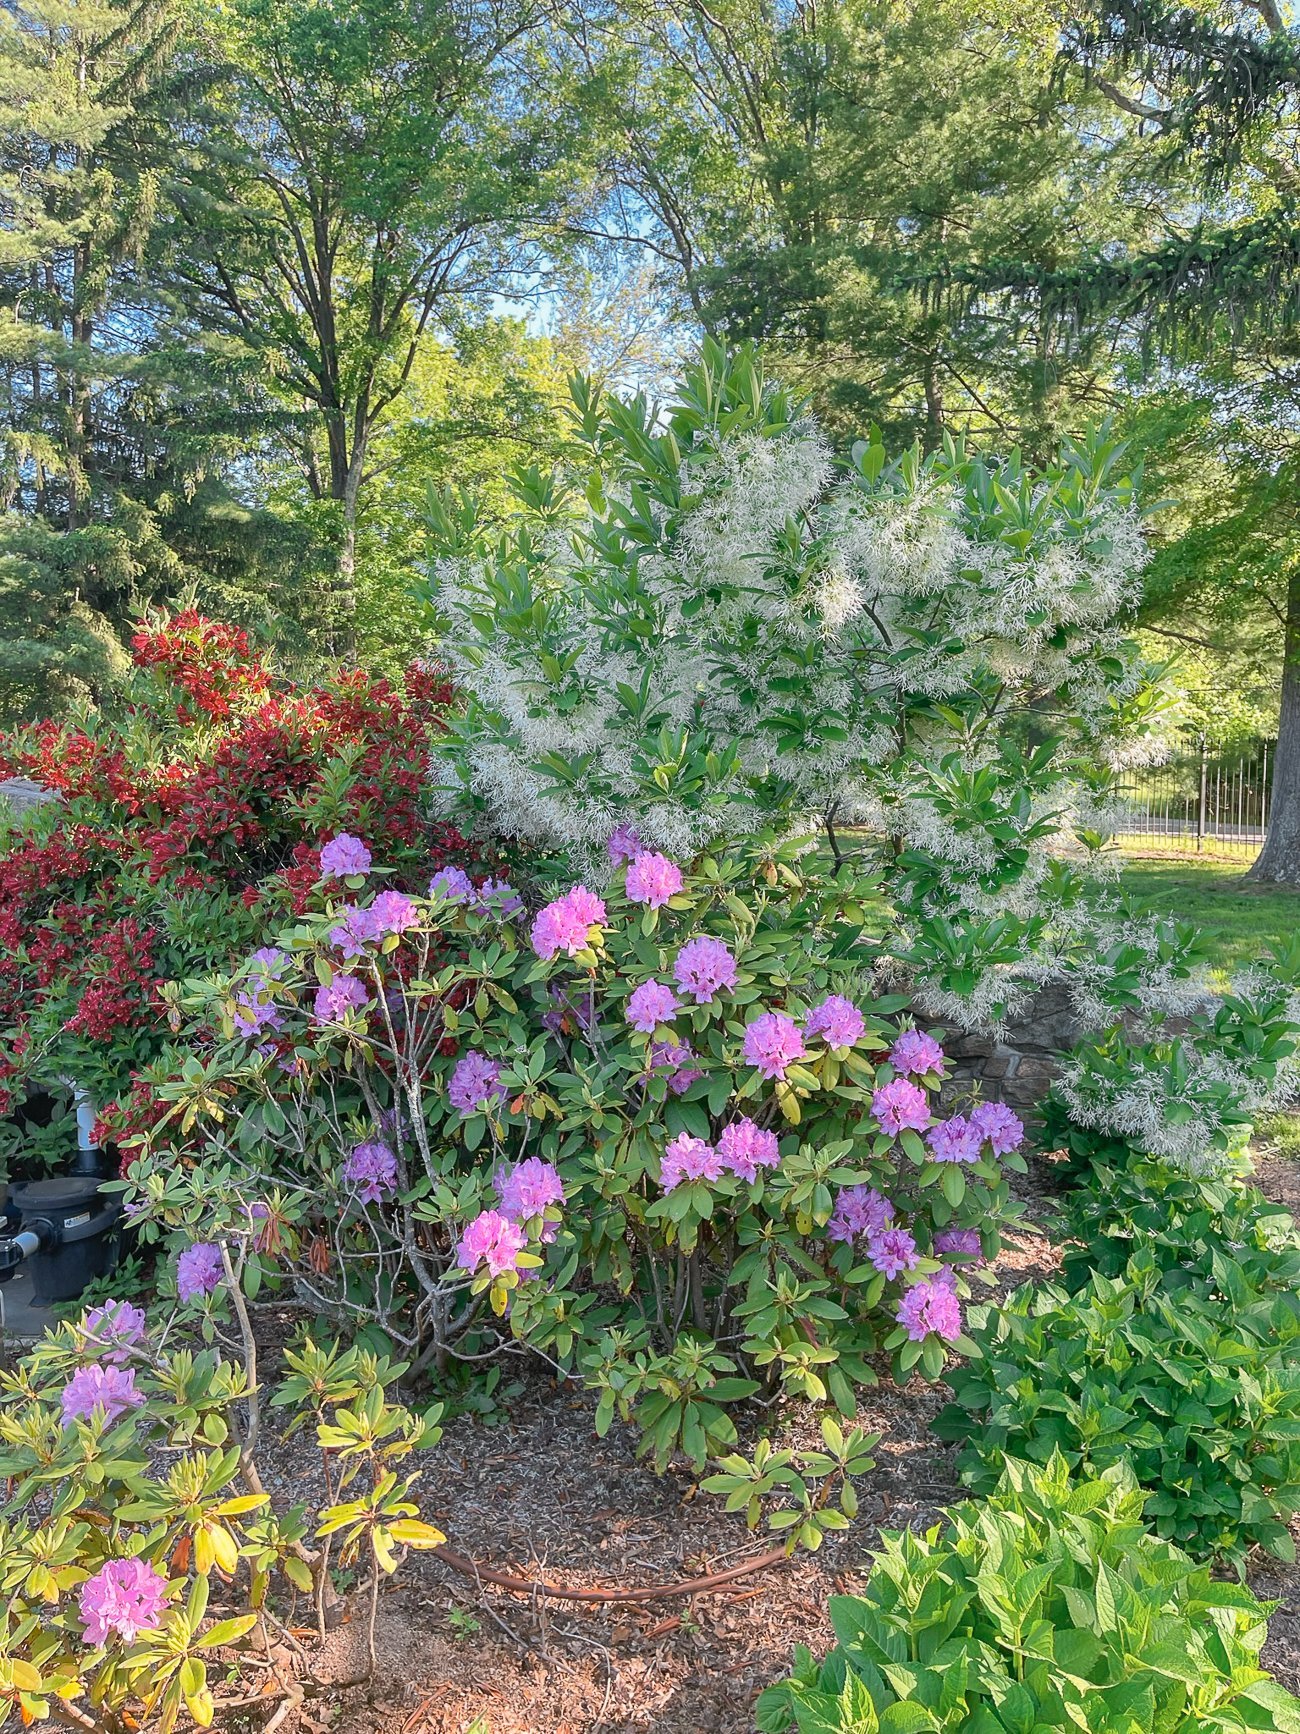
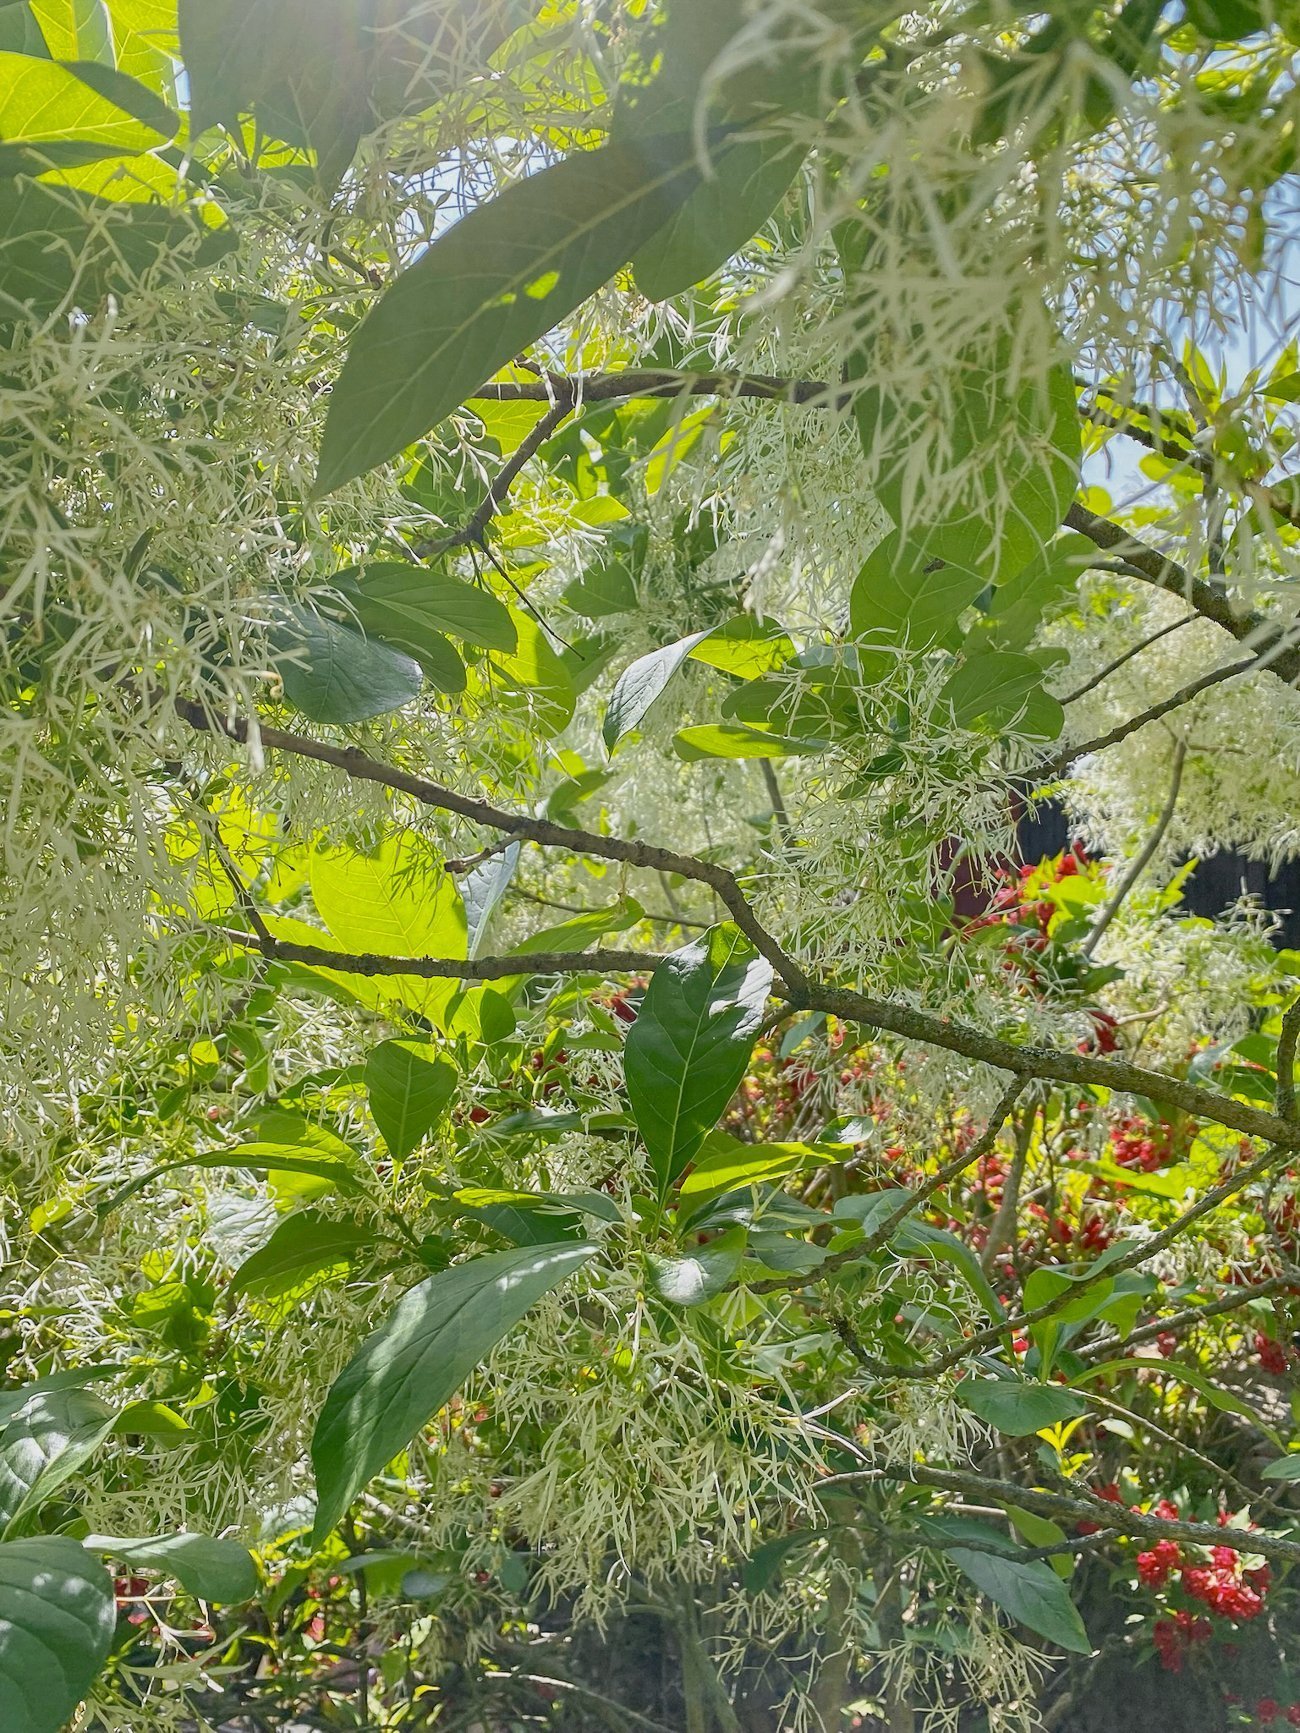
I think my favorite flowering plant in the garden is probably our White Fringe Tree, which smells like lilac and jasmine:
We didn’t have a ton to do on the flower front this year, besides keeping the beds weeded, planting new seeds, and supporting plants when needed.
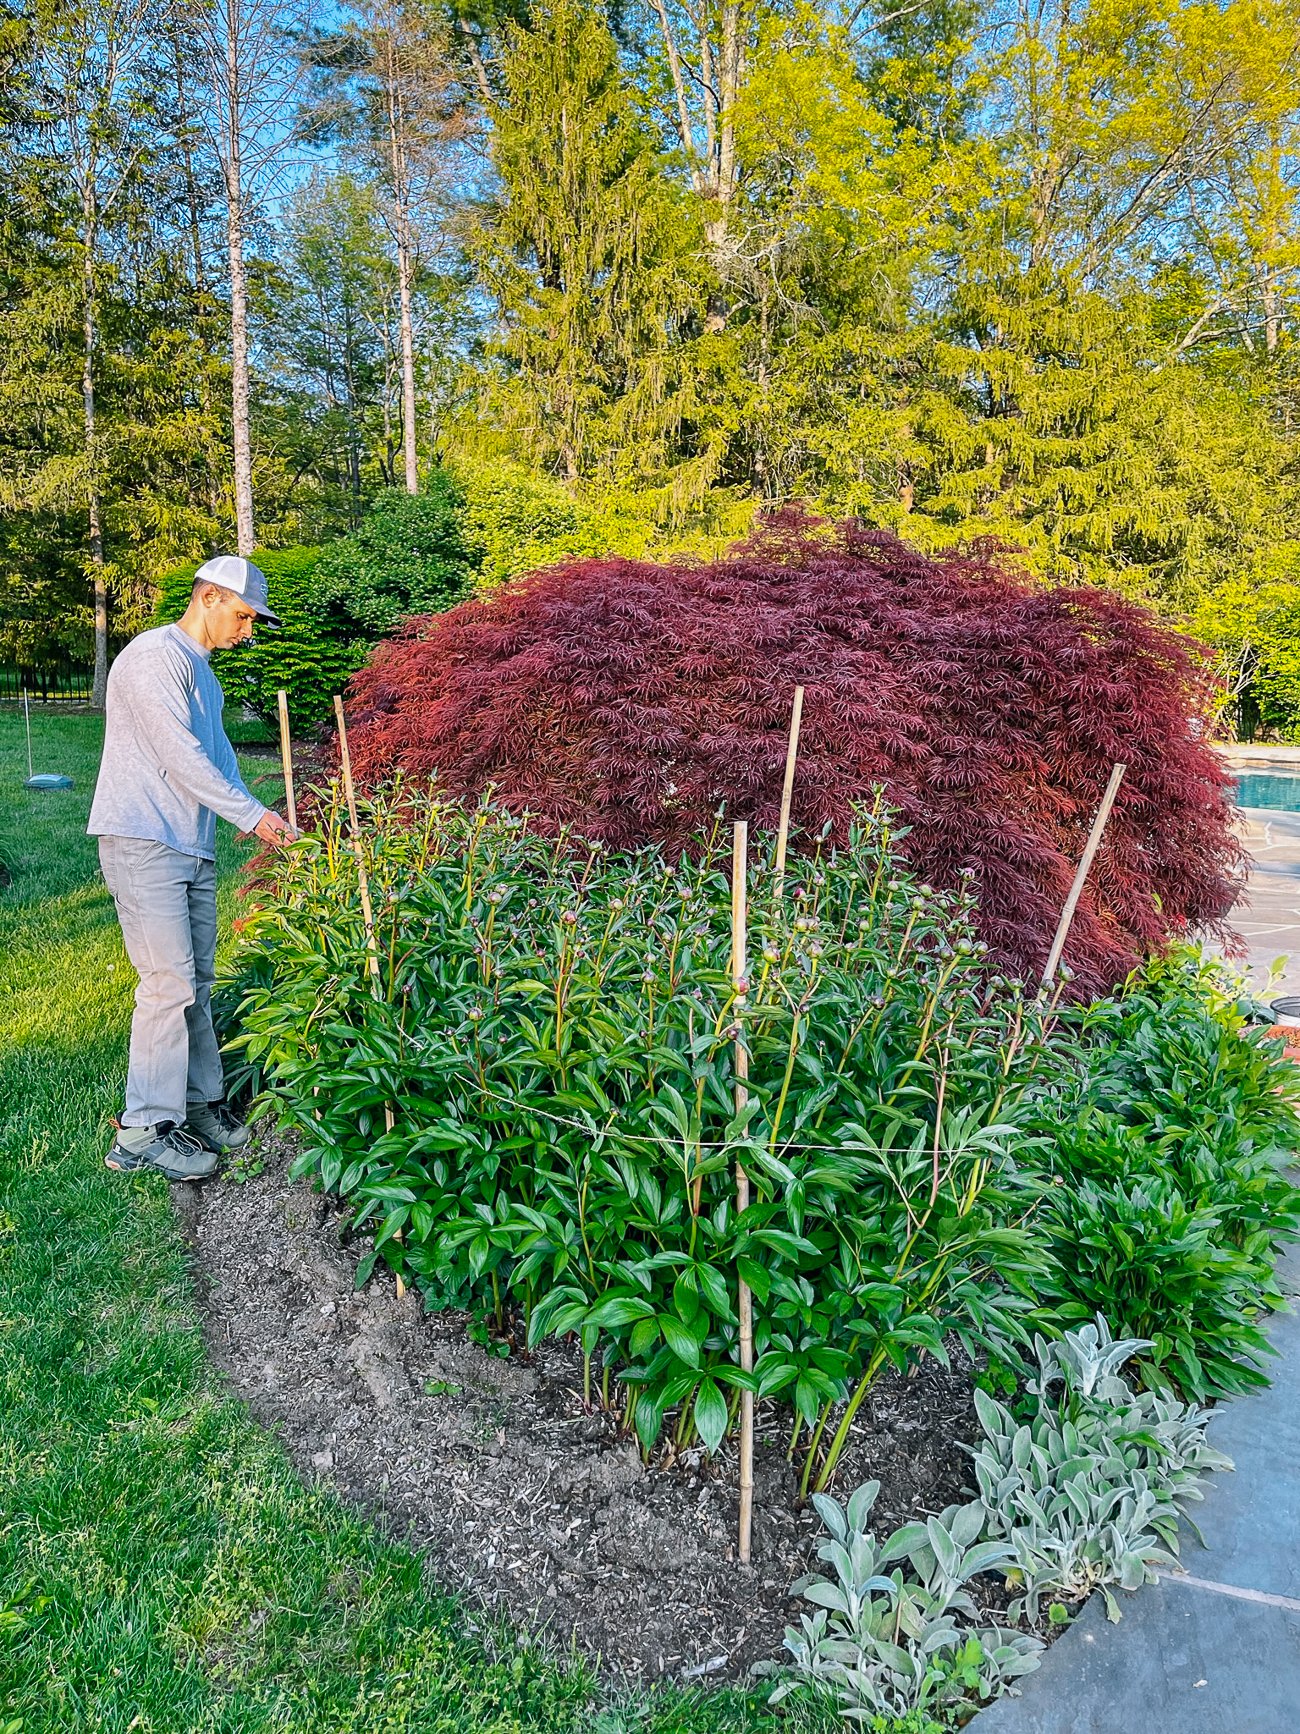
The next phase for flowers:
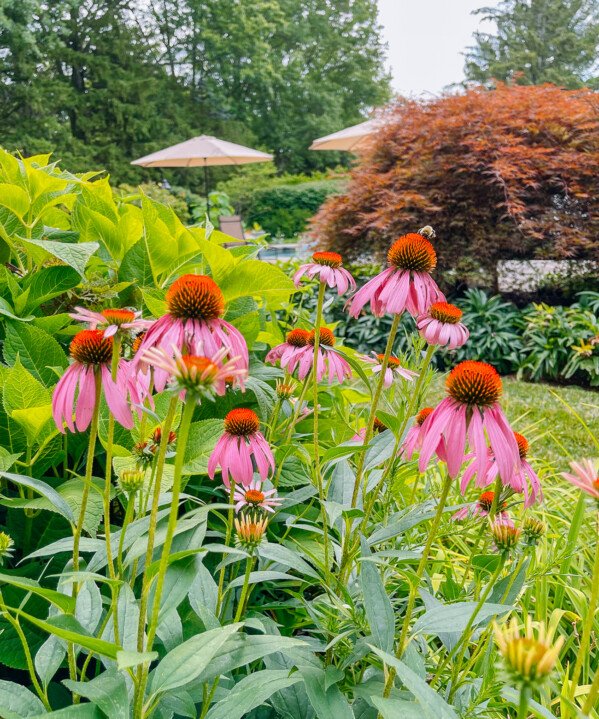
Planting more honeybee-friendly blooms! Suggestions welcome in the comments!
The Barn
To top everything off, THIS was happening this spring, along with everything else:
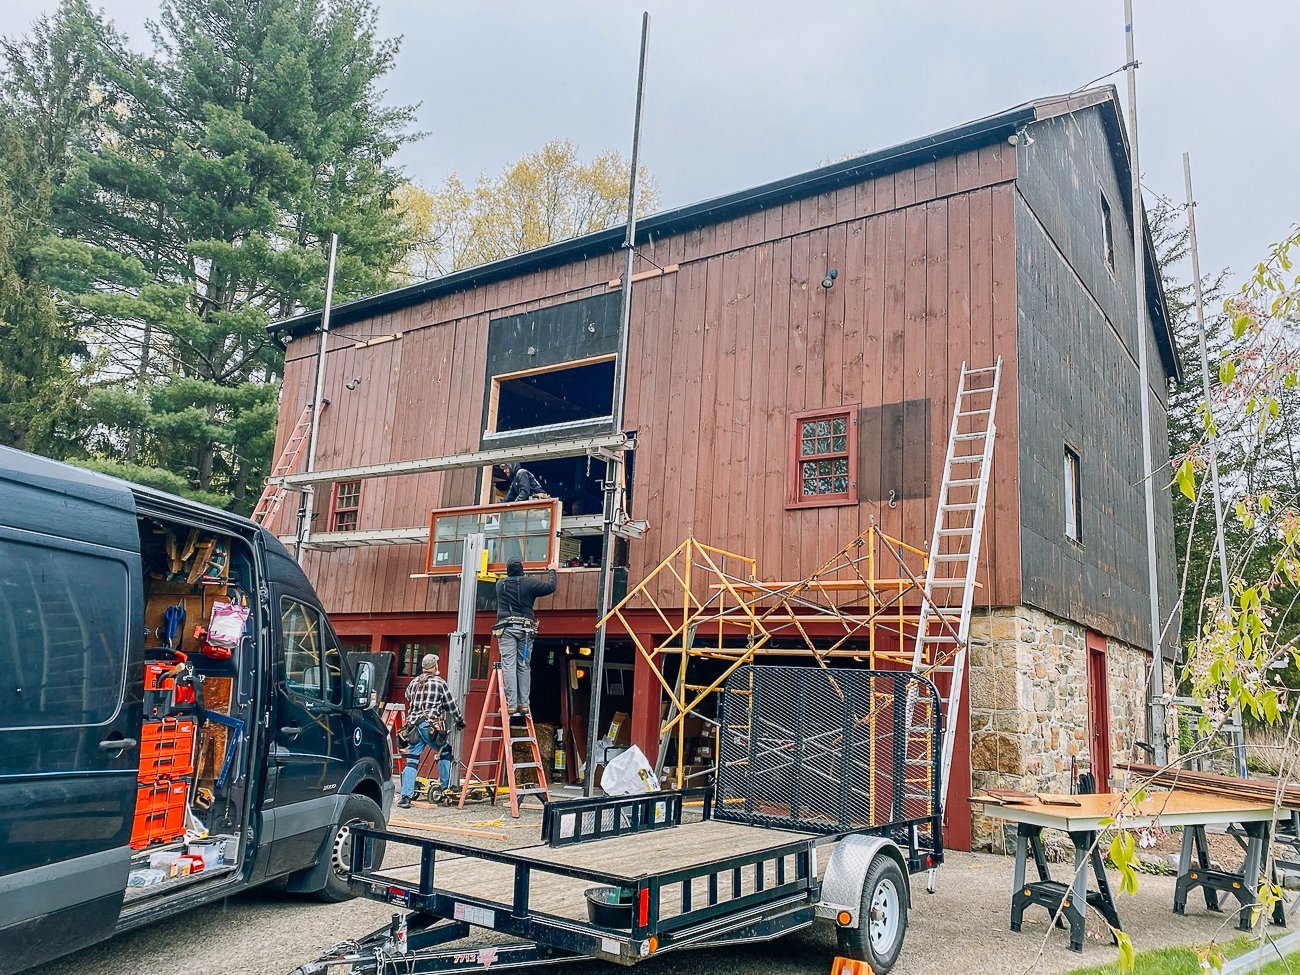
We added additional windows to the barn to let more natural light in there, for a future filming/photography studio to blog our recipes in. We’ll do a deeper dive on this at a later date, but for now, we’re working on finishing up the exterior!
The Next Phase for the Barn:
Designing the kitchen!
Phew. That was a lot.
We hope you enjoyed this update from the farm! What do you think of everything going on? Advice, general thoughts, and comments welcome below, and we hope you’re having a lovely start to the summer, everyone!
