Welcome to the first 2023 post of our How to Grow Chinese Vegetables Series, which is now in its second season! Today, we’re talking about how to grow garlic, which is a key ingredient in Chinese cooking (albeit not exclusively so).
We’ve found garlic to be pretty expensive at the grocery store these days. If you grow it yourself, you can store it for months!
While garlic is generally harvested in summer, you actually plant it in fall, though seed garlic often sells out by late summer. So as we’re pulling our garlic out of the ground now, we can give you all the information you need to get ahead start on securing your seed garlic and planting your own crop later this year.
PAST POSTS!
As was the case last season, we’ll post a new crop every month of the growing season, guided by Christina Chan at Choy Division, a regenerative Asian produce farm in upstate New York.
If you’re new to this series but interested in learning more, also be sure to check out last year’s posts on how to grow:
- Bok choy
- Napa cabbage
- Chinese eggplant
- Chilies
- Chinese garlic chives
- Daikon radish
- As well as our full Garden/Farm section of the blog!
Garlic Varieties You Can Grow
Garlic is part of the allium, or onion family, along with other favorite chive-y, onion-y, garlicky things like scallions, garlic chives, and shallots.
There are two basic types of garlic that you can grow: softneck garlic and hardneck garlic.
- Softneck:
- These have excellent storage life. Most of the garlic you’ll find in grocery stores is softneck.
- They don’t generally form a scape (garlic scapes consist of the tender stem and flower bud of the hardneck garlic plant, which can be harvested and cooked on their own!)
- The stems stay soft after harvesting, so if you’ve ever seen dried garlic braided together for storage, that was softneck garlic!
- You’ll generally get larger bulbs, with smaller cloves in each bulb.
- They grow better in warmer climates (i.e. generally not the Northeast, where we are) and aren’t as cold hardy as hardnecks. This is important to note, because garlic is generally planted in fall and overwinters in the ground.
- Varieties include California White, Silver White, and Lorz Italian.
- Hardneck:
- Shorter storage life, but extremely cold-hardy—ideal for northern latitudes. Christina also says they have more interesting flavors!
- They do form scapes, which is a bonus. Check out our Garlic Scape Stir-fry with Pork.
- Farms near us mostly grow hardneck garlic. Varieties include: Music (creamy white jumbo cloves, great for cold climates, thick skins), Spanish Roja (heirloom, sweet and pungent, shorter shelf life, with easy-to-peel red skins), Chesnok Red (great flavor, pink skins, stores 4-6 months), and German Extra Hardy (extremely cold hardy, large heads of 4-7 cloves each, classic flavor).
Get your garlic early!
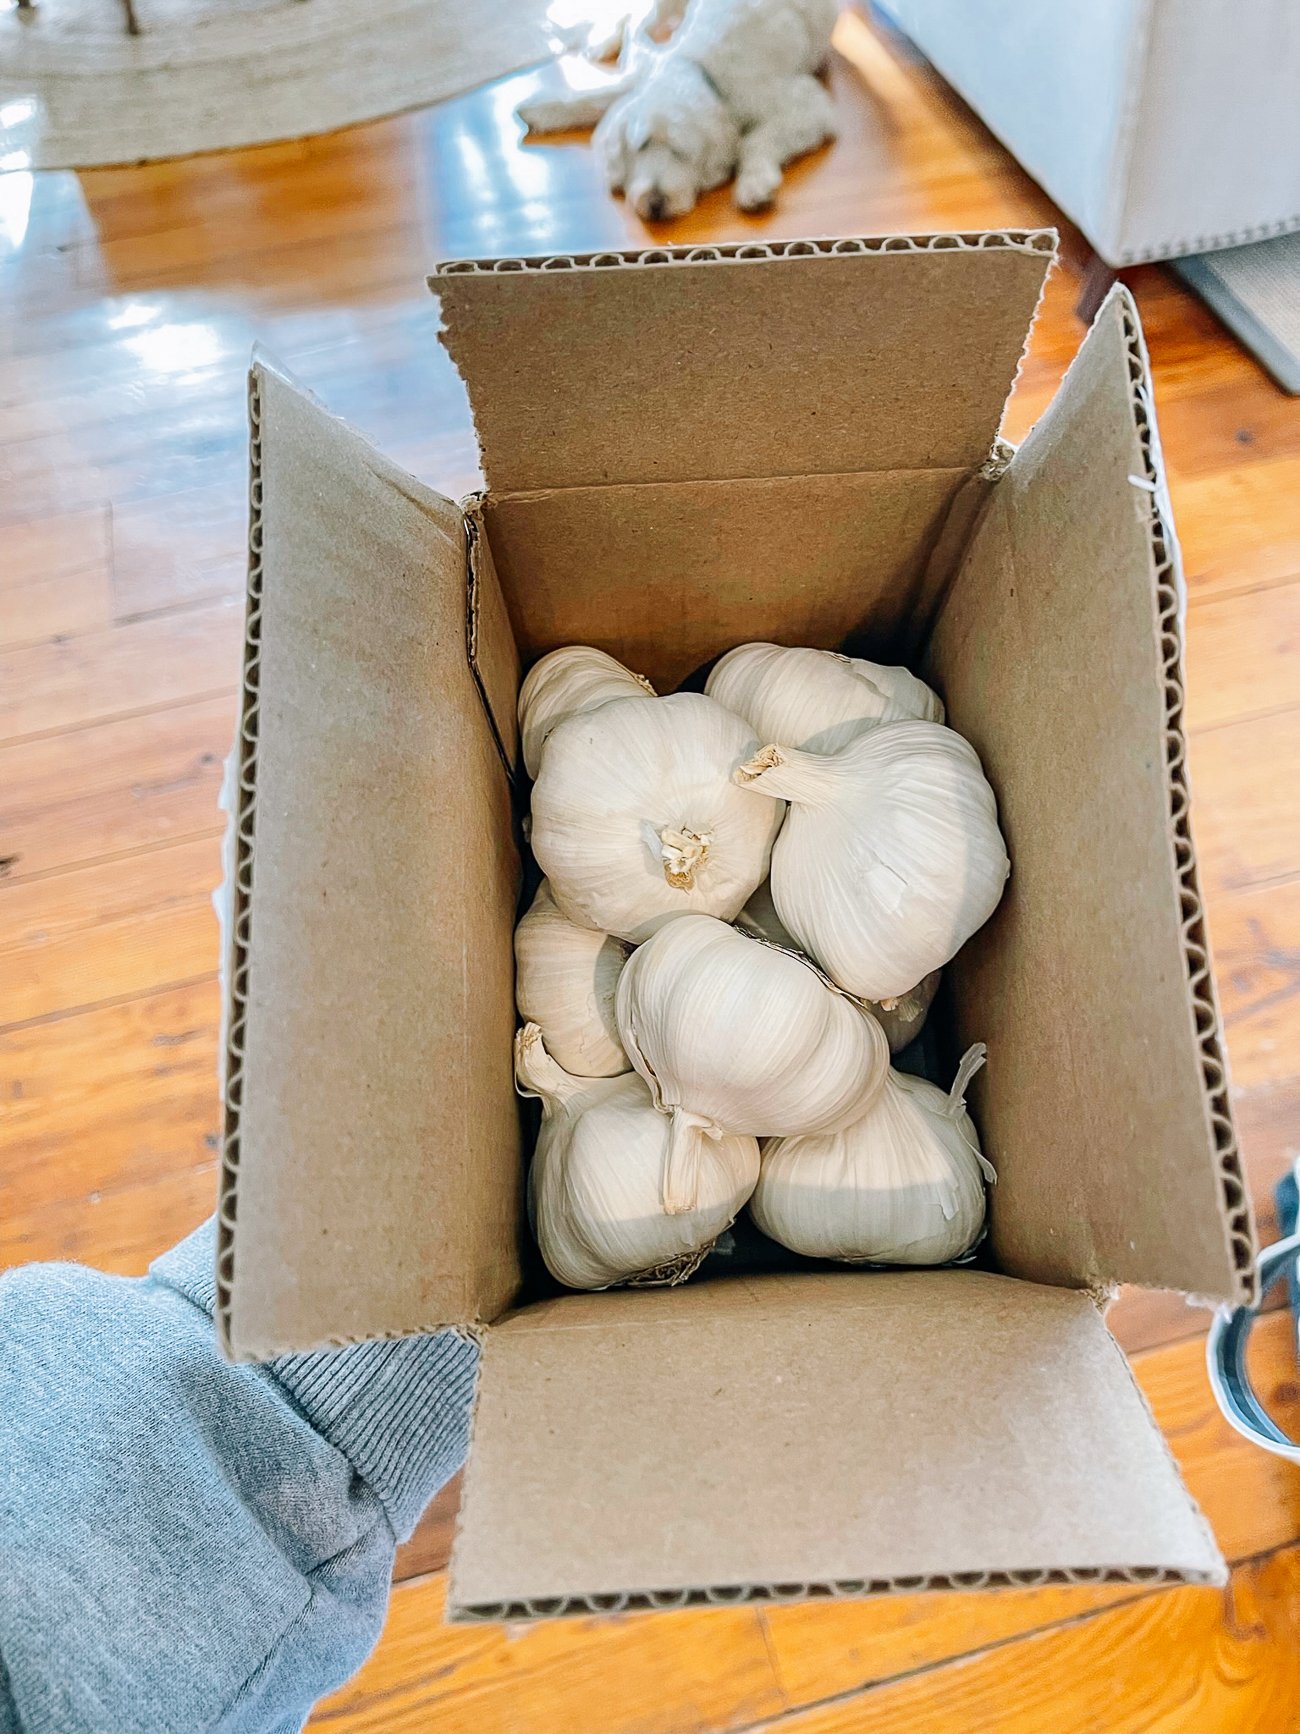
Garlic seed sells out by late summer, so buy early! You can pre-order seed garlic online, and it’ll get shipped to you close to planting time. Buying early ensures you get the variety you want.
If you’ve already grown garlic, you can also save your own. Garlic is grown from individual garlic cloves, so after harvesting, save your largest bulbs for planting later in the season.
How to Grow Garlic
In most regions, garlic is planted in fall. While it can be planted in early spring, the bulbs do need a chilling period to grow and develop correctly, much like any other spring bulb like tulips, daffodils, or muscari.
The good news is, garlic is pretty easy! You put it in the ground, and then forget about it until next season. It doesn’t need much care or maintenance during that time either. Compared to some of the other crops we’ve covered in this series, it might be the easiest one to grow!
Here in the Northeast, we plant garlic in late fall, around October/November. Here’s how:
- Buy high quality seed garlic, and make sure you’re buying the correct type for your climate (see varieties in the section above). Hardneck garlic is ideal for colder climes, and softneck garlic is better for warmer regions. You may see garlic from the grocery store sprouting green shoots in your refrigerator. Avoid planting these! While it may work, store-bought garlic is often treated with chemicals to delay sprouting, and can be quite old. Furthermore, they may not be as disease resistant or suitable for your growing zone, as much of our garlic comes from warmer climates in California or China—each region with its own viruses and diseases.
- In the fall, about 2 weeks before the first frost in your area, plant garlic cloves 6 inches (15cm) apart, placing the cloves 2-3 inches (5-8cm) deep with the flat root end down, and pointy end facing up. According to Christina, “they need a good layer of soil above the cloves to help them stay warm over winter.”
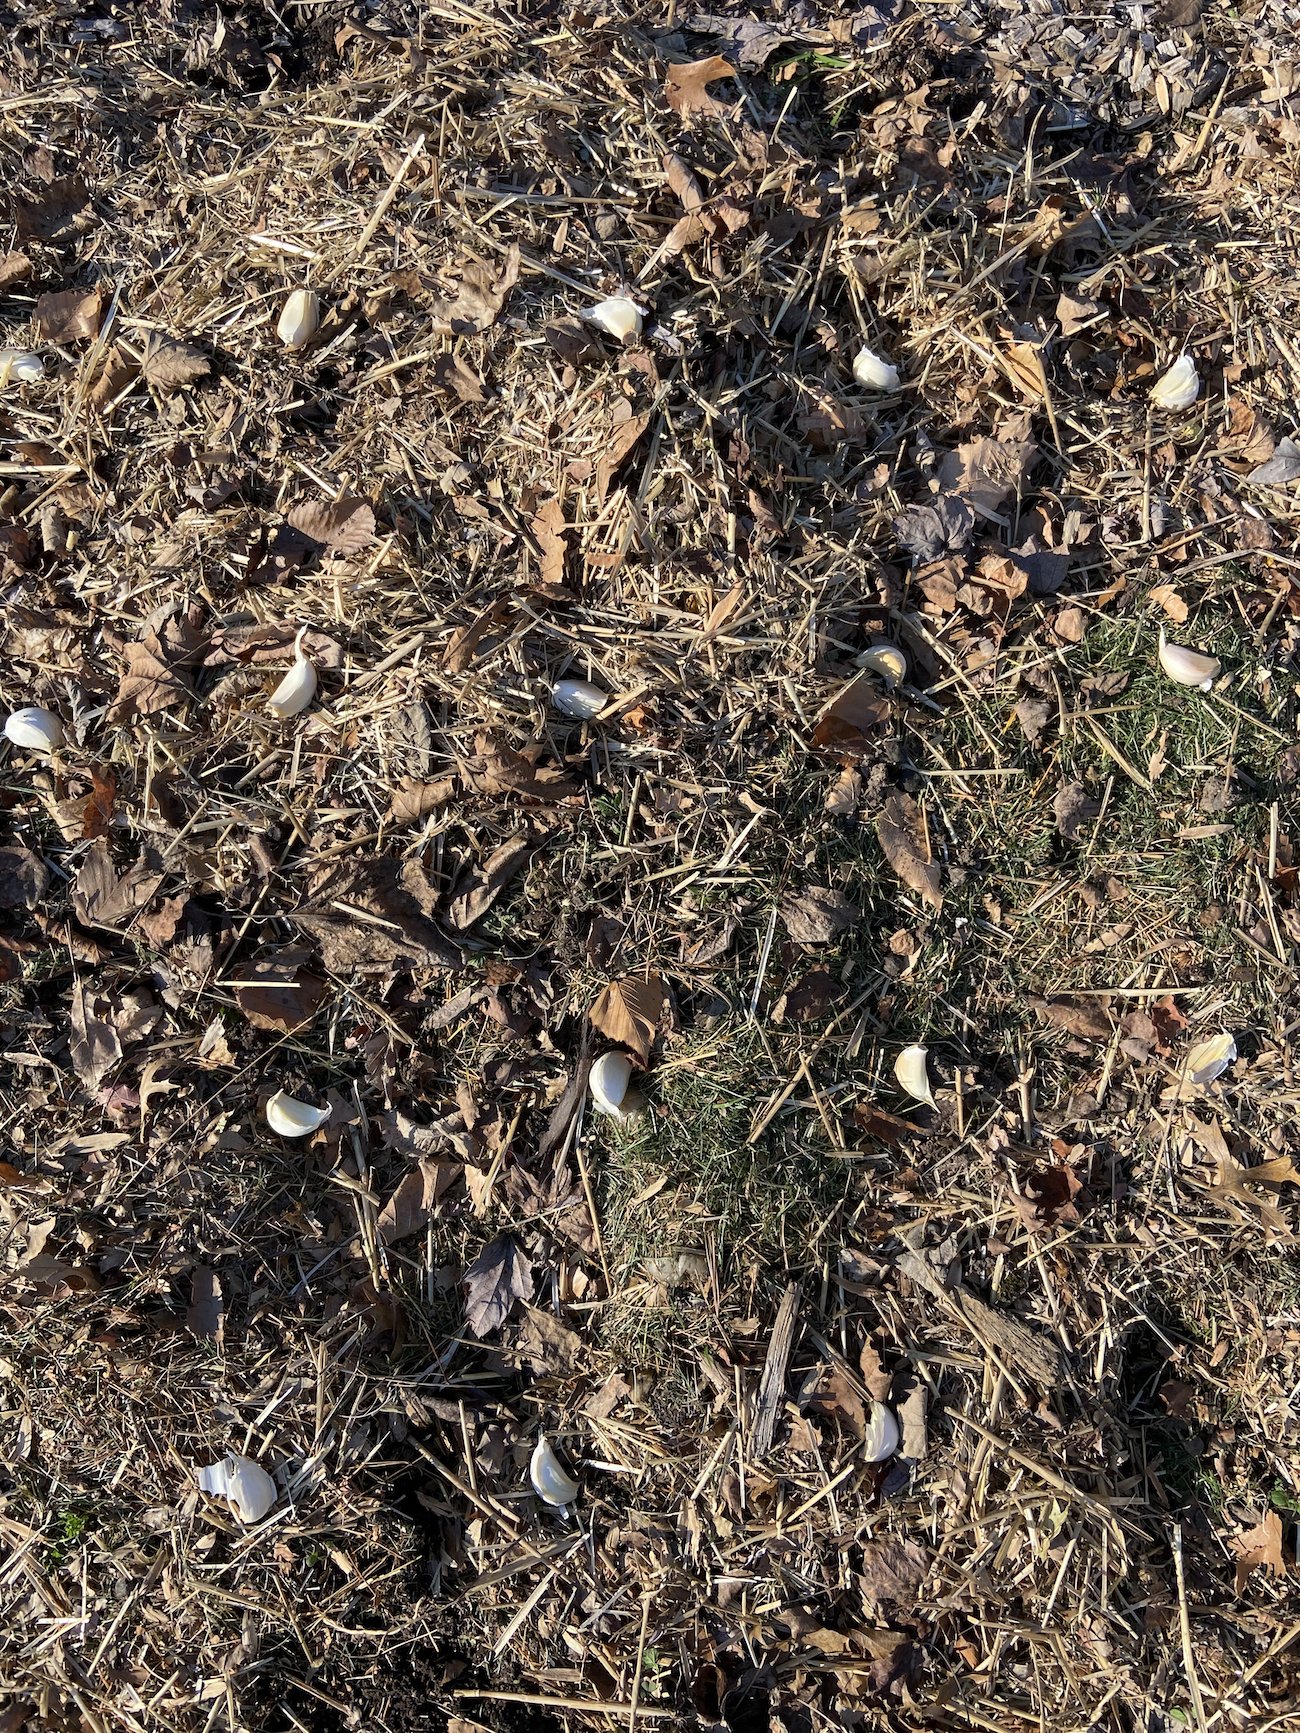
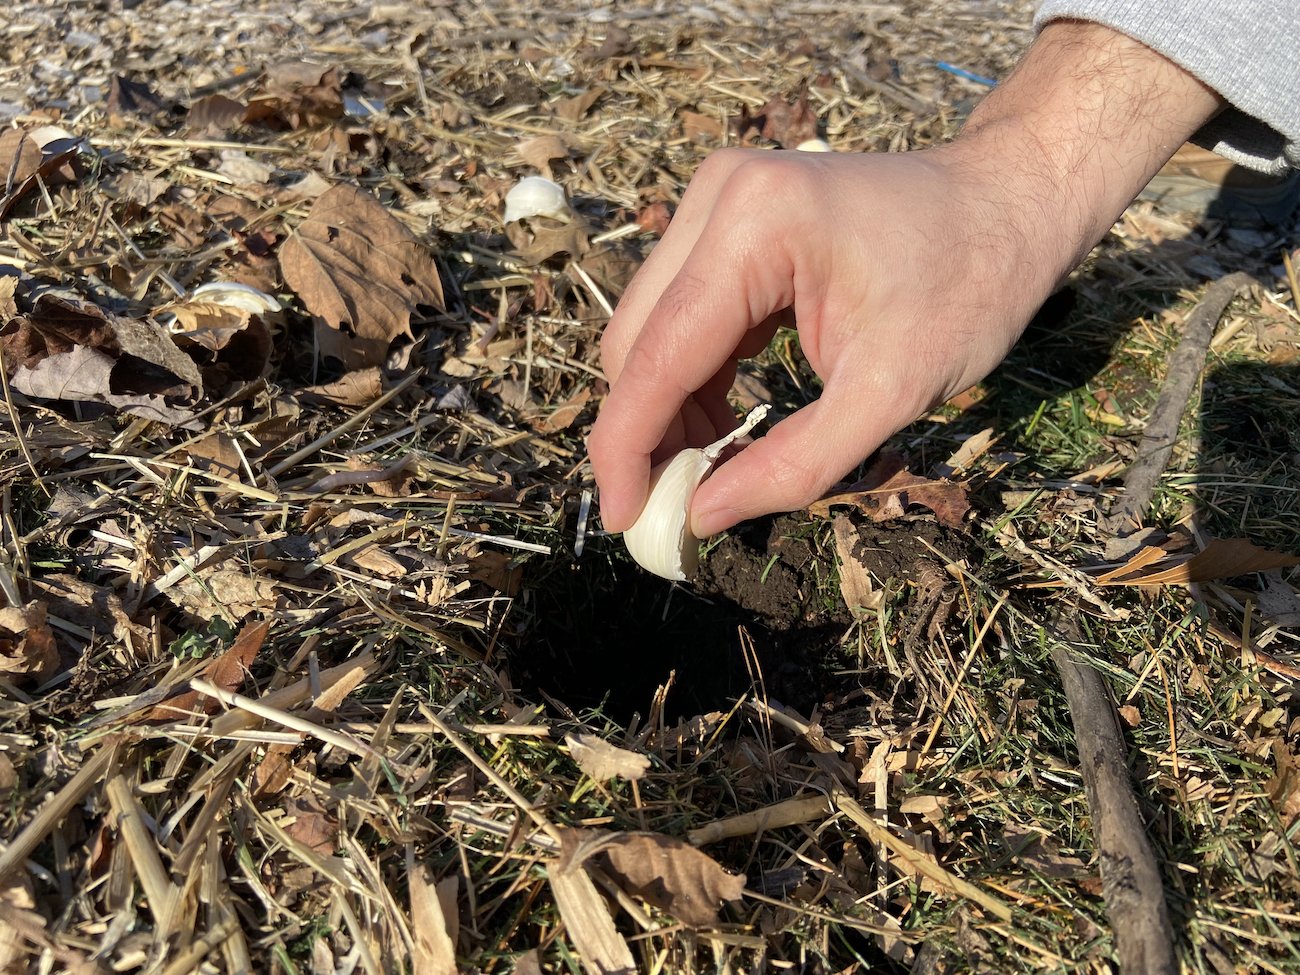
- After planting, mulch with an inch of straw. We used a mix of straw and fall leaves.
- The crop needs little maintenance after this. If your soil was very dry at planting, you can water it. But after that, there should be enough moisture from snow, rain, etc. to maintain it.
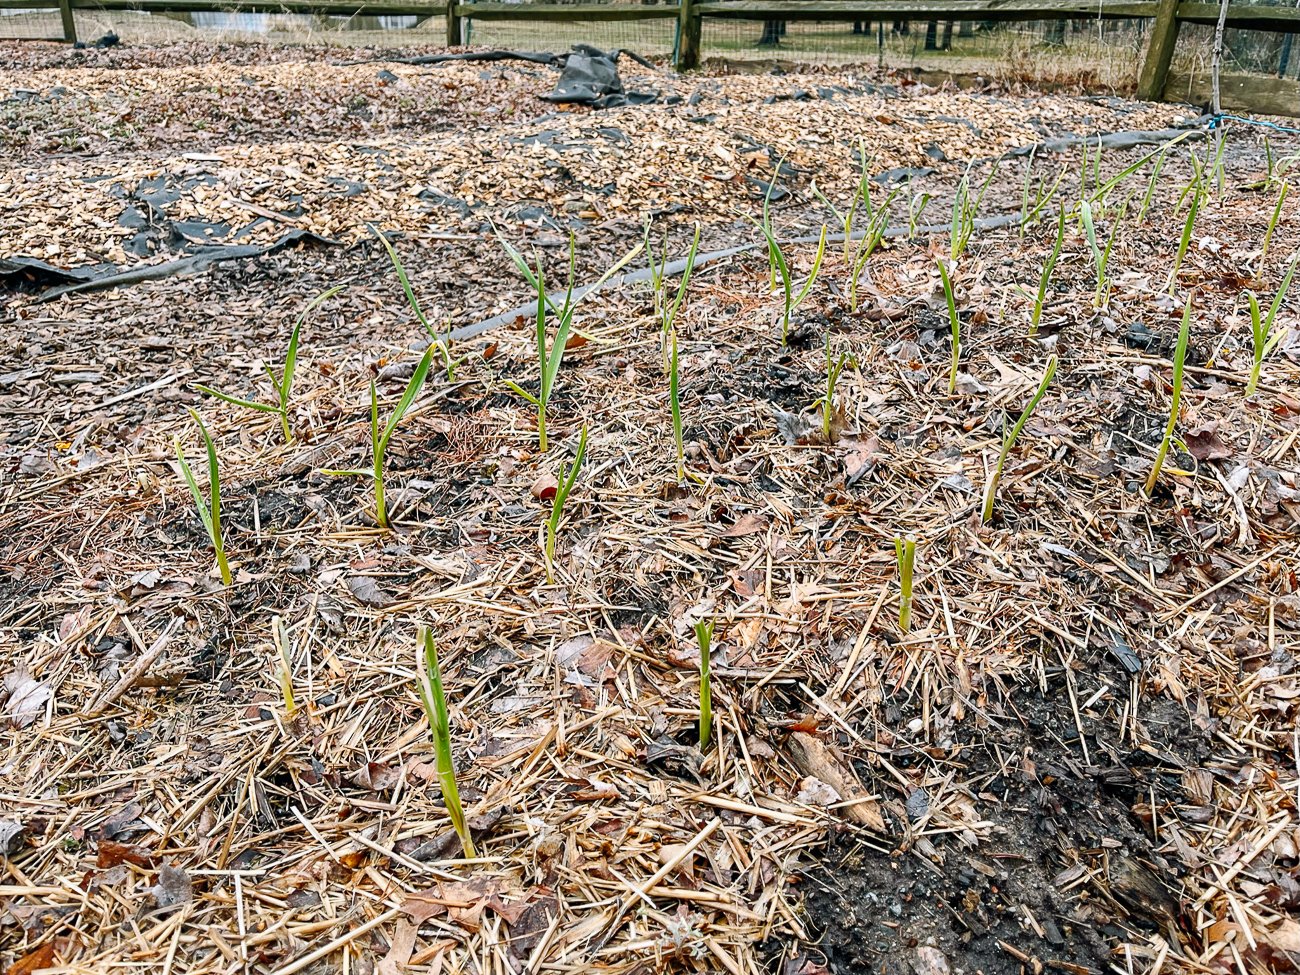
That’s it! Your garlic will overwinter, getting a head start on growth for the following season, and be ready to harvest in summer.
IDEAL GROWING CONDITIONS FOR Garlic
Hardneck garlic is best for cooler regions, while softneck garlic is better for warmer climates. Generally, garlic requires cooler temperatures during its first 8 weeks or so of growth, which is why you plant it during fall or early spring (fall is generally best).
Garlic does best in full sun!
Garlic grows best in well-drained, fertile soils. Because it spends so much time in the ground, adding organic matter/compost to your planting area will help it get through the seasons. You can also add bone meal or fish meal to the soil before planting.
Garlic generally doesn’t require much supplemental watering through the growing season, unless late spring months of May and June (when the garlic is forming bulbs) are very dry. Generally, the wet weather of winter and spring are enough to keep the plants happy. If you live in a very dry area, however, you can give your garlic plants a good soak every 10-14 days, watering less into mid-June to allow the garlic bulbs to dry.
About 6 inches (15cm) apart.
About 220-270 days for fall planted garlic (depending on the variety), which includes overwintering time.
Pest Management
The Allium Leaf Miner
One of the pests you may encounter while growing garlic is the allium leaf miner, which is a small fly that feeds on and then lays eggs on or near allium plants, including garlic, leeks, onions, chives, and shallots. The pupae overwinter on the plants.
The adults emerge in April and again in mid-September. Here in the U.S. this pest is primarily seen in the Northeastern U.S. and Maryland.
According to Christina, this can be a difficult pest to control, though they are unlikely to decimate your entire crop. They may just cause some cosmetic issues and minor damage.
The best way to prevent this pest from getting to your crop is to cover it with mesh/floating row covers, which for a long-growing plant like garlic may not always be practical or feasible. That said, the best time to cover your crop would be in late March, before the adult flies emerge in April. By their second emergence in September, you will have harvested your garlic already!
Plants are most vulnerable when they are young, as the larvae feeding on the leaves can cause bacterial or fungal diseases that result in rot.
Luckily, however, if the leaf miner attacks your crop when its in its more mature stages, the damage is primarily cosmetic. They will leave scars of eaten tissue in the layers of alliums, but this can usually be peeled back.
Harvesting Tips
Garlic can be harvested at various points in its life cycle. Each harvest is considered a different product, but all have that characteristic garlic flavor! Here are the different points at which you can harvest garlic, according to Christina:
Green/Spring Garlic
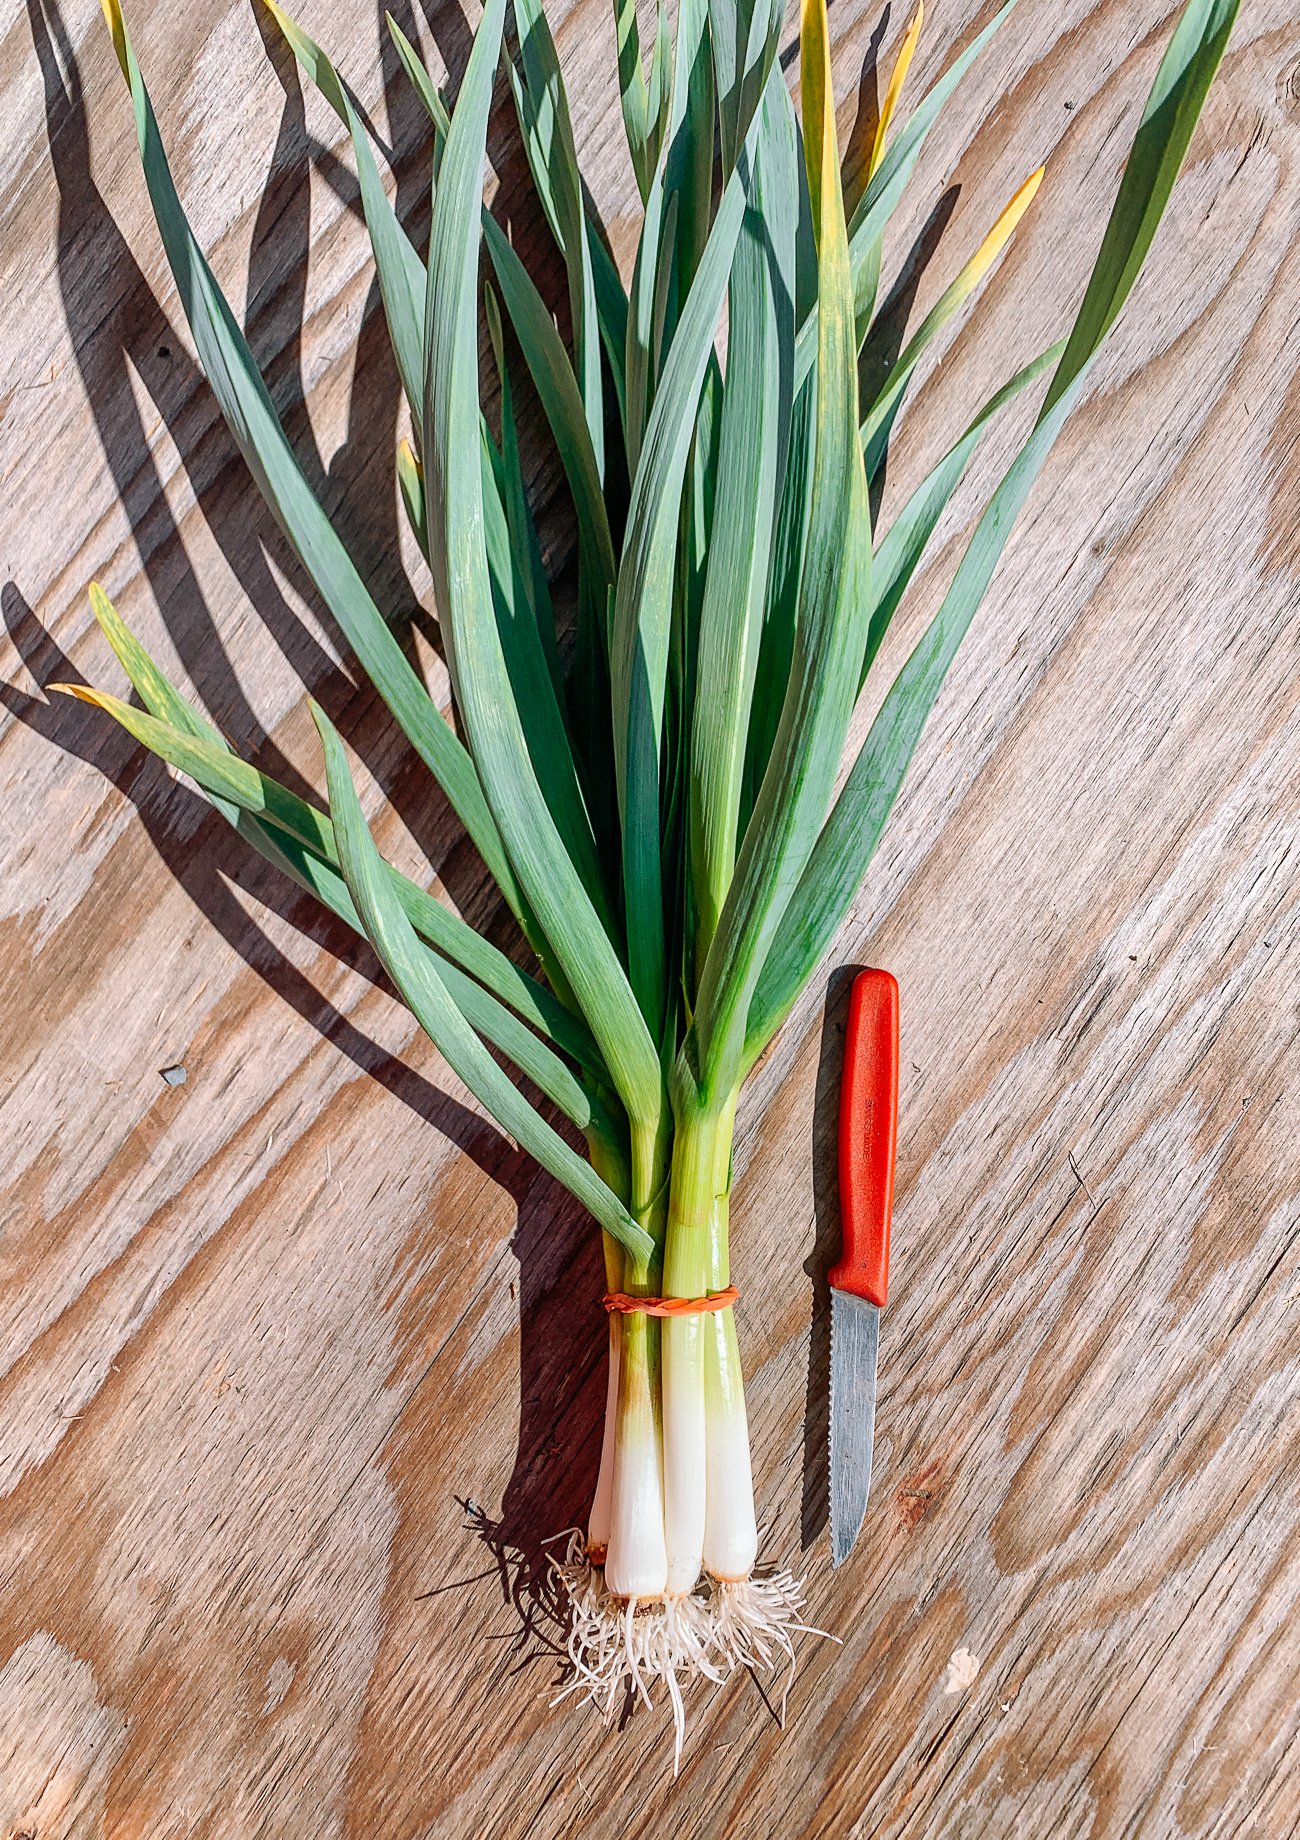
- Harvested in spring, when greens have formed, but there is not yet bulb development. At this point, the plant looks similar to a giant scallion or leek, with a distinctly garlicky rather than oniony flavor.
Garlic Scapes
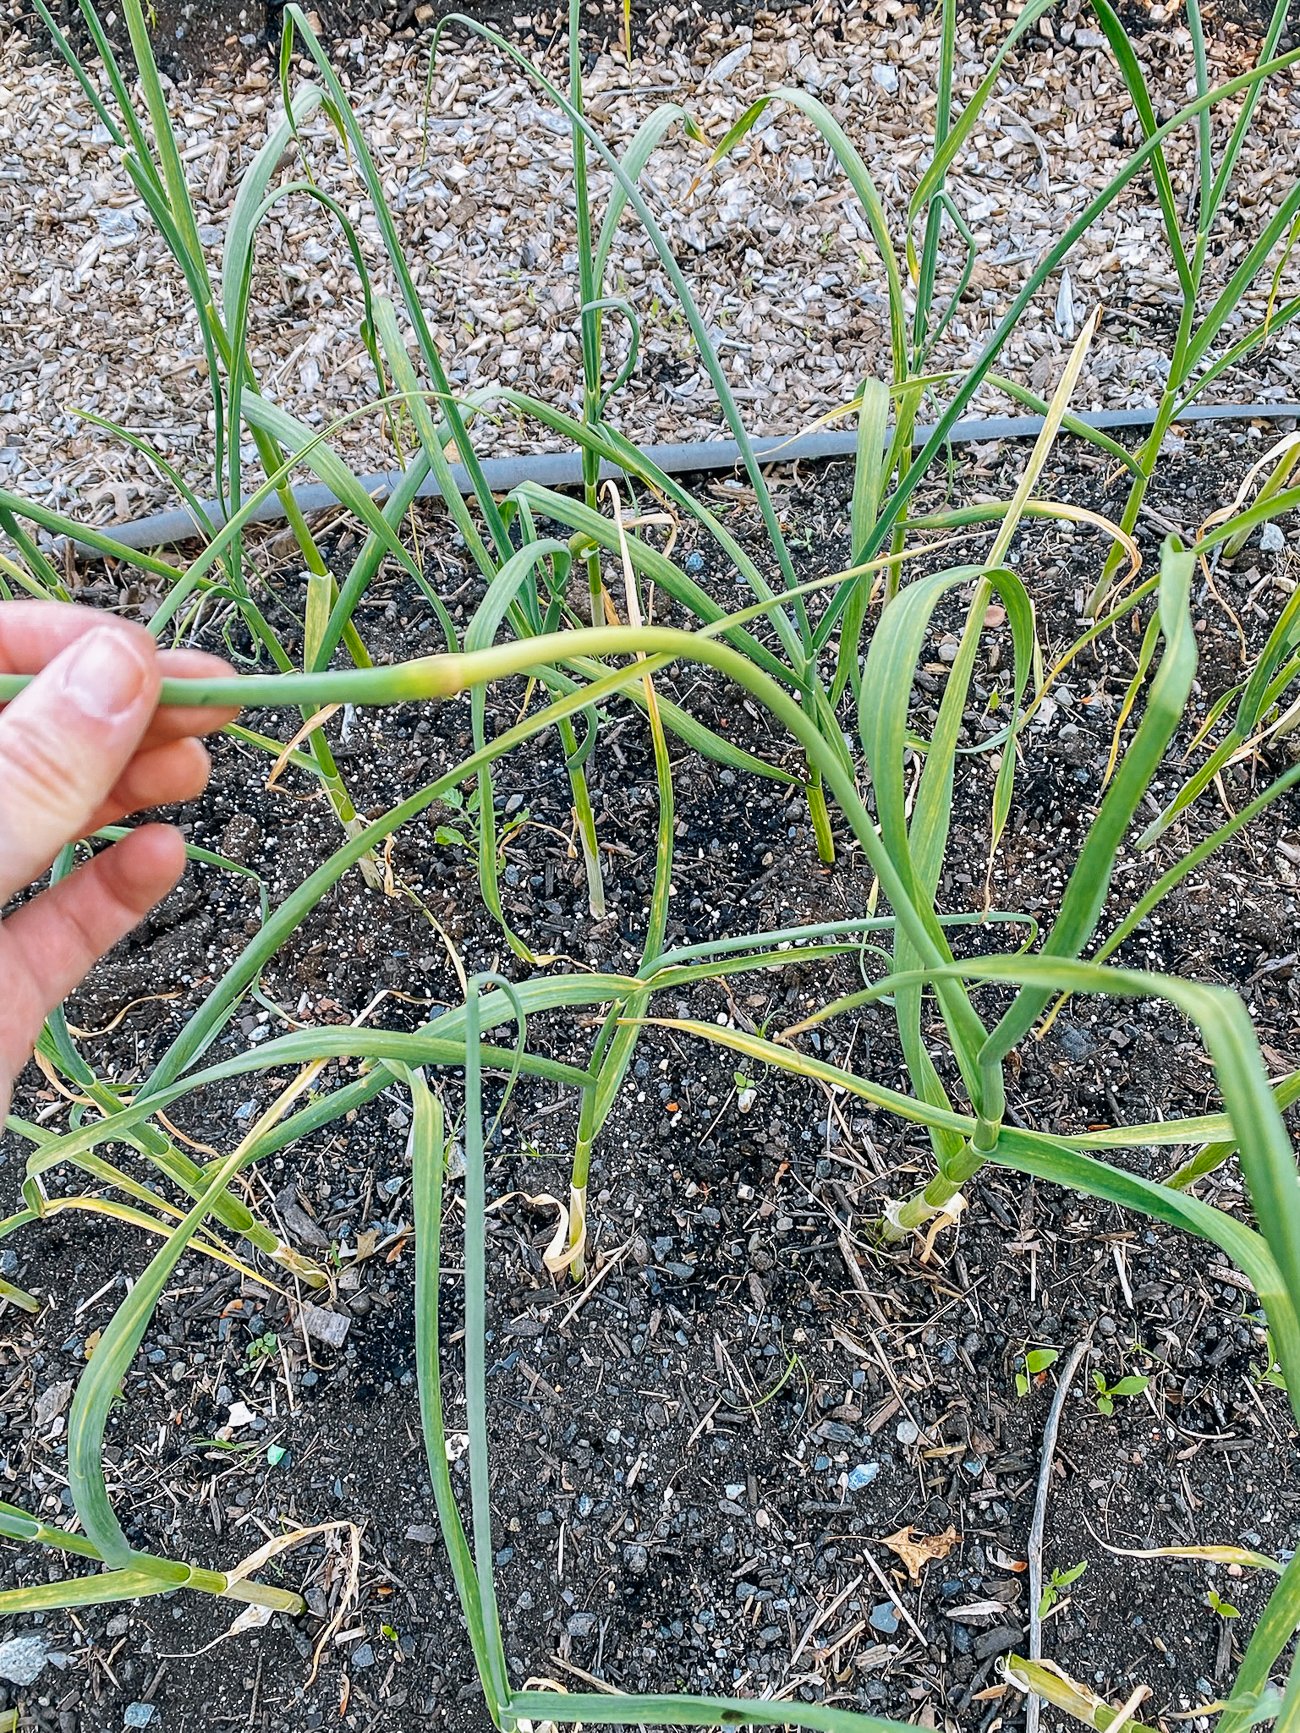
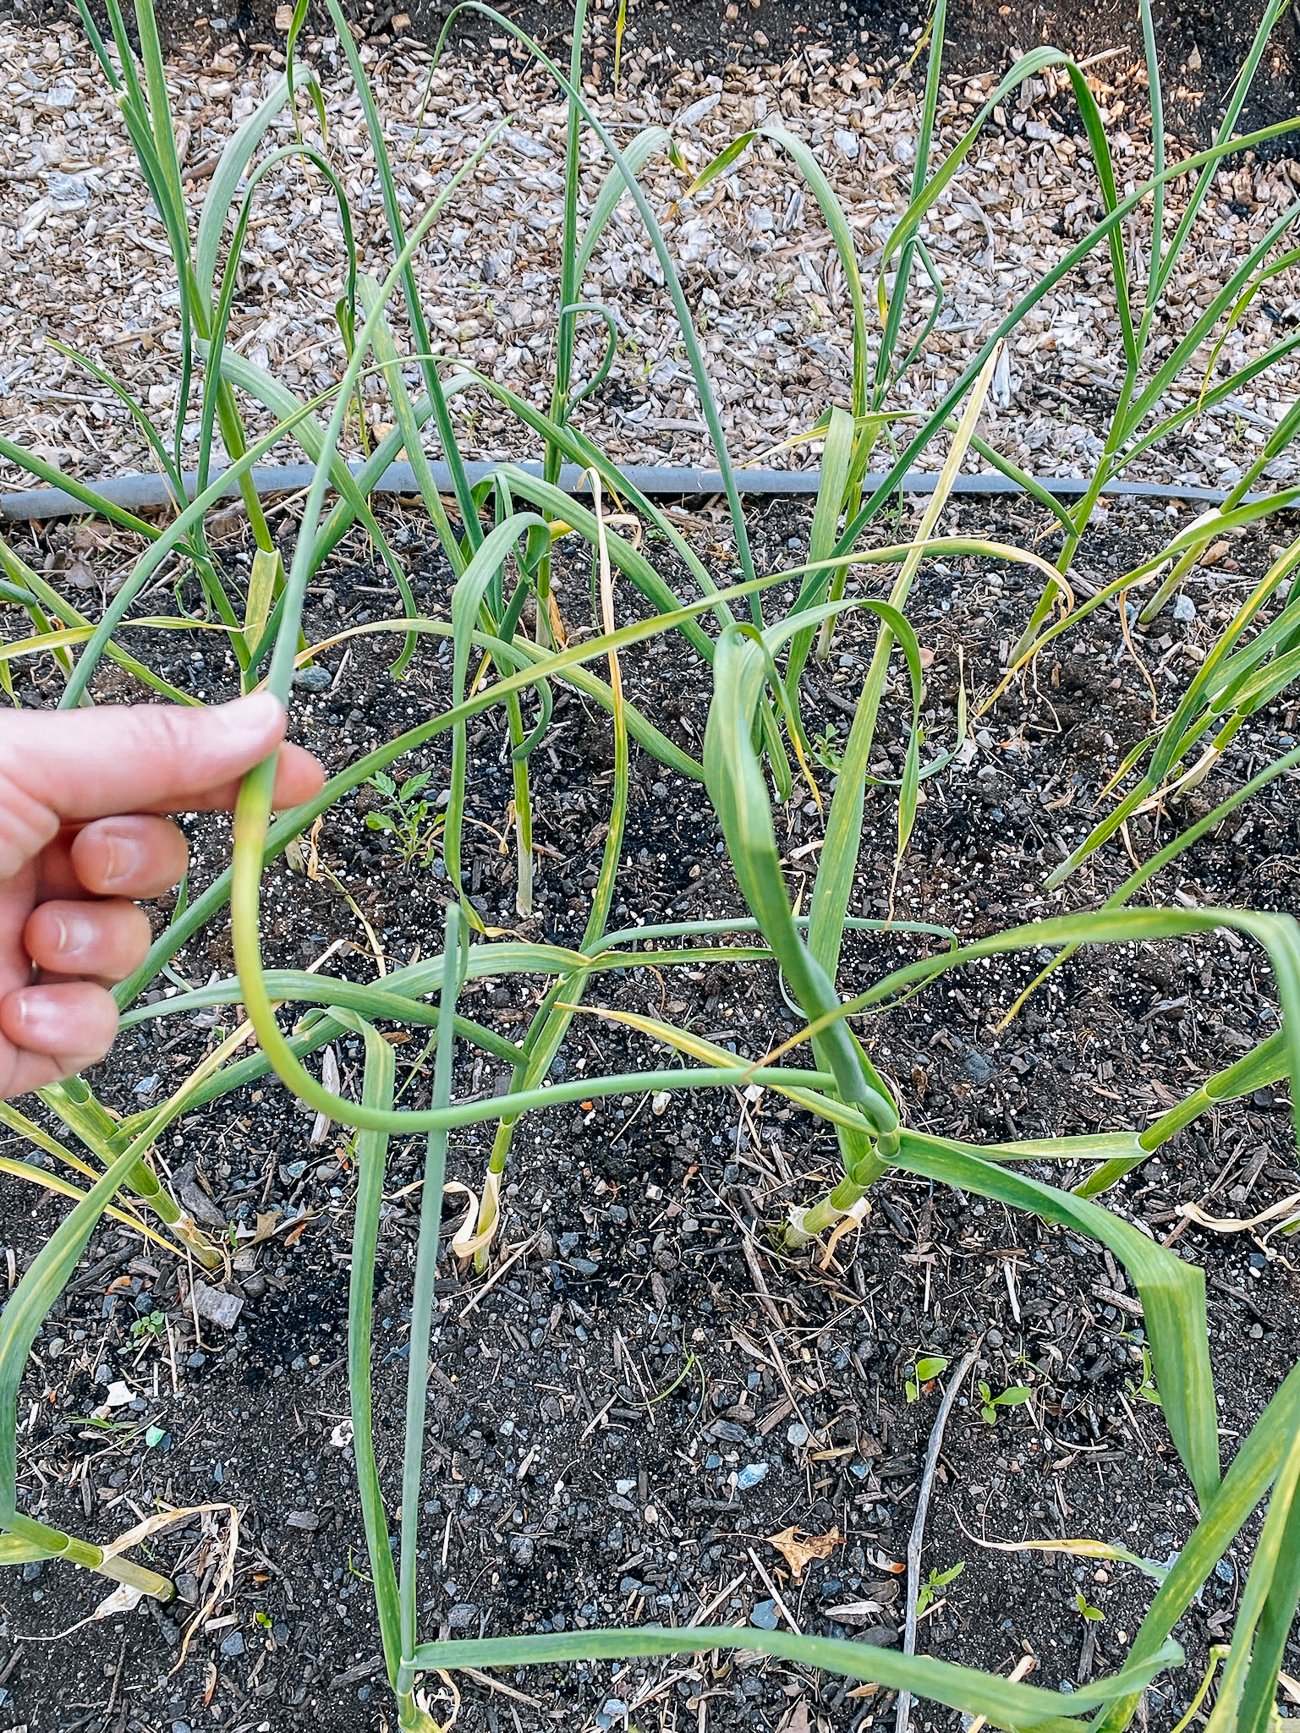
- This is the flowering stalk of hardneck garlic varieties. You do not need to pull the whole plant up to enjoy these. They’re like a bonus crop!
- When the scape has formed with a closed flower bud at the end of it (usually late spring/early summer), slowly yank it out of the stem.
- This is good not just to enjoy in a stir-fry or other recipe, but also redirects the plant’s energy away from flowering and into bulb development. This encourages larger bulbs.
Fresh Garlic (Mature, but not Dried)
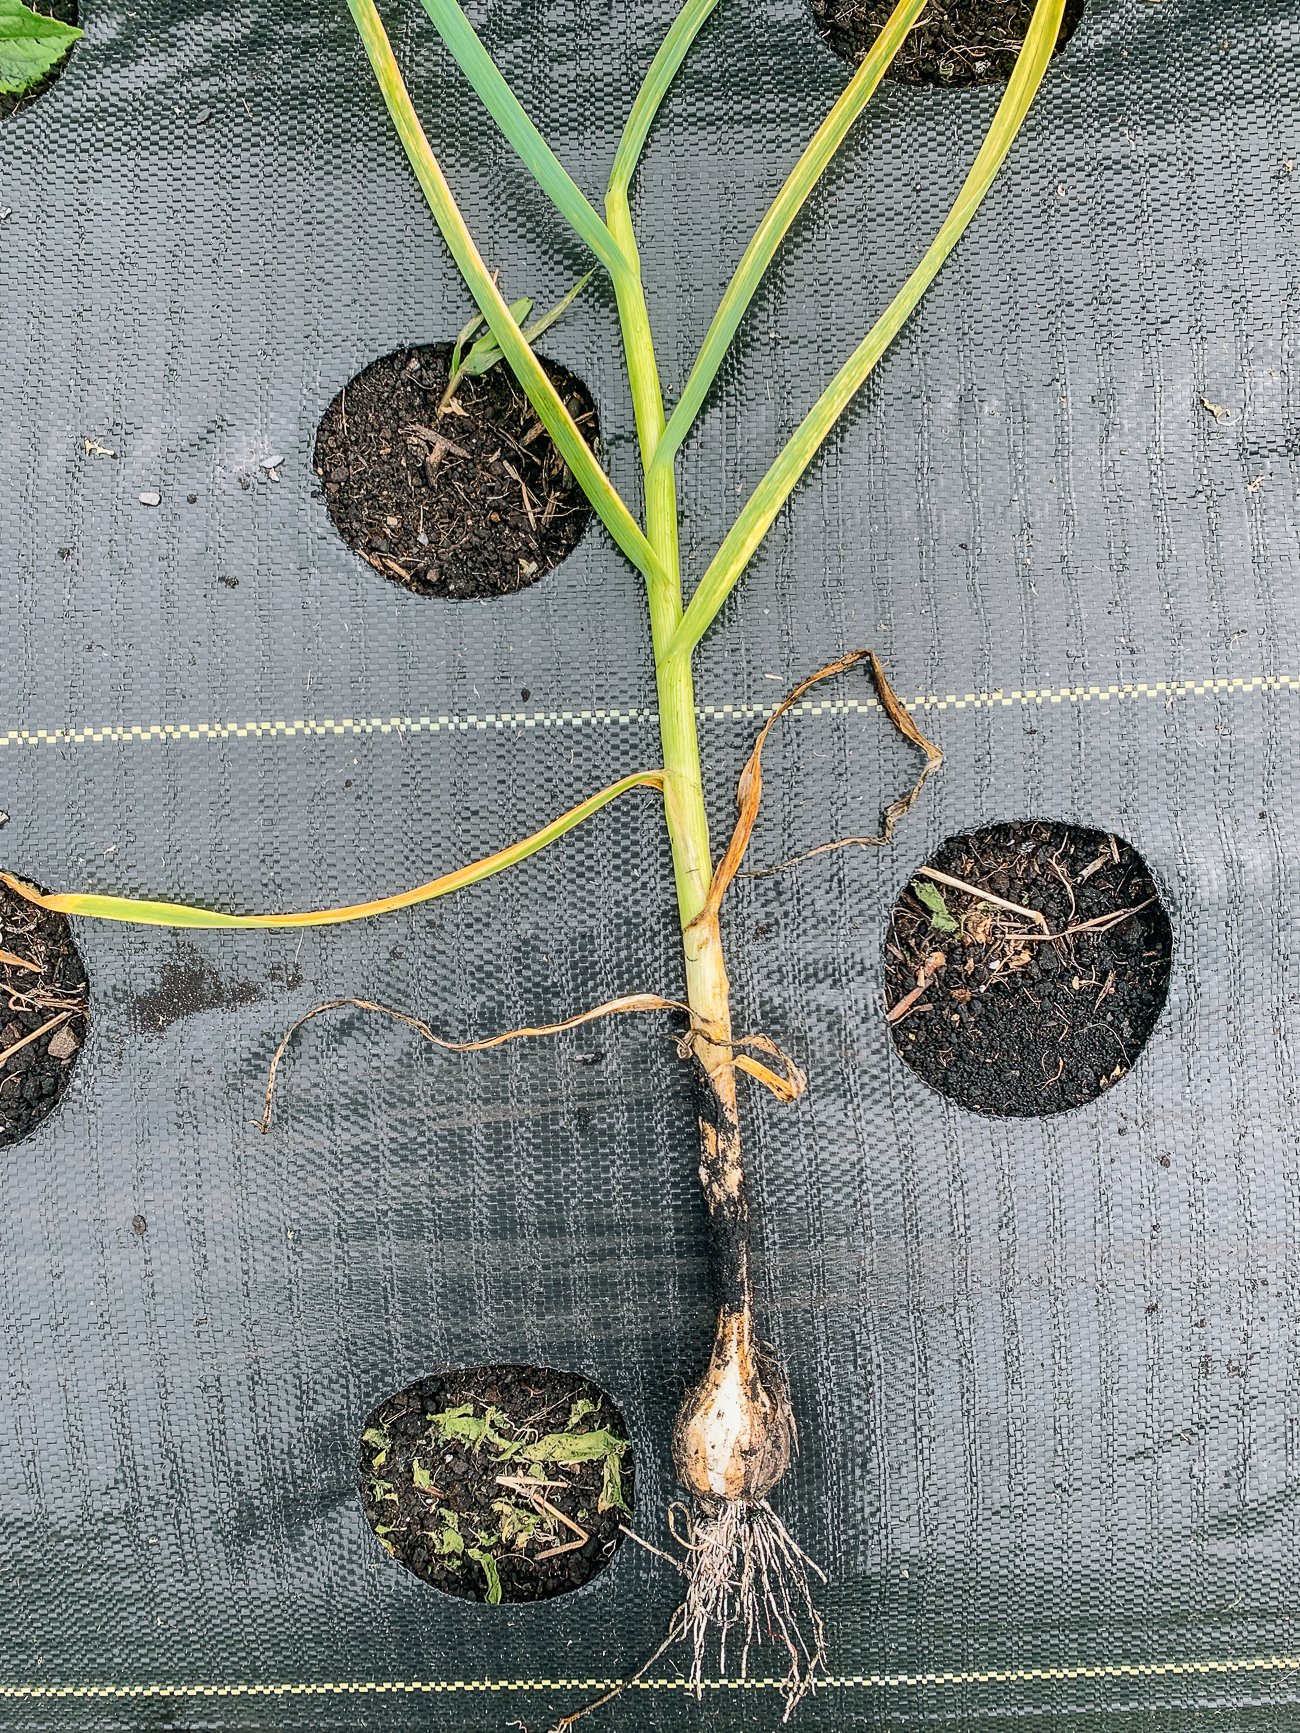
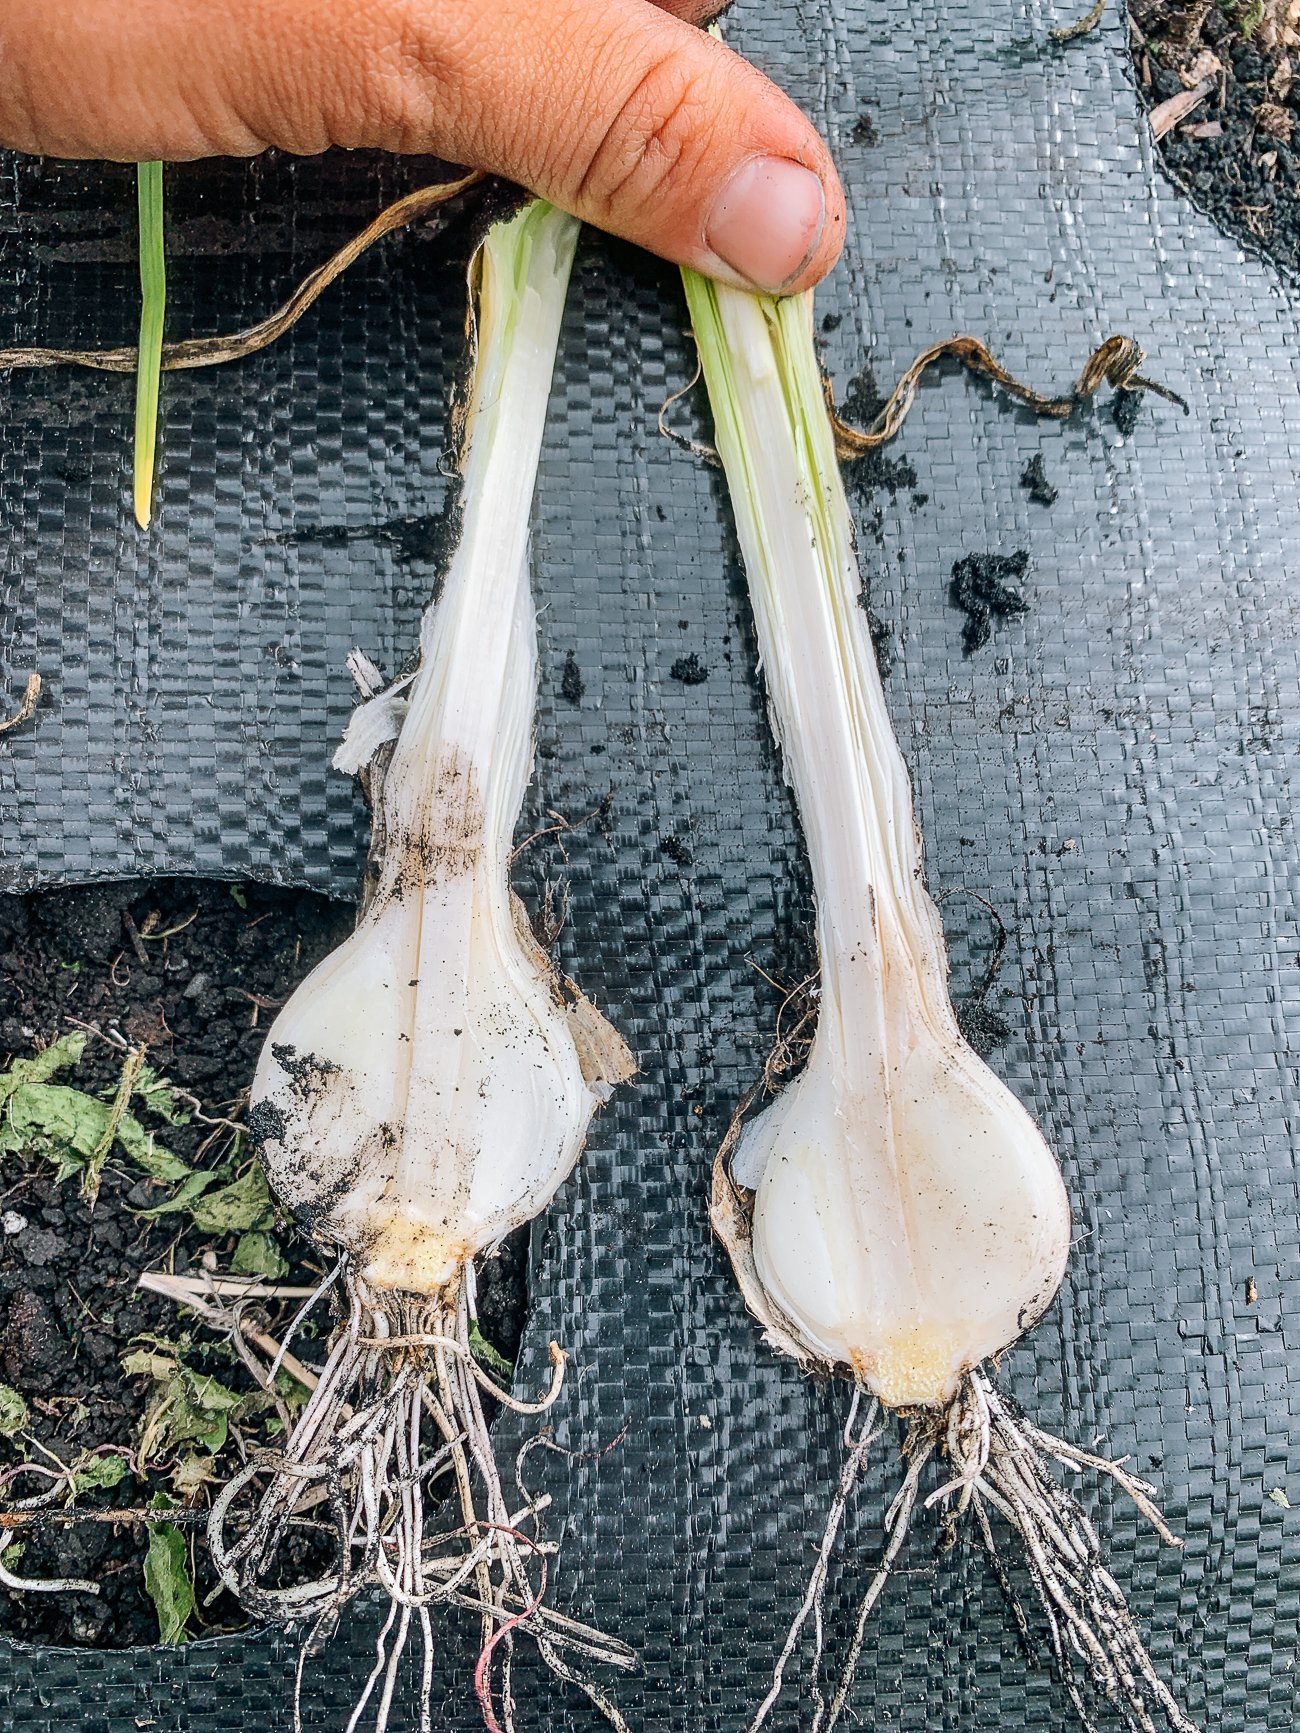
- Once scape development begins, you will see a bulb forming below. This can be consumed as fresh garlic, which is milder, sweet, and juicy.
Cured Garlic
- This is the final stage of harvest—the point at which 2-3 of the outer leaves have dried and browned. These leaves correspond to the papery outer layers of the garlic bulb. Harvest now, and you’ll be able to cure and store the garlic for months.
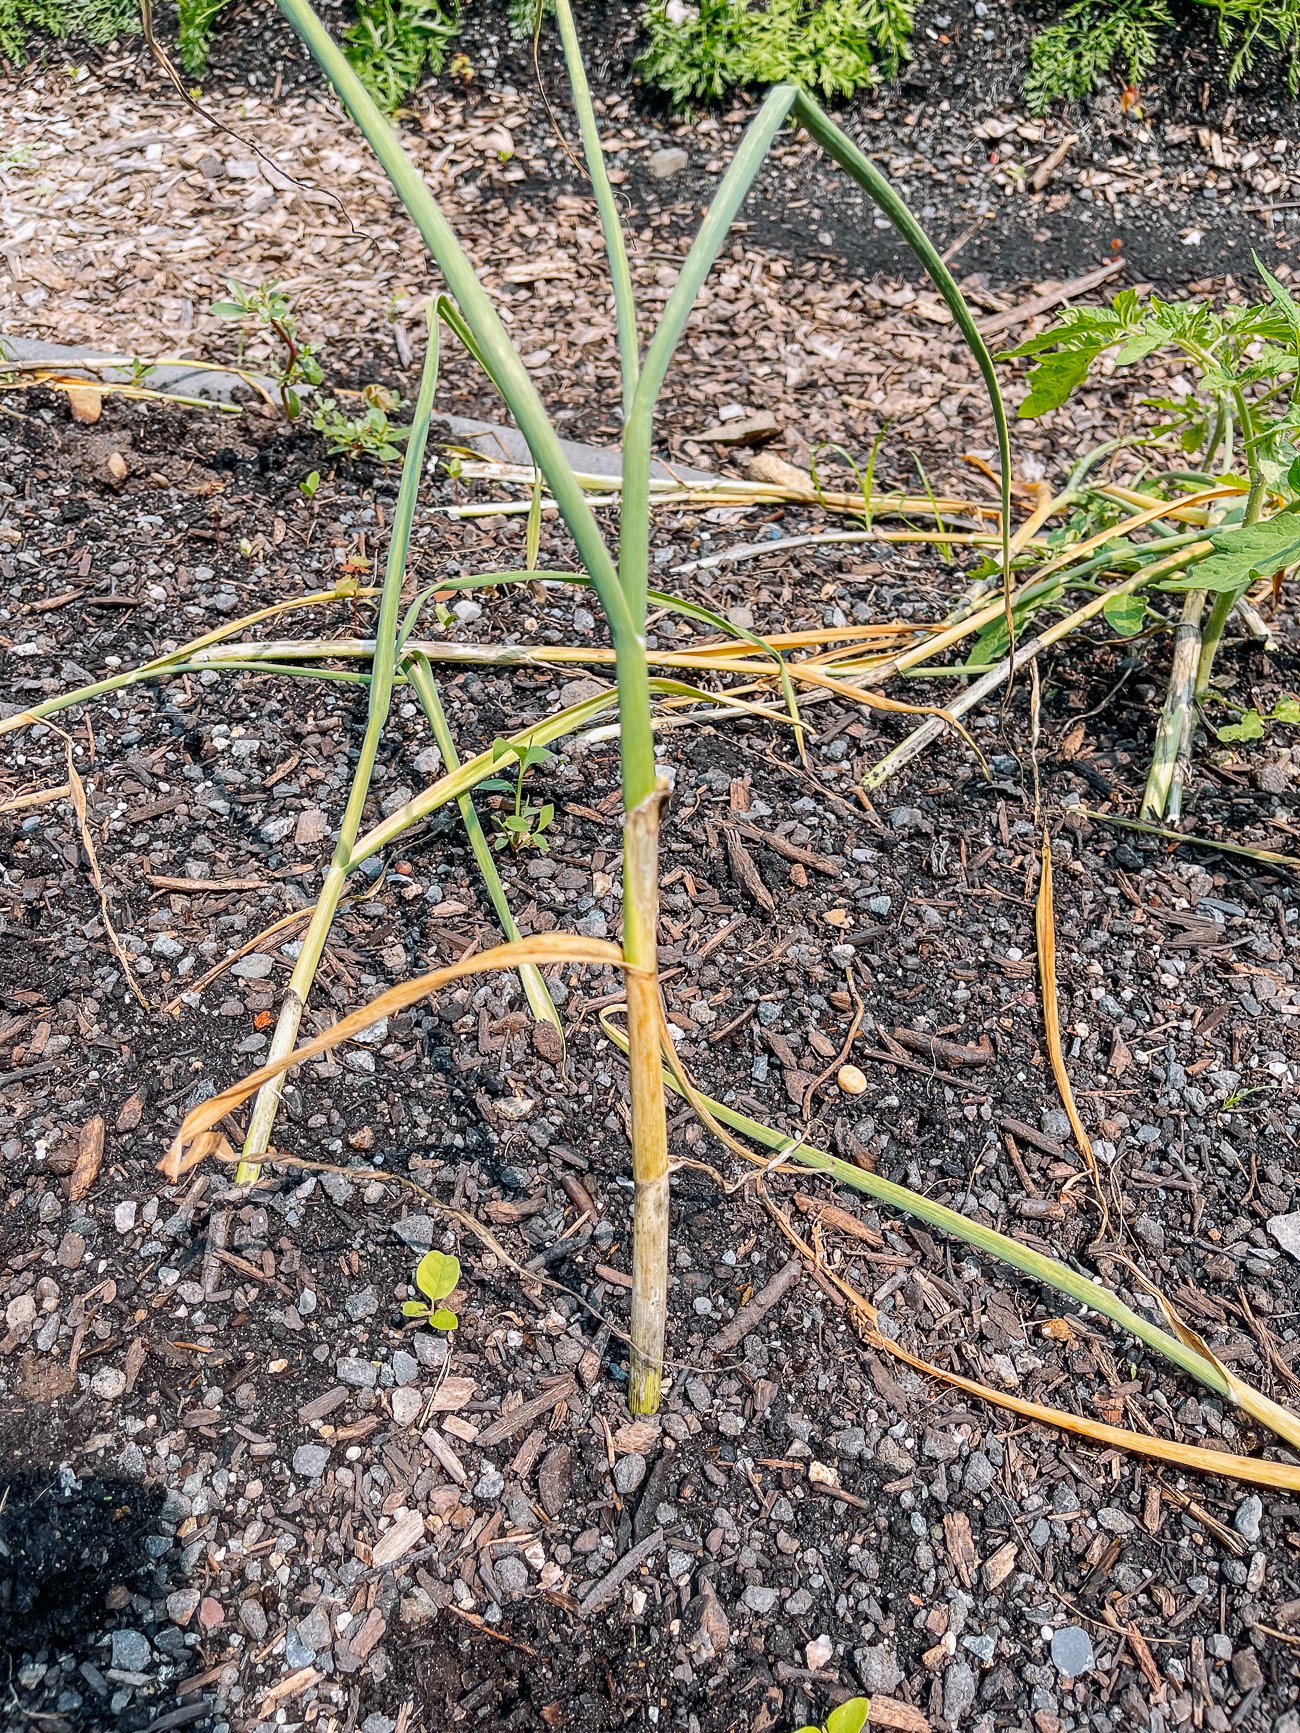
- Do not wait too long to harvest, or the outer layers will begin degrading, and the cloves will start to split from the head. The neck will also soften, making it harder to pull up the garlic without digging out the bulbs by hand. (This is what happened to us, due to a bout of wet weather at harvest time, so watch for rain also.) This will also affect how long they’re able to store.
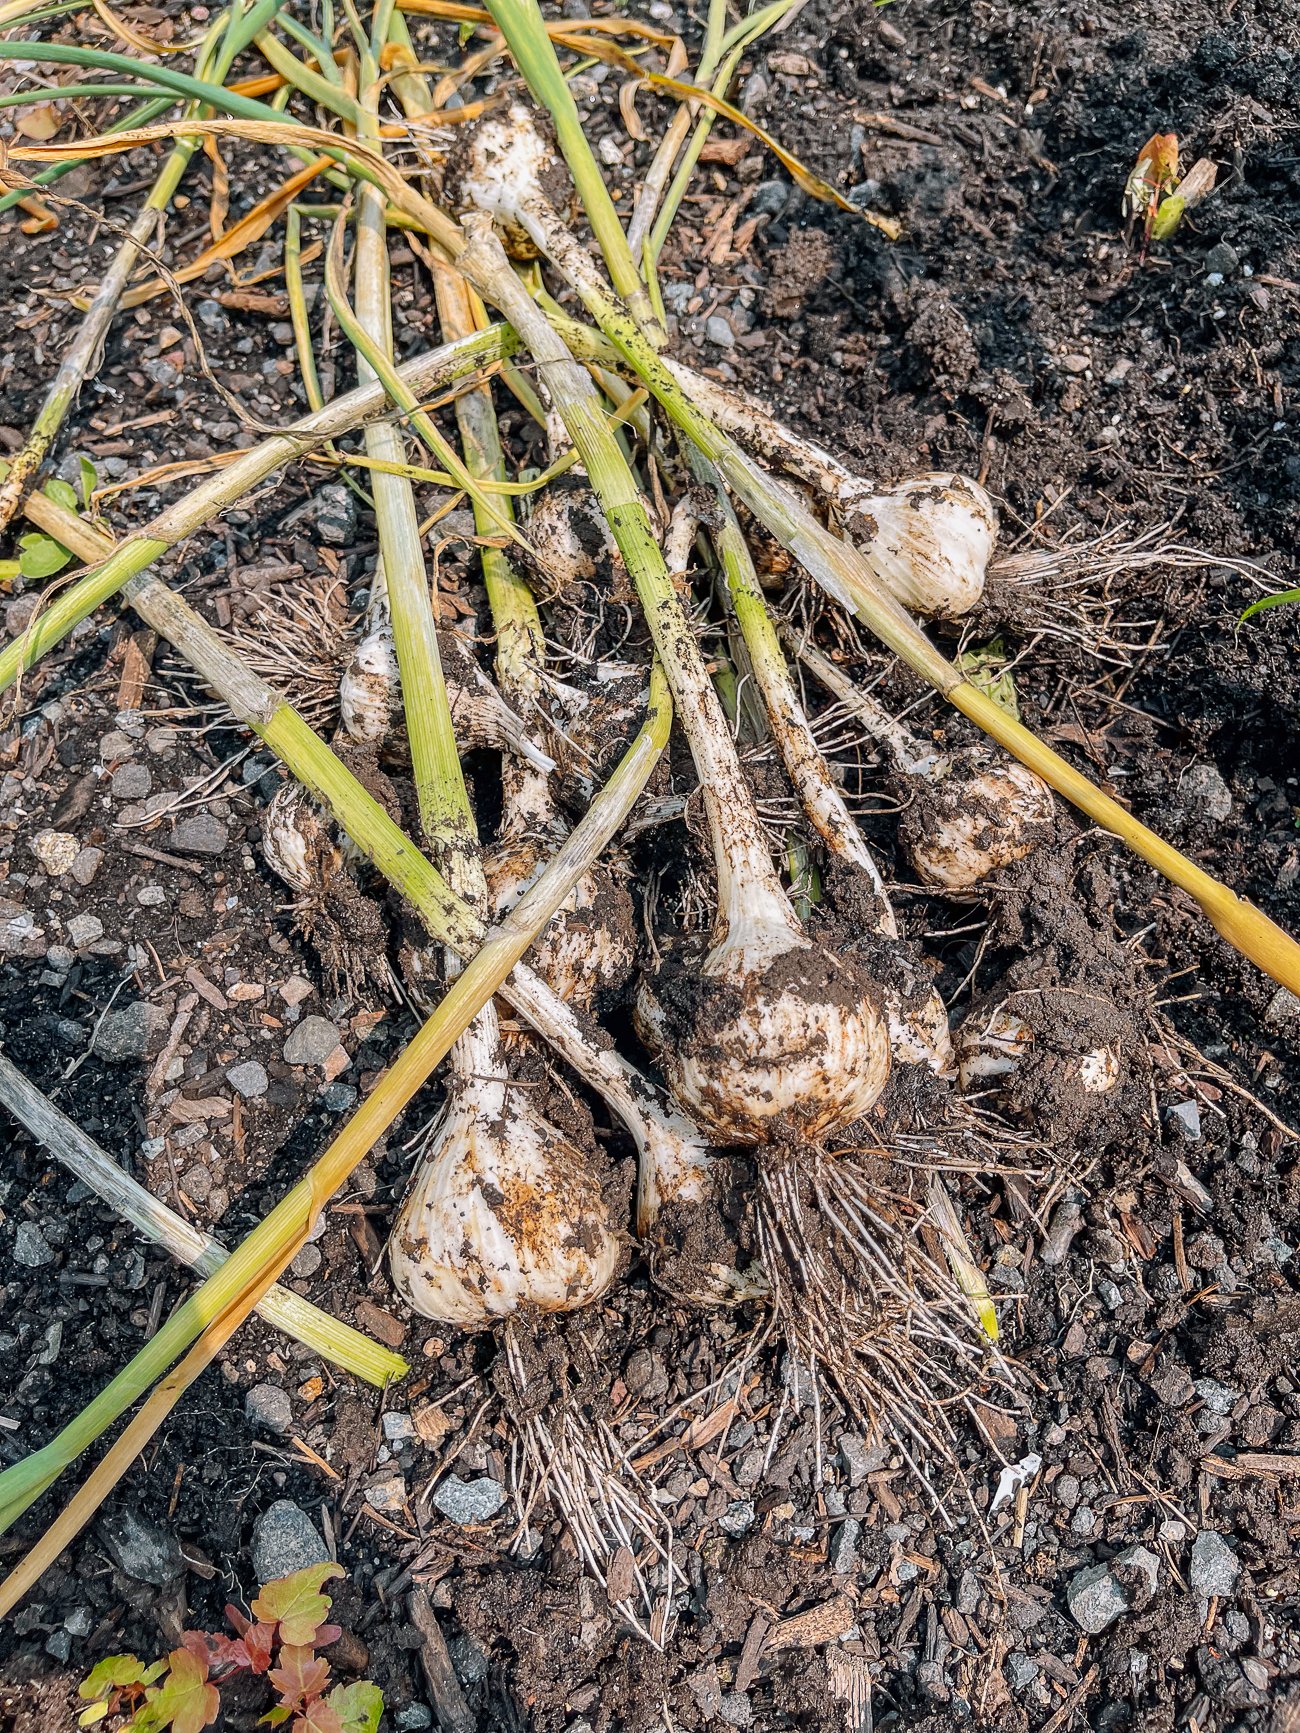
- To cure the garlic after harvesting, choose a shady, dry, well-ventilated space. Hang the garlic (with its stems still attached) from the ceiling, or lay it out on a a wooden pallet or other open container with good airflow. Arrange the garlic so the bulbs are not touching, and allow to air-dry for at least 2 weeks, or up to 1 month.
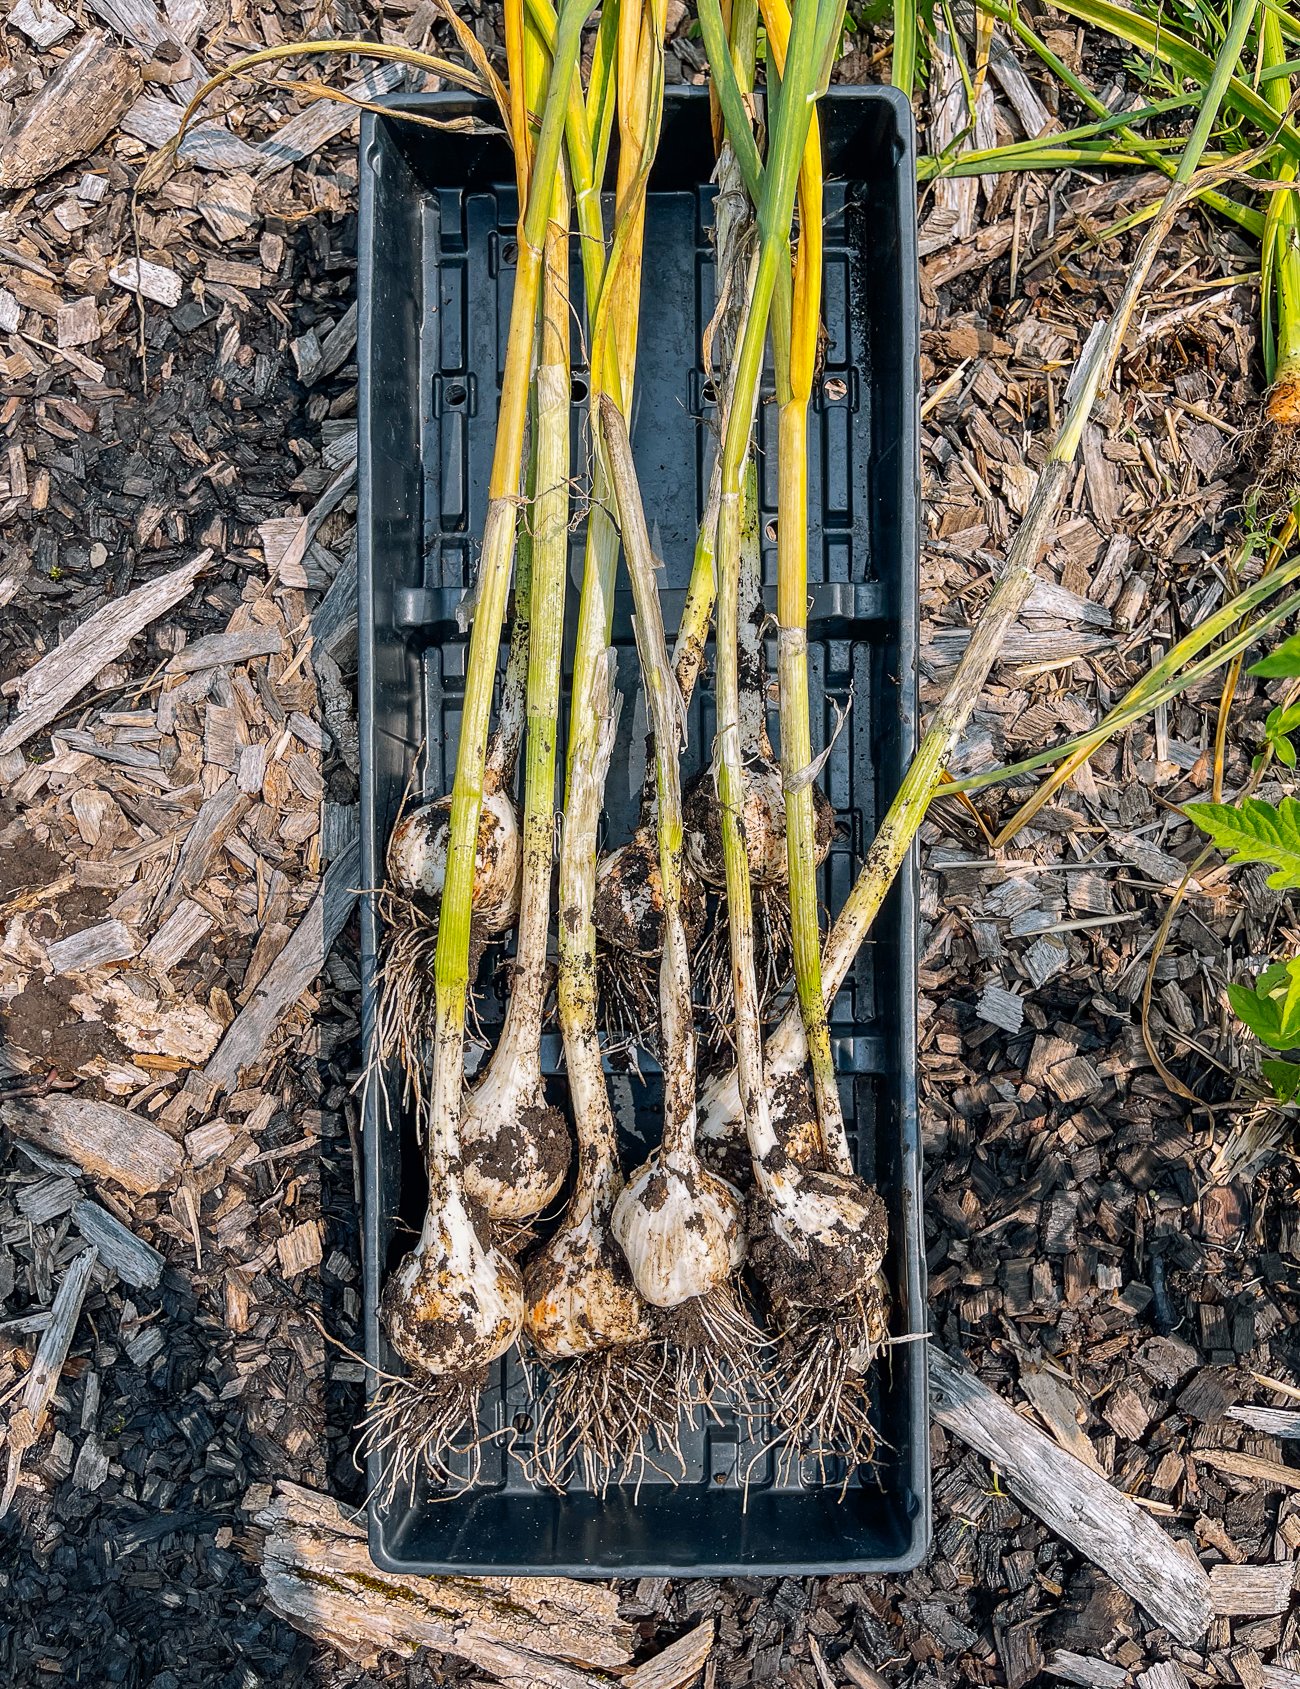
- Bulbs are ready to store when the outer skin is dry and papery, and the bulb is hard. You should be able to crack apart the cloves easily.
How to Store Garlic
After curing, you can remove the stems about 1 to 2 inches (3-5cm) above the bulbs. If you planted softnecks, you can also braid the garlic stems for longer term storage.
You can also brush off any excess dirt, and remove any especially dirty outer wrappers. That said, keeping as much of the wrapper on as possible will help them store longer.
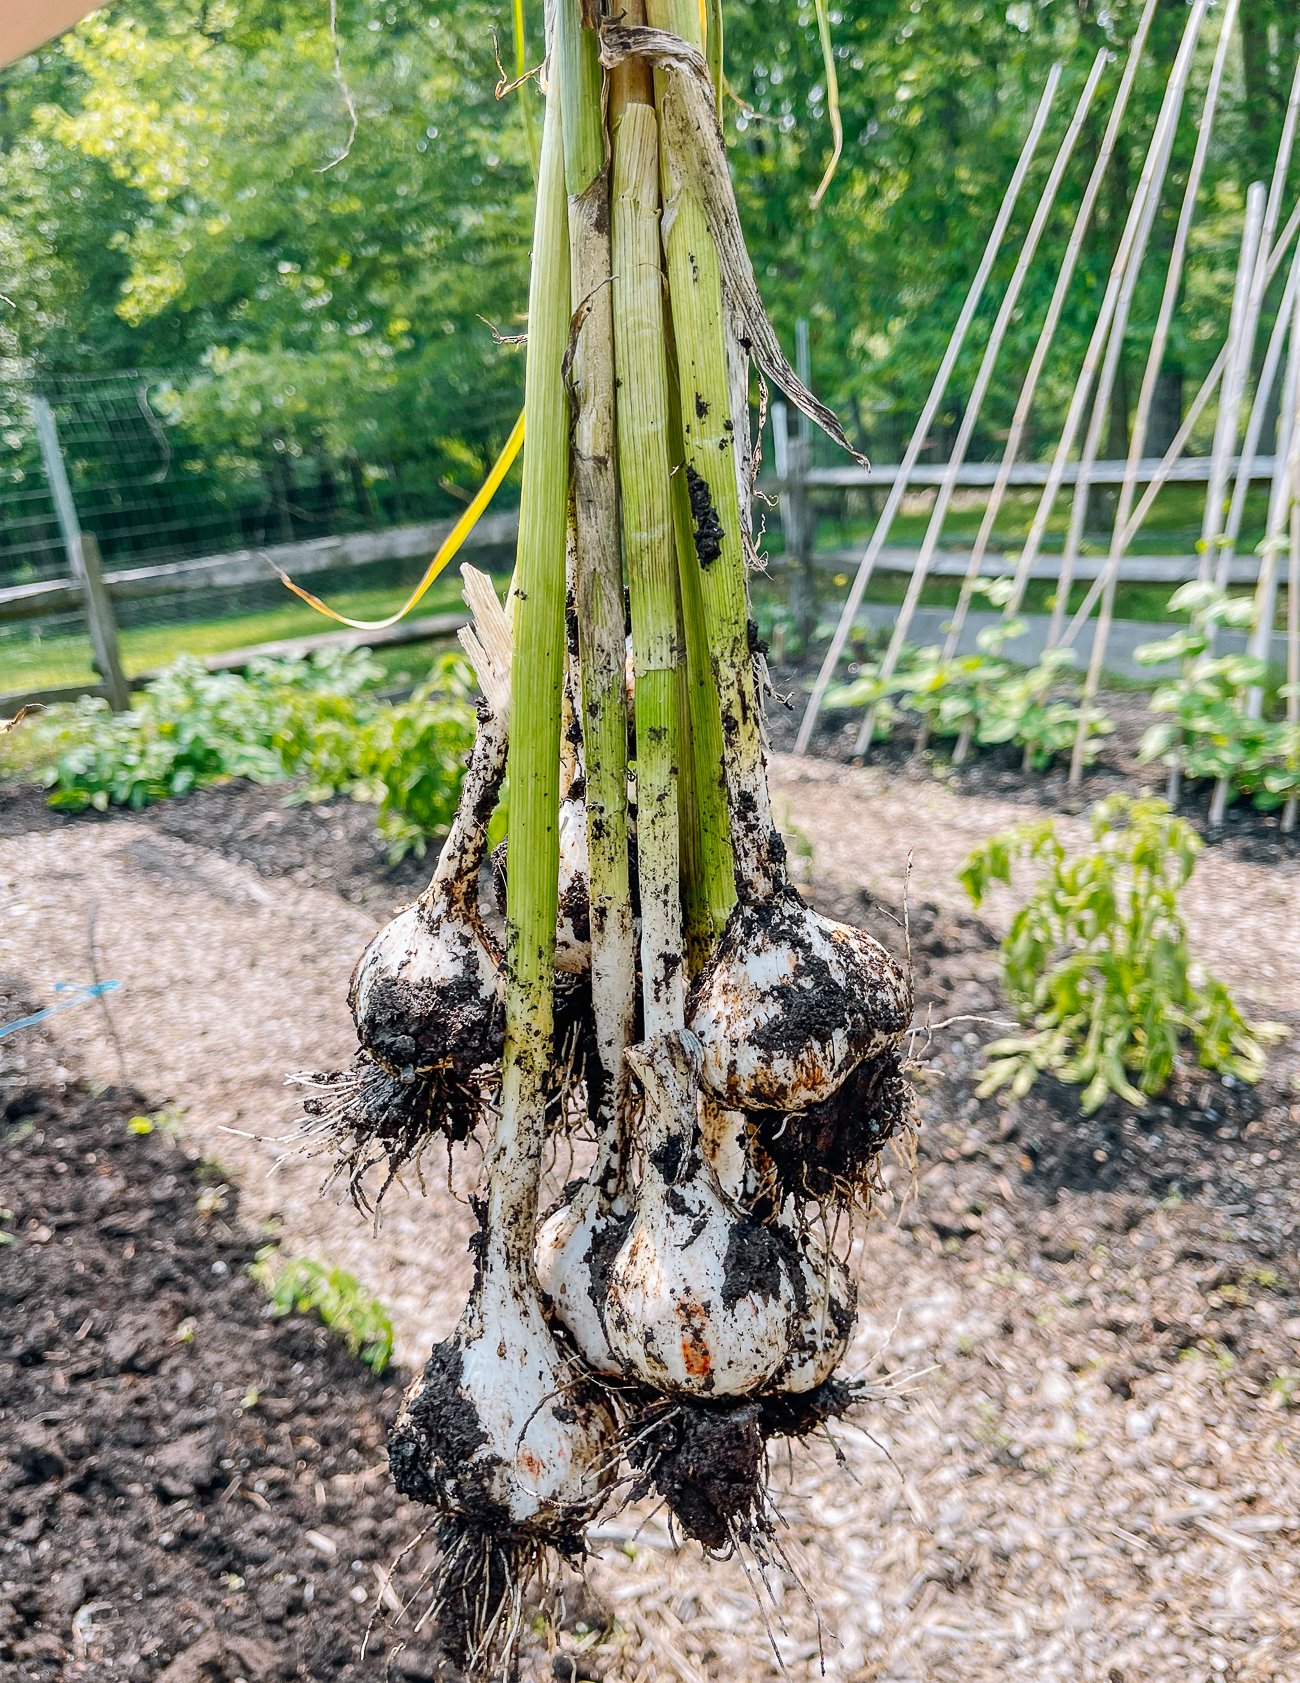
Trim the roots to about 1/4-inch (6mm) long. Do not remove the roots completely, or they won’t store.
Also be sure to set aside your largest bulbs for planting later in the season. The larger the garlic cloves you plant, the larger the bulbs will be next year!
After your garlic has been prepped for storage, keep them in a cool, dark, dry place. The pantry might be your best bet. Place it in a container that has good ventilation, like a basket. Avoid storing in fridge or basement, which can be too humid.
Storage time will depend on the variety, so check your seed catalog or other source for expected storage length. Generally, however, hardneck garlic will store for about 4-5 months if done properly, while softneck garlic will keep for up to 8 months.
If you’ve begun using a head of garlic (separating or exposing some of the cloves), refrigerate it in a container or bag until you’ve used the rest of it!
Our Experience growing Garlic
We bought our seed garlic a bit late, and didn’t realize that we had accidentally purchased the wrong type for our growing zone—we bought a variety of softneck garlic rather than the cold-hardy hardnecks!
By the time we realized our mistake, the garlic had already been planted in mid-November. That said, we decided to wait and see how they would do.
In the end, we got a decent harvest!
The garlic sprouted later in the fall, and we luckily had a pretty mild winter. We barely got any snow and only got a handful of extremely cold nights. We were a bit worried when night temps dropped down to 3°F (-16°C) one week, but the plants made it through.
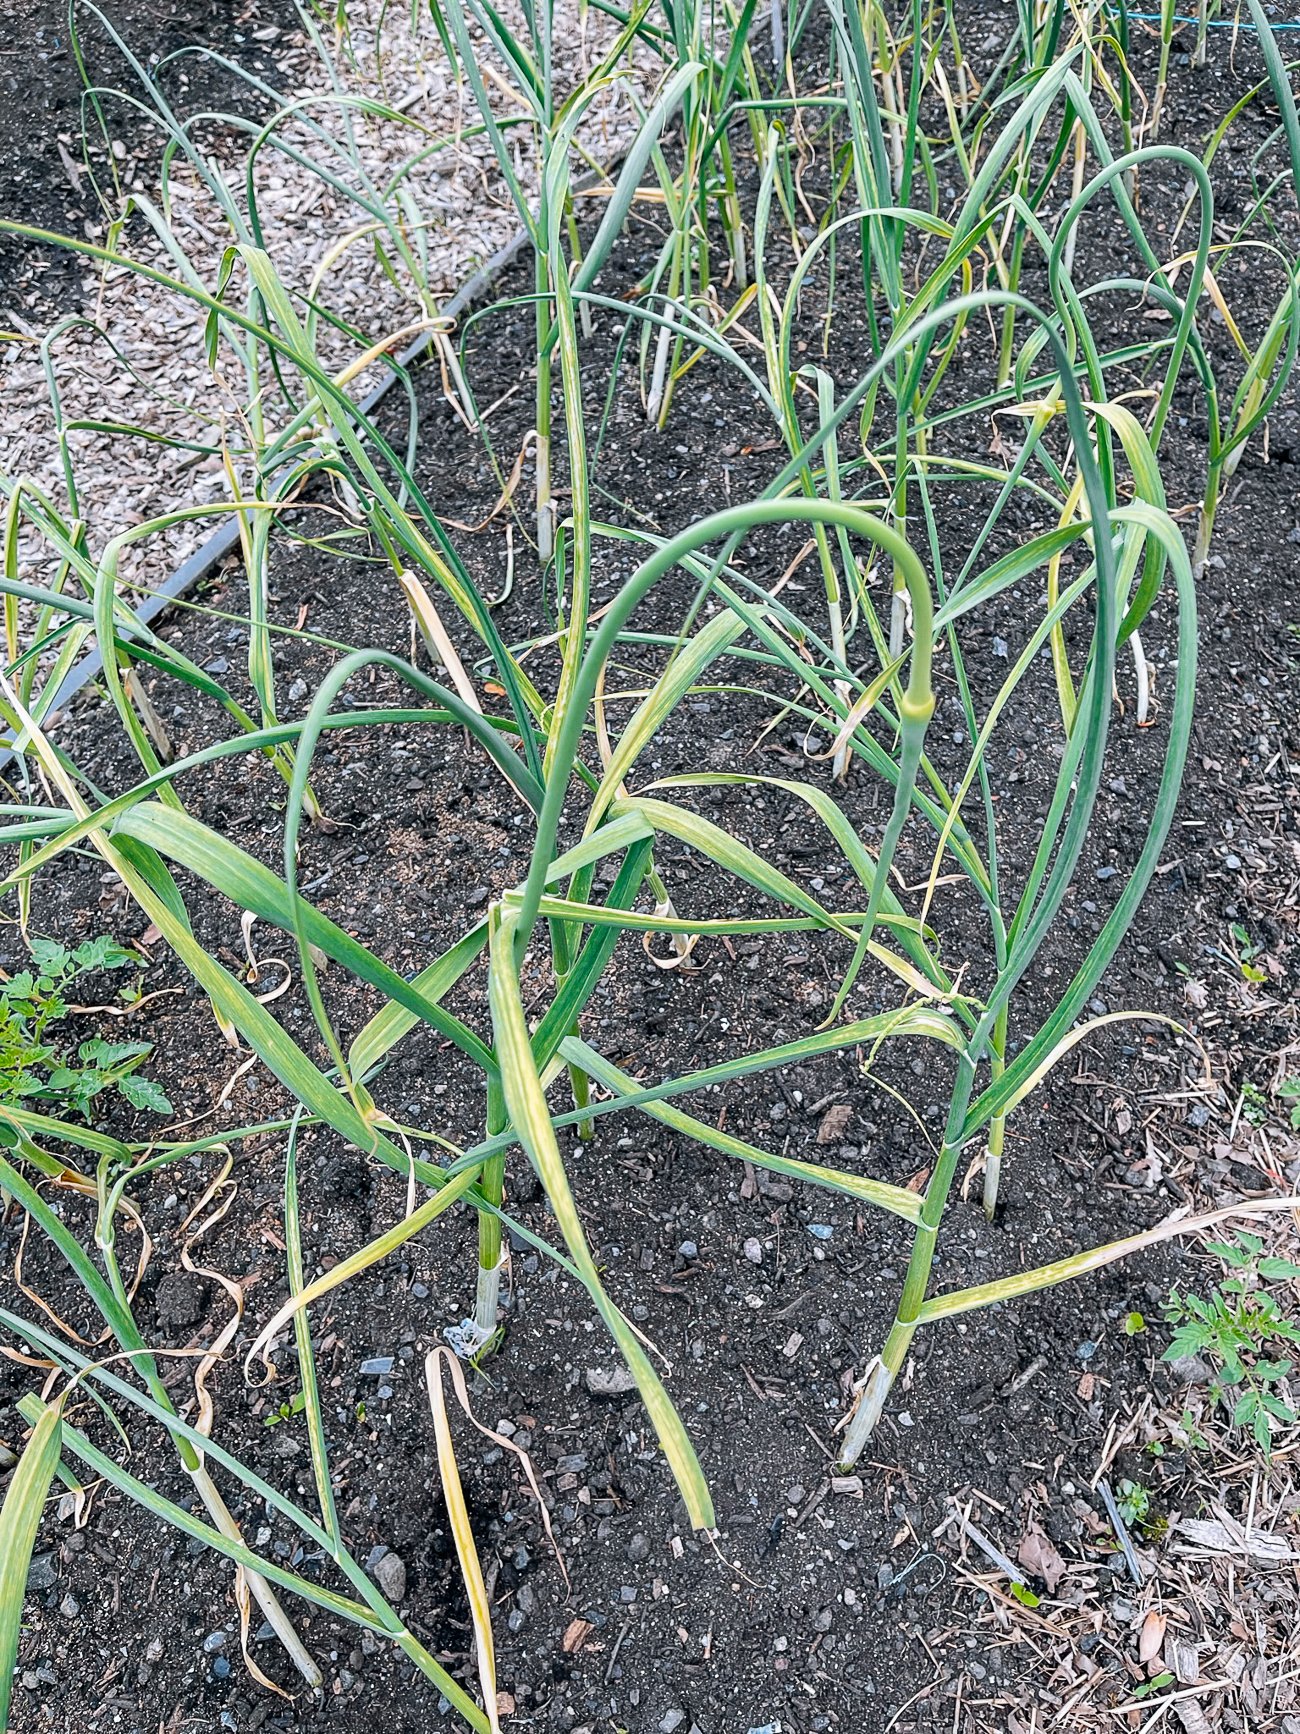
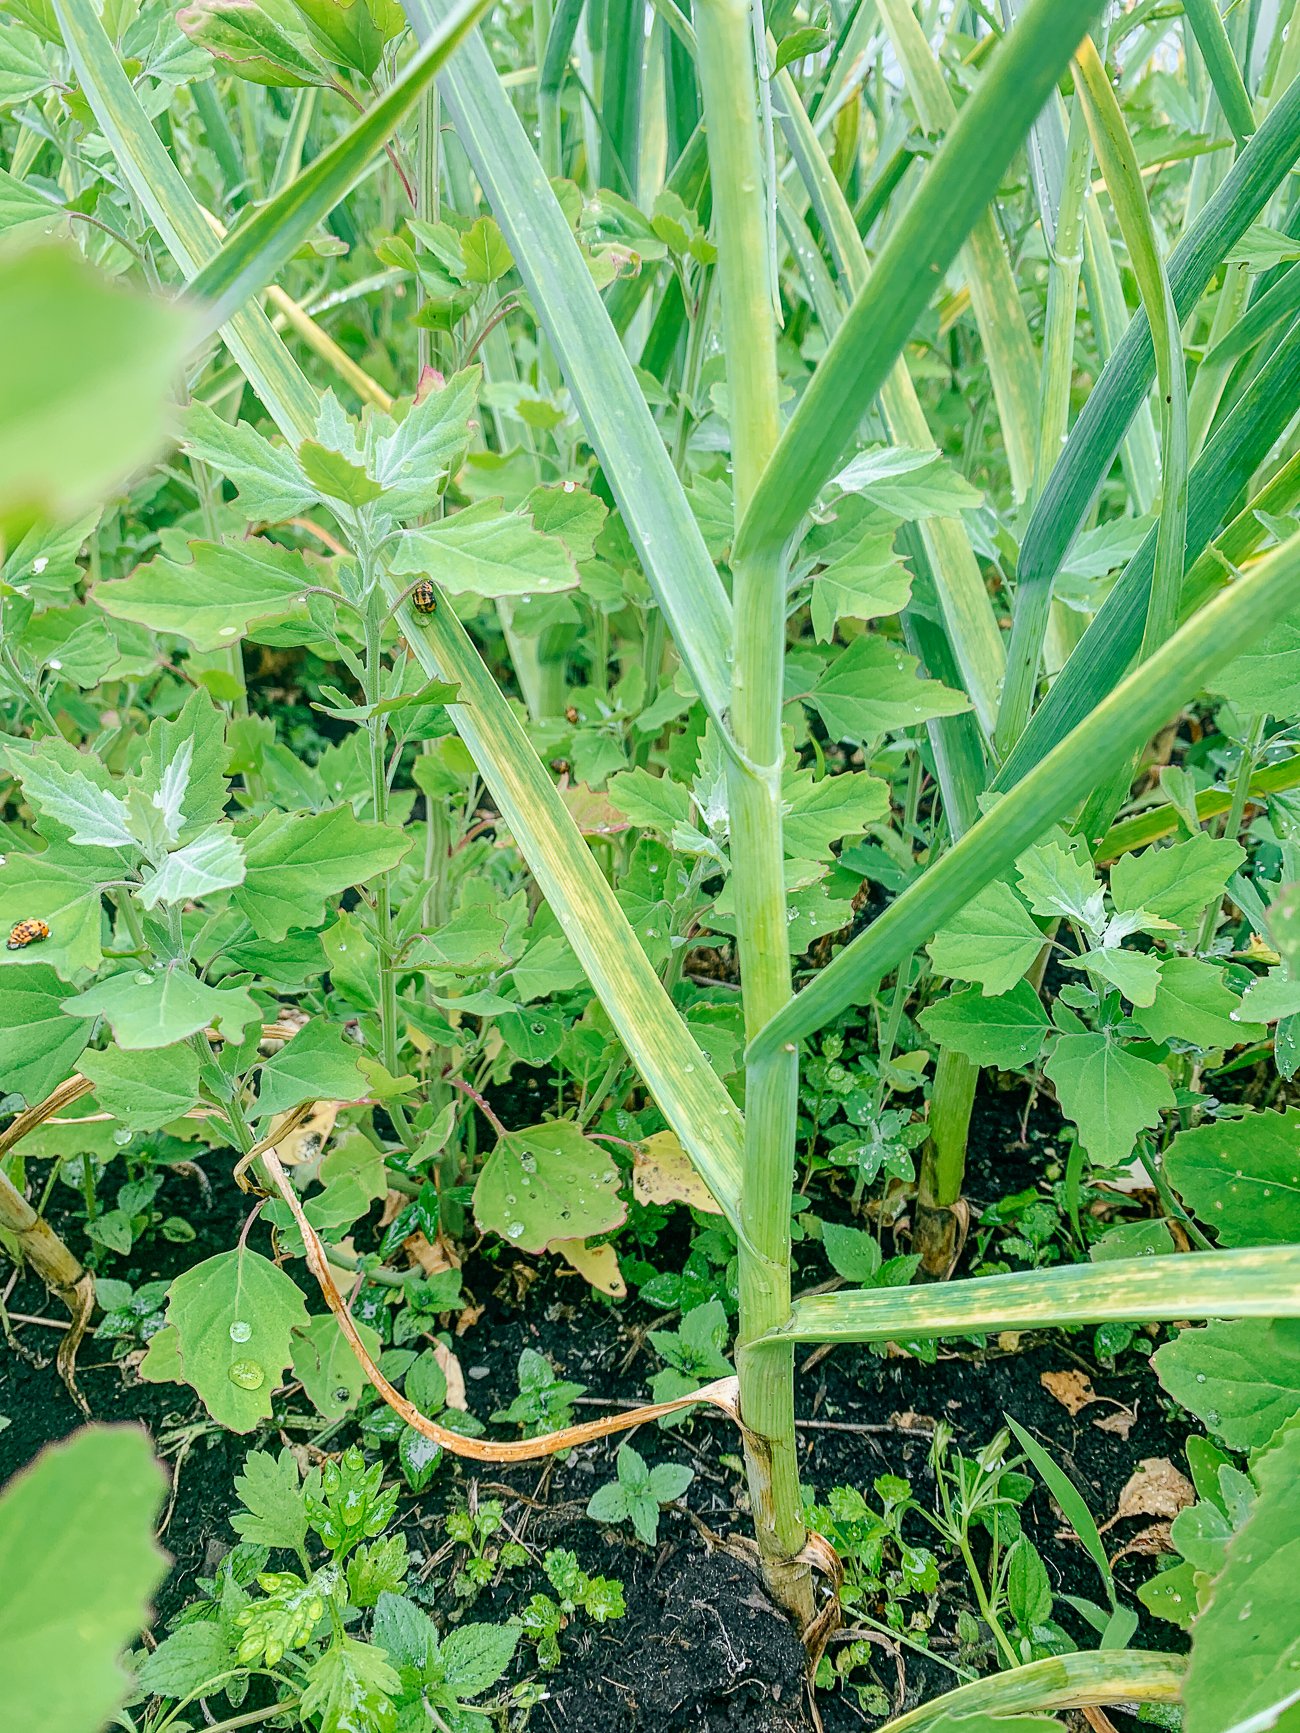
By the following spring, the garlic plants were putting on nice growth:
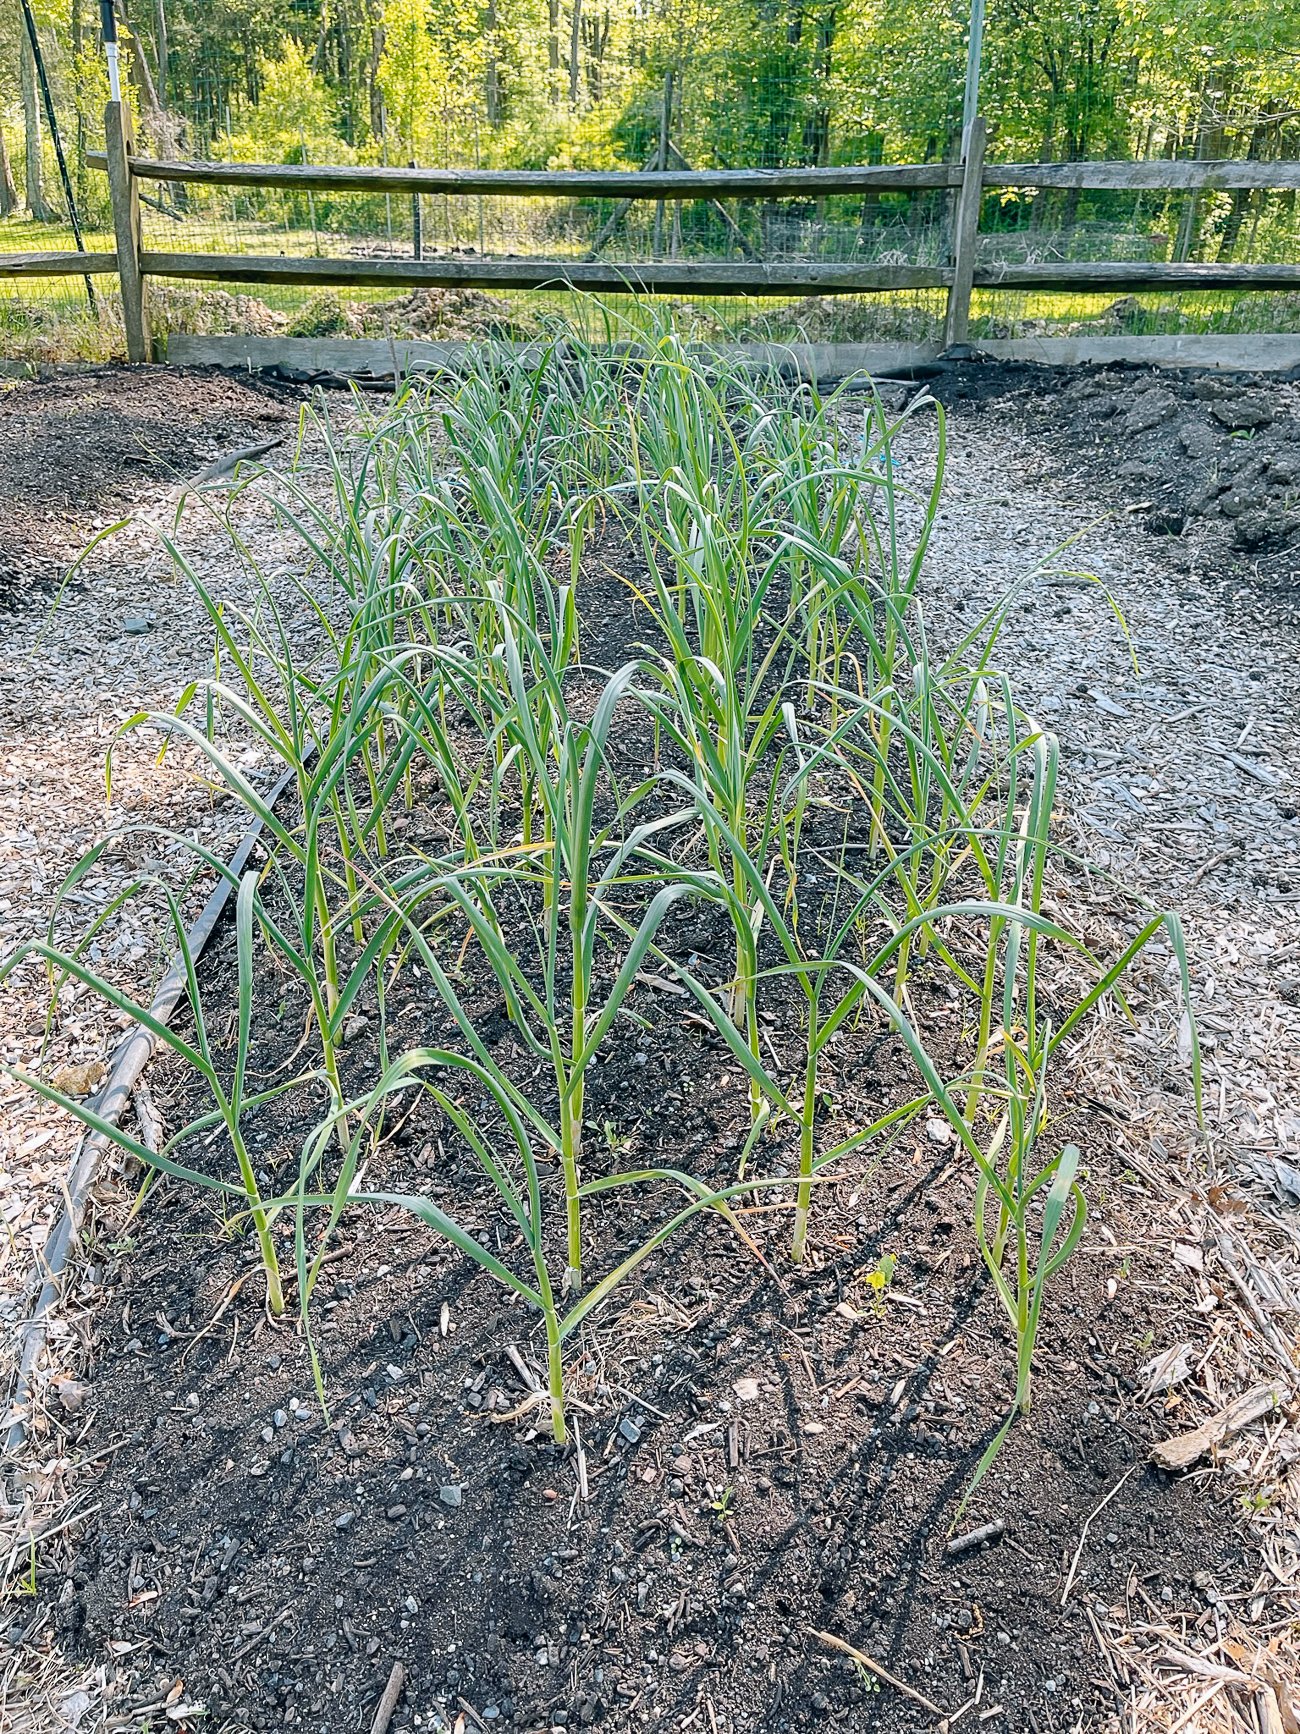
We had an unseasonably dry spring, however, which we think caused our garlic to die back prematurely and prevented the stems from getting super thick.
Then, right at harvest time, we got torrential rains! And I mean, torrential. One day, we got 2-3 inches of rain in a 24 hour period.
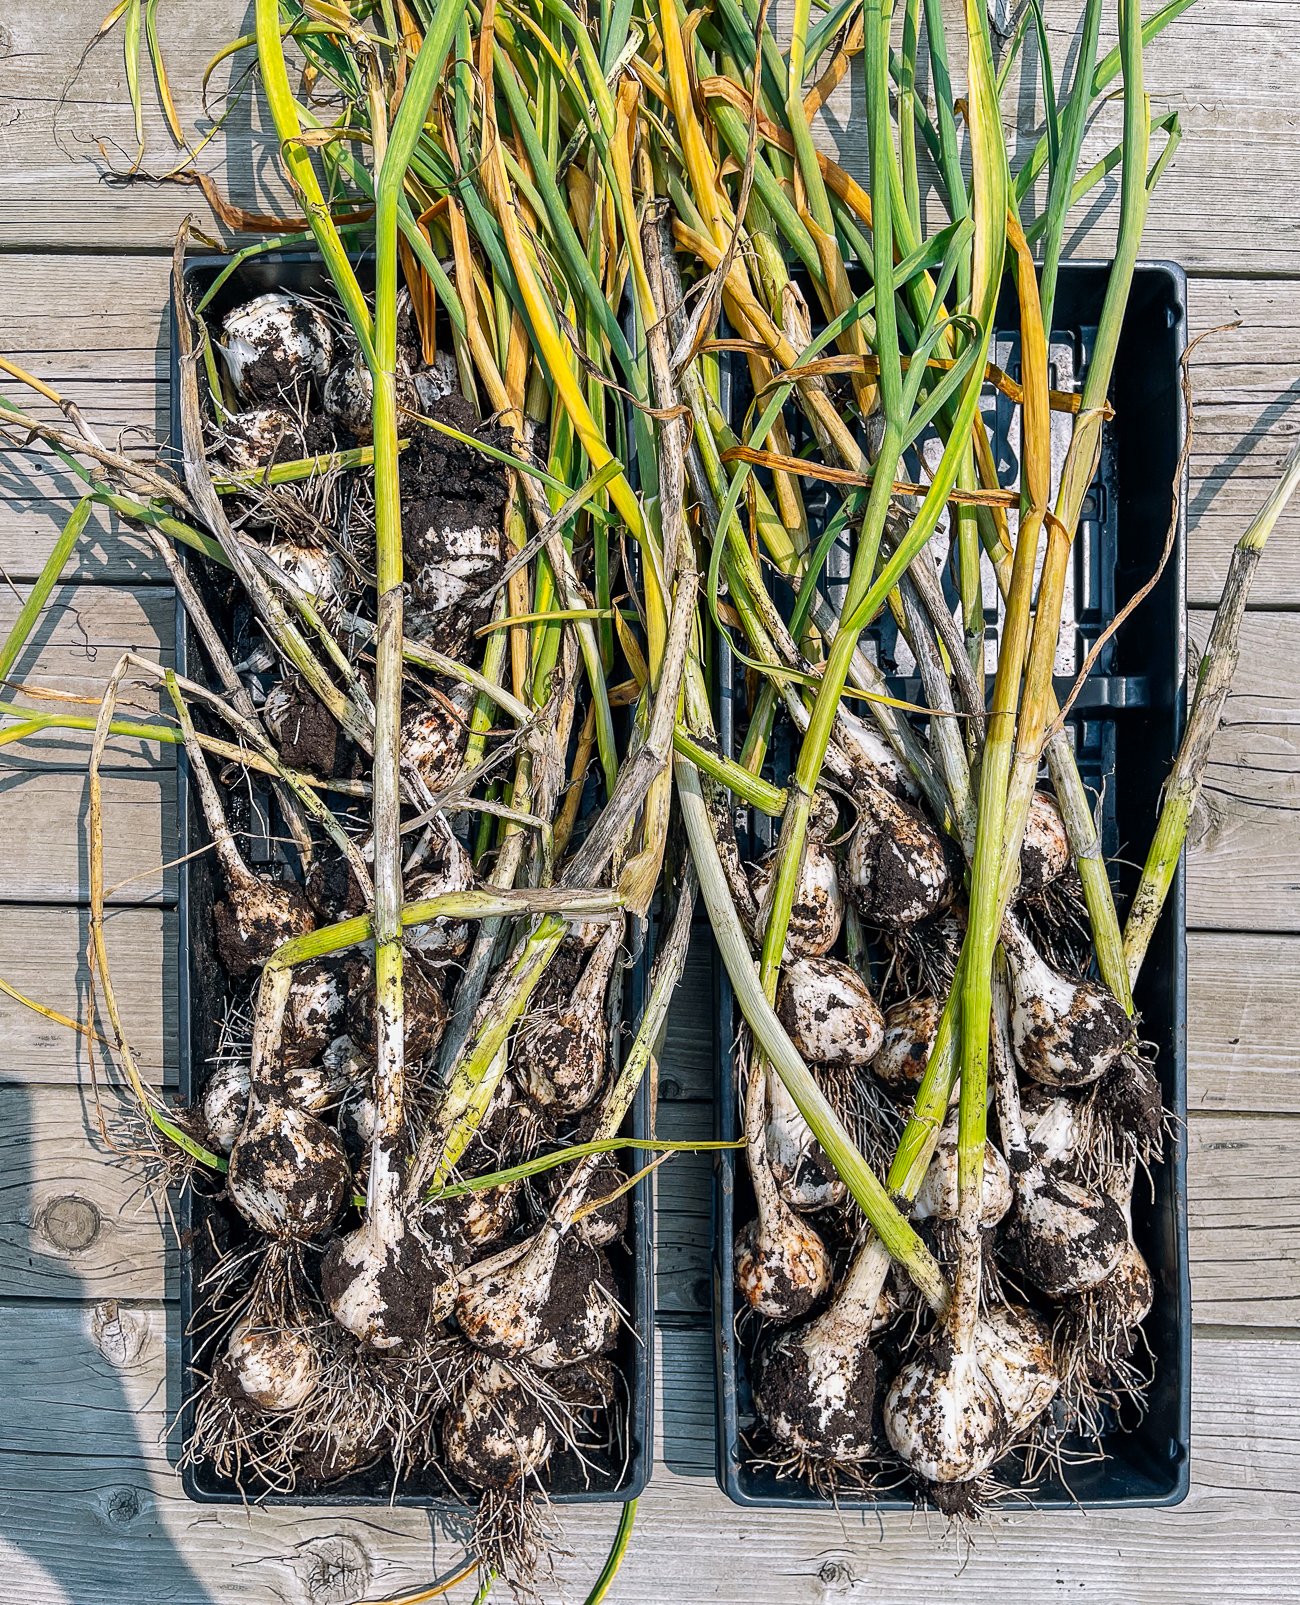
By the time we had a dry day or two, we knew it was time to harvest (this was literally today, June 29, which is why I’m posting a bit later than usual).
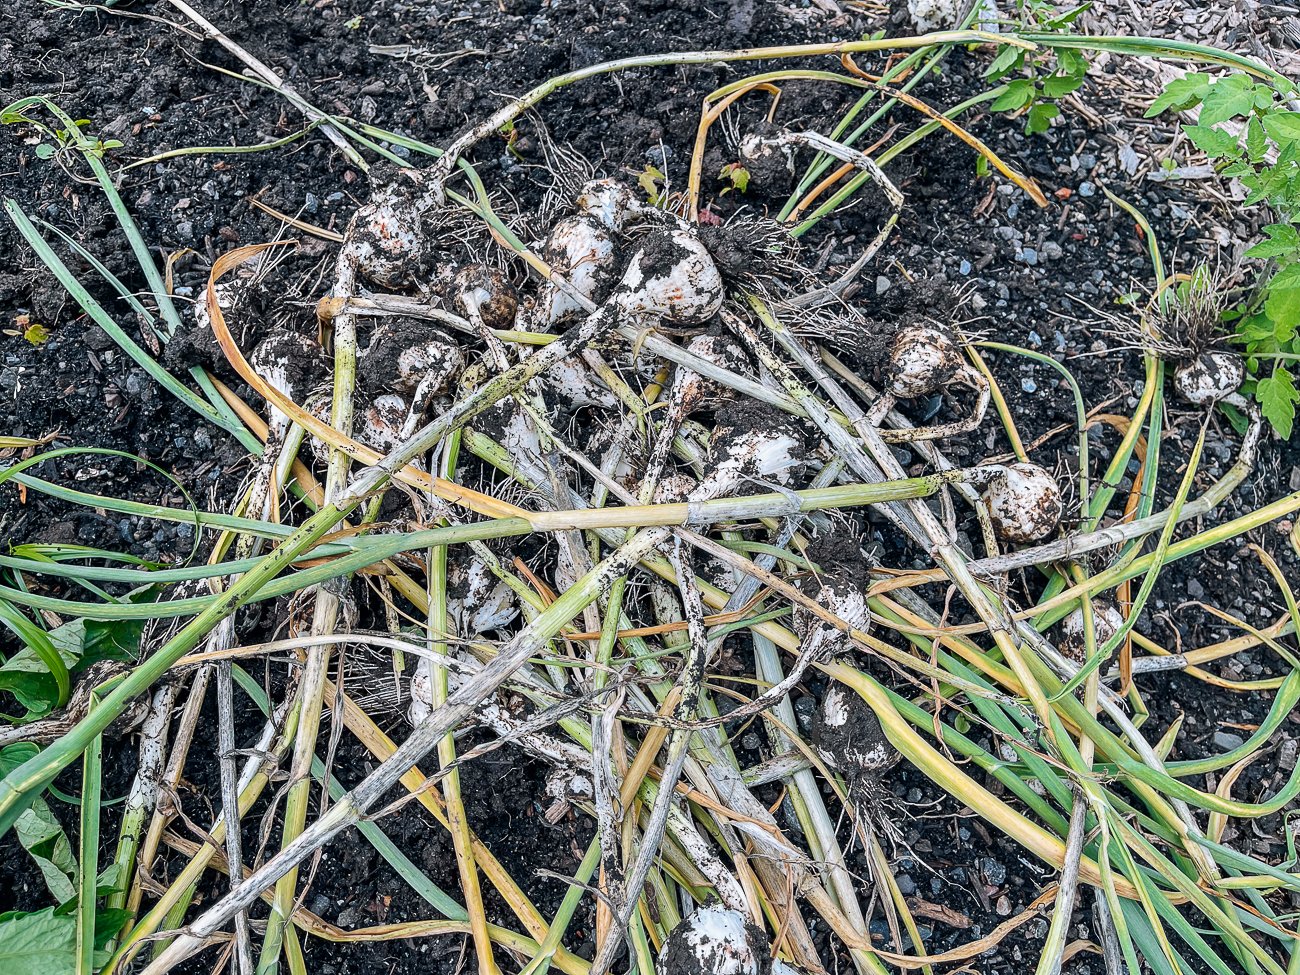
With the soil so wet and heavy, though, I ended up having to dig out each individual bulb:
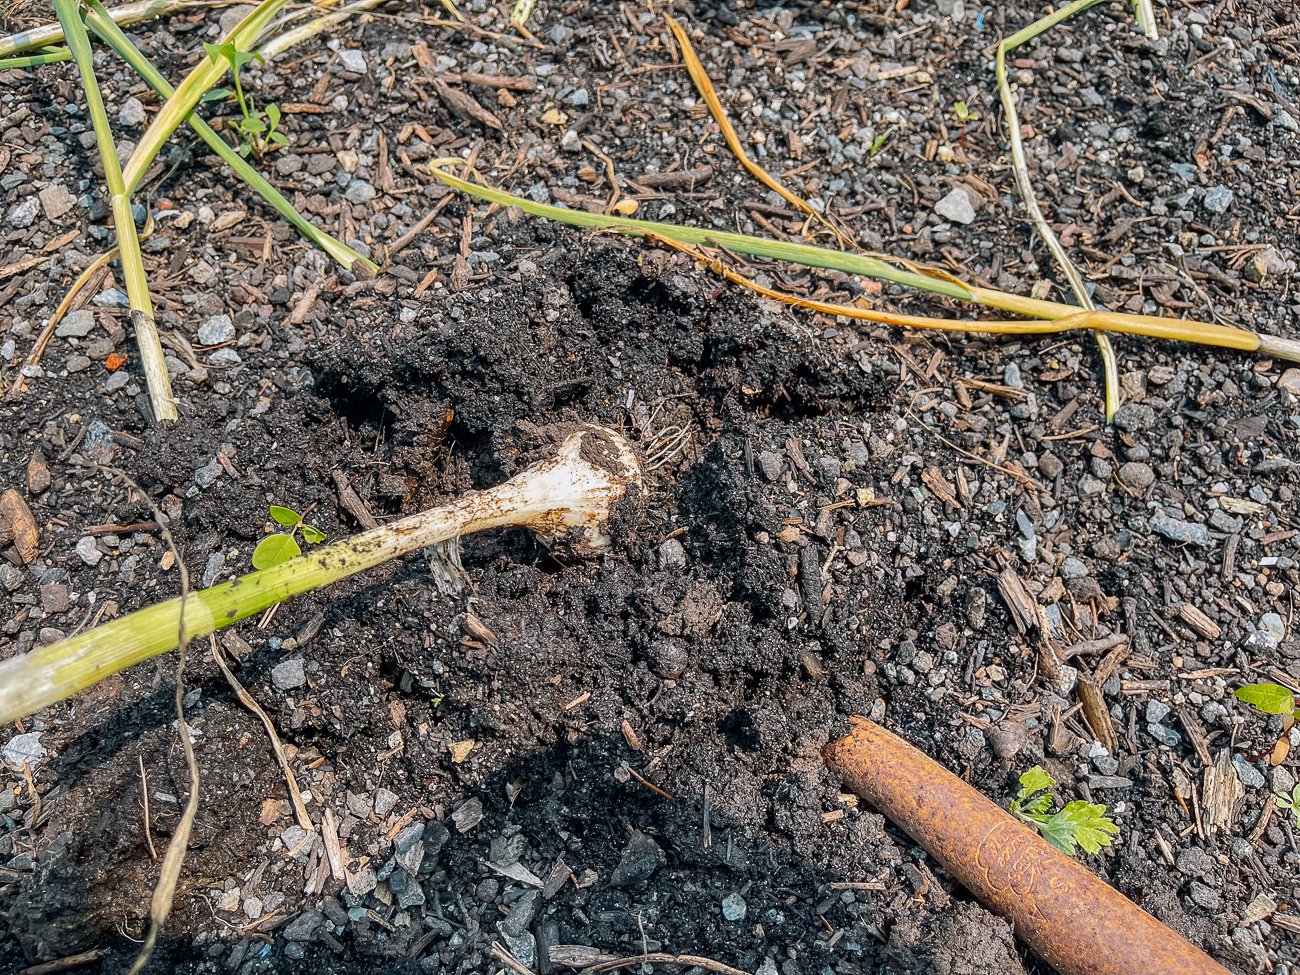
This was a bit of a pain, and the garlic bulbs were also a bit wet, but we’re pretty happy with the overall harvest! We found that the thicker the stems, the larger the bulbs were.
We got some nice meaty ones, along with some smaller ones. We’re planning on eating all of them and then just buying some hardnecks to grow next year, rather than saving any bulbs for planting.
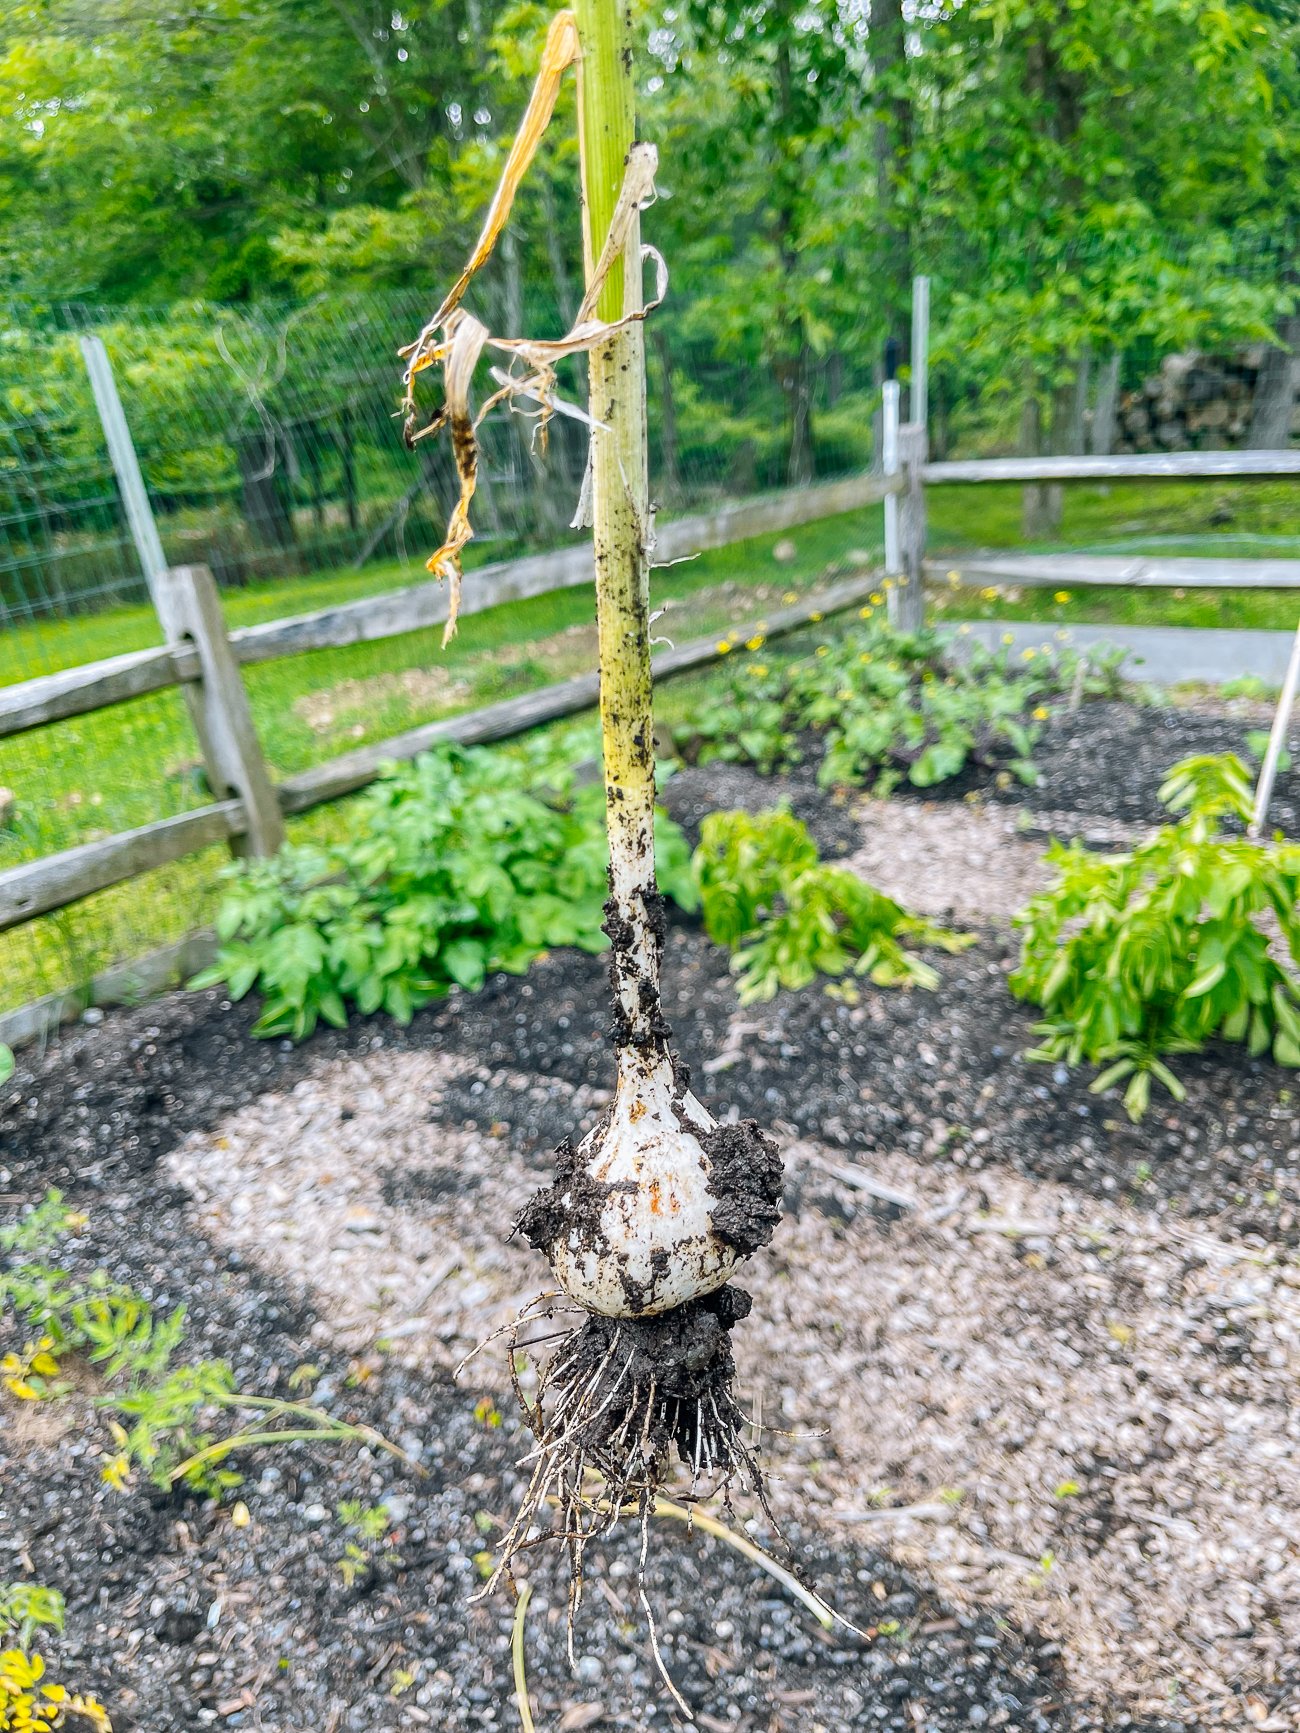
All in all, we found garlic to be a pretty low maintenance crop, and considering how often we use it, definitely worth growing. We didn’t experience any pest problems (fingers crossed it stays that way).
I’m actually off to pre-order some seed garlic for the fall, to ensure that we get a good supply to plant for next year!
GARLIC IN CHINESE COOKING
Garlic is native to the middle east and central Asia, though we’re unsure exactly where. Theories on its exact place of origin include Kyrgyzstan, Kazakhstan, or around the Tien Shan Mountains of western China.
We do know that garlic was already part of the Chinese diet over 4000 years ago, and almost three quarters of the world’s garlic is currently grown in China.
Garlic is an indispensable ingredient in so many cuisines, including Chinese cooking. We recently posted an entire article about it: Cooking with Garlic: Everything You Need to Know.
Here, though, let’s talk about some of its key applications in Chinese cooking!
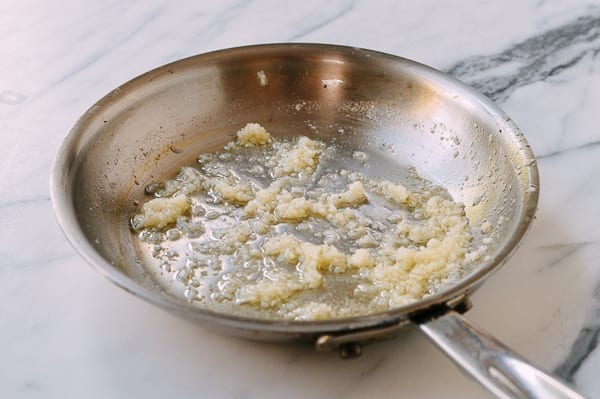

Raw Garlic
You’ll see raw garlic often especially in Northern Chinese cuisine. When we first moved to Beijing, we noticed (particularly on public transportation—the subway or buses) that folks eat so much garlic, it seemed to smell like garlic everywhere!
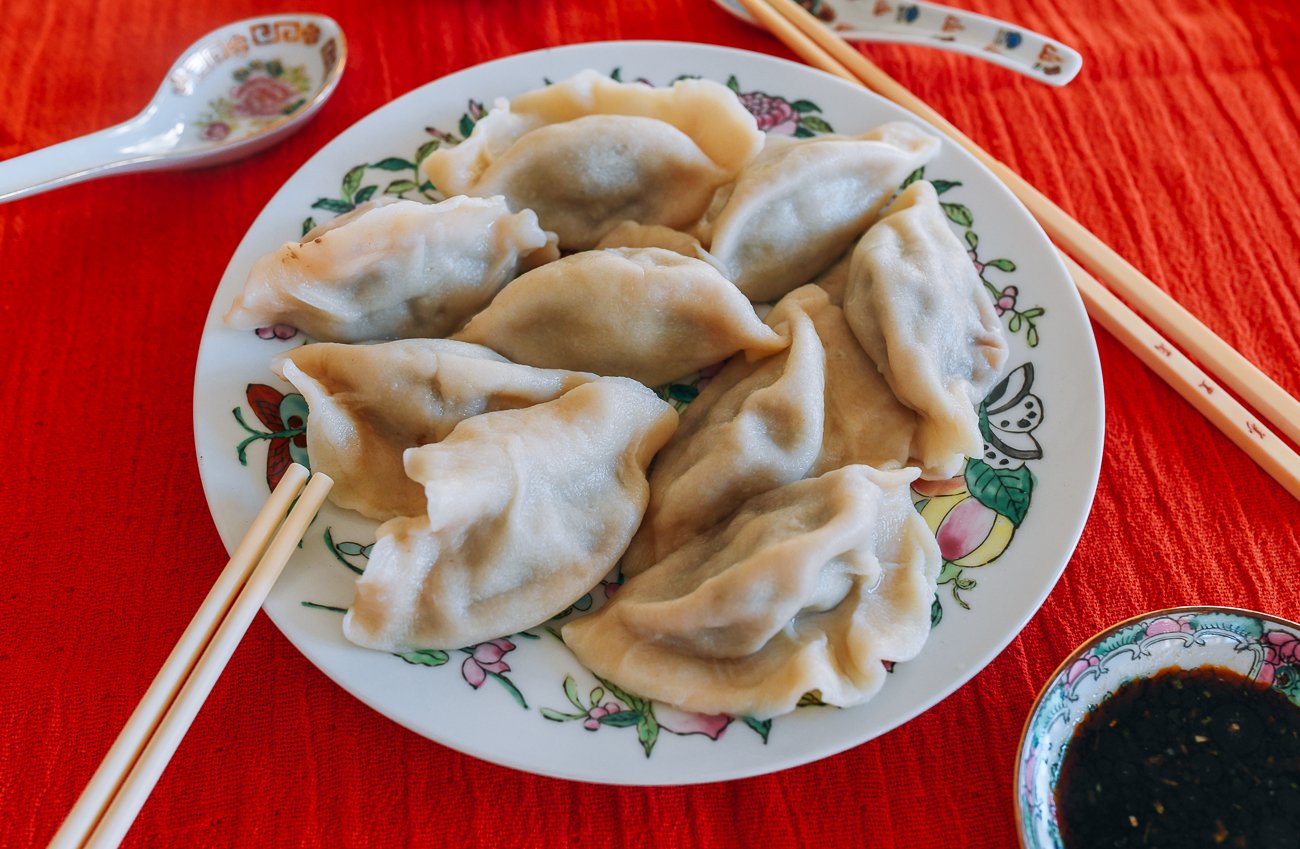
We later found out the reason—at dumpling shops around the city (Northern China is also famous for its shuǐjiǎo – 水饺, or boiled dumplings), your dumplings would be served with raw garlic.
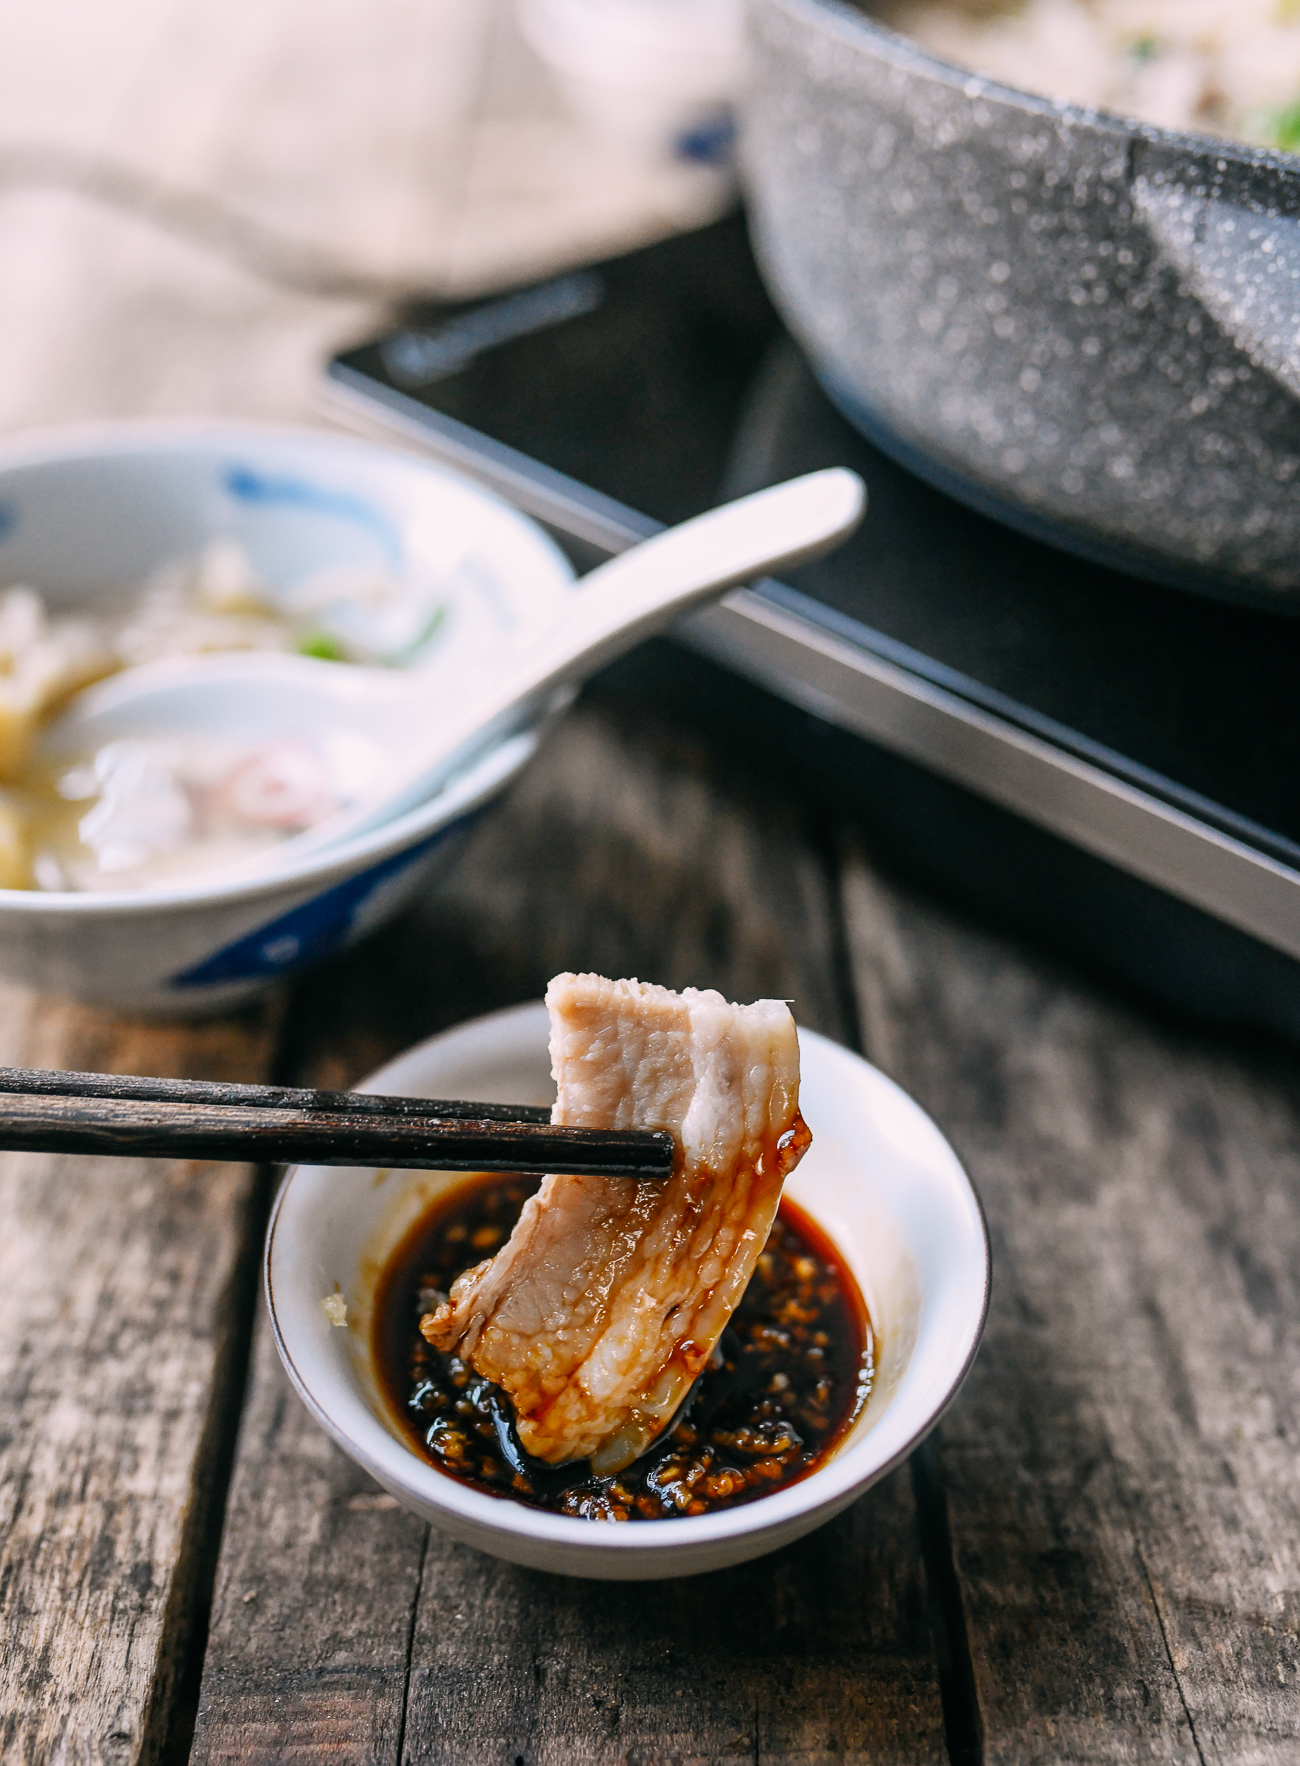
Some restaurants crushed it into a paste that you could mix with vinegar and chili oil, while other more hardcore spots just served a small bowl of raw garlic cloves, which you could munch on between bites.
Make our Beef Dumplings and our Pork & Chive Dumplings to try this combination! We also use raw garlic in a dipping sauce for our Northern Chinese Sour Cabbage Stew, one of my all-time favorite TWOL recipes!
Sizzled Garlic
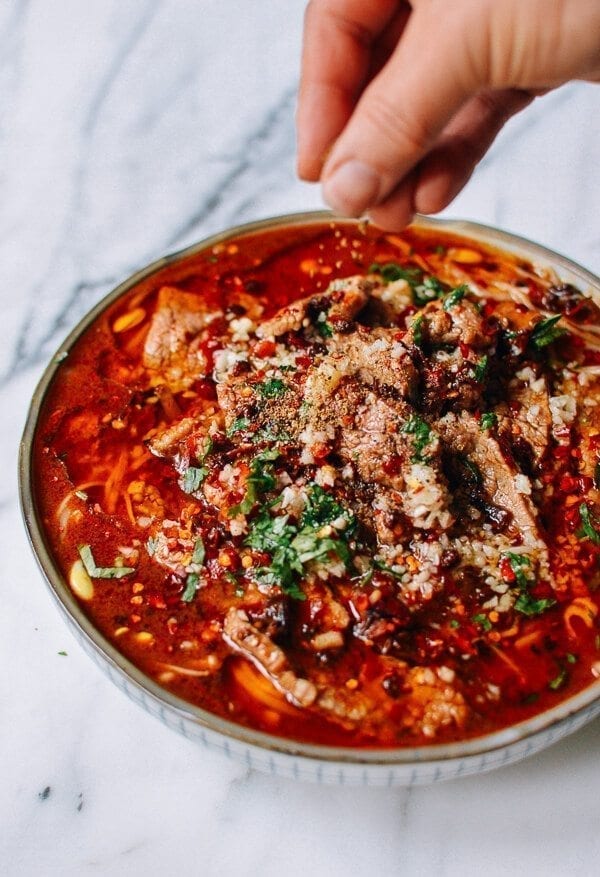
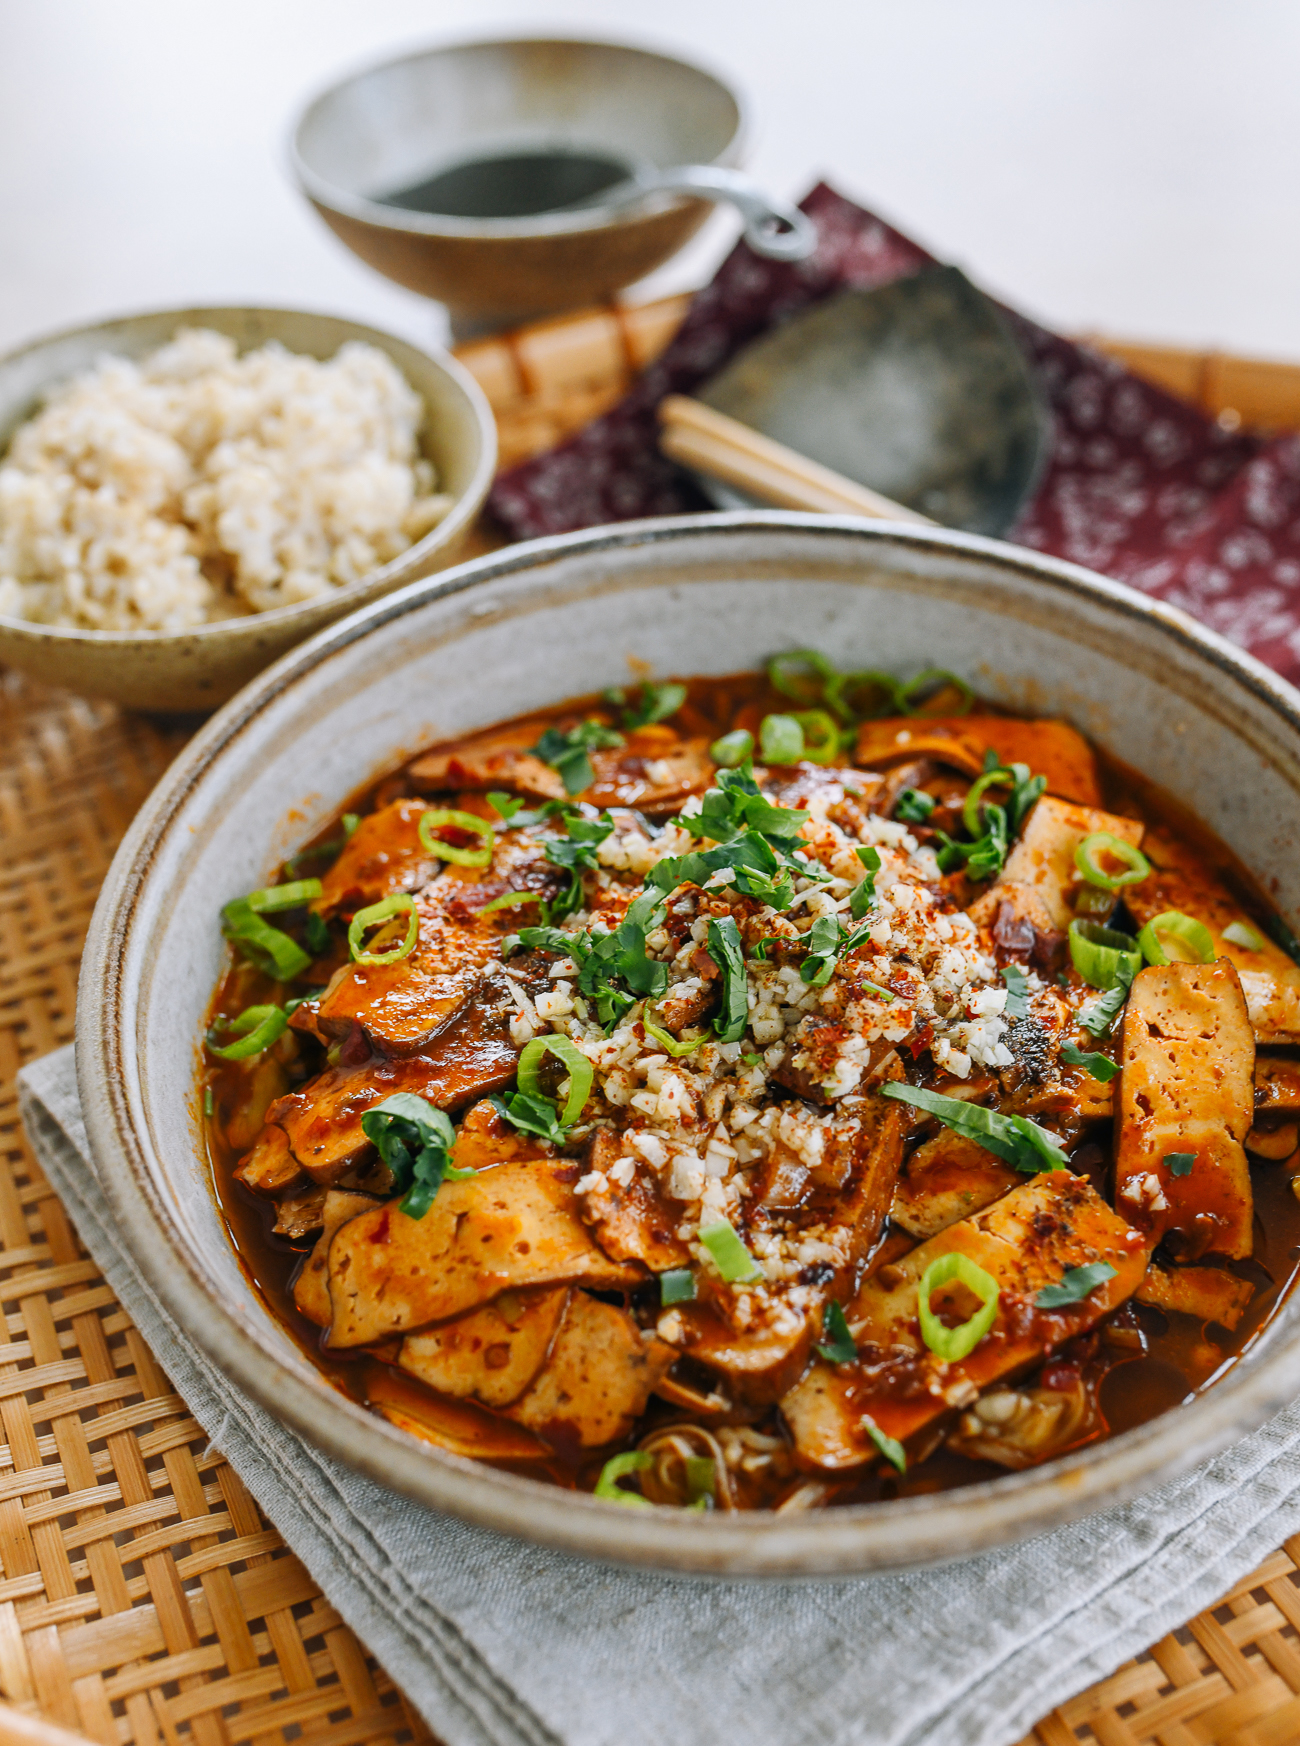
Similar to the effect of raw garlic, but with more of a toasty fragrance, sizzled garlic is usually the “finishing touch” on a dish.
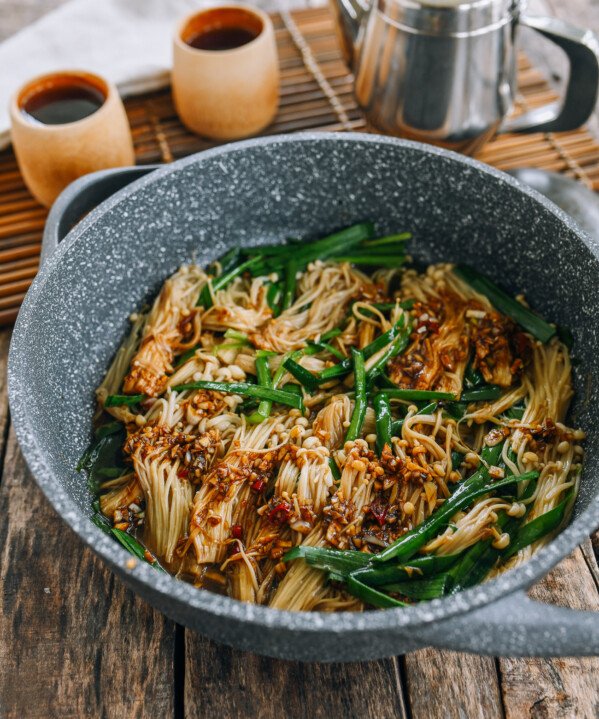
It adds loads of delicious flavor, and is one of our favorite garlic cooking techniques. Try it in our Sichuan Boiled Beef, Sichuan Boiled Tofu, Sliced Pork with Garlic Sauce (Suan Ni Bai Rou), our simple Ban Fan (Rice Bowls), and Spicy Enoki Mushrooms with Garlic.
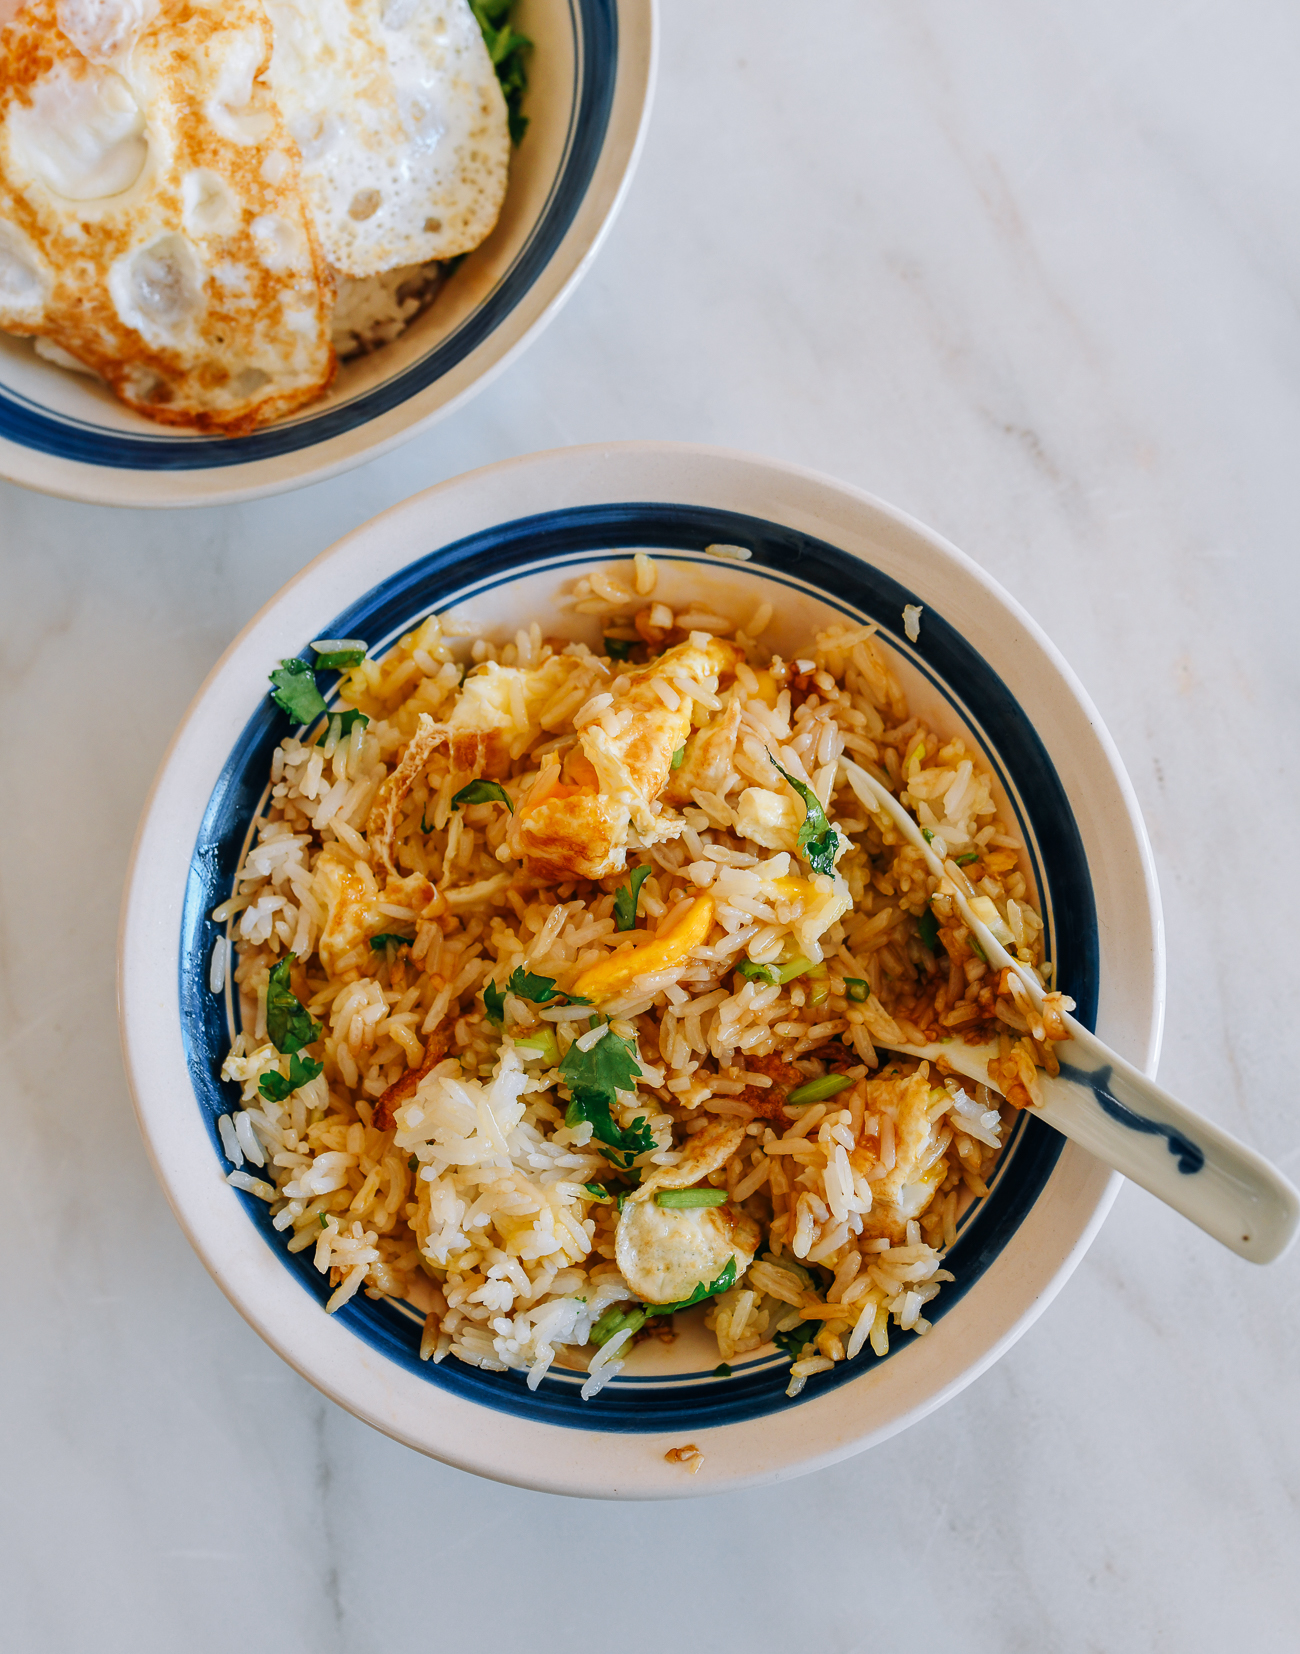
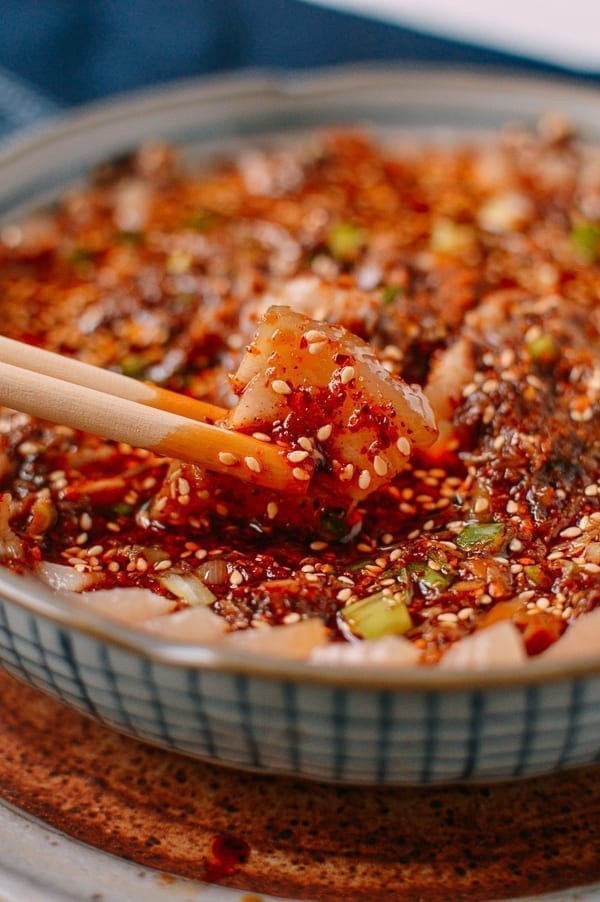
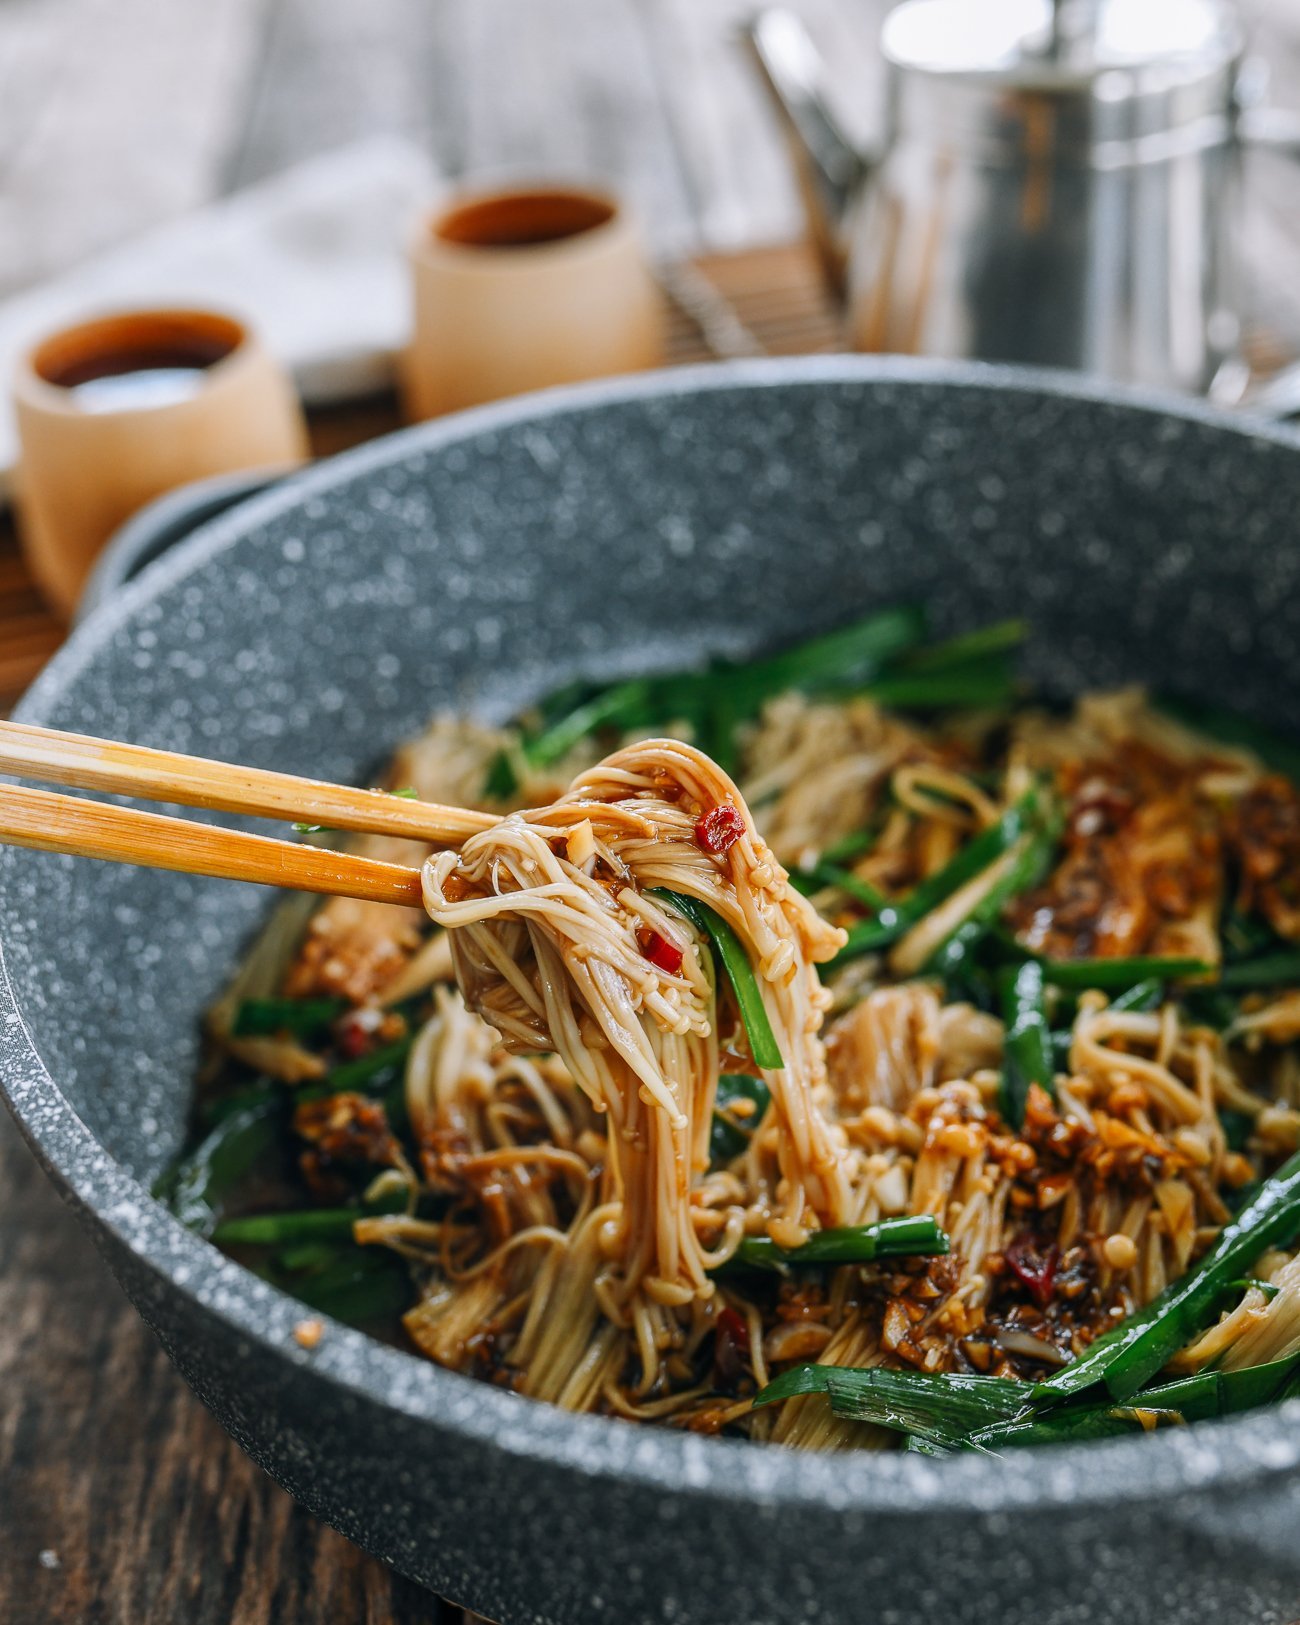
Fried Garlic
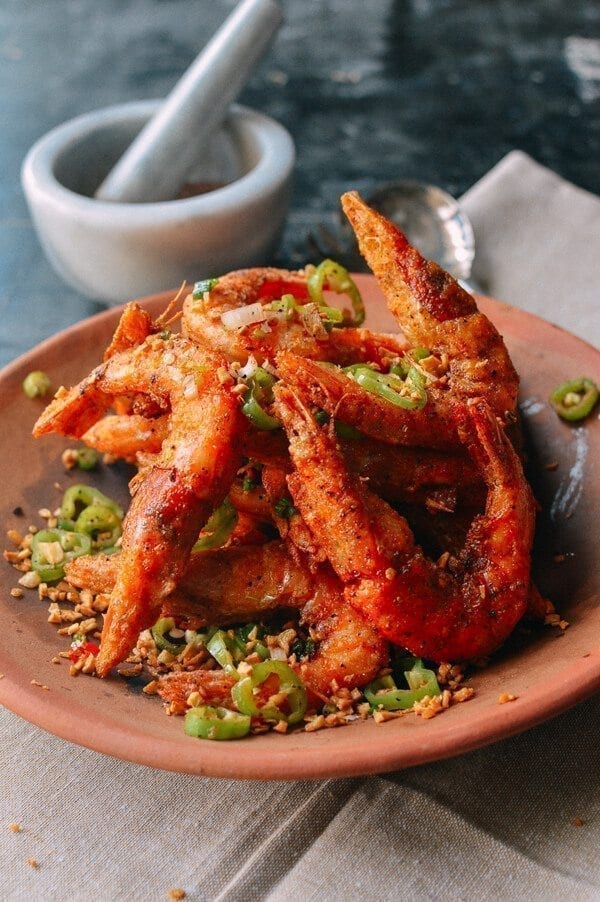
Fried crispy garlic can be the perfect addition to a dish, like our Salt and Pepper Shrimp and and Scallop Fried Rice. The key here is not to over-fry it, or you can actually burn it, which makes it bitter!

Steamed garlic
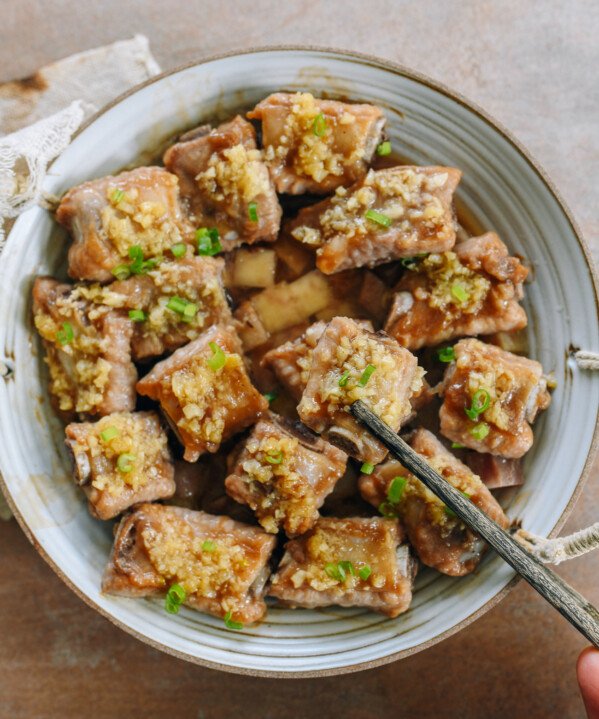
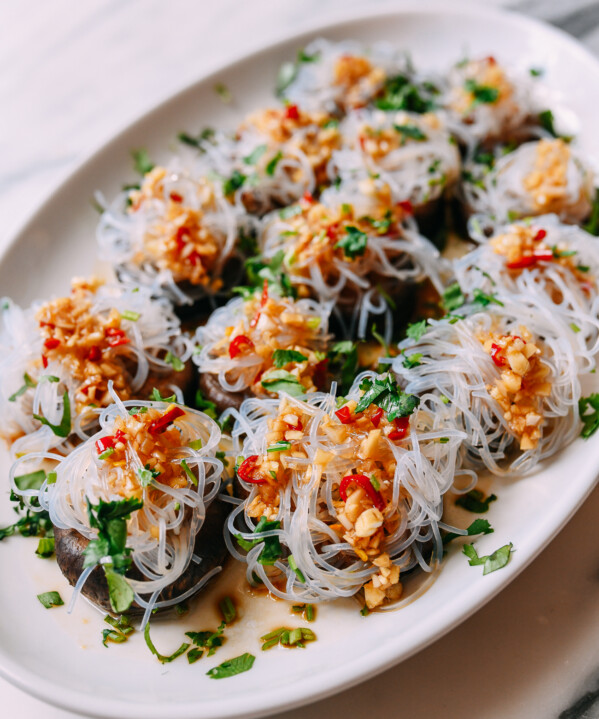
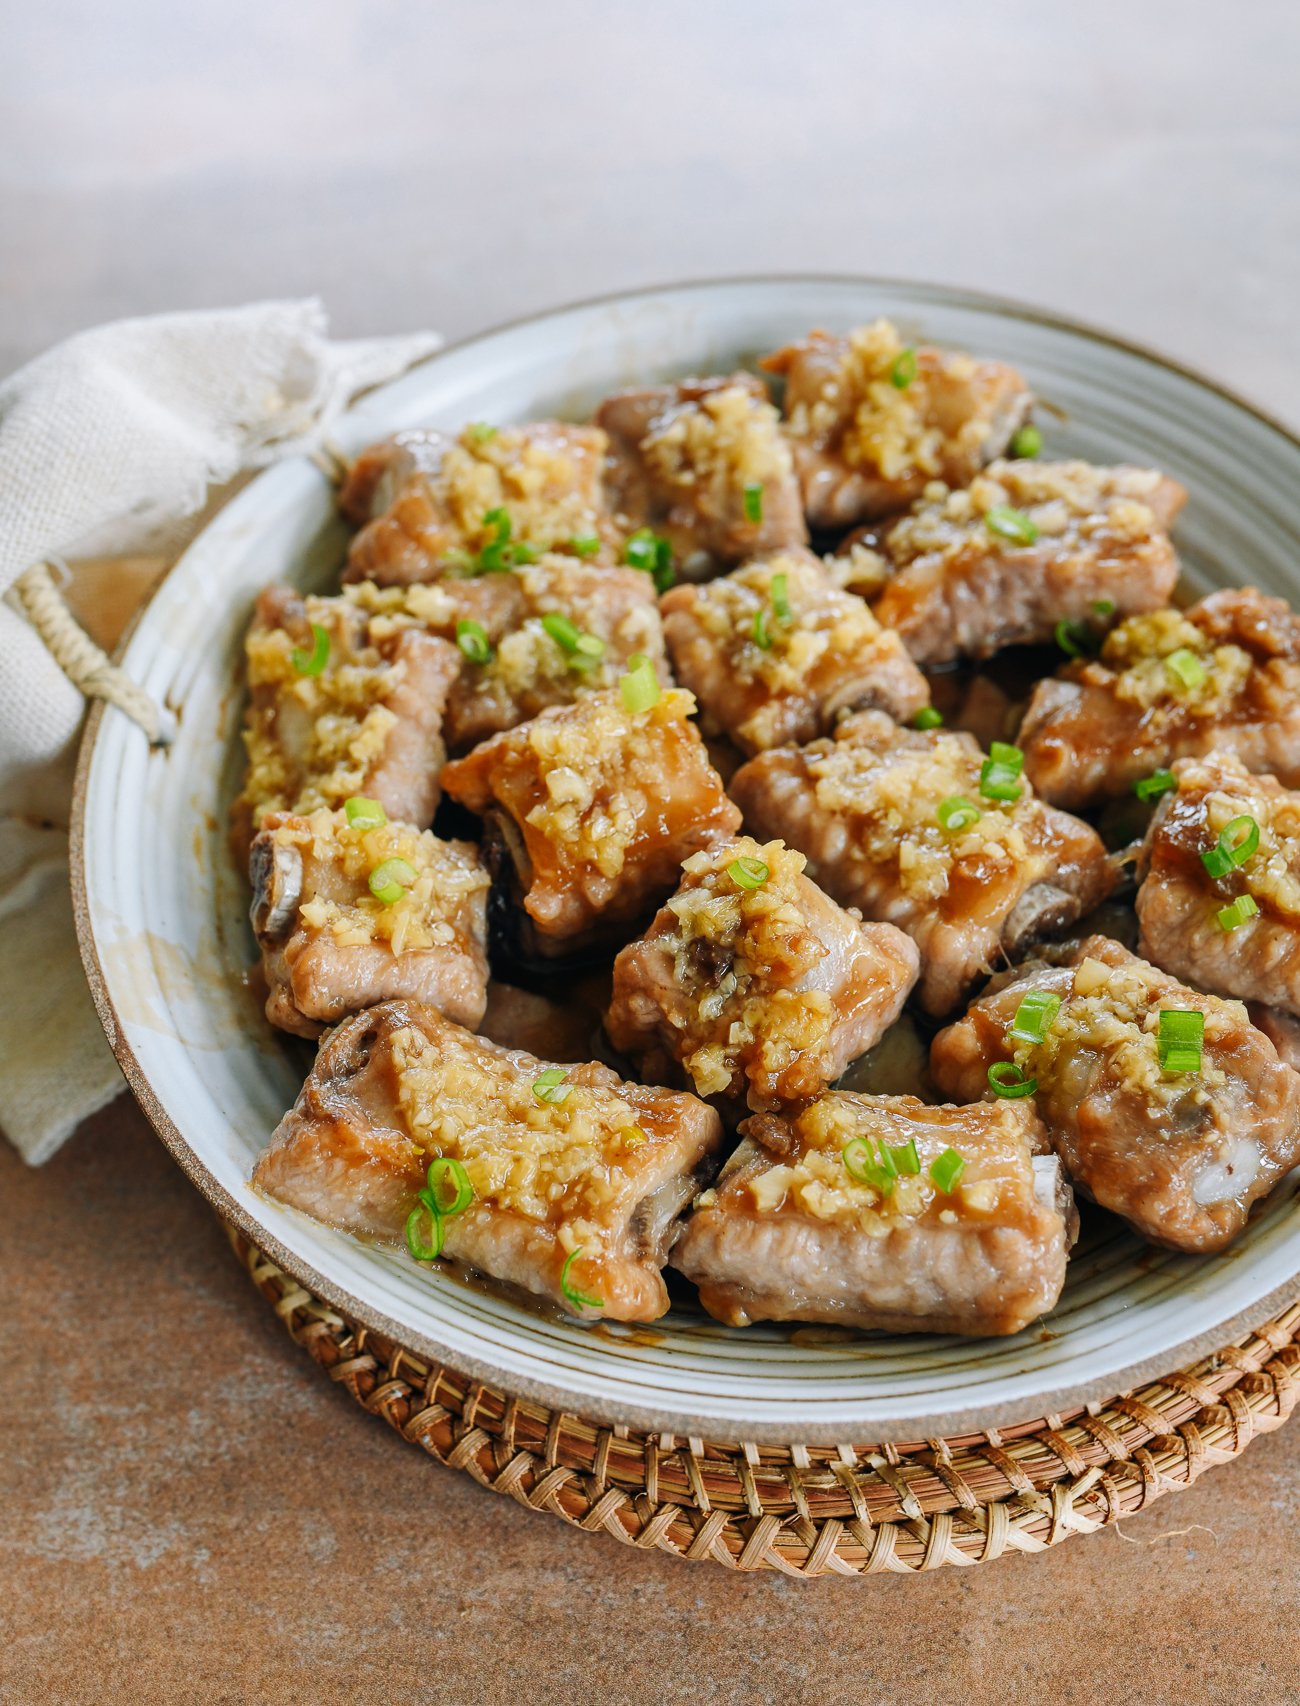
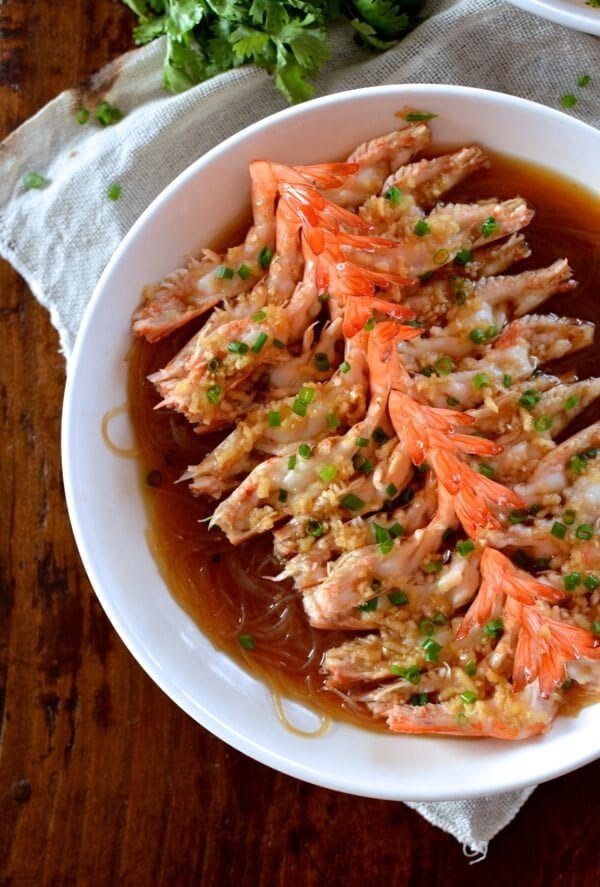
This is a favorite of my dad. Both the recipes below (Steamed Ribs with Garlic & Taro and Steamed Shrimp with Glass Noodles) are his creations! It may seem like a lot of garlic, but steaming it makes it so sweet and delicious.
Infusions
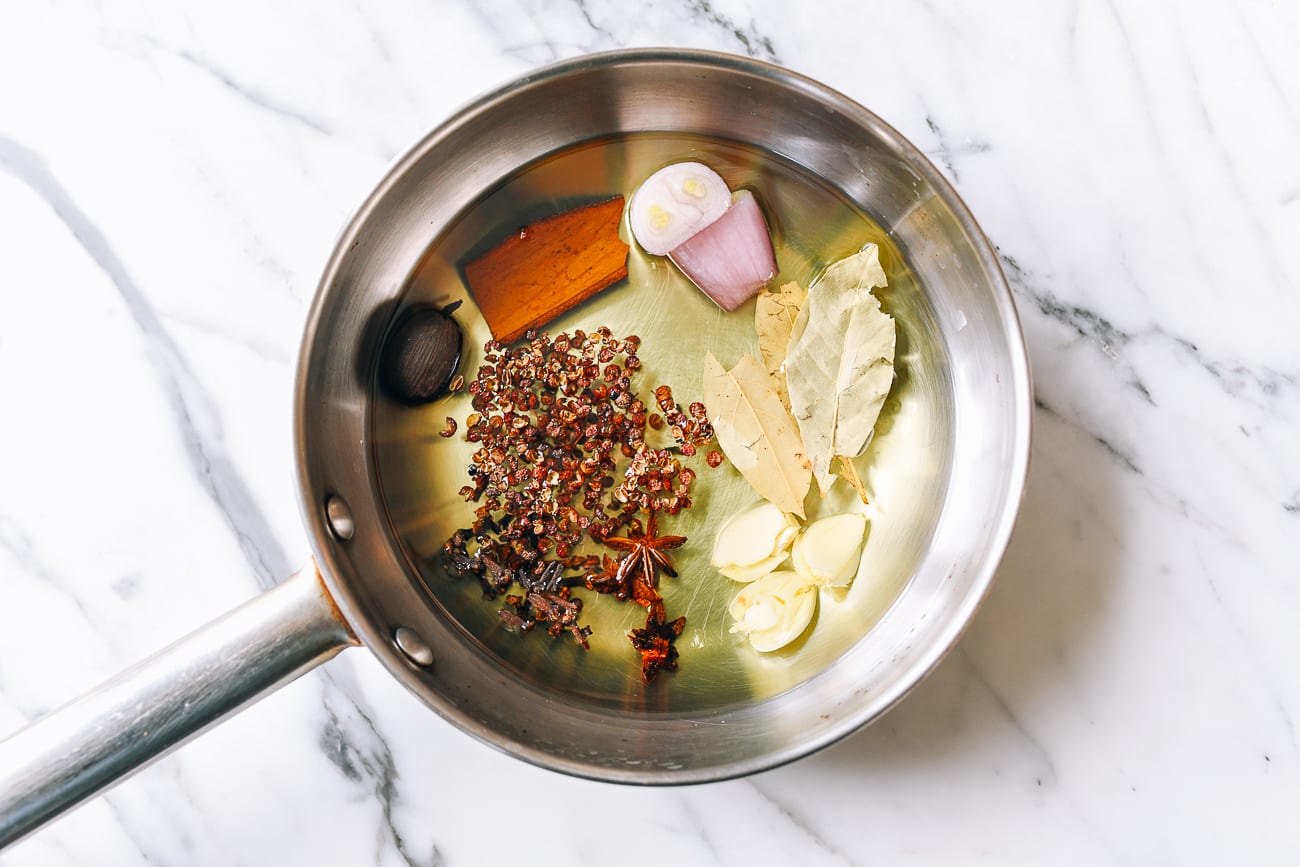
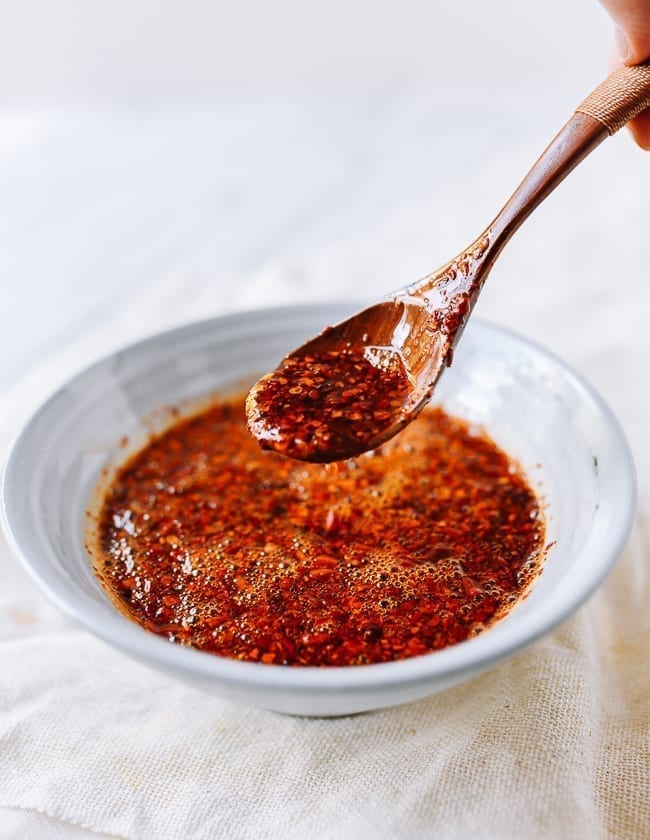
Of course, we also use garlic to add a subtle flavor to oil infusions, like for Kaitlin’s popular Chili Oil! For more of a garlicky hit, don’t sleep on her Chiu Chow Chili Sauce recipe, which might be my favorite of the two!
Stir-frying Garlic Greens/Garlic Scapes
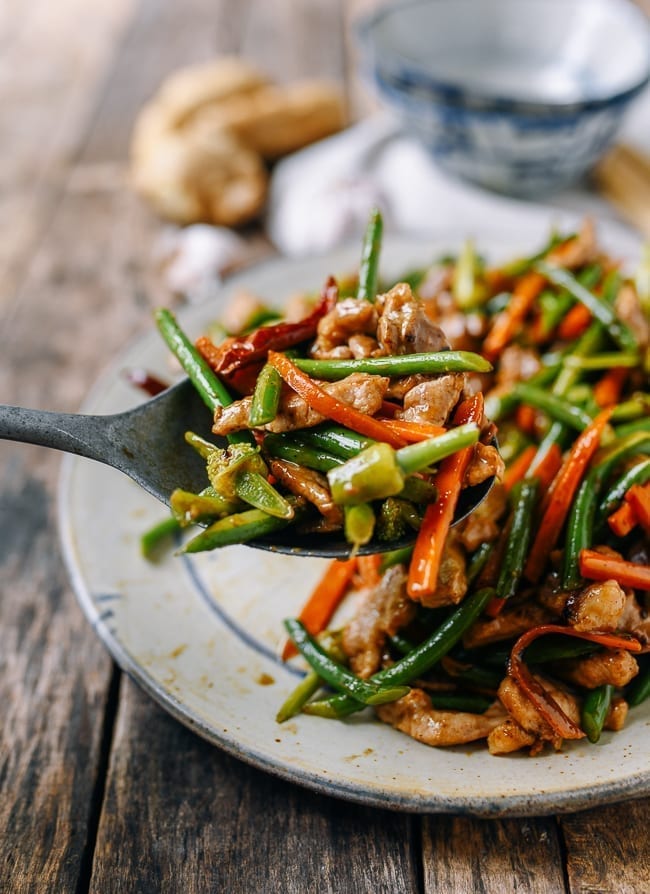
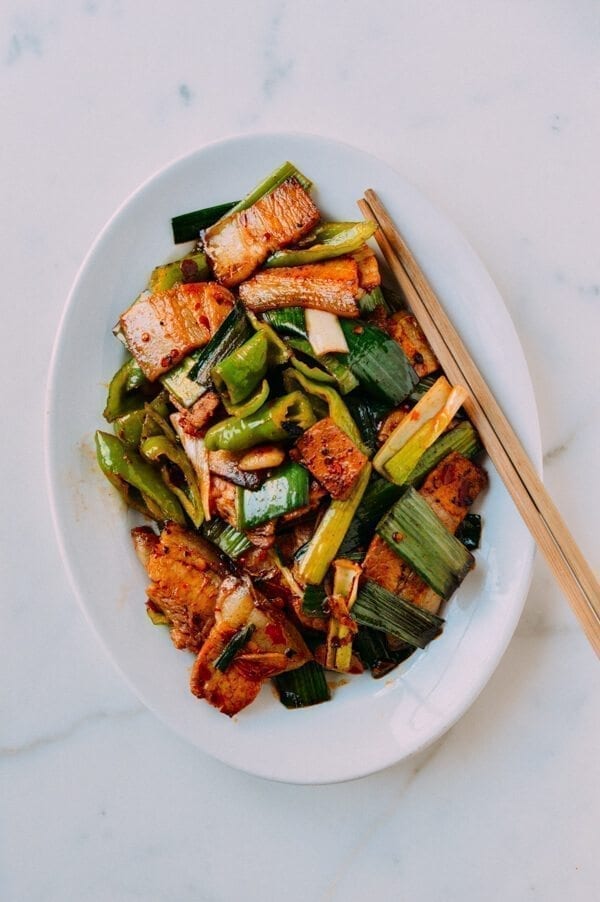
For garlic greens or scapes, you can use them much as you would any other vegetable in a stir-fry. Try our Garlic Scape Stir-fry with Pork, or use garlic greens instead of leeks in our Sichuan Twice Cooked Pork!
We hope you’ve enjoyed this post on how to grow garlic. Be sure to keep following along with our How to Grow Chinese Vegetables series!
We have more coming—next month, Thai Basil! Happy gardening and cooking everyone.
